


Erin’s Recipe Rundown
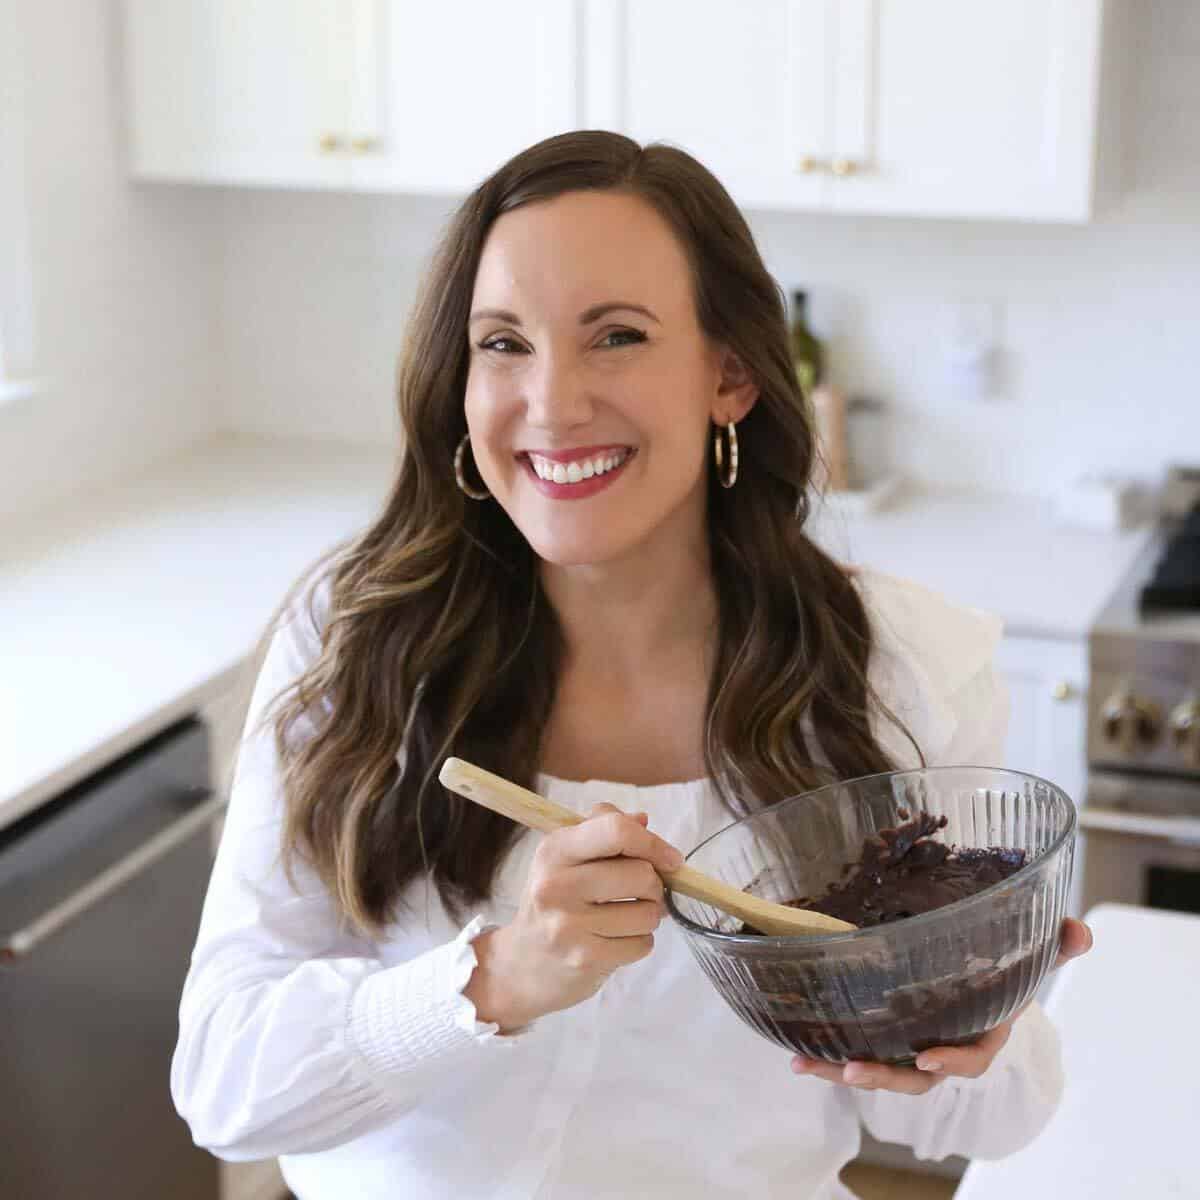
Texture: Crisp, golden-brown crust with a soft, airy center.
Taste: Savory and light with hints of olive oil.
Ease: With only 5 ingredients, this is such an easy gluten-free bread recipe— Just plan ahead for the rise and chill times!
Top Tips: Baking this bread in a Dutch oven is key for the perfect crust!
Recommended GF Flour: This recipe was specifically designed with Caputo Fioreglut Gluten-Free Flour. Unfortunately, no other flour can be substituted with the same results.
Would I make these again? Yes! Sometimes a piece of crusty bread is just what you need to make the world feel right and this gluten-free artisan bread doesn’t disappoint!
xoxo erin

This gluten-free artisan bread uses the right kind of flour and a Dutch oven to create a beautifully crusted, bakery-quality loaf with the perfect soft and chewy texture inside.
Easy to make and perfect for any meal or occasion, no one will ever guess that it’s gluten-free! I love serving it with my gluten-free meatballs and this hearty gluten-free stew!
Featured Comment
From Kelly: “Are you kidding!!! Where has this been my whole miserable gf life. I will now be making every recipe on your website. This bread was delicious!”
Ingredients You’ll Need
Here are a few notes on some of the key ingredients to make this gluten-free artisan bread. See the recipe card below for exact measurements.

- Gluten-free flour: This bread was specifically designed with Caputo Fioreglut gluten-free flour for the BEST crumb! It contains gluten-free wheat starch so keep in mind that it’s gluten-free, but not wheat-free.
- Instant yeast: The yeast, along with the sugar and warm water, give this bread the perfect rise. I like to use instant yeast since it doesn’t require proofing first.
- Olive oil: The rich olive oil is just as much for texture as it is for taste. It adds softness to the middle while helping to create that the crackly, crisp crust that makes artisan bread so irresistible!
How to Make Gluten-Free Artisan Bread
Here’s an overview of how to make this recipe. You can jump to the recipe for the full instructions!

- In the bowl of a stand mixer: Add in all of the dry ingredients and mix with a paddle attachment until combined.
- With the mixer on low: Slowly add the warm water and olive oil. Increase the speed to medium-high and continue to mix (about 5 minutes). The goal is dough that resembles thick cookie dough! Use an oiled spatula to scrape down the bottom and sides, then mix again until the dough is well-combined.

- Using gluten-free flour: Flour a 7-inch banneton with gluten-free flour. No banneton? No problem! You can oil a small mixing bowl instead. Set that aside and then lightly flour a flat surface where you can work the dough. Press the dough into a 2-inch thick circle. Pull the sides upwards, then towards the middle to form a loaf. Flip it over so it’s seam side down, then rotate it in place to seal the seam. Place the loaf in the banneton, seam side up.
- Rise and refrigerate: Cover the bowl with oiled plastic wrap. Let the loaf rise in a warm place (45-60 minutes). Once the dough has risen, chill it in the fridge before baking (30 minutes). This helps the loaf hold its shape!

- Using a Dutch oven: Place the Dutch oven (I like this 5-quart Lodge Dutch Oven) with the lid ON in the middle or lower rack of the oven. Preheat the oven to 475°F and let the Dutch oven preheat (at least 30 minutes). Gently turn the loaf out onto a piece of parchment paper. Use a bread lame (or sharp knife!) to score the top of the bread. Carefully remove the Dutch oven from the oven and use the parchment paper to gently place the scored loaf into the Dutch oven. Add 5-6 ice cubes around the edges, then quickly pop the lid back on to trap the steam inside.
- Bake: First bake the bread covered (30 minutes), then lower the oven temperature to 450°F (bake another 30 minutes). Remove the lid and let it bake uncovered until the crust is golden brown and the loaf sounds hollow when tapped (another 15-20 minutes). You can also check its temperature to judge when it’s done (the center should be 205°F). Remove the loaf from the oven and turn it out onto a wire rack to cool (at least 3 hours). Slice and enjoy!
Make-Ahead/Storage/Freezing Instructions
To Make-Ahead: The dough can be prepared up to 1 day in advance. Follow the recipe through step 7, but instead of refrigerating it for 30 minutes, allow it to remain in the fridge up to 24 hours.
To Store: Let the bread cool completely, then store it in an airtight container at room temperature for up to 3 days.
To Freeze: After the bread has cooled, wrap it in plastic wrap or foil, then place it in a freezer bag or airtight container. Freeze for up to 3 months. Thaw at room temperature for a few hours before serving.
Can I make this gluten-free artisan bread dairy-free? What about nut-free?
This bread is naturally dairy-free and nut-free! No need to make any adjustments to enjoy this recipe.
Can I use a different gluten-free flour other than the Caputo Fioreglut?
This recipe was specifically designed with the Caputo Fioreglut so it will only turn out correctly with this flour. I don’t recommend using other gluten-free flour blends!
Can I make this bread without a Dutch oven?
This gluten-free artisan bread gets its crispy, crackly crust from baking it in a preheated Dutch oven, using the ice cubes to make steam. Using other styles of pans will impact the crust and overall structure of the bread.

Gluten-Free Bread Equipment Links
- I use this 5 quart Lodge Dutch Oven
- I recommend this 7-inch round banneton
- This recipe was developed with Caputo Fioreglut Flour
More Gluten-Free Bread Recipes

Gluten-Free Artisan Bread (5 Ingredients!)
Video
Ingredients
- 4⅓ cups (650g) Caputo Fioreglut Flour
- 1 tablespoon kosher salt
- 1 tablespoon granulated sugar
- 2¼ teaspoons instant yeast
- 2 cups + 2 tablespoons (510ml) water, warm
- 3 tablespoons olive oil
Instructions
- Make the Dough: In the bowl of a stand mixer fitted with the paddle attachment, add the Caputo Fioreglut flour, salt, sugar and instant yeast. Mix to combine.
- With the mixer running on low, slowly add the water and olive oil. Increase the speed to medium-high and mix for 5 minutes. The dough will resemble thick cookie dough, this is normal.
- Using an oiled rubber spatula, scrape down the bottom and sides of the bowl and mix again until well-combined.
- Shape/Rise: Flour a 7-inch banneton with gluten-free flour. (You can also use a small oiled mixing bowl.)
- Scoop the dough out onto a lightly floured surface. Press the dough into a 2-inch thick circle. Pull the sides upwards, then towards the center of the circle to form a loaf. Flip the loaf seam side down onto the floured surface and rotate in place to seal the seams.
- Place the loaf into the banneton seam side facing upward. Cover with oiled plastic wrap and let rise in a warm place for 45-60 minutes.
- Once the dough has risen, place it in the refrigerator for 30 minutes before baking. (This helps the bread hold its shape.)
- Bake: Place a Dutch oven with the lid on in the middle/lower rack of the oven. Preheat the oven to 475°F. Allow the Dutch oven to preheat for at least 30 minutes.
- Gently turn out the loaf onto a piece of parchment paper. Using a bread lame or sharp knife, score the top of the loaf.
- Carefully remove the hot Dutch oven from the oven. Using the parchment paper, carefully place the scored loaf in the Dutch oven, add 5-6 ice cubes around the edges and quickly replace the lid to trap the steam.
- Bake the bread covered for 30 minutes, then reduce the oven temperature to 450°F and continue baking for another 30 minutes.
- Remove the lid and bake uncovered for another 15-20 minutes, or until the crust is golden brown and the loaf sounds hollow when tapped. (For a more accurate test of doneness, the bread is done when an instant-read thermometer inserted in the center reads above 205°F.)
- Remove the bread from the oven and turn out onto a wire rack. Let the bread cool for at least 3 hours before slicing. This is important so the crust develops properly. Slice and enjoy!











We can’t keep from raving about this gluten free artisan bread. It is seriously the bed GF bread we’ve ever had, let alone actually made at home. The 3 hour waiting to “taste test” it was excruciating but so worth the wait. My husband and I ate half a loaf that evening with open faced sandwiches and herbed olive oil dipping. Amazing crust on the outside and soft airy inside. Just divine!! Thank you for this wonderful recipe.
Oh wow! This makes us so happy, Tash! Thank you for sharing such wonderful feedback with us. We’re thrilled to hear both you and your husband loved the artisan bread this much. Happy baking!
Am I able to add inclusions? If so, how do I go about that?
Hi Grace! We haven’t tried inclusions in this artisan bread, though that does sound like a delicious experiment we may have to try in the future. If you decide to test it out, we’d love to hear how it goes!
I have Caputo gluten free flour but it doesn’t say Fioreglut on the bag. Is this the correct flour?
That’s the right one! They may have changed they’re labeling a bit, but as long as it’s Caputo’s gf flour you’re good to go. We hope you love the bread, Nancy!
It’s delicious!!!!!
We’re so glad you loved the bread, Nancy! Thank you for sharing with us!
I followed this exactly and it looked great and the flavor was great but it was very dense and doughy. Any ideas on what I might have done wrong?
Hi Leah! We’re so glad you enjoyed the flavor! If the bread was dense and doughy inside, the first thing we’d check is the internal temperature. The center should reach at least 205°F before removing it from the oven, even if the crust looks fully baked. It’s also important to let the loaf cool for the full 3 hours before slicing, since the crumb continues to set as it cools. If you did both of those things, let us know and we can troubleshoot further!
AWESOME recipe! I’ve made it twice. Second time I added 10g powdered milk and it did come out a little bit lighter, which I liked. THANK YOU!
Yay! Thank you for sharing this with us, Maria! We’re so glad you enjoyed the bread enough to make it twice and that the extra powdered milk worked well. Happy baking!
Can I ask at what step you put the powdered milk in? I’d like to try that! Thank you!
I put It in with With the dry ingredients. Before adding the water
My husband and I LOVED this recipe. The recipe was so easy to follow. The texture was so easy to work with. The crust was devine. Can I make them into rolls instead of the bread? Thank you.
We’re thrilled you and your husband loved the bread so much and that you found the recipe easy to make! Thank you for the wonderful feedback, Yafa. We haven’t tried using this dough for rolls. If you decide to test it out, we’d love to hear how it goes!
The make ahead section mentions “step 7”, but it appears the steps have been reordered (1-3, then 1-3).
Hi Jenna! Thank you for bringing this to our attention! The headers were creating the new numbering with each section. We’ve updated the recipe card so they list straight 1-13. The make-ahead instructions are now easier to follow. We hope you enjoy the bread!
I cant find parchment paper that meets 475 temperature. Ive been using olive oil on the ovens inside it works ok but makes a mess inside the oven. This is without the best bread recipe period. The taste, texture, crust is perfect, and it’s delicious. Any ideas about the parchment so I can use the ice cubes?
Hi Mike! We’re so glad you’re loving the bread. Thank you for the kind feedback! We use regular parchment paper with this recipe. It can be hard finding parchment specifically rated for 475°F since most brands are labeled for lower temperatures, but many bakers still use regular parchment for this type of high-heat bake without issues, especially when it’s under the bread and inside a Dutch oven. Happy baking!
I’ve made this recipe twice. Each time the crust is incredibly hard. I can barely cut through it. I follow the recipe. What am I doing wrong?
Hi Ruth! We’re sorry the crust has been turning out so hard! This recipe is designed to have a crusty exterior, but it shouldn’t be difficult to cut. We’d recommend checking your oven temperature with an oven thermometer, as an oven that runs hot can cause the crust to become excessively hard. You could also try reducing the final uncovered baking time slightly to see if that helps.
Have you tried to bake this with an open oven method? We love it so much, even my gluten eating family enjoys it! I can only bake 2 loaves at a time with my Dutch ovens!
Hi Anne! We’re so glad you and your family are enjoying the bread! We haven’t tested this recipe using an open oven method, so we can’t say for sure how it would turn out. The Dutch oven helps trap steam, which is important for getting that crisp crust, so we recommend sticking with the method in the recipe for the most consistent results. If you experiment with an open bake, we’d love to hear how it goes!
Hello! I am excited to try this out as my family devours bakery bread (mostly sourdough) regularly. Would this recipe turn out well in a 8” oval banneton? Also, do you have a sourdough bread recipe as well? Thank you!
Hi Elisa! The loaf would most likely end up a little wider and flatter in the 8-inch oval banneton, but it may be close enough to be worth trying if that’s what you have on hand. We don’t have any sourdough recipes at this point, but we appreciate the interest! Happy baking!