

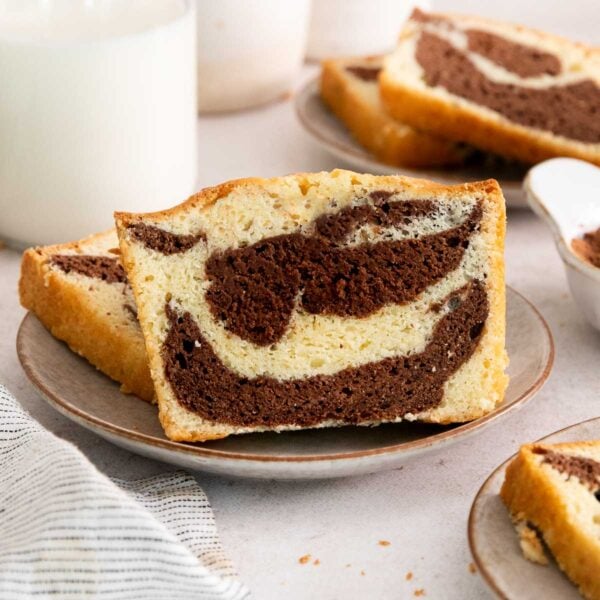
Recipe Overview
⏱️ Time to Taste: About 1 hour (including cooling time)
✨ Texture: Moist and buttery
🥣 Ease: Beginner-friendly! The only extra step is dividing the batter and adding cocoa powder to create the marble swirl.
🌾 Flour Used: Gluten-Free Measure-for-Measure Flour
🎂 Equipment Needed: 8×4-inch loaf pan, stand mixer or hand mixer, mixing bowls, whisk, and rubber spatula
🎉 Best For: A simple gluten-free dessert, morning treat with your coffee, holiday baking, or whenever you can’t decide between vanilla and chocolate cake
❤️ Why You’ll Love It: This gluten-free marble loaf has the perfect balance of rich chocolate and classic vanilla flavors with a soft, bakery-style crumb.
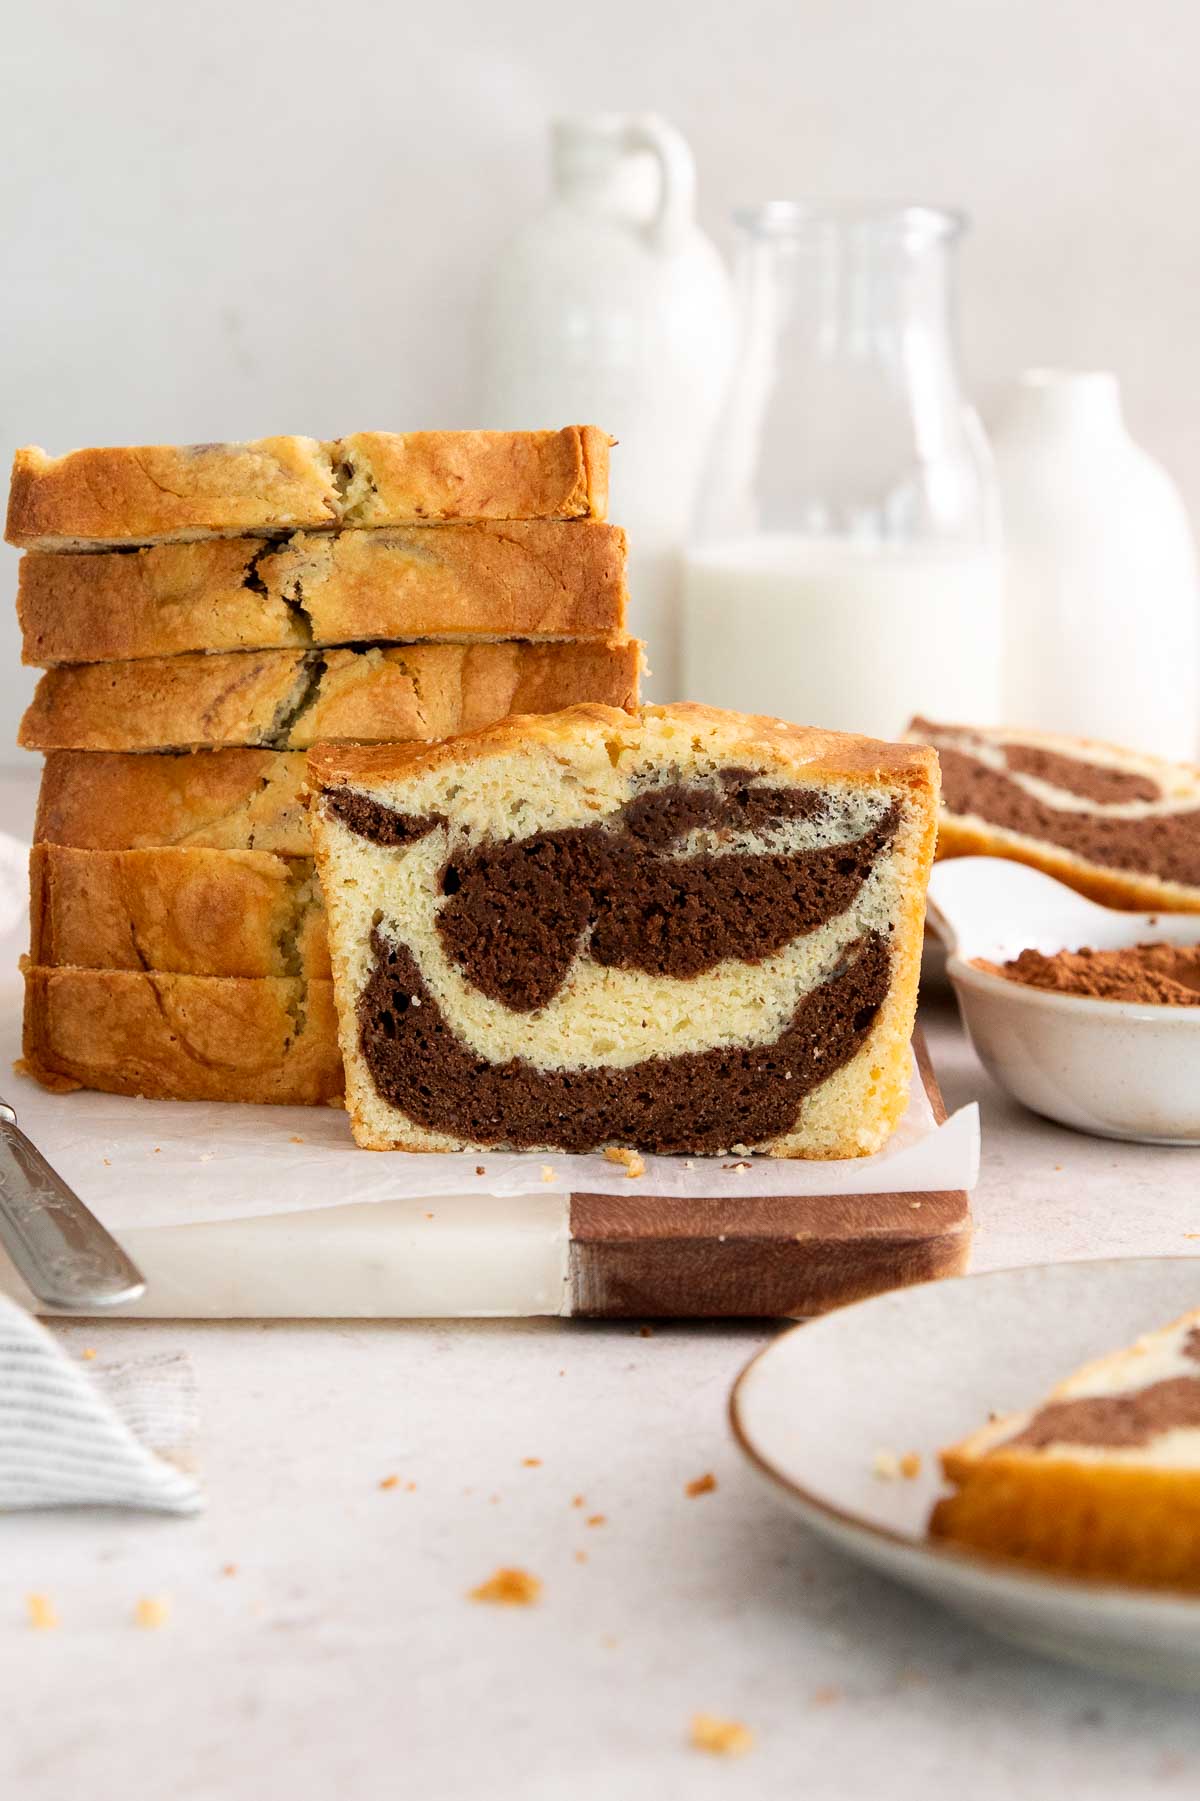
I tested this recipe multiple times to get the right balance of chocolate and vanilla. My first test didn’t have enough chocolate, and I think the best marble loaf should let you really taste both the warm vanilla cake and the deep chocolate swirl.
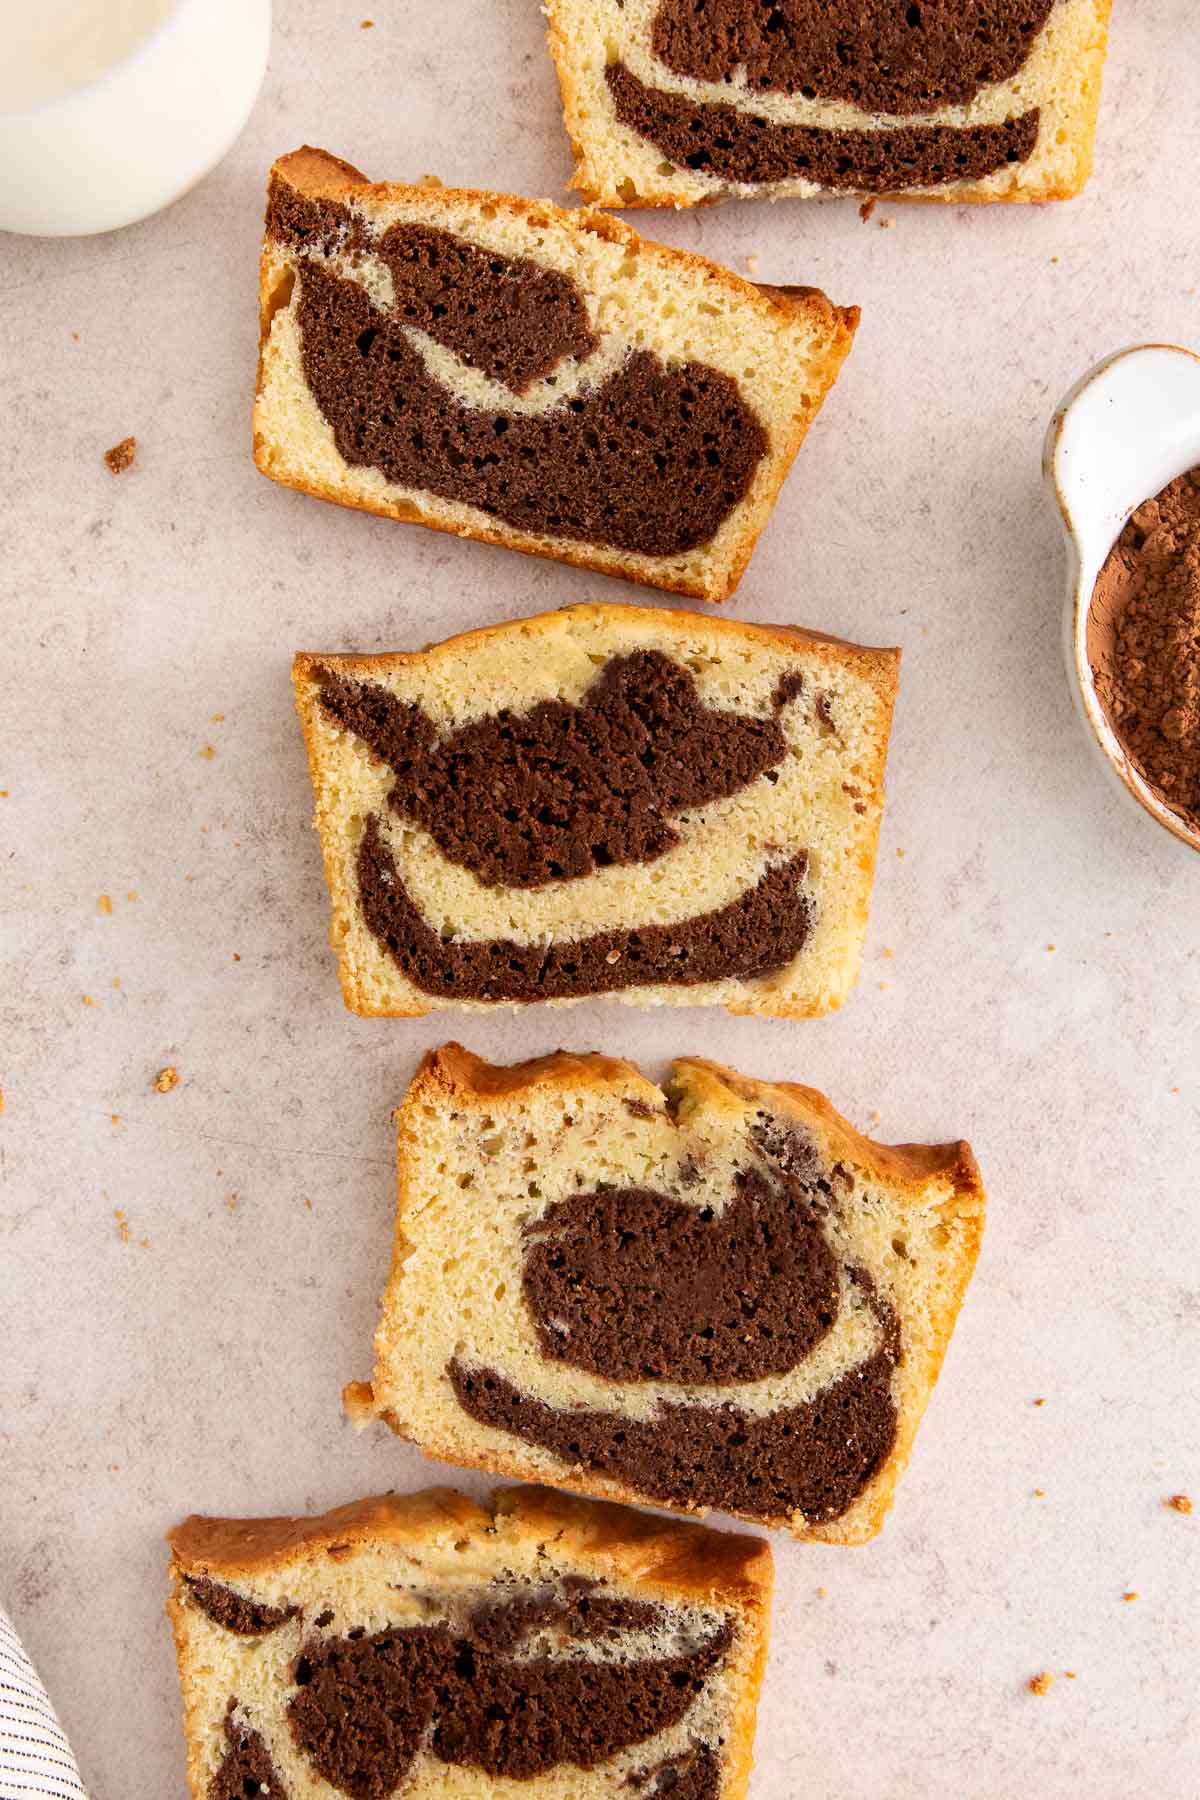
The marble swirl is easier than it looks! I tried two different layering methods, and both work beautifully. You can spread thin alternating layers of vanilla and chocolate batter in the pan, or add spoonfuls of batter to the center of the loaf pan, alternating between vanilla and chocolate, then swirl with a knife.
Ingredients You’ll Need
Here are a few notes on some of the key ingredients to make this gluten-free marble loaf cake. Jump to the recipe card below for the exact measurements.
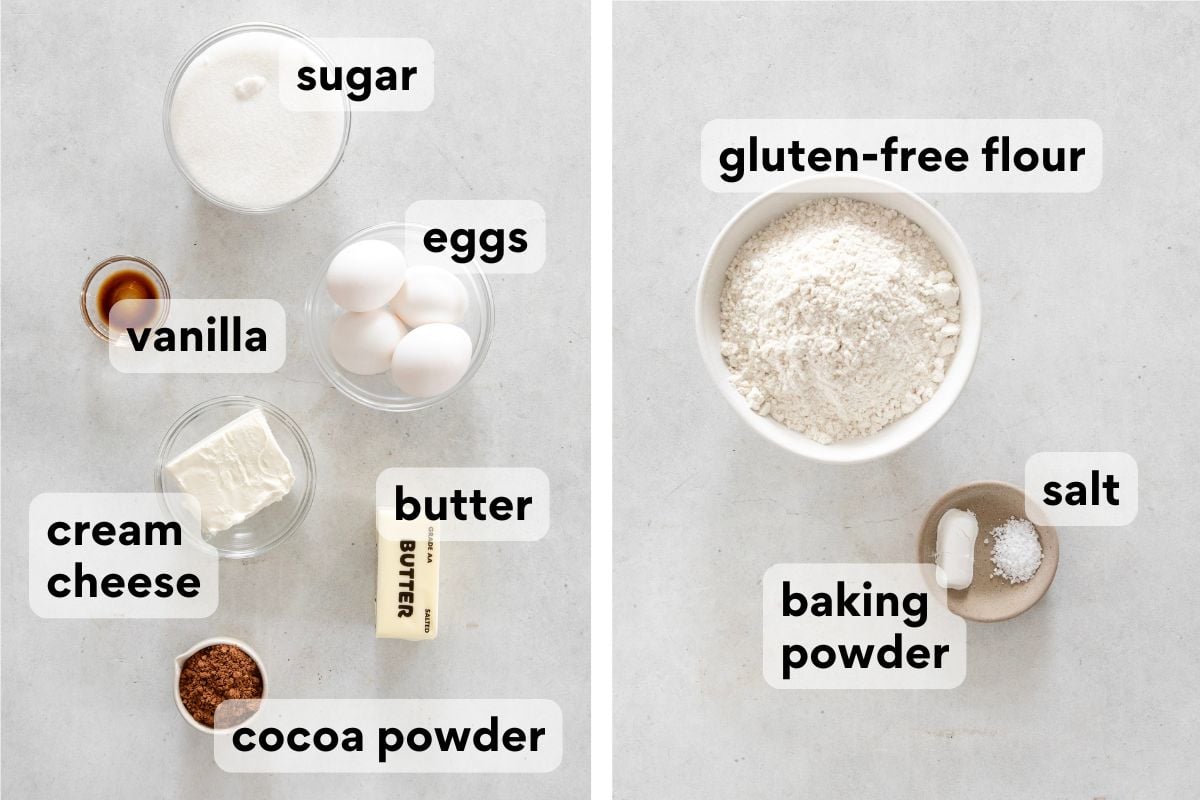
- Cream cheese: Cream cheese is my secret ingredient! It adds stability and richness, creating an incredibly moist crumb. I also use cream cheese in my gluten-free pound cake and gluten-free lemon loaf for the same reason. Be sure to use softened cream cheese so it blends smoothly into the batter.
- Butter: Melted butter gives this loaf a rich, buttery flavor and incredibly tender texture. I slowly stream the butter into the wet ingredients to create a smooth batter and a beautifully fine, even crumb.
- Cocoa powder: Cocoa powder turns half of the batter into a deep chocolate swirl. I tested this loaf with less cocoa powder, but the chocolate flavor wasn’t distinctive enough from the vanilla cake. This amount gives the best balance of warm vanilla and rich chocolate flavor.
How to Make Gluten-Free Marble Loaf Cake
Here’s an overview of how to make this recipe. You can jump to the recipe for the full instructions!
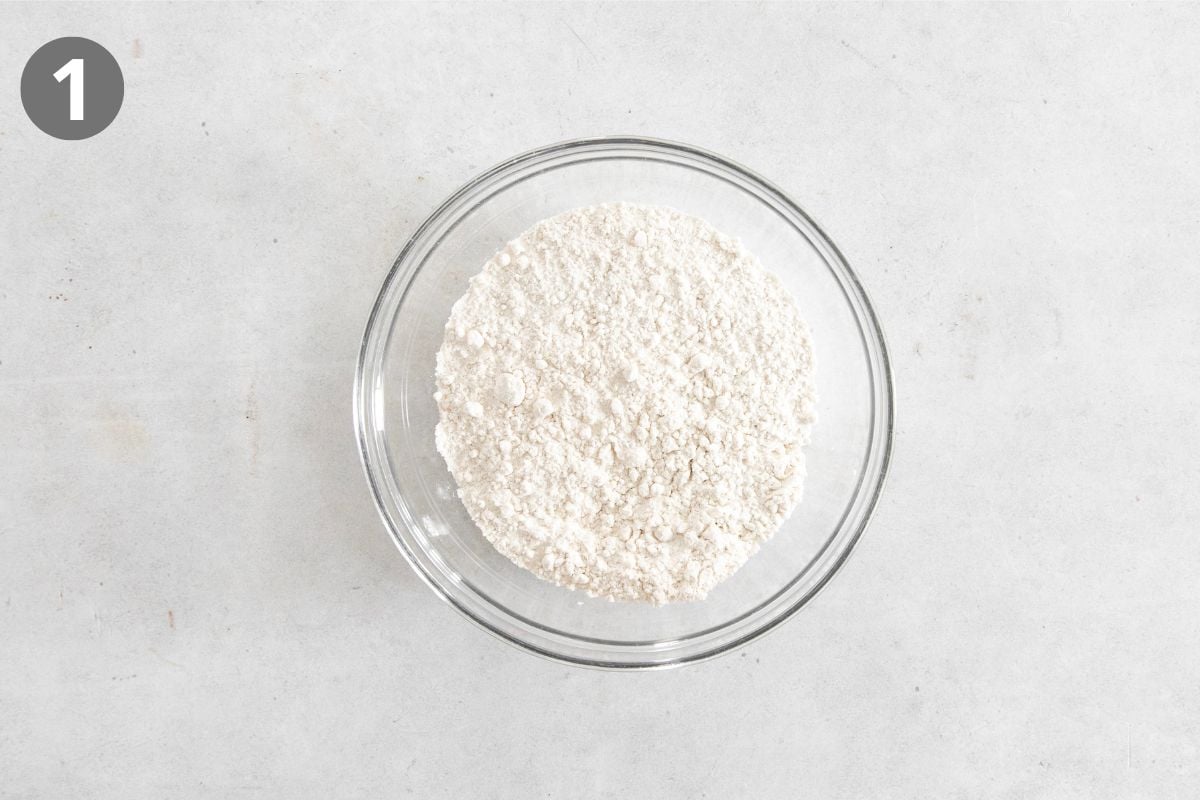
Whisk the dry mixture: I like to mix the dry ingredients together in a separate bowl first because it helps evenly distribute the baking powder and salt, giving the loaf a consistent texture and flavor throughout.
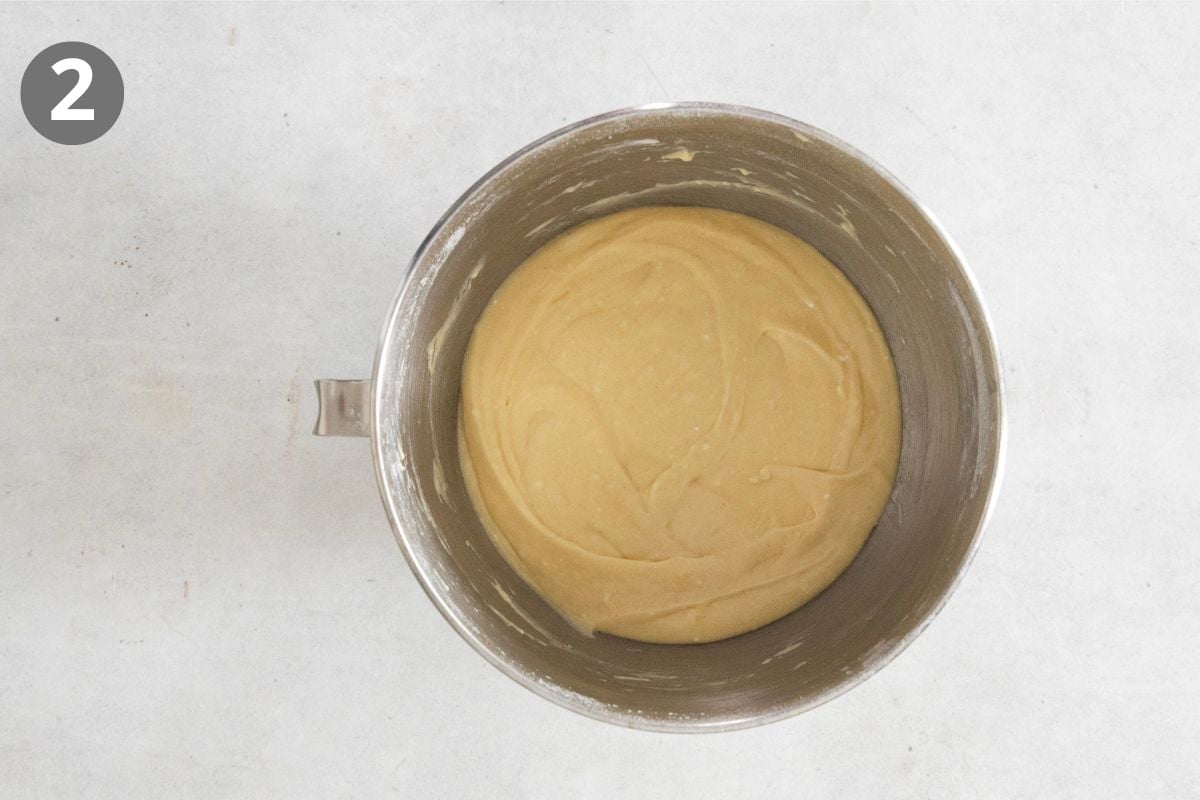
Make the Vanilla Batter: After creaming the sugar, vanilla, eggs, and cream cheese together, I put my stand mixer on low and slowly add the melted butter followed by the dry mixture for a smooth, even batter.
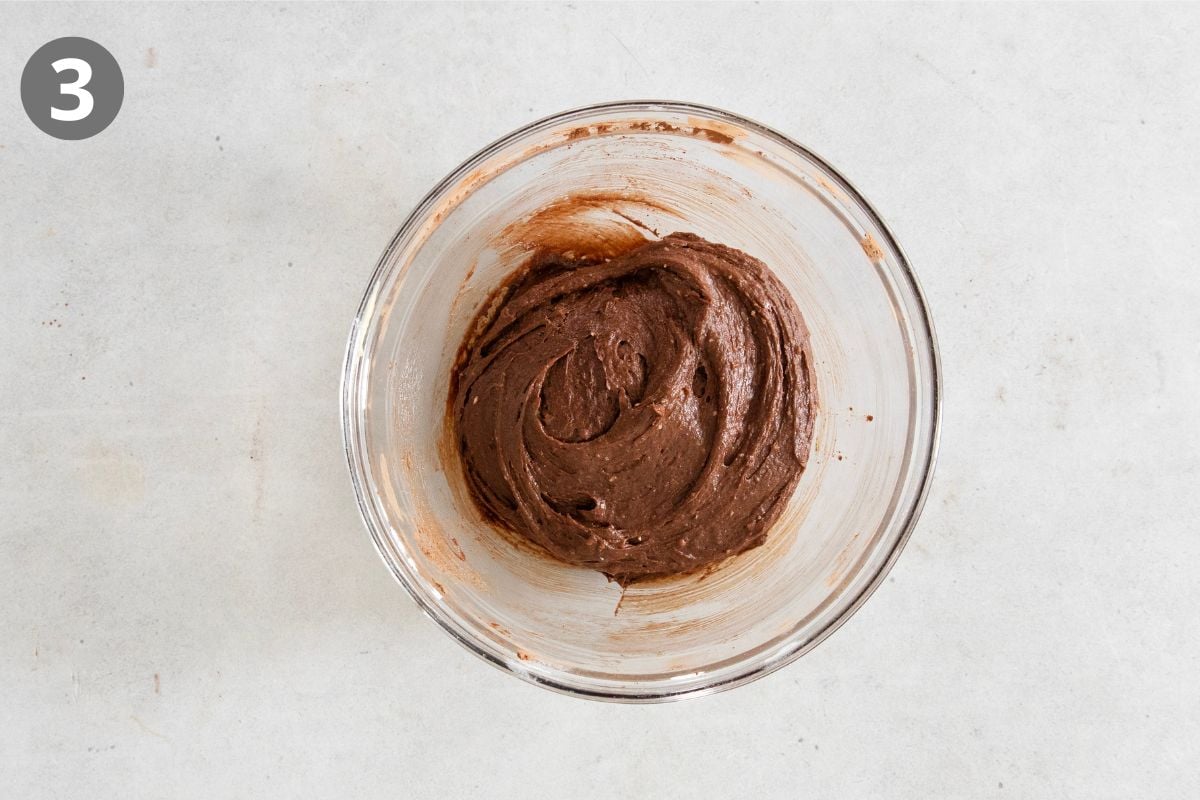
Make the Chocolate Batter: When adding the cocoa powder to half of the batter, mix just until combined. Overmixing can make the chocolate portion denser, and you want both layers to have the same soft, tender texture.
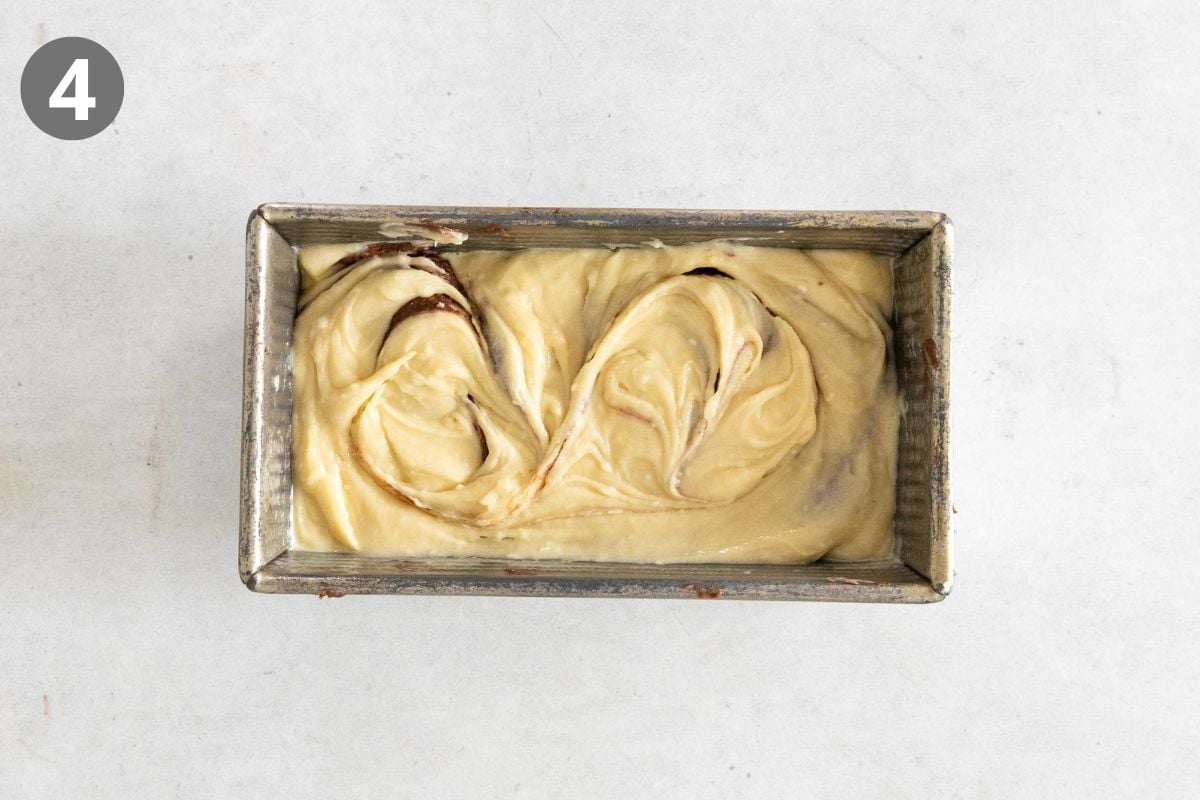
Swirl the Two Batters: For the prettiest swirl, I like to alternate layers of vanilla and chocolate batter in the pan, then use a knife to make a few big swirls. Don’t overdo it—too much swirling will blend the batters together and muddy the pattern.
Bake: Don’t be fooled if the loaf looks done a little early. After reducing the oven temperature to 325°F, I tested the loaf at 35 minutes and it still needed more time in the center. In my tests, it was perfectly baked at the 40-minute mark.
What Does This Gluten-Free Marble Loaf Taste Like?
This marble loaf has the best of both worlds: a warm vanilla cake flavor paired with a rich chocolate swirl. The vanilla portion is buttery and sweet, while the cocoa powder adds a deeper chocolate flavor that makes each bite taste like a classic marble cake.
How Do I Get Clean Slices Of Marble Cake?
For the cleanest slices, let the loaf cool completely before cutting. Use a sharp knife and wipe it clean between slices if needed.
Can I Add Frosting Or A Glaze To This Marble Loaf?
Yes! I love this marble loaf on its own, but you can also add a simple vanilla glaze, chocolate drizzle, or a dusting of powdered sugar for a more dessert-like finish.
Make-Ahead/Storage/Freezing Instructions
To Make-Ahead: I love making this gluten-free marble loaf a day ahead! Once completely cooled, wrap tightly and store at room temperature.
To Store: Store the cooled cake tightly wrapped or in an airtight container at room temperature to keep it soft and moist. This cake is best enjoyed within 2–3 days of baking. I love it with my morning latte, but it’s also wonderful served for dessert with whipped cream and fresh strawberries.
To Freeze: This loaf cake freezes well! I recommend wrapping it tightly with plastic wrap, then adding a layer of foil to prevent freezer burn. Freeze for up to 3 months. Thaw the cake at room temperature for 2-4 hours, then unwrap it and serve.
More Gluten-Free Loaf Recipes
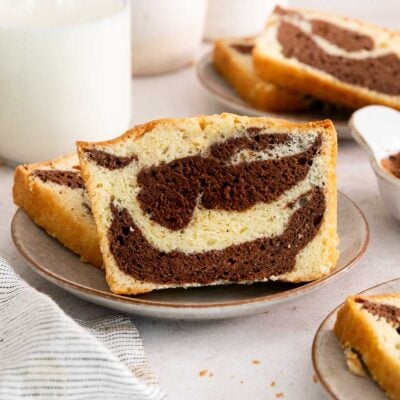
Gluten-Free Marble Loaf Cake
Video
Ingredients
Dry Ingredients
- 1⅓ cups (200g) gluten-free measure-for-measure flour
- 1 teaspoon baking powder
- ½ teaspoon kosher salt
Other
- 1¼ cups (250g) granulated sugar
- 2 teaspoons vanilla extract
- 4 large eggs
- 4 ounces (113g) cream cheese, at room temperature
- ½ cup (113g) butter, melted
- ¼ cup (20g) cocoa powder
Instructions
- Preheat the oven to 350°F. Spray an 8×4-inch loaf pan with cooking spray and lightly coat the pan with gluten-free flour. Tap out any excess flour.
- In a medium bowl, whisk together the gluten-free flour, baking powder and salt.
- Add the sugar, vanilla, eggs and cream cheese to the bowl of a stand or hand mixer. Mix on medium speed for 1-2 minutes until well-combined. Scrape down the bottom and sides of the bowl and mix for another minute.
- With the mixer running on low, slowly pour in the melted butter. Continue to mix on low and add the dry ingredients, a little at a time, until fully incorporated. Scrape down the bottom and sides of the bowl and mix again until the batter is completely smooth.
- In a small bowl, pour half of the batter and whisk in the cocoa powder until completely smooth.
- Add ½ cup of the vanilla batter into the pan, then spread into a thin layer. Add ½ cup of the chocolate batter on top, then spread into a thin layer. Continue to alternate between the vanilla and chocolate batters. Use a knife to make a few large swirls.
- Bake for 15 minutes at 350°F, then reduce the oven temperature to 325°F and continue baking for 35-40 minutes. Bake until the cake is golden brown and a toothpick inserted into the center of the cake comes out clean.
- Remove from the oven and cool in the pan for 10 minutes. Remove the cake from the pan and transfer to a wire rack to cool completely.









Can sour cream be a substitute for cottage cheese?
Hi Delores! We haven’t tested sour cream or cottage cheese in place of the cream cheese for this recipe. The cream cheese contributes fat and structure to the cake so we would be hesitant to replace it with other options since moisture, consistency, and fat will differ. Thank you for your question!
Have you ever tried a dairy free cream cheese in your cakes? I have a dairy free grandchild and a Celiac grandchild- I would love to try your cakes but worry it won’t be the same with dairy free cream cheese.
Hi Deborah! Yes you can use DF cream cheese in this recipe. The results may vary slightly, but it’s still delicious. We hope you and your grandchildren love the cake!