

These gluten-free cinnamon rolls are big, fluffy, and SOFT! Plus thanks to a secret ingredient, they’re so easy to make!
I have been a gluten-free food blogger for over 10 years and never shared a gluten-free cinnamon roll recipe until now!
I tested and re-tested this recipe to get it just right. I am so proud of this recipe and I hope you love it too!

Are you ready for the BEST gluten free cinnamon rolls of your life?
I haven been eating gluten-free since 2012 and have tried dozens of gluten-free cinnamon rolls over the years. I’ve finally perfected my recipe and I’m so excited to share it!
This gluten-free dough is made with King Arthur gluten-free bread flour, which makes all the difference in creating a soft texture and lightly chewy dough.
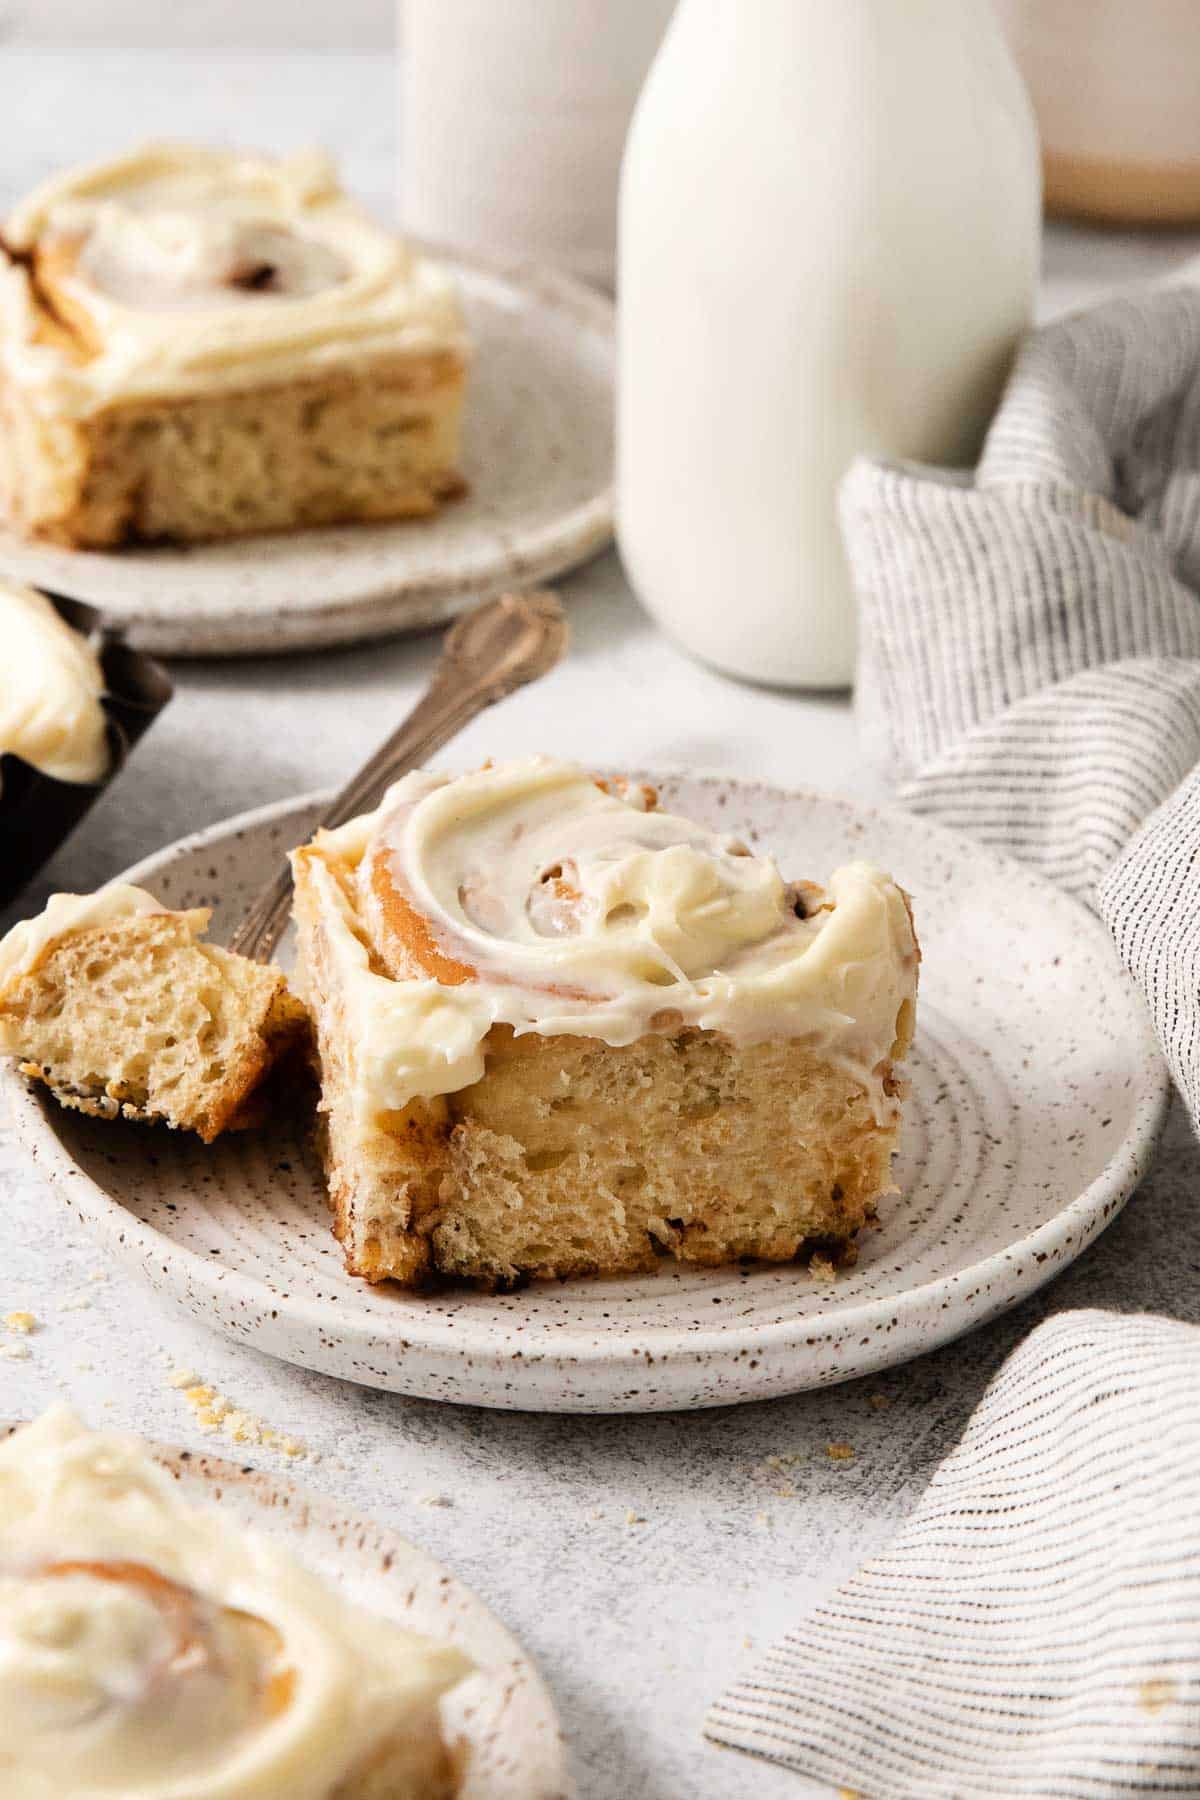
Trust me when I say these cinnamon rolls are JUST as incredible as regular cinnamon rolls. They’re big. They’re fluffy. They’re soft and never dry! They really are the real deal.
Why You’ll Love This Recipe
- A tested & perfected recipe! I tested and re-tested this recipe to get these cinnamon rolls just right
- Big, fluffy, and SOFT
- Make-Ahead option – can be made the day before and baked in the morning
- Easy to make with gluten-free bread flour
Ingredients You’ll Need
For the Cinnamon Rolls

- Gluten-free bread flour: THIS IS THE SECRET INGREDIENT! I’ve been loving using this gluten-free bread flour, which contains wheat starch that is completely gluten-free. It’s easy to shape and yields a similar texture to traditional bread. It’s great for sweet breads, rolls, and any other gluten-free bread dough! I also use this flour in these gluten-free crescent rolls.
- Water and milk: I prefer whole milk for these cinnamon rolls. It gives the dough a richer flavor!
- Sugar: You need white granulated sugar in the dough, both for flavor and to feed the yeast.
- Baking powder: Any baking powder will work for this recipe! It’s an important ingredient that helps create a light, fluffy gluten-free cinnamon rolls dough.
- Instant yeast: Instant yeast can be added right into the dry ingredients. It doesn’t need to be mixed with warm water to create a yeast mixture. Be sure to get this type rather than active dry yeast!
- Eggs: Eggs create a rich, soft dough. For best results with these gluten-free cinnamon rolls, use large, room temperature eggs.
- Butter: Like the eggs, the butter creates a rich and flavorful dough. I recommend using salted butter for this recipe. It provides the best depth of flavor!
- Salt: I like to use fine sea salt for this gluten-free cinnamon rolls recipe!
- For the filling: I love a classic, easy filling with brown sugar, cinnamon and butter!
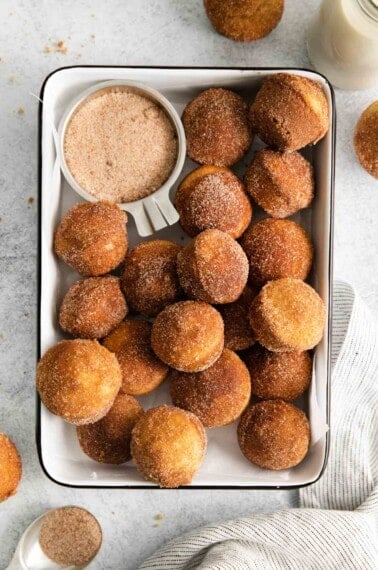
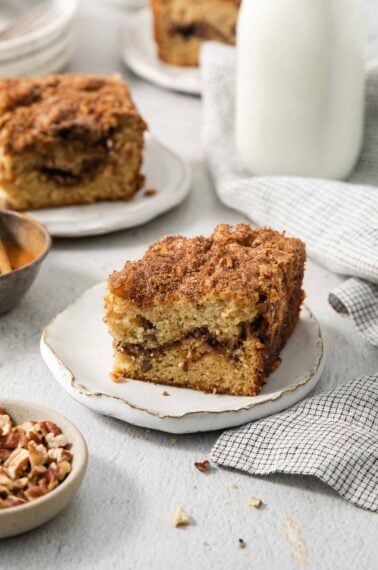
For more gluten-free special breakfast recipes, try this gluten-free coffee cake, gluten-free blueberry muffins, gluten-free scones and gluten-free baked donuts.
Dairy-Free?
These cinnamon rolls can easily be made dairy-free. You can use dairy-free milk in place of the milk. I like using Elmhurst Unsweetened Cashew milk in place of whole milk. It has a similar fat content to whole milk, and doesn’t have any added gums or stabilizers that could interfere with the rise/crumb of the rolls. I also use vegan butter in place of the butter.
How to Make Gluten-Free Cinnamon Rolls
Make the Dough
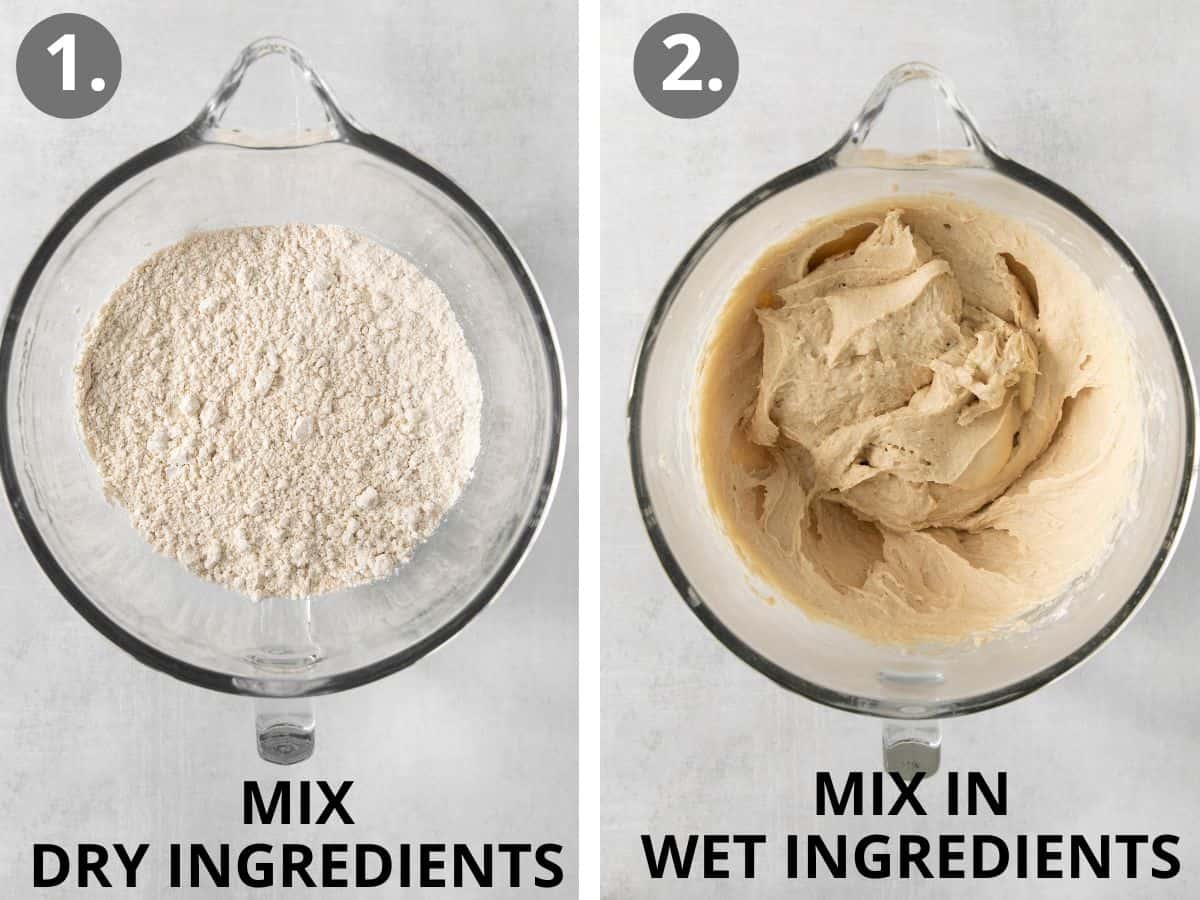
- In the bowl of a stand mixer fitted with the paddle attachment, add the gluten-free flour, granulated sugar, instant yeast, salt, and baking powder. Mix to evenly combine.
- With the mixer running on low, slowly add the water, milk, eggs and melted butter. Turn it up to medium speed and mix for 3 minutes until very smooth. The dough will resemble thick cookie dough. This is normal!
- Use an oiled spatula to scrape down the bottom and sides of the bowl.
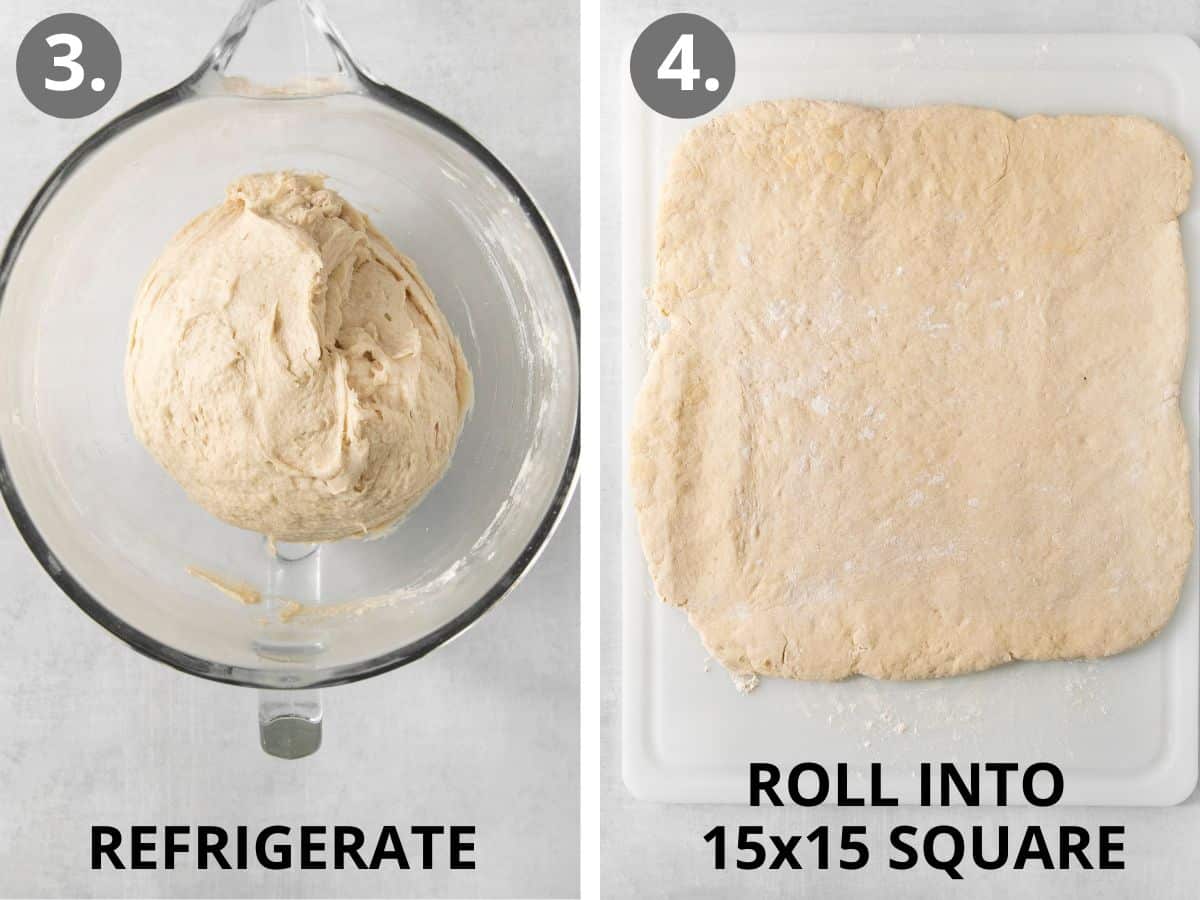
- Cover the bowl tightly with plastic wrap and refrigerate for 20 minutes. (Refrigerating the dough makes it easier to roll out.)
- Turn out the gluten free cinnamon buns dough onto a lightly floured surface and shape it into a ball.
- Sprinkle with a little flour, then roll the dough out into a 15×15-inch square.
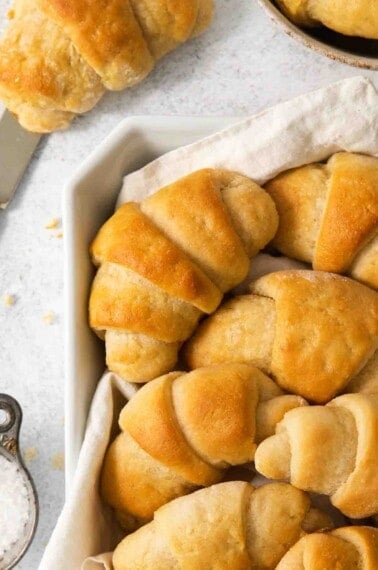
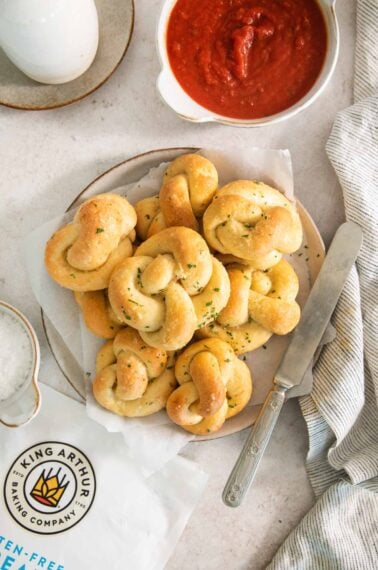
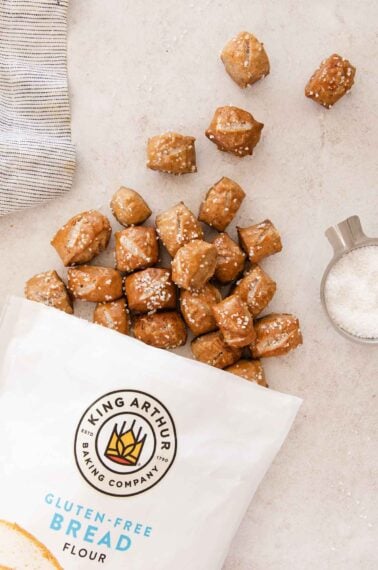
You also might like this gluten-free pizza crust, gluten-free cinnamon sticks or gluten-free breadsticks.
Make the Filling/Shape the Rolls
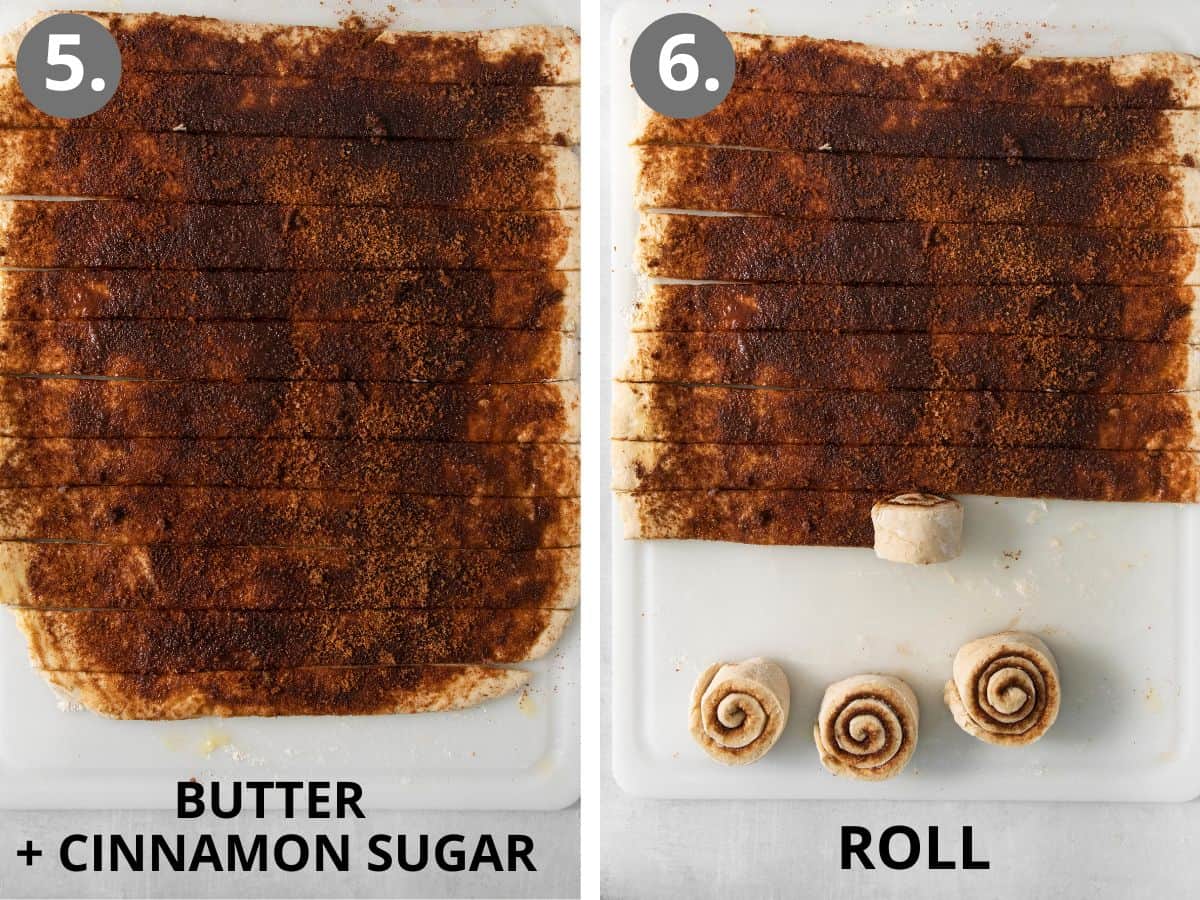
- In a small bowl, mix together the brown sugar and cinnamon.
- Lightly grease a 9×13 baking dish with butter or cooking spray.
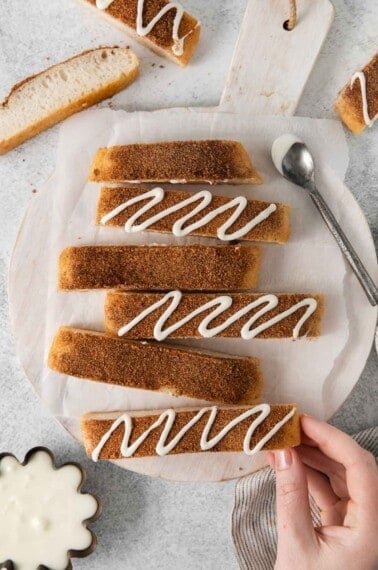
- Spread the melted butter for the filing over the dough. Sprinkle the cinnamon-sugar all over the dough. Using a pizza cutter, cut the square into twelve 1.25-inch wide strips of gluten-free cinnamon roll dough. Roll each dough strip up into a cinnamon roll.
- Place in the prepared baking dish.
Rise/Bake the Rolls
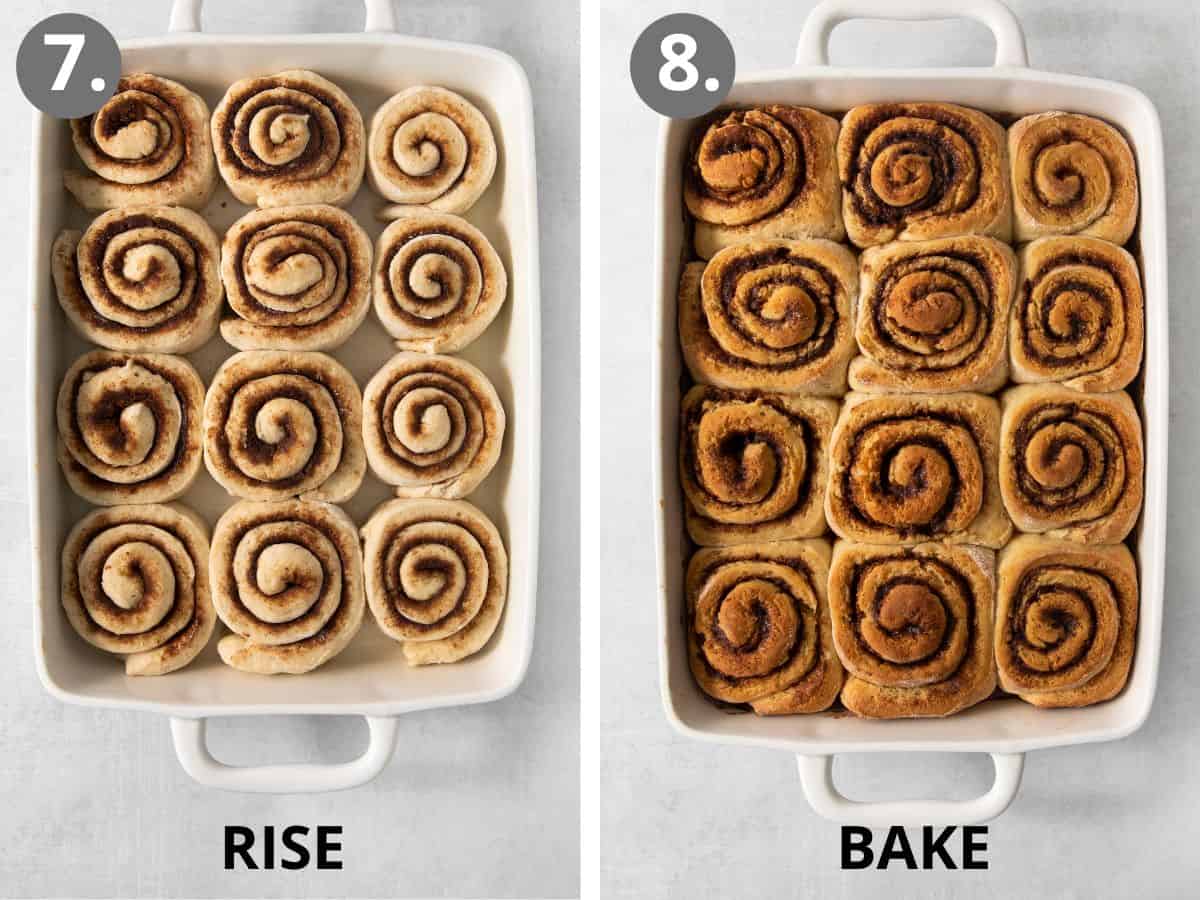
- Cover the pan with plastic wrap or a clean kitchen towel. Place in a relatively warm place and allow the rolls to rise for 45-60 minutes or until doubled in size.
- Preheat the oven to 350F. Bake for 30-35 minutes, or until the rolls are slightly golden brown.
- Set the rolls aside to cool for 15 minutes or until just slightly warm to the touch.
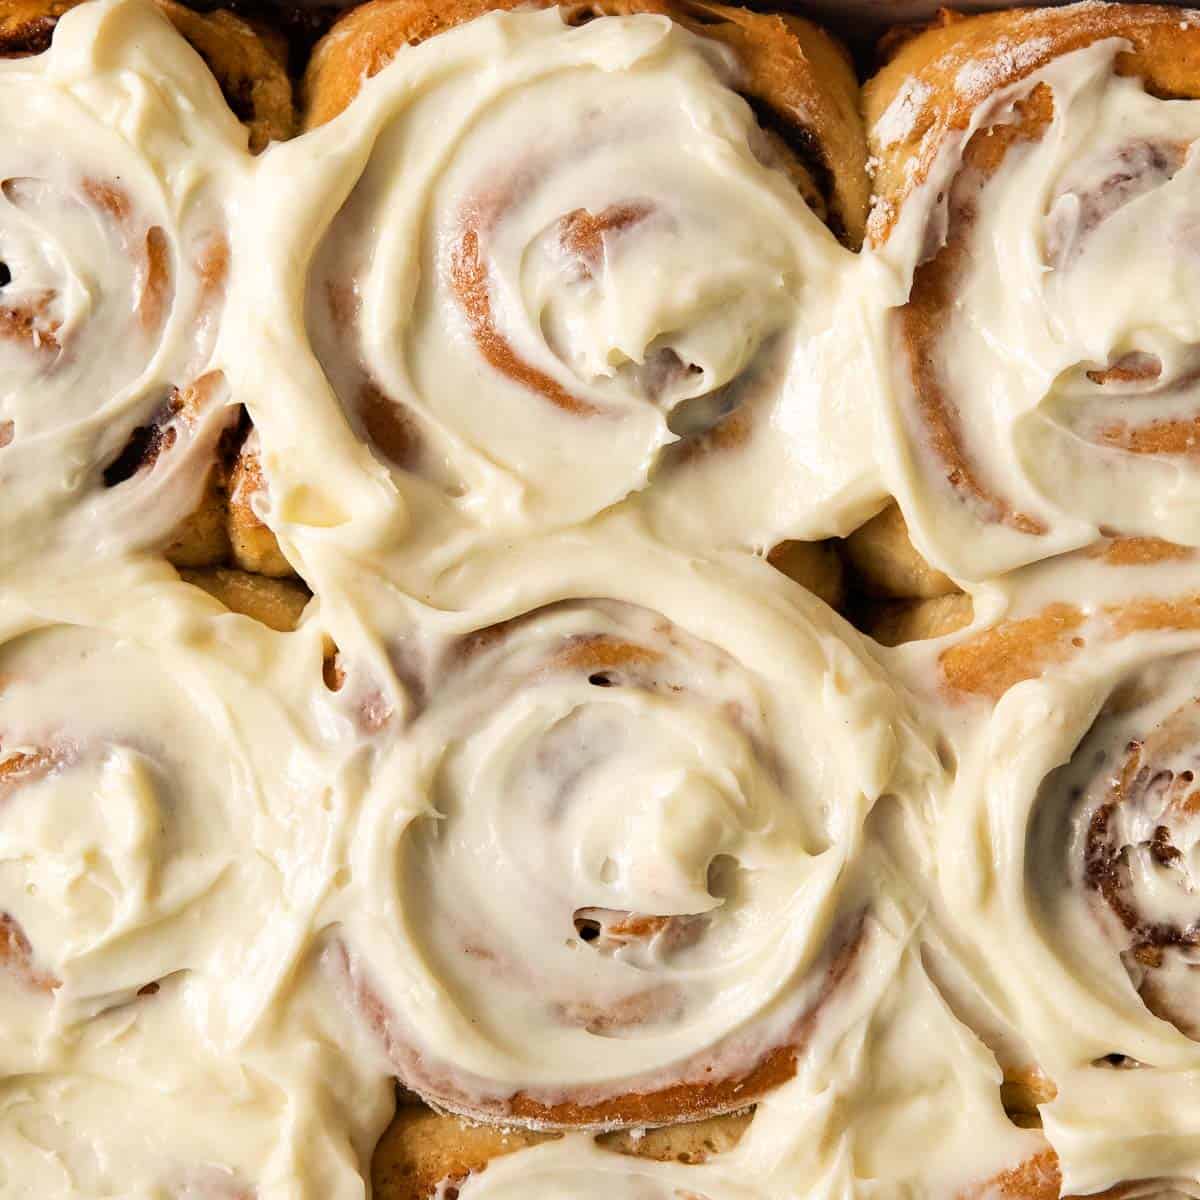
Cream Cheese Frosting
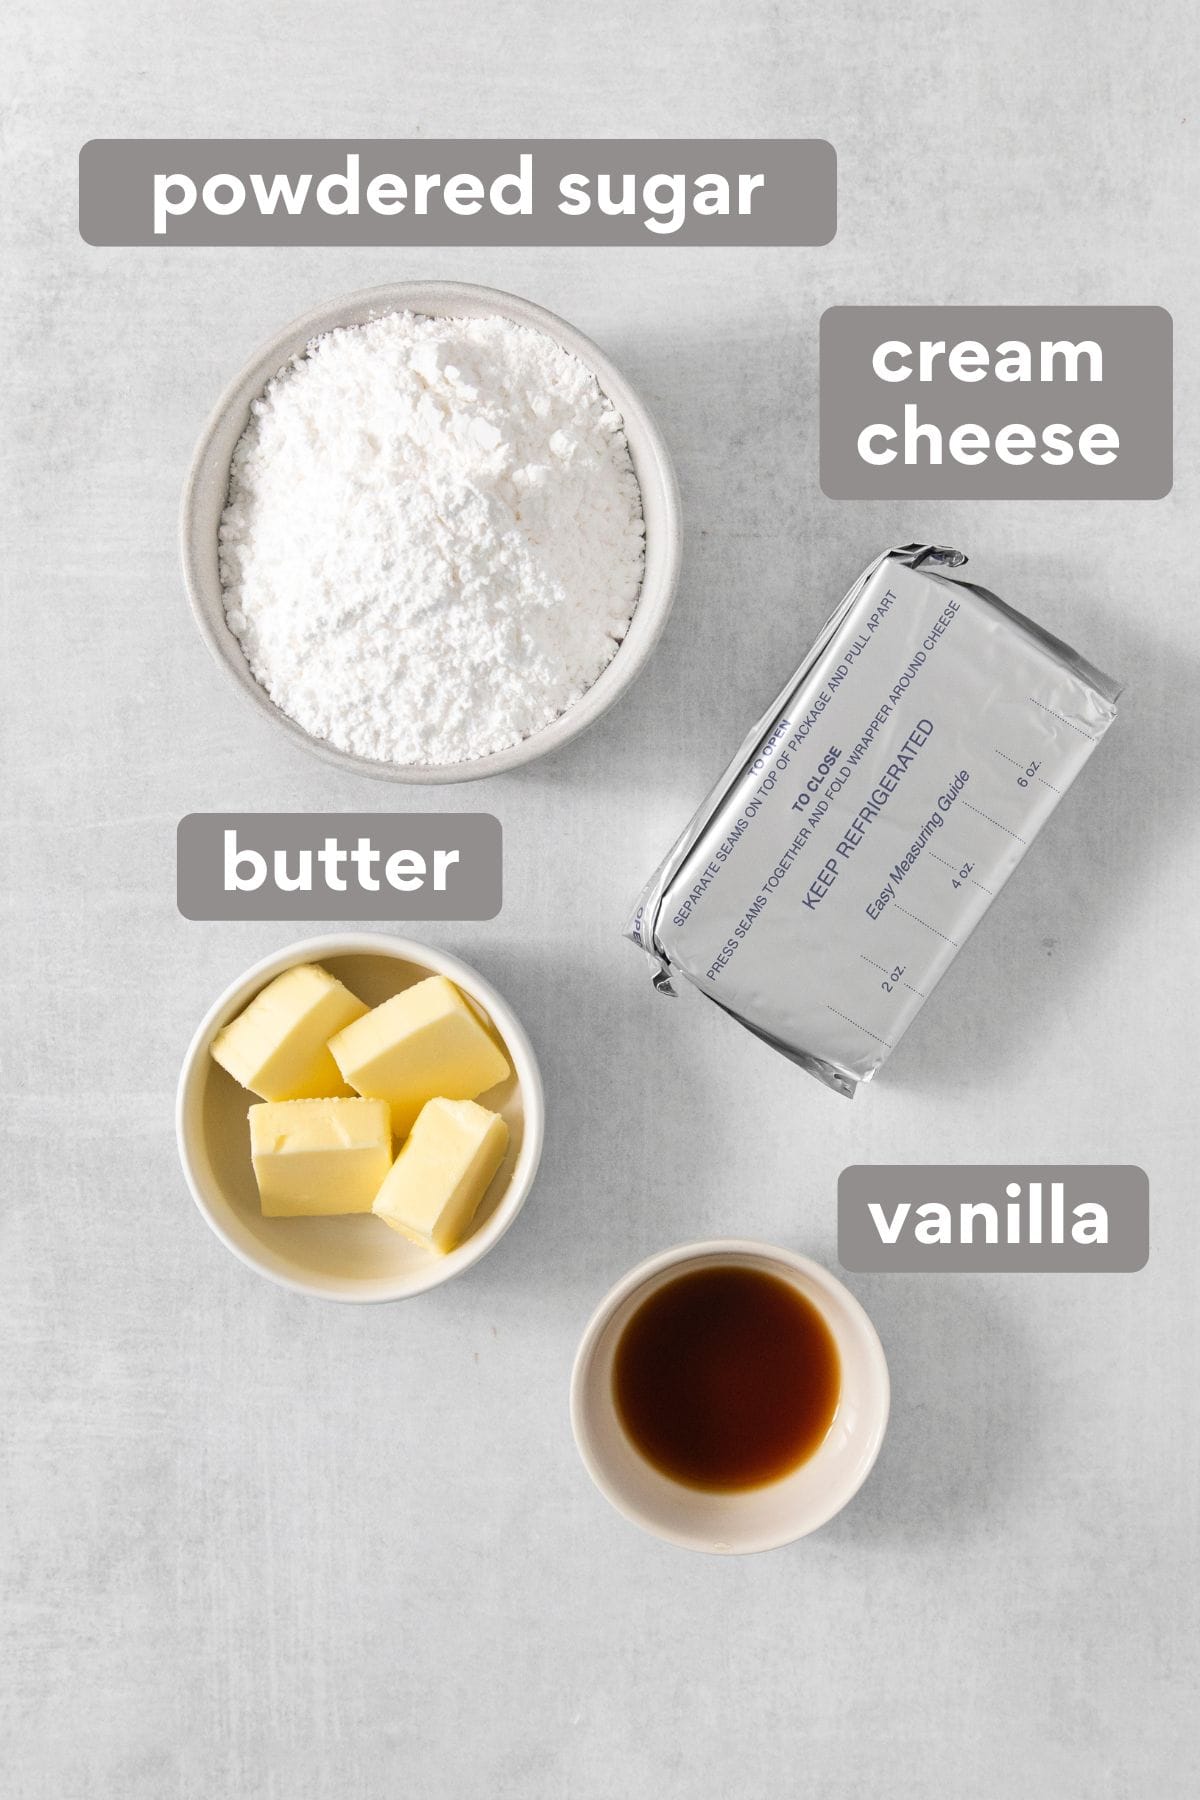
- Powdered sugar: Any powdered sugar will work for these gluten-free cinnamon rolls!
- Cream cheese: Be sure to set your cream cheese out and allow it to soften to room temperature before making the frosting. This will ensure the frosting is smooth and clump-free.
- Butter: I recommend using salted butter for this recipe. It provides the best depth of flavor!
- Vanilla: I prefer using real vanilla extract for this cinnamon roll frosting.
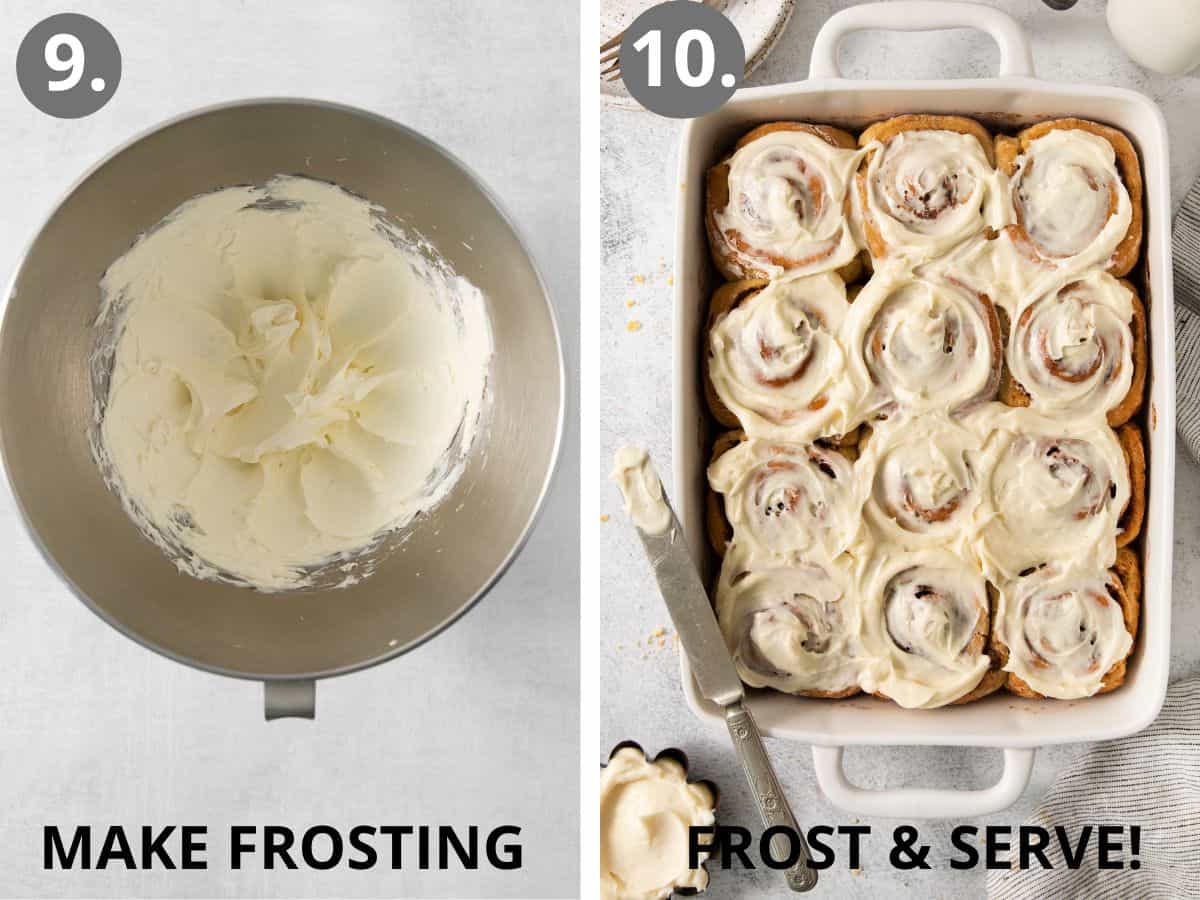
- In a large bowl using a handheld or stand mixer fitted with a paddle or whisk attachment, beat the cream cheese on high speed until smooth and creamy.
- Add the butter and beat until smooth and combined, then beat in the powdered sugar and vanilla until combined.
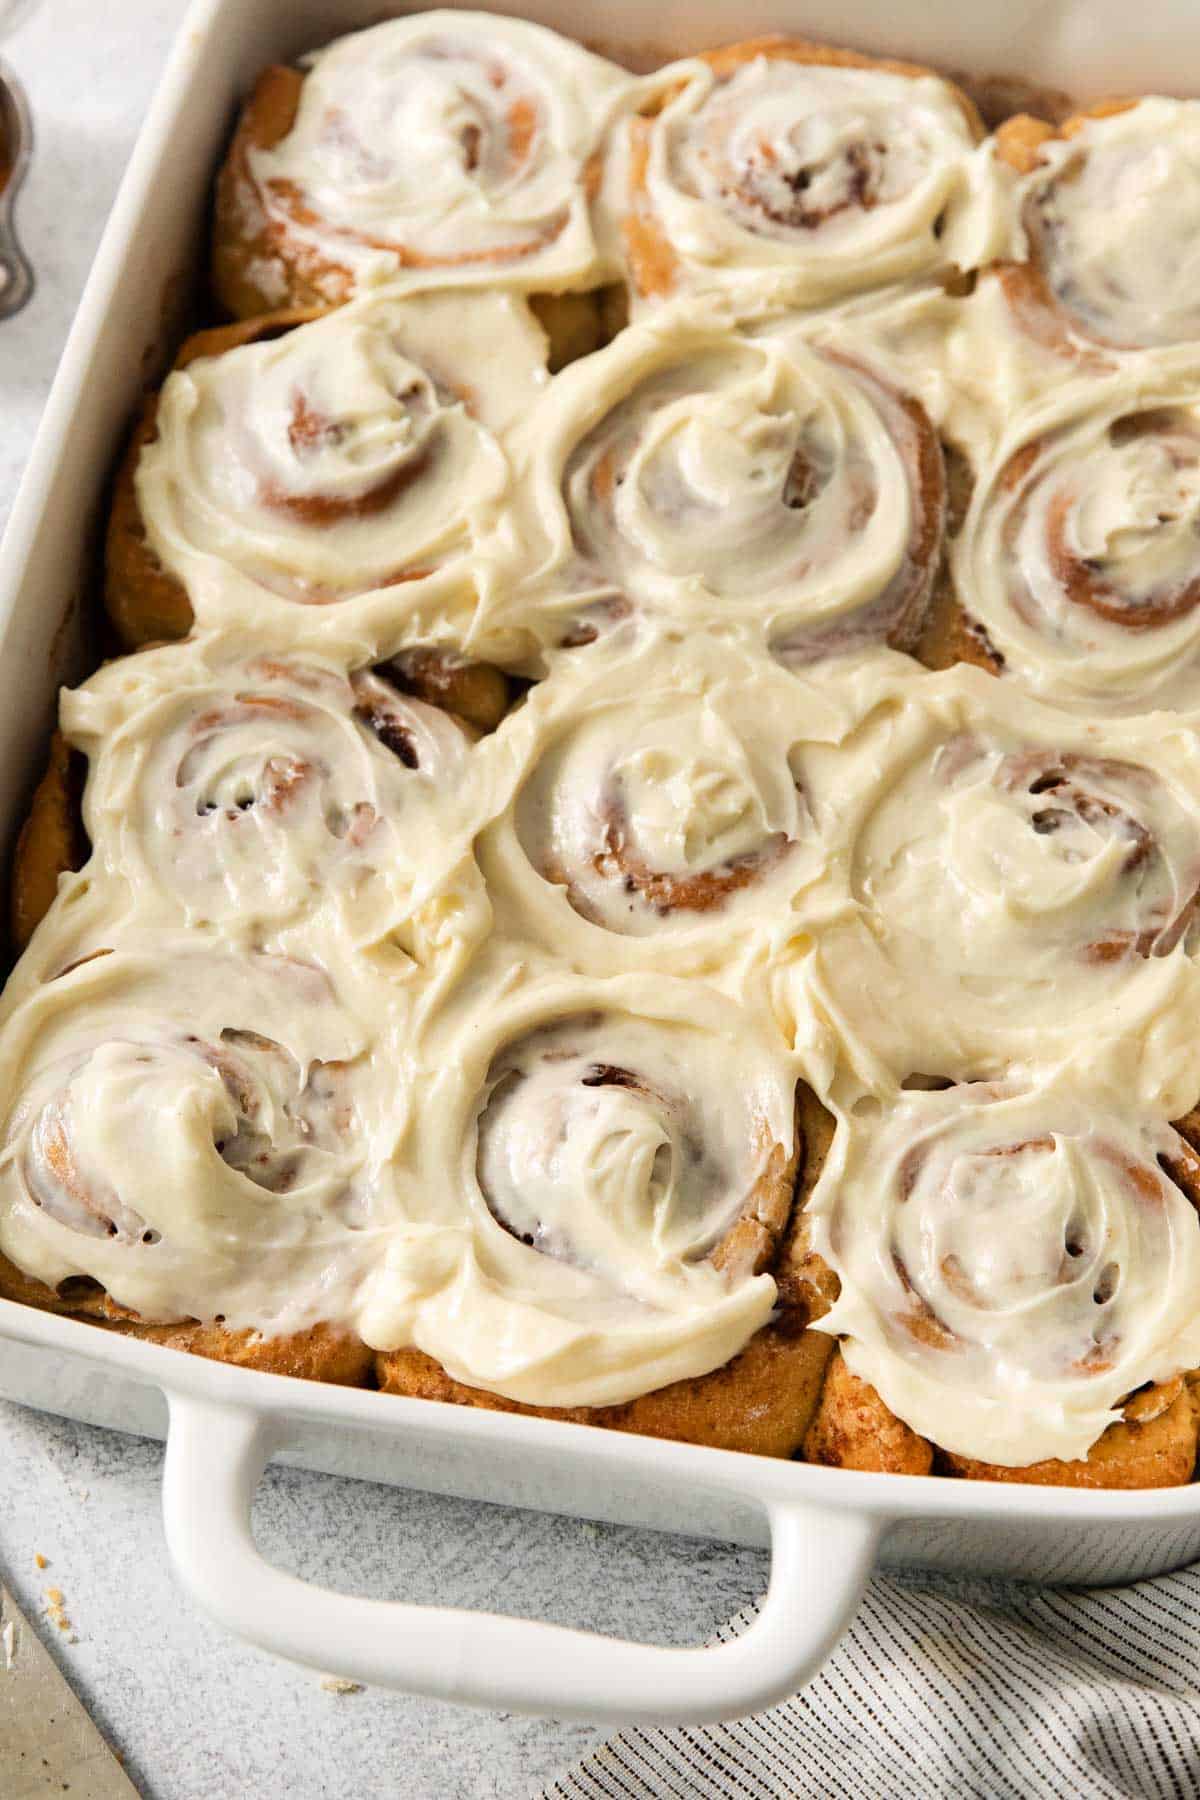
- Using a knife or icing spatula, spread the icing over the warm rolls. Serve immediately and enjoy your fluffy cinnamon roll!
Maple Glaze Option
These cinnamon rolls are also delicious with a maple glaze instead of cream cheese frosting! For the glaze mix together 2 cups powdered sugar, ½ teaspoon maple flavoring, 4-6 tablespoons milk, 2 tablespoons melted butter and a pinch of salt until smooth.
Make-Ahead/Storage Instructions
MAKE-AHEAD/OVERNIGHT RISE: These cinnamon rolls can be assembled the day before and baked the following morning. Make the gluten-free cinnamon rolls as you normally would, following the steps through the “Make the Filling/Shape the Rolls” section. Cover the rolls tightly and refrigerate for 8–12 hours. (16 hours max. 8–12 hours is best, but 16 hours is okay if absolutely needed. Do not exceed 16 hours.) The next morning, remove from the refrigerator and allow to rise on the counter for 30-45 minutes before baking. Bake at 350F for 30-35 minutes.
STORAGE: Store these homemade gluten free cinnamon rolls in an airtight container or covered in plastic wrap for up to three days. If the cinnamon rolls have cream cheese frosting, I store them in the refrigerator.
Expert Tips & Tricks
- GLUTEN-FREE BREAD FLOUR: This gluten-free bread flour is key for these gluten-free cinnamon rolls to turn out correctly. Other gluten-free flour blends will not work in it’s place.
- DAIRY-FREE: For dairy-free, gluten-free cinnamon rolls, I like to use Elmhurst Unsweetened Cashew milk. It has a similar fat content to whole milk and doesn’t have any added gums or stabilizers that might interfere with the rise/crumb of the rolls. You can also use vegan butter in place of the butter, and make the frosting with dairy-free cream cheese. My favorite brand is Kite Hill.
- I prefer the paddle attachment instead of the dough hook attachment for gluten-free bread. It tends to knead gluten-free dough more evenly!
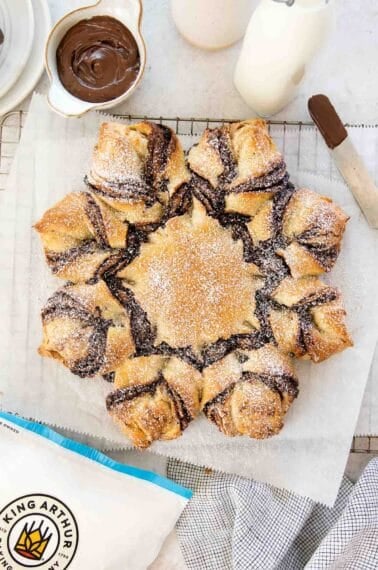
I also use this same flour/dough recipe in this amazing, gluten-free monkey bread!

Easy, Gluten-Free Cinnamon Rolls
Video
Ingredients
For the Dough:
- 4 ½ cups (680g) King Arthur Gluten-Free Bread Flour
- ⅓ cup (65g) granulated sugar
- 2 ¼ teaspoons instant yeast (1 packet)
- 2 teaspoons salt
- 1 teaspoon baking powder
- 1 ¼ cup (295ml) water warm
- 1 cup (236ml) whole milk warm
- 2 large eggs
- 6 tablespoons (85g) butter melted
For the Filling:
- 1 cup (200g) brown sugar
- 2 tablespoons cinnamon
- 8 tablespoons (113g) butter melted
Cream Cheese Frosting:
- 8 ounces (226g) cream cheese softened
- 4 Tablespoons (56g) butter softened
- 1 ⅓ cup (160g) powdered sugar
- 2 teaspoons vanilla extract
Or Simple Glaze:
- 3 cups (340g) powdered sugar
- 1/3 -1/2 cup milk
- 2 teaspoons vanilla extract
- pinch of salt
Instructions
Make the Dough:
- In the bowl of a stand mixer fitted with the paddle attachment, add the gluten-free flour, granulated sugar, instant yeast, salt and baking powder. Mix to evenly combine.
- With the mixer running on low, slowly add the water, milk, eggs and melted butter. Turn the speed up to medium and mix for 3 minutes until very smooth. The dough will resemble thick cookie dough. This is normal!
- Use an oiled spatula to scrape down the bottom and sides of the bowl.
- Cover the bowl tightly with plastic wrap and refrigerate for 20 minutes. (Refrigerating the dough makes it easier to roll out.)
Make the Filling/Shape the Rolls
- In a small bowl, mix together the brown sugar and cinnamon.
- Lightly grease a 9×13 baking dish with butter or cooking spray.
- Turn out the dough onto a lightly floured surface and shape it into a ball.
- Sprinkle with a little flour, then roll the dough out into a 15×15-inch square.
- Spread the melted butter for the filing over the dough. Sprinkle the cinnamon-sugar all over the dough.
- Using a pizza cutter, cut the square into twelve 1.25-inch wide strips.
- Roll each dough strip up into a cinnamon roll. Place in the prepared baking dish.
Rise/Bake the Rolls
- Cover the pan with plastic wrap or a clean kitchen towel. Place in a relatively warm place and allow the rolls to rise for 45-60 minutes or until doubled in size.
- Preheat the oven to 350F. Bake for 30-35 minutes, or until the rolls are slightly golden brown.
- Set the rolls aside to cool for 15 minutes or until just slightly warm to the touch.
For the Cream Cheese Frosting
- In a large bowl using a handheld or stand mixer fitted with a paddle or whisk attachment, beat the cream cheese on high speed until smooth and creamy.
- Add the butter and beat until smooth and combined, then beat in the powdered sugar and vanilla until combined.
- Using a knife or icing spatula, spread the icing over the warm rolls. Serve immediately and enjoy!
For the Simple Glaze
- In a medium bowl, whisk together all of the glaze ingredients until well combined.
- Spread over the slightly warm rolls. Serve immediately and enjoy!


I’ve made these the morning of and prepped the night before (10 hours before baking) and both produced incredible cinnamon rolls. Many said it was the best cinnamon roll they’ve had. Definitely a labor of love that you need 3ish hours for if doing in one sitting but the results are incredible.
Wow, what a compliment! Thank you for the kind feedback, Christina. We’re so glad everyone loved the recipe so much!
What did you do when you did the night before?
These were so good! Thank you for this – my daughter who is gluten free was so happy.
Yay! We’re so glad you and your daughter enjoyed the recipe! Thank you for sharing your feedback with us, Connie!
Just made these and they are delicious. Mine took a bit longer to proof up but otherwise followed the recipe exactly. Absolutely awesome!!!
We’re so glad you liked it! Thanks for sharing your positive experience with us. Happy baking!
I made these last night and baked them up this morning! The only things I changed is I added some heavy whipping cream over the rolls before baking. They were amazing! My husband loves cinnamon rolls and has wanted them but I’ve never been able to make good gluten free ones until now! These were delicious and I will definitely make them again and again!
Thank you for taking the time to share your positive experience with us, Chanelle! We’re so happy to hear you and your husband loved them!
Hi! I apparently couldn’t count today and made 8 instead of 12. For baking time, what would you recommend?
Hi Katie, it happens! They may need 5-10 minutes less in the oven so keep a close eye and watch for them to be lightly golden brown and set in the center. We hope you enjoy the cinnamon rolls!
Just made these for the first time. I had to kneed in more flour which is not uncommon when making rolls, but the step was not mentioned. There is no way I could have rolled out what came out of the fridge. Hoping they turn out, fingers crossed
Hi Jana, we hope they turned out great for you! Happy baking!
Could I put caramel in the bottom of the pan and then let the rolls raise?
Hi Joyce, yes that should work (and sounds delicious). If you decide to give it a try, we’d love to hear how it goes!
This is our favorite cinnamon roll recipe! They are so good you can’t tell they’re gluten free. I wonder if there’s a way to make them into pumpkin cinnamon rolls for a seasonal treat. Have you tried that yet?
Hi Sara, we’re so glad you love the cinnamon rolls! We haven’t tried to make them into a pumpkin version yet, but we will keep that idea in mind for future recipes. Happy baking!
Is there any way to make these wheat free? We have a wheat allergy in our family.
Hi Shelby, unfortunately these were designed with the King Arthur bread flour which contains gluten-free wheat starch. Other flour blends won’t really work the same. You can try using a gf 1:1 flour blend that doesn’t contain wheat starch, but it will most likely impact the texture/rise. Thank you for your question!
I cannot get King Arthur flour in Canada so can I use?Caputo Fioreglut flour with success??
Hi Jan, yes we’ve heard that some KAF is unavailable in Canada. We haven’t tested the Caputo Fioreglut flour with this recipe, but it would be a good one to try! We hope some of our Canadian readers might have some good suggestions to share here in the comments too since we are unfamiliar with Canadian options. If you decide to give the recipe a try, we’d love to hear how it goes!
Fellow Canadian here! I have ordered this flour from Iherb before. Not cheap, but available!
I actually used Caputo Fioreglut flour instead of KAF bread flour (could not find it near me) and the cinnamon rolls turned out great! I did a 1:1 sub and followed the rest of the recipe exactly as is. My only note is that my dough was quite sticky so I used plastic wrap sprayed with cooking spray to roll it out. I’d give it a try if you really can’t find the King Arthur flour!
That’s good to know, Vee! Thank you for sharing your experience with the Caputo Fioreglut flour!
Any chance these can be frozen at any stage?
Hi Ashley, we haven’t tried freezing the cinnamon rolls. Wrapped in plastic wrap and stored in an airtight container, the baked cinnamon rolls should be okay to freeze. We wouldn’t recommend freezing them before baking though. We hope you enjoy the recipe!
Made them and they were delicious!! Going to try making and feezing so I don’t have to travel with my mixer! Thanks for the quick response!!
We’re so glad you enjoyed them, Ashley! We’d love to hear how the freezing goes! Happy baking!
How did freezing them go? I’d like to try this too
I want to try making these so badly…miss a really good cinnamon roll! …but along with Celiacs, I have intolerance to cow dairy and chicken eggs. Can I replace with goat milk and butter (higher fat content), and duck eggs (typically equals 2 chicken eggs)?
Thank you!
Hi Tam, thank you for your question! We haven’t tried it with goat products or duck eggs to say for sure. If you decide to give it a try, we’d love to hear how it goes!
Can you make it completely vegan, am going to try but would like suggestions on alternative ingredients
Hi Glenda, while we have made these dairy-free, we haven’t tested them without eggs to make them vegan. We can’t say how greatly an egg replacer would impact the texture/structure. If you decide to try a vegan version, we’d love to hear how it goes!
Struggling to find the King Arthur GF blread flour. Is it the same as the 1 for 1? Does anyone have a picture of the label? I am in rural Canada so online/amazon is where I am looking.
Thanks!
Hi Lisa, thank you for your question! The bread flour and measure-for-measure flour are two different flour blends. We’ve heard from others that some King Arthur Flour products may not be available in all parts of Canada. We hope some of our Canadian readers might have some good suggestions to share here in the comments since we are unfamiliar with Canadian options. If you decide to give the recipe a try, we’d love to hear how it goes!
a couple questions Please….For the wet ingredients (milk, eggs, butter etc.) do you mix them all together in one bowl before adding it to the dry mixture or do you add them one at a time?
also for the dough it says whole Milk, warm are we heating it up a little bit to lukewarm before using it or just room temperature
Thanks
Hi Lynn, it’s best to add the wet ingredients one at a time as the stand mixer runs on low. For the milk, you’ll want to heat it up a little bit to be lukewarm. We hope this helps and you enjoy the cinnamon rolls!
These turned out AMAZING!!!!! I can’t believe how fluffy they are. Overall not hard to make just requires patience! I didn’t have any trouble with the dough rolling or texture. I used half as much sugar in my cream cheese frosting but that’s just my personal preference. 10/10 will be making these again and again.
Hi Emily, we’re so glad you enjoyed the recipe! Thank you for taking the time to share your experience with us. Happy baking!
Can I refrigerate dough overnight, 8-10hrs, and finish up in the morning?
Hi Pam, you can make the cinnamon rolls from start to the end of the “Make the Filling/Shape the Rolls” section, then cover them tightly and refrigerate for 8–12 hours. (16 hours max. 8–12 hours is best.) The next morning, remove from the refrigerator and allow to rise on the counter for 30-45 minutes before baking. Bake at 350°F for 30-35 minutes. We hope this helps!
I would love to try these but we can’t get that specific GF flour in Canada…not even from Amazon….grrrrrr.
Hi Sandra, we’re sorry that flour isn’t available in Canada. That’s such a bummer! If you decide to give a different flour blend a try, we’d love to hear how it goes! And perhaps another Canadian reader will suggest a flour that has worked for them!