

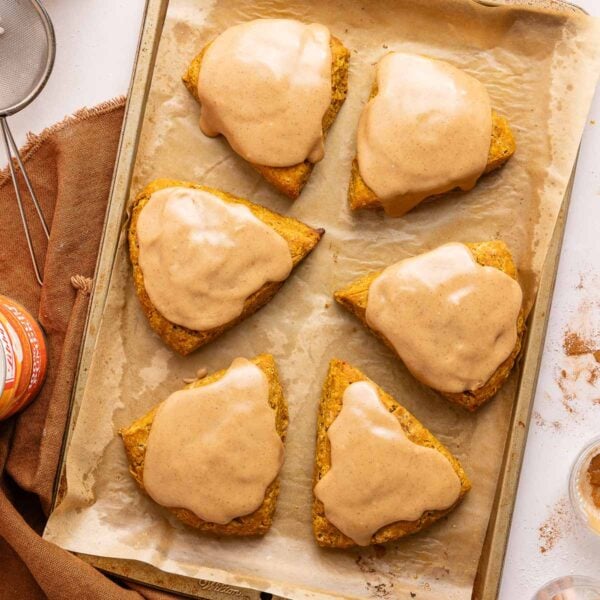
Recipe Overview
⏱️ Time to Taste: About 1 hour 20 minutes, including chilling time.
✨ Texture: Tender and flaky, with crisp edges and a soft center.
🎃 Flavor: Warmly spiced pumpkin with notes of cinnamon, nutmeg, ginger, and cloves, finished with a rich brown sugar glaze.
🍴 Equipment Needed: Box grater, baking sheet, and parchment paper or a silicone baking mat.
💡 Helpful Tip: Start with a very hot oven. I preheat the oven to 500°F, then immediately lower it to 425°F once the scones go in. That initial blast of heat helps the scones rise quickly and bake up beautifully.
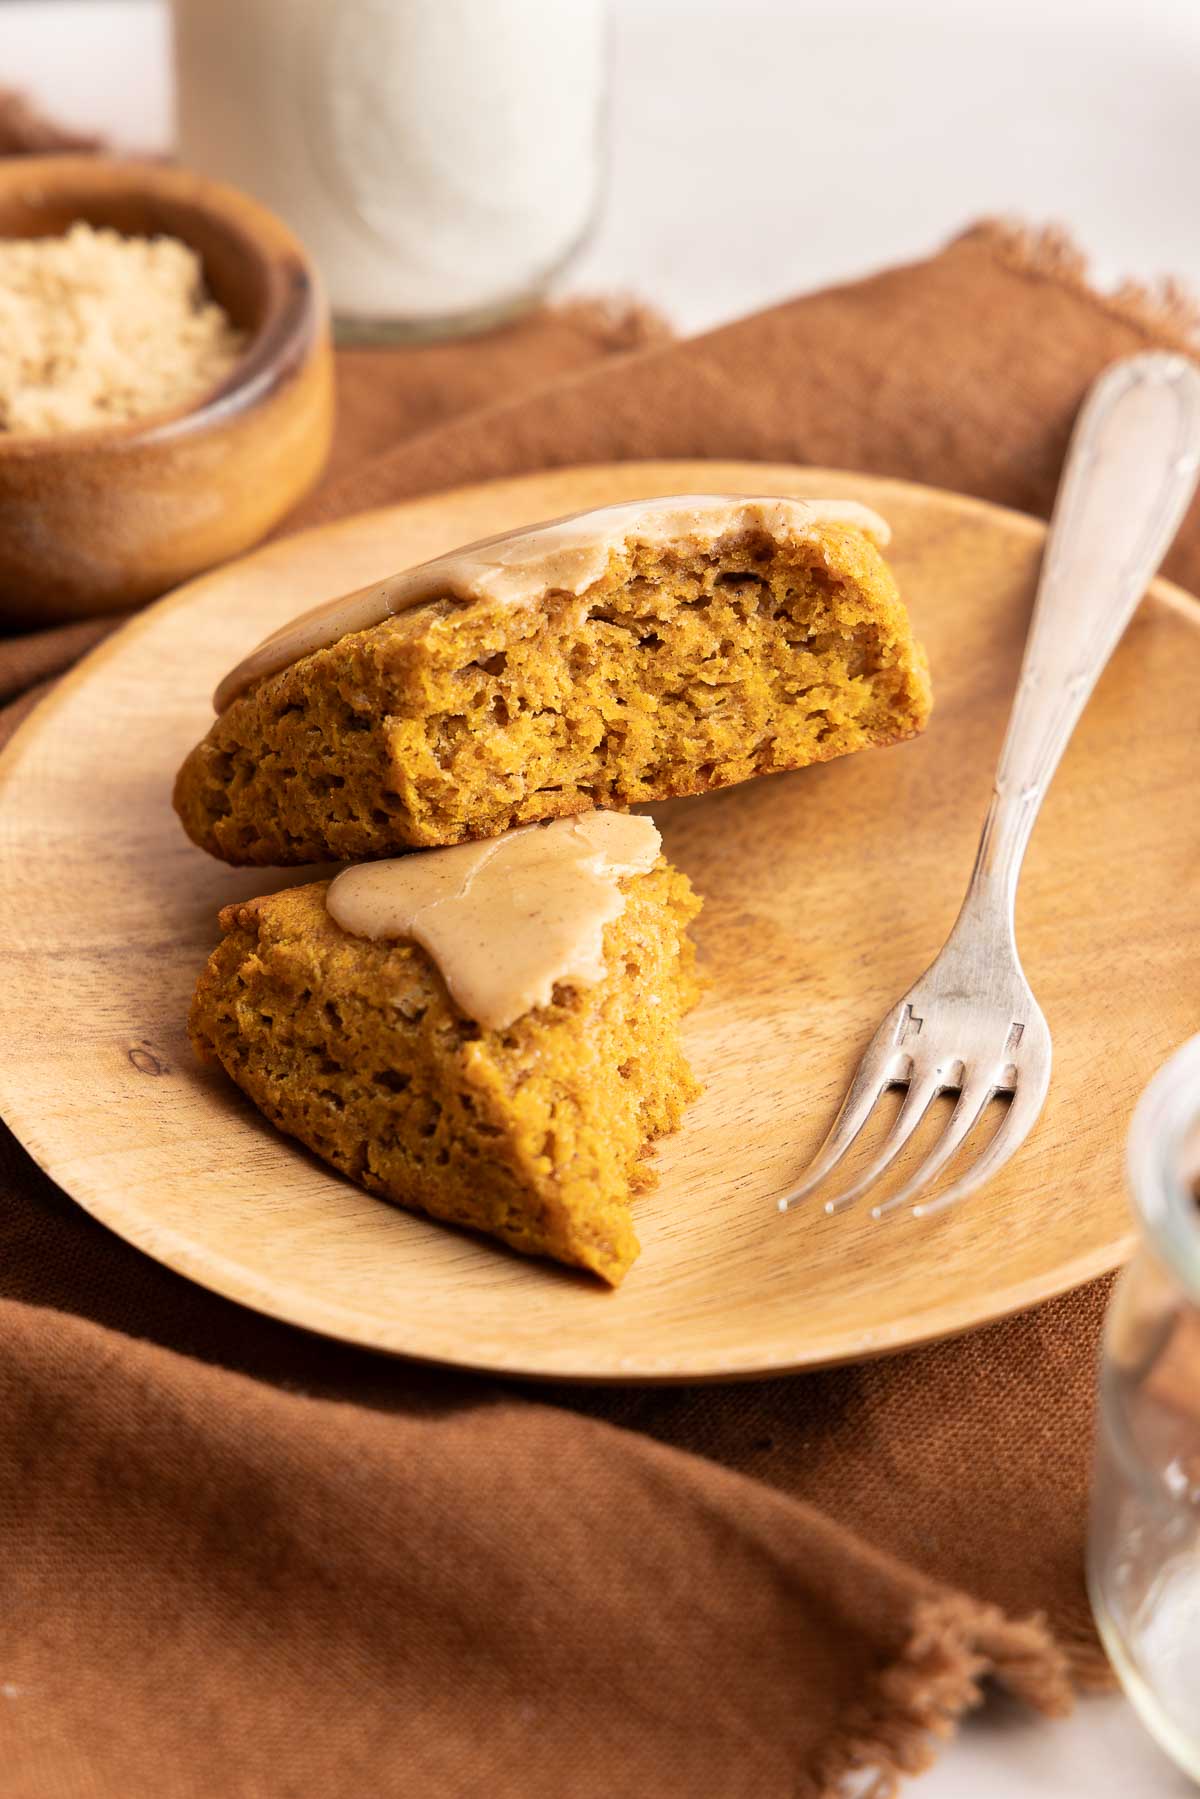
Is there anything better than a good gluten-free scone with a hot latte in the morning (or as an afternoon treat)? After making so many different flavored scones over the years, I knew I needed to make a pumpkin-flavored one for fall. It was overdue, really!
These gluten-free pumpkin scones have warm pumpkin spice flavor in every bite, plus a buttery brown sugar glaze that has just the right amount of sweetness. This one is going at the top of my favorite gluten-free pumpkin recipes!
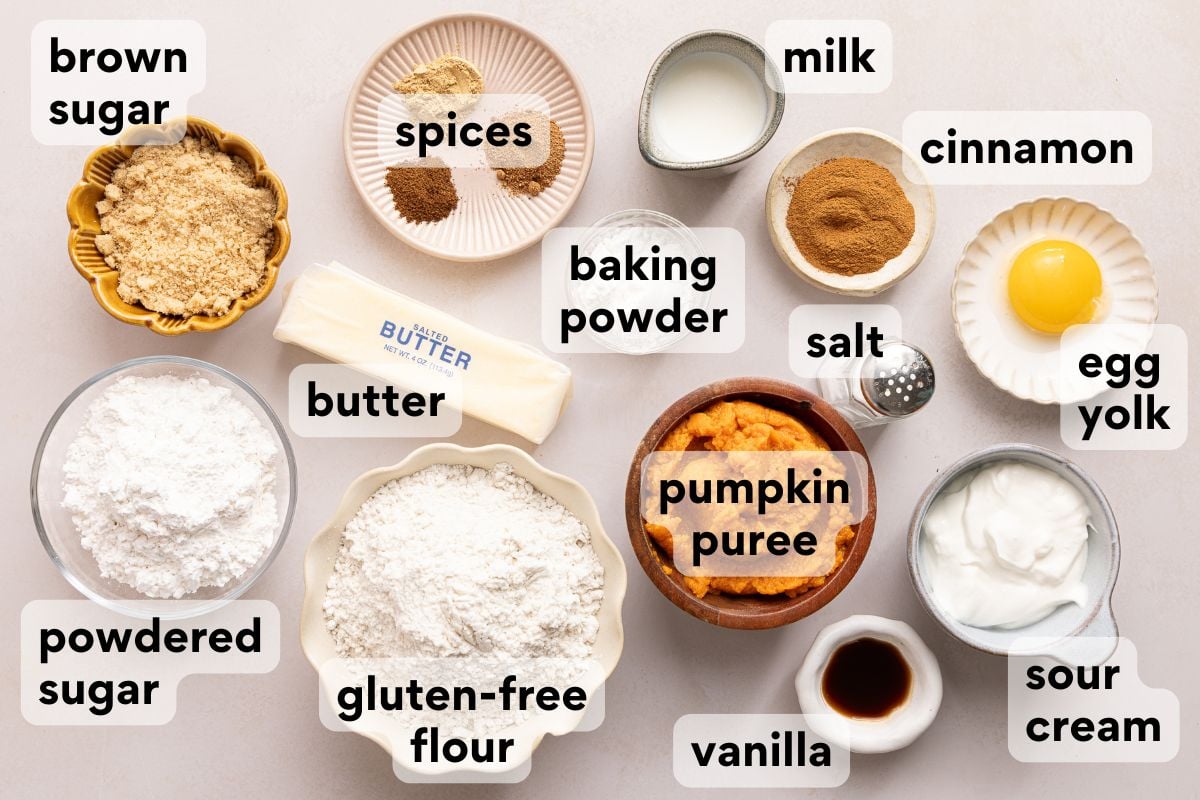
Ingredients You’ll Need
Here are a few notes on some of the key ingredients to make these gluten-free pumpkin scones. Jump to the recipe card below for the exact measurements.
- Pumpkin purée: Just like with my chewy gluten-free pumpkin snickerdoodles, I recommend patting the pumpkin dry to remove excess moisture and keep the scones from becoming cakey. Start with ½ cup (113g) pumpkin purée and spread it on a plate. I usually press a paper towel over the pumpkin, move it around with a spoon to expose more of the moist areas, then blot again with a fresh paper towel. You’ll go through quite a few paper towels! Keep going until the pumpkin is very thick and dry and weighs about 45–53g.
- Frozen butter: Keeping the butter very cold is key for scones. I freeze it and grate it with a box grater before working it into the flour mixture. Those little pieces of cold butter melt in the oven and help create a flaky texture.
- Egg yolk: During testing, we found that using just the egg yolk instead of a whole egg helped us get away from the cakey texture we were trying to avoid. It adds richness and helps bind the dough without introducing the extra moisture from the egg white.
- Powdered sugar: I don’t insist on sifting powdered sugar for every recipe, but it’s actually necessary for this glaze! Be sure to sift it before whisking it into the brown sugar mixture or you’ll end up with little lumps that are difficult to whisk out.
How to Make Gluten-Free Pumpkin Scones
Here’s an overview of how to make this recipe. You can jump to the recipe for the full instructions!
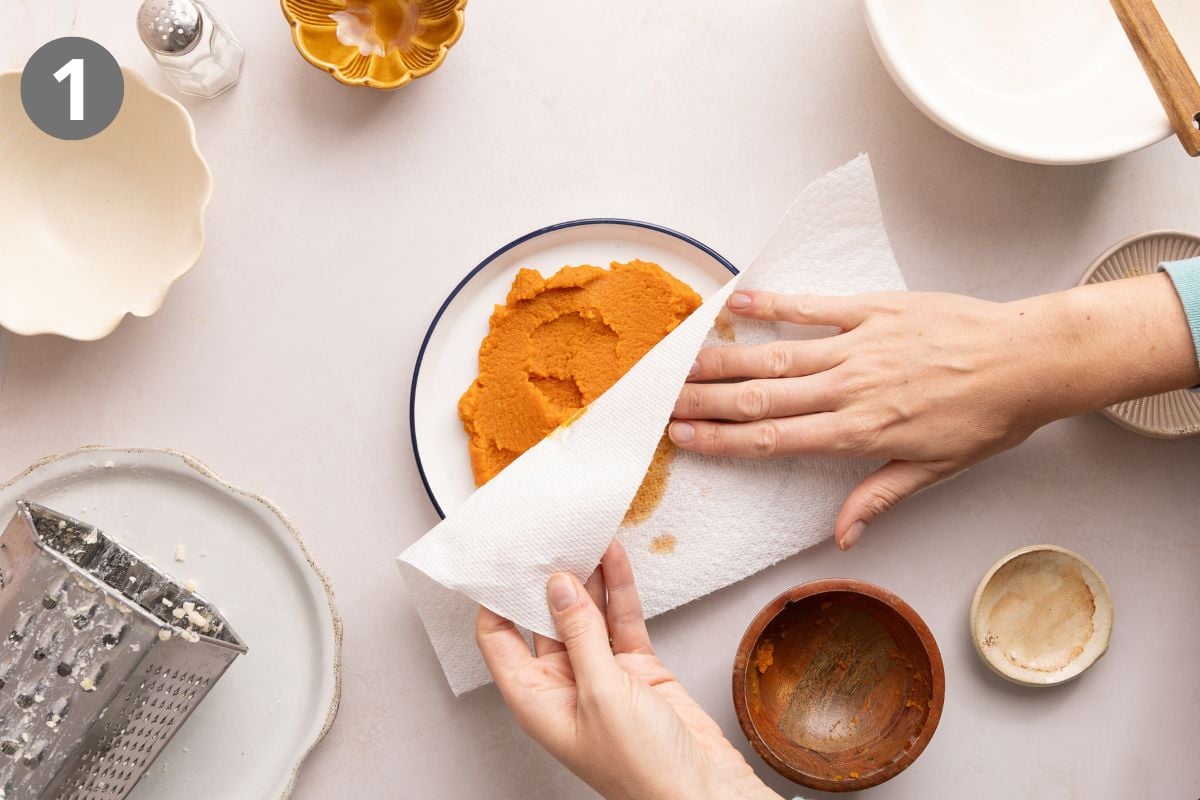
Really dry out the pumpkin. Don’t rush this step! Pumpkin contains a lot of moisture, and we found during testing that removing as much of it as possible was one of the keys to getting a true scone texture instead of a cakey one. The pumpkin should be thick and almost dough-like when you’re finished.
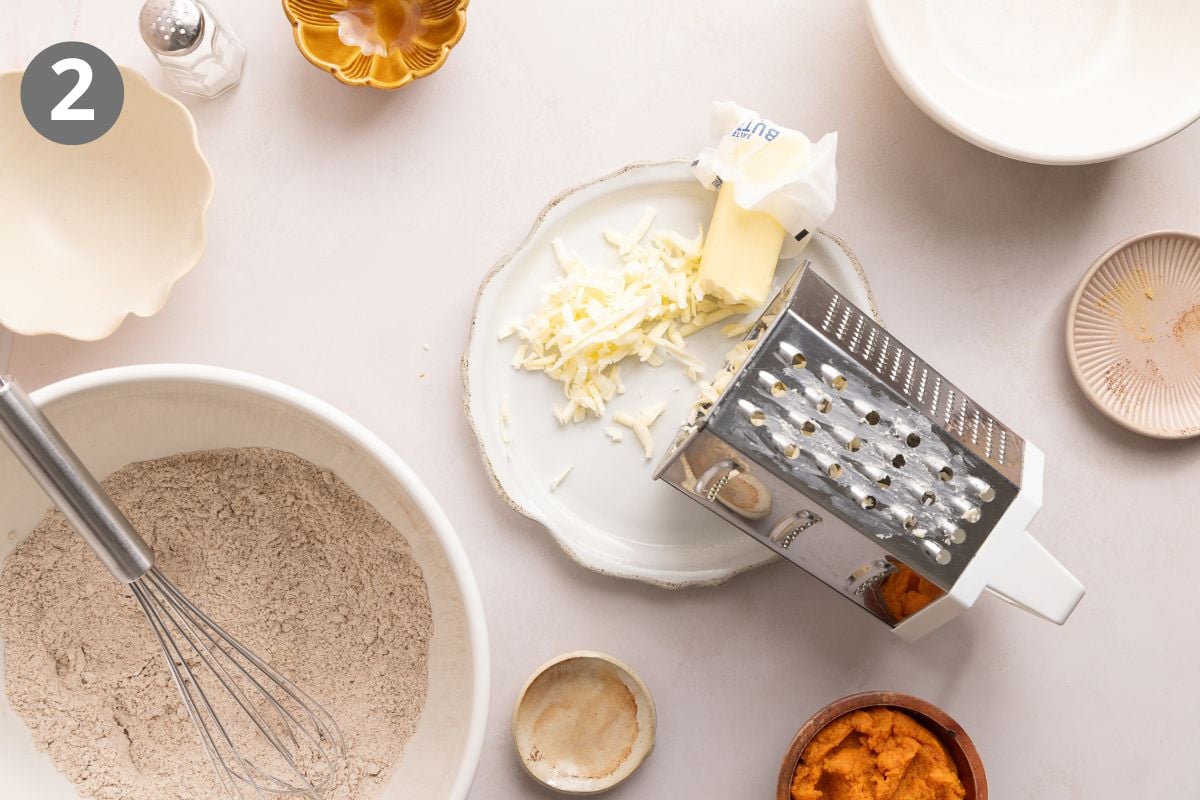
Grate the butter while it’s frozen. Don’t let the butter thaw before grating! I think a box grater is the easiest way to quickly break the frozen butter into small pieces. Then I use a pastry cutter or two forks to work the butter into the flour mixture. The key is to work it in until the crumbs are about pea-sized.
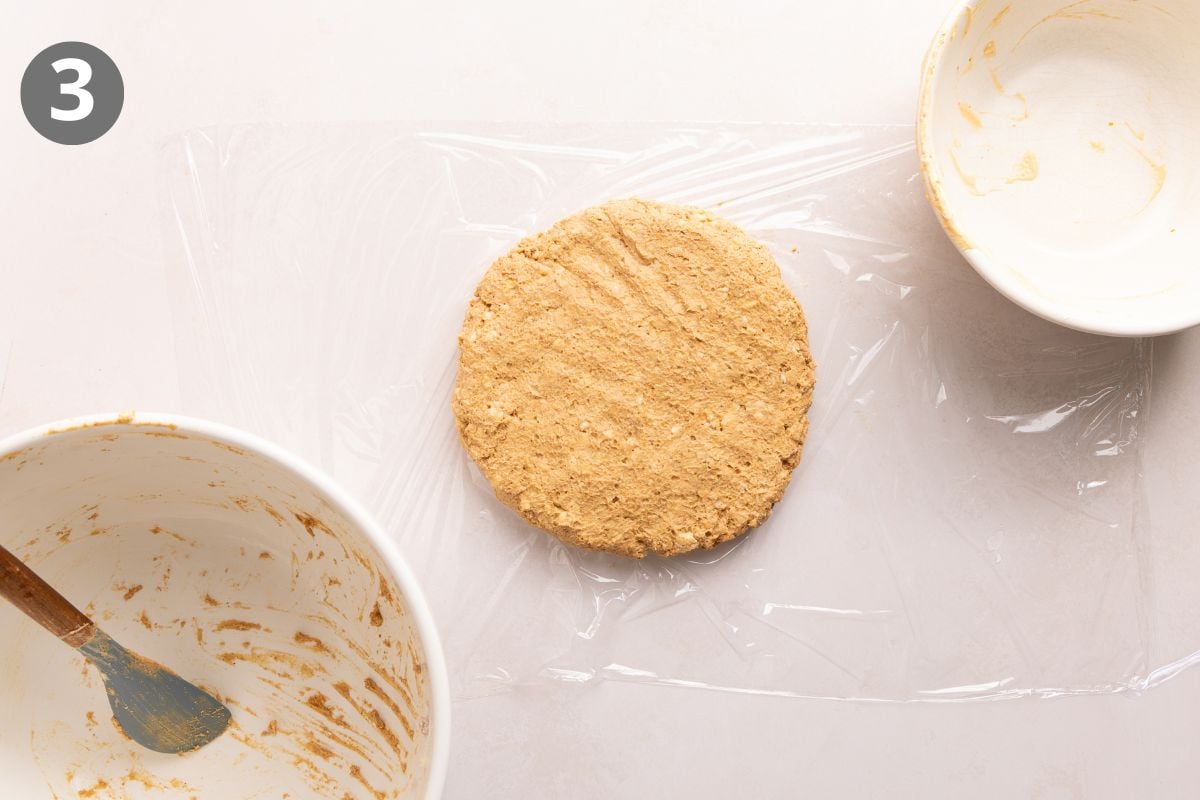
Don’t skip the chill and freeze times. The dough gets 30 minutes in the refrigerator followed by 15 minutes in the freezer. This gets the butter and dough very cold before the scones go into the hot oven. I don’t recommend refrigerating the dough for longer than 30 minutes.
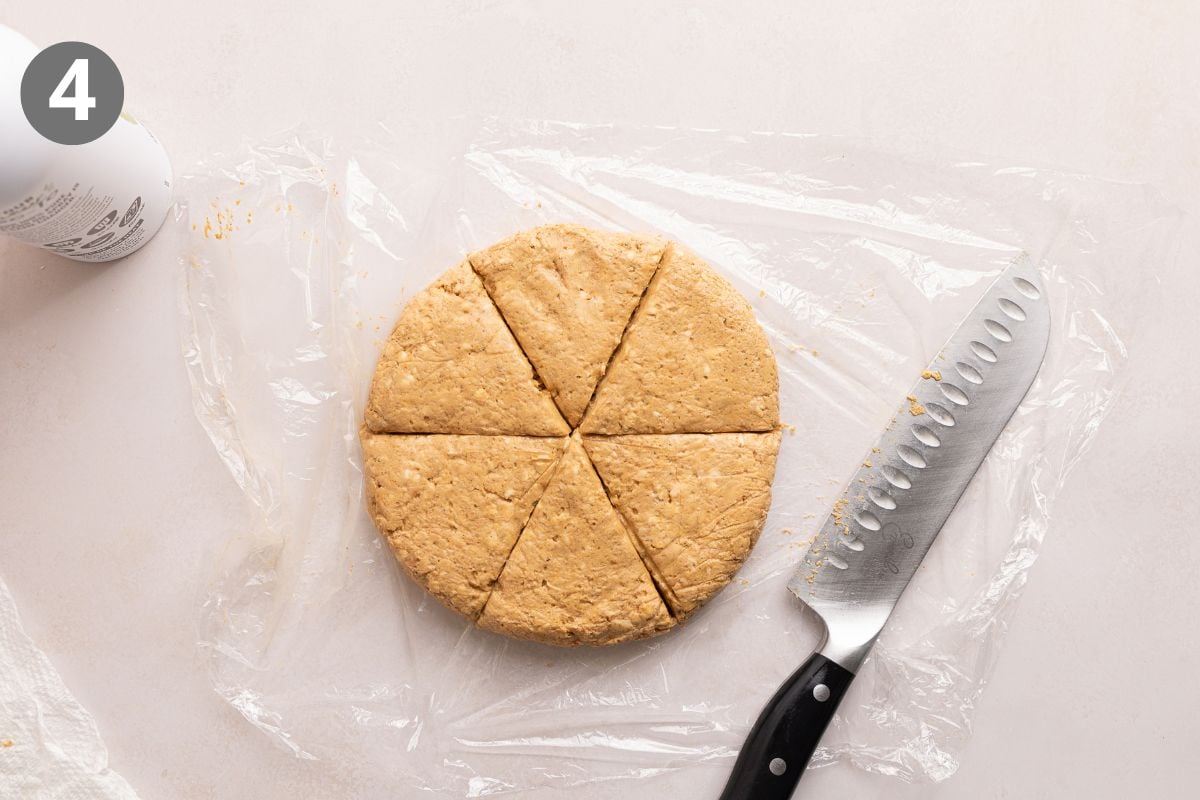
Cut the dough into wedges. After chilling and freezing, use a sharp knife to cut the dough into 6 equal wedges. I find spraying the knife with cooking spray first makes cutting through the dough so much easier. I want my scones to slice cleanly without the frustration of the dough sticking!
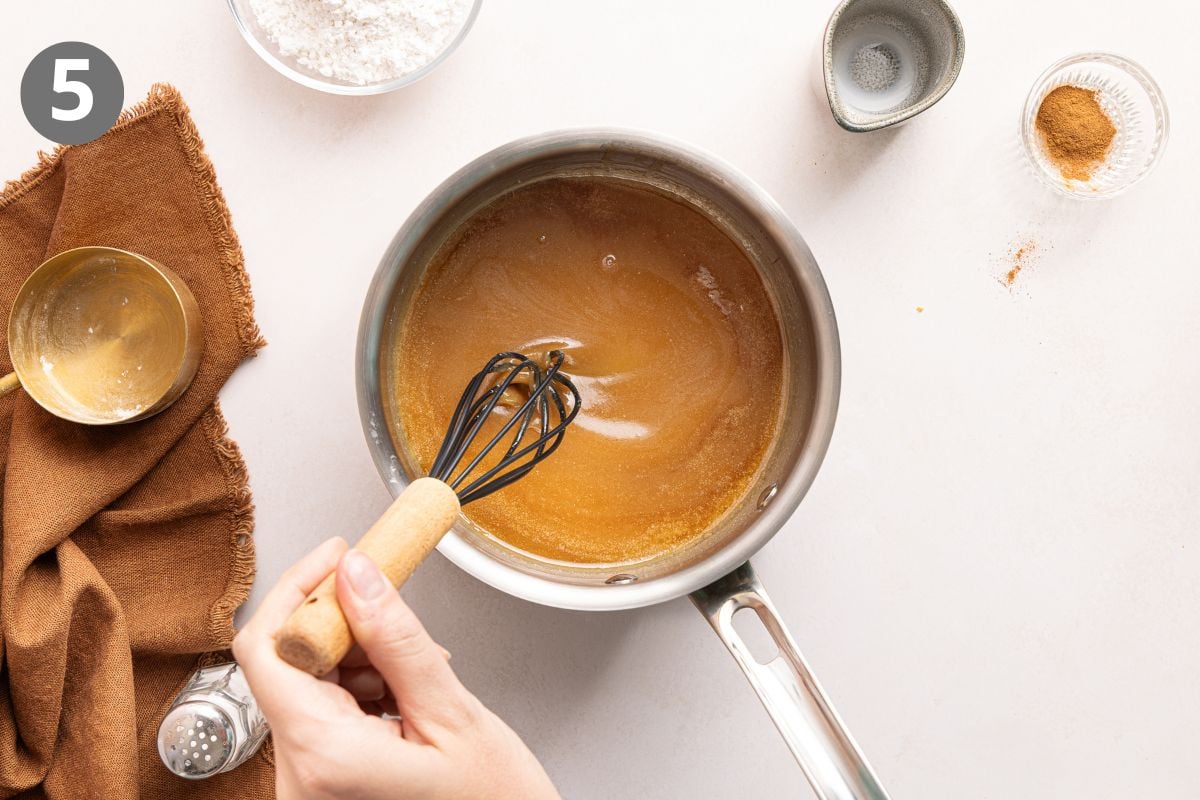
Make the glaze while the scones cool. The brown sugar mixture comes together quickly on the stovetop. Be sure to sift the powdered sugar first so the finished glaze is smooth and lump-free.
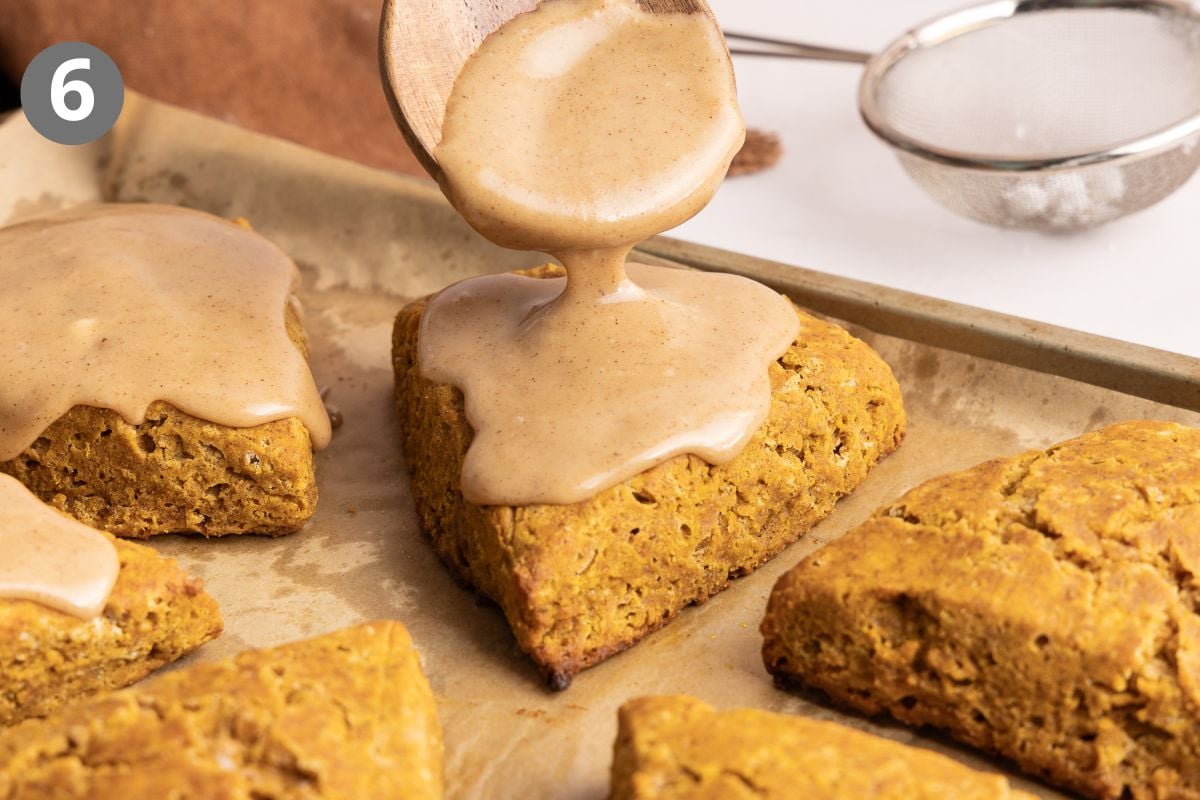
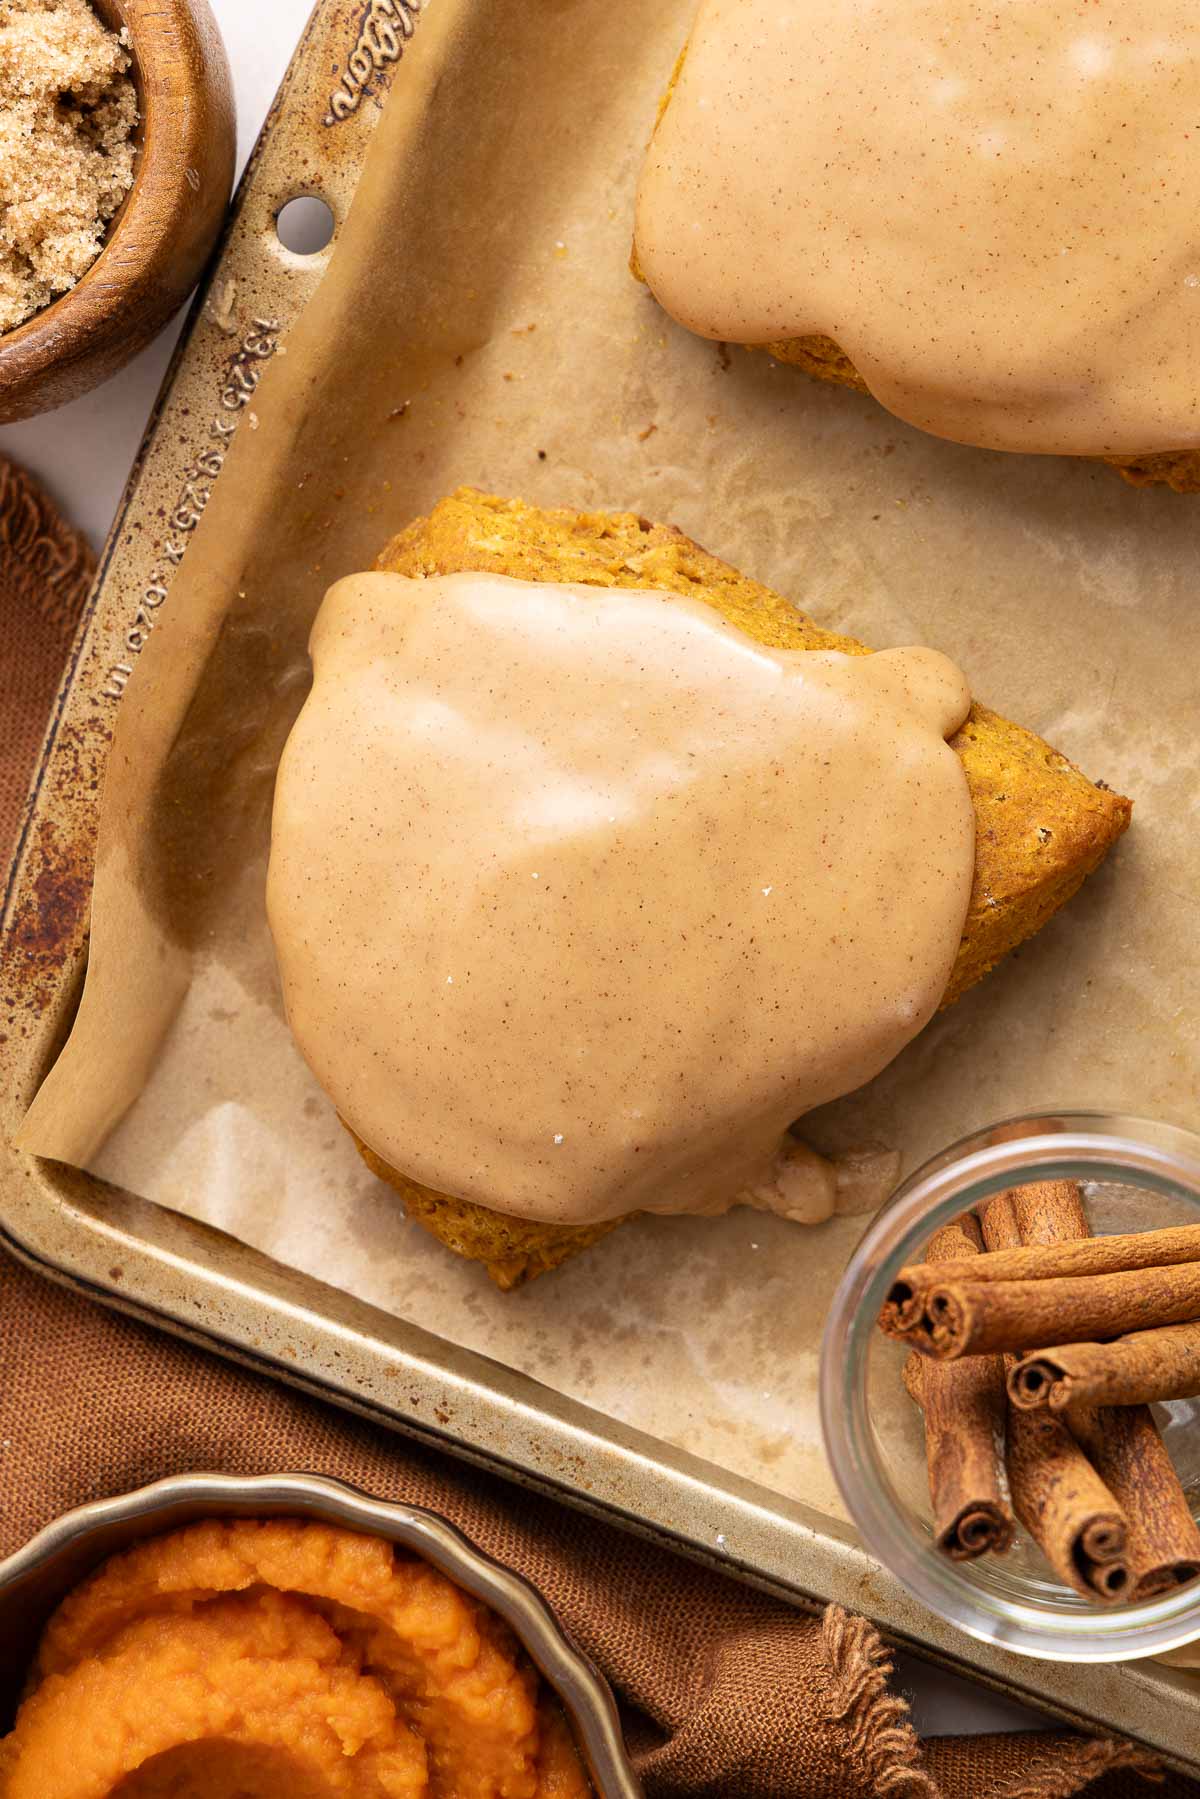
Let the scones cool before glazing. I wait about 20 minutes before adding the brown sugar glaze. If the scones are too hot, the glaze will melt right off instead of settling into a thick layer on top.
More Gluten-Free Pumpkin Recipes
Gluten-Free Pumpkin Scones
Video
Ingredients
Pumpkin Scones
- ½ cup (113g) pumpkin puree
- 1½ cups (225g) gluten-free measure-for-measure flour
- ¼ cup (53g) brown sugar
- 1 tablespoon baking powder
- ½ teaspoon kosher salt
- 2 teaspoons ground cinnamon
- ½ teaspoon ground nutmeg
- ½ teaspoon ground ginger
- ¼ teaspoon ground cloves
- ½ cup (113g) butter, frozen
- ⅔ cup (160g) sour cream
- 1 large egg yolk
- 1 teaspoon vanilla extract
Brown Sugar Glaze
- ¾ cup (150g) brown sugar
- ¼ cup (60ml) milk of choice
- 1 tablespoon butter
- ¼ teaspoon kosher salt
- 1 teaspoon vanilla extract
- 1½ cups (180g) powdered sugar, sifted
- pinch of ground cinnamon
Instructions
- Spread the pumpkin puree onto a plate. Pat with paper towels to “dry” the pumpkin. This will take several minutes and several paper towels. Continue blotting until the pumpkin has a thick, dough-like consistency and the original ½ cup has reduced to about ¼ cup (45–53g).
- For the pumpkin scones: In a large mixing bowl, whisk together the gluten-free flour, brown sugar, baking powder, salt, cinnamon, nutmeg, ginger and cloves.
- Grate the frozen butter using a box grater. Add the butter to the flour mixture and combine with a pastry cutter, two forks or your fingers until the mixture resembles pea-sized crumbs.
- In a separate bowl, whisk together the dried pumpkin puree, sour cream, egg yolk and vanilla.
- Using a rubber spatula, stir the pumpkin-sour cream mixture into the flour mixture until no dry bits of flour remain.
- Spread out a large piece of plastic wrap. Using wet hands, transfer the dough to the plastic wrap. Clean and wet your hands again, then pat the dough into a 6-inch round about 1 inch thick. Wrap the dough tightly in plastic wrap and refrigerate for 30 minutes. (Do not refrigerate longer than 30 minutes.) Then freeze for 15 minutes while the oven preheats.
- Preheat the oven to 500°F. Line a large baking sheet with parchment paper or a silicone baking mat.
- After 15 minutes, remove the dough from the freezer. Spray a sharp knife with cooking spray and cut the dough into 6 equal wedges. Arrange the scones on the prepared baking sheet.
- Place the scones in the oven, then immediately lower the oven temperature to 425°F. Bake for 12–14 minutes, until golden brown.
- Remove from the oven. Transfer the scones to a wire rack and let cool for 20 minutes.
- For the brown sugar glaze: Combine the brown sugar, milk, butter and salt in a medium saucepan over medium heat. Stir until the butter has melted and the mixture is smooth. Bring to a simmer.
- Simmer for 1 minute, then remove from the heat. Whisk in the vanilla, sifted powdered sugar and cinnamon until smooth. Using a large spoon, drizzle the glaze evenly over the scones.










This was a delicious recipe. I made a triple batch because 6 was not going to get us through a weekend visiting family. I thought the scones got better with each day. The maple topping was delicious as well. Definitely going to make these again.
Wow! We’re thrilled to hear you loved the new pumpkin scones this much, Stephanie! Thank you for such kind feedback. We love the maple topping too. We’re so glad the triple batch was worth it!
Recipe looks amazing! Wondering if I can use chilled butter if I planned freezing them right away? Just want to make the dough ahead & bake them later in the week.
Hi Renee! We recommend following the recipe as-is through step 6. It can stay in the freezer for up to 5 days. Plus we find grating frozen butter is easier than just chilled butter. We hope you love the scones!
I forgot to say I made them dairy free. I am always in search of recipes that are delicious while being dairy and gluten free.
We’re so glad you followed up, Susan! It’s great to hear they worked well with the DF substitutions. Thank you for sharing with us!
We enjoyed these scones very much! I will cut them into 8 pieces next time as they are substantial and generous servings. I am taking one with me in the car for my breakfast in a few minutes. They do not make a crumbly mess.
We’re thrilled to hear you enjoyed the pumpkin scones so much. We definitely understand wanting smaller portions. We hope your next batch is just as amazing. Thank you for the wonderful feedback, Susan!
These were wonderful! GF scones can sometimes leave a lot to be desired but Erin has cracked the code with her method and achieved everything you dream a scone can be!
Aww, thank you for such kind feedback, Lorraine! We’re thrilled to hear you loved the pumpkin scones this much. We hope your next bake is just as amazing!
Scones fell asleep flat as a pancake when taken out. How do I fix that? I followed recipe ad directed
We’re sorry you had this experience, Addy! These scones should hold their shape as they bake. One thing to double-check is that the pumpkin was blotted until it reduced to 45–53g, since extra moisture can make the dough spread. It’s also important to keep the dough cold and bake it immediately after cutting. We hope that helps for next time!
I made your gluten-free pumpkin scones and they turned out fantastic! I added 1/2 cup of raisins to the dough and used maple syrup instead of vanilla extract in the brown sugar glaze. These scones are definitely coffee shop worthy!
Aww, thank you for saying the scones are coffee shop worthy, Cate! We’re happy to hear those substitutions/additions worked well for you. We appreciate you sharing your positive experience with us!