

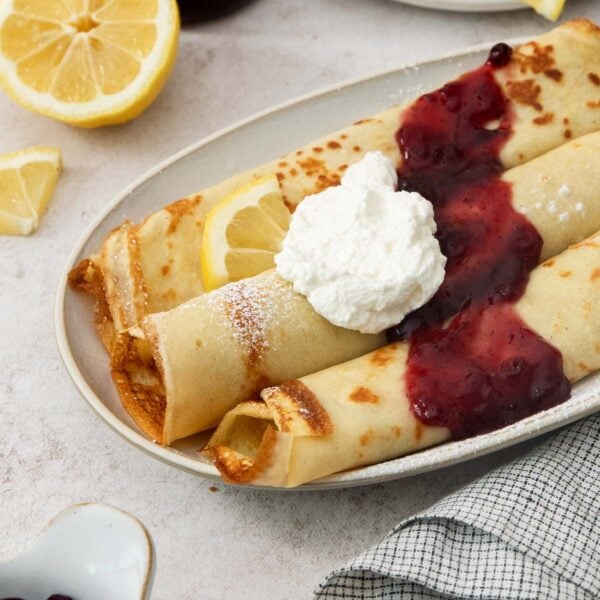
Recipe Overview
⏱️ Time to Taste: About 50 minutes, including chilling time
✨ Texture: Thin, buttery, and lightly custardy
🌾 Flour Used: Gluten-Free Measure-for-Measure Flour
🍳 Equipment Needed: Blender and a nonstick skillet or crepe pan
🕐 Make Ahead: The batter can be prepared up to 24 hours in advance!
💡 Helpful Tip: I like to brush each pancake with melted butter as it cooks and again after it’s transferred to the plate. The butter adds wonderful flavor and helps the sugar and lemon juice soak into the warm pancakes.
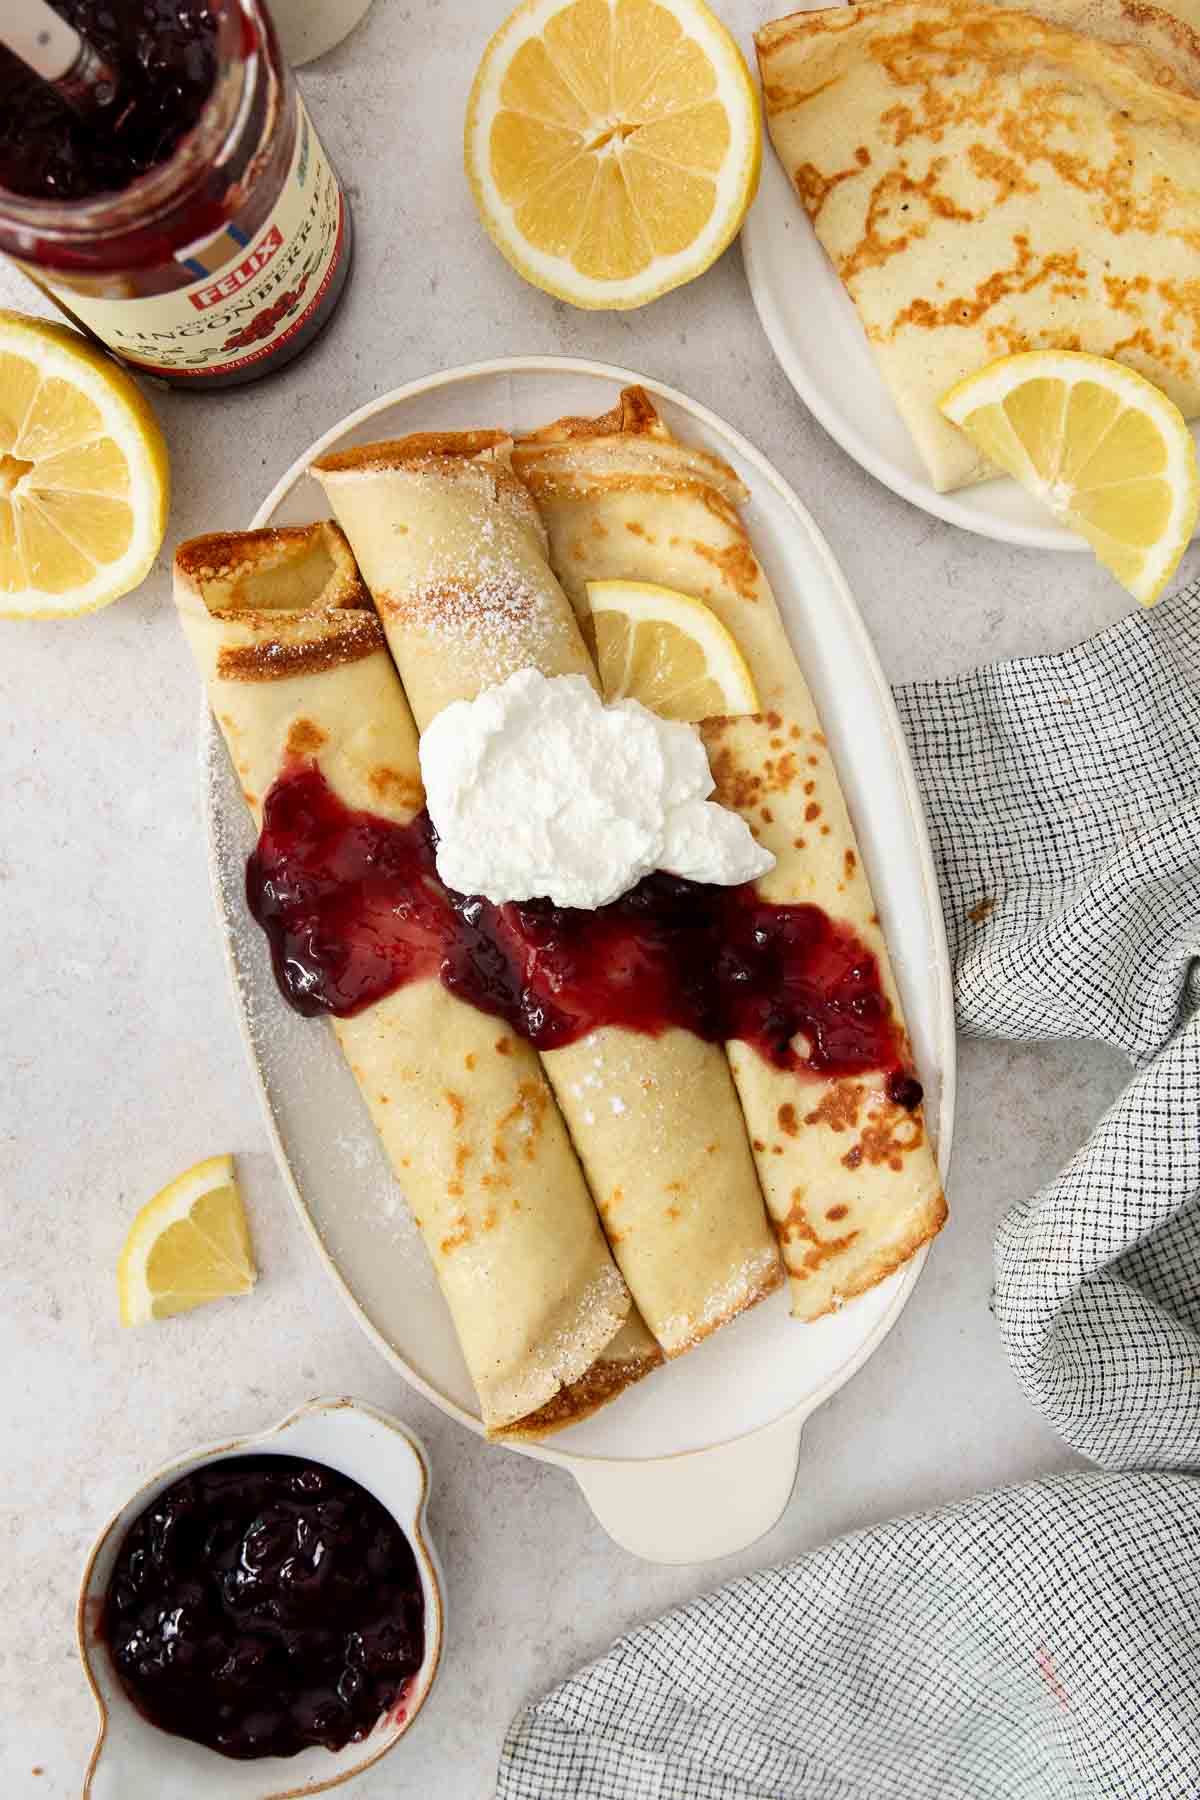
I love making these Swedish pancakes when we want something a little different for breakfast. It’s so easy to make the batter in a blender, then cook them in our crepe pan after a short chill time.
These gluten-free Swedish pancakes are delicious on their own, but I also love pairing them with savory favorites, like gluten-free quiche lorraine or sausage hashbrown breakfast casserole. They’re such a fun addition to a weekend breakfast or brunch!
Ingredients You’ll Need
Here are a few notes on some of the key ingredients to make these gluten-free Swedish pancakes. Jump to the recipe card below for the exact measurements.
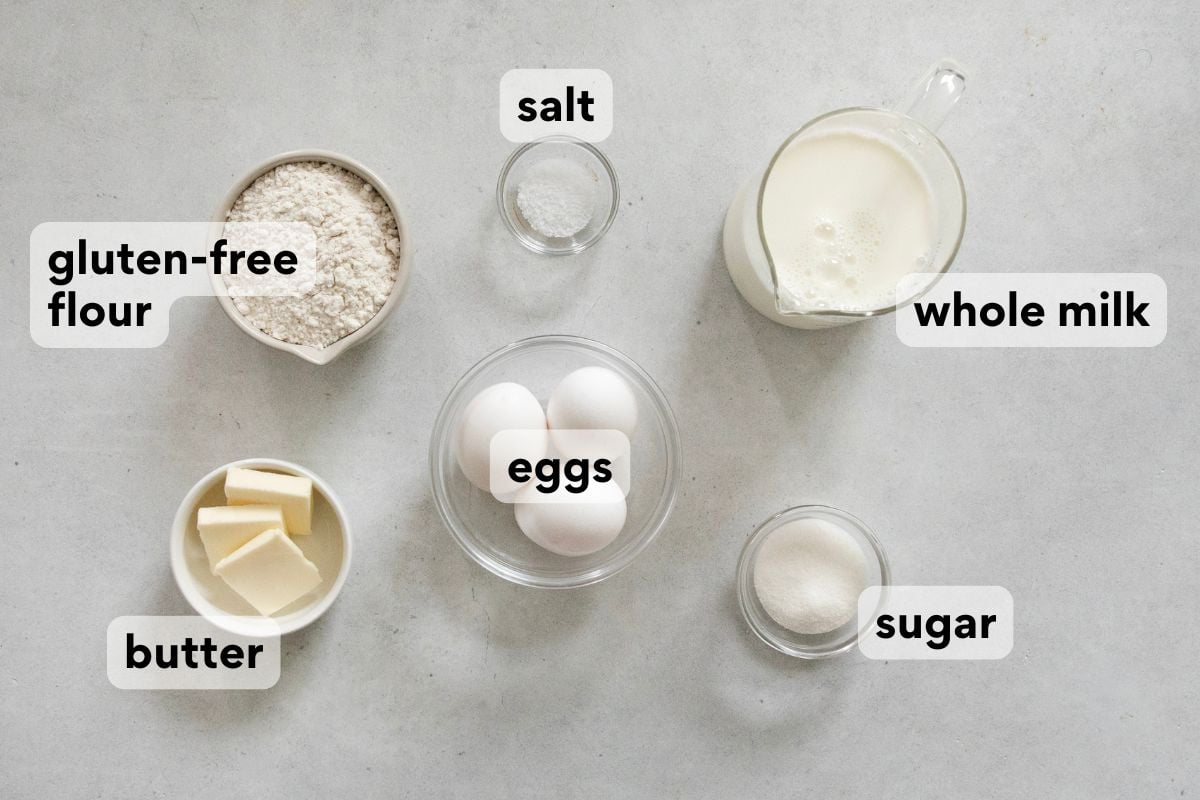
- Whole milk: Whole milk helps create the rich, delicate texture that Swedish pancakes are known for. I recommend using whole milk for the best flavor and tenderness.
- Gluten-free measure-for-measure flour: A small amount of gluten-free flour provides just enough structure while keeping the pancakes thin and soft. Be sure to let the batter rest so the flour has time to fully hydrate.
- Butter: Butter is essential in Swedish pancakes. It adds rich flavor to the batter and helps create beautifully golden pancakes as they cook.
- Lingonberry jam: Lingonberry jam is the traditional topping for Swedish pancakes and adds a sweet-tart flavor that pairs perfectly with the buttery pancakes. If you can’t find lingonberry jam, blueberry jam is a delicious alternative.
How to Make Gluten-Free Swedish Pancakes
Here’s an overview of how to make this recipe. You can jump to the recipe for the full instructions!
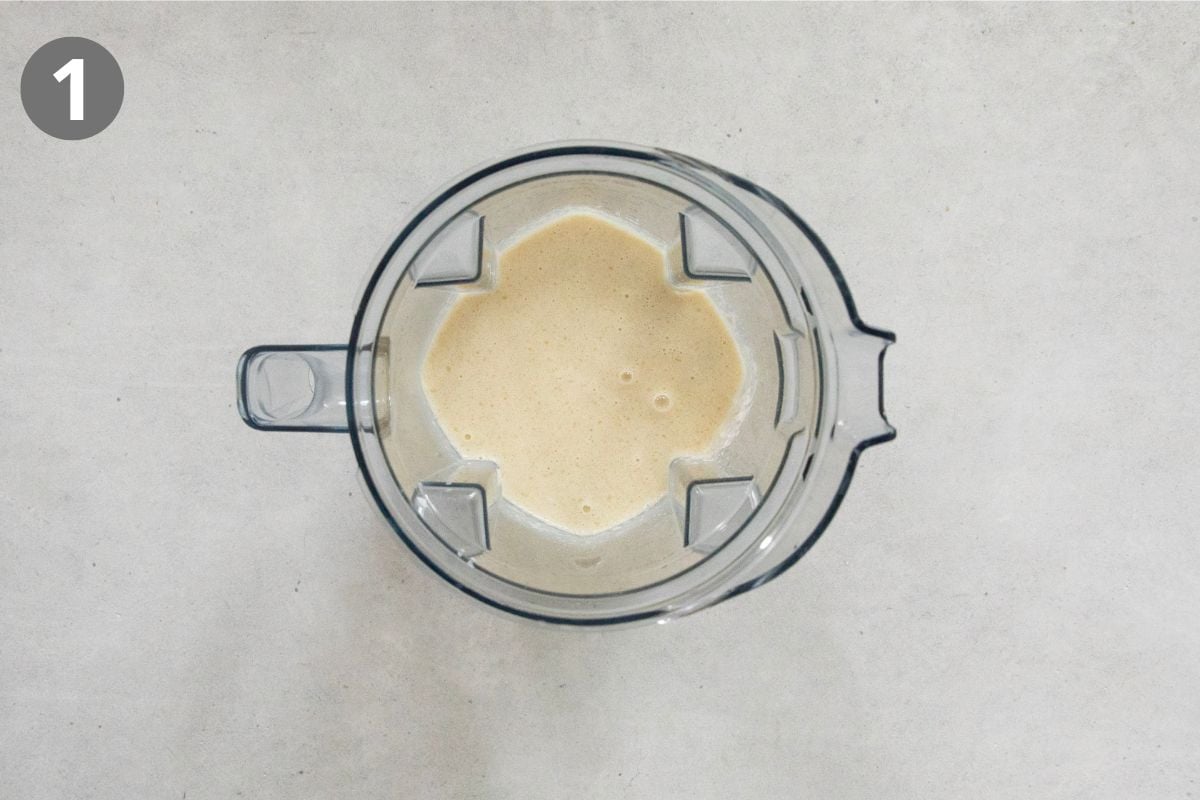
Blend the Batter: I highly recommend letting the batter rest in the refrigerator for at least 30 minutes before cooking. This gives the gluten-free flour time to hydrate and helps create Swedish pancakes that are tender and easy to flip.
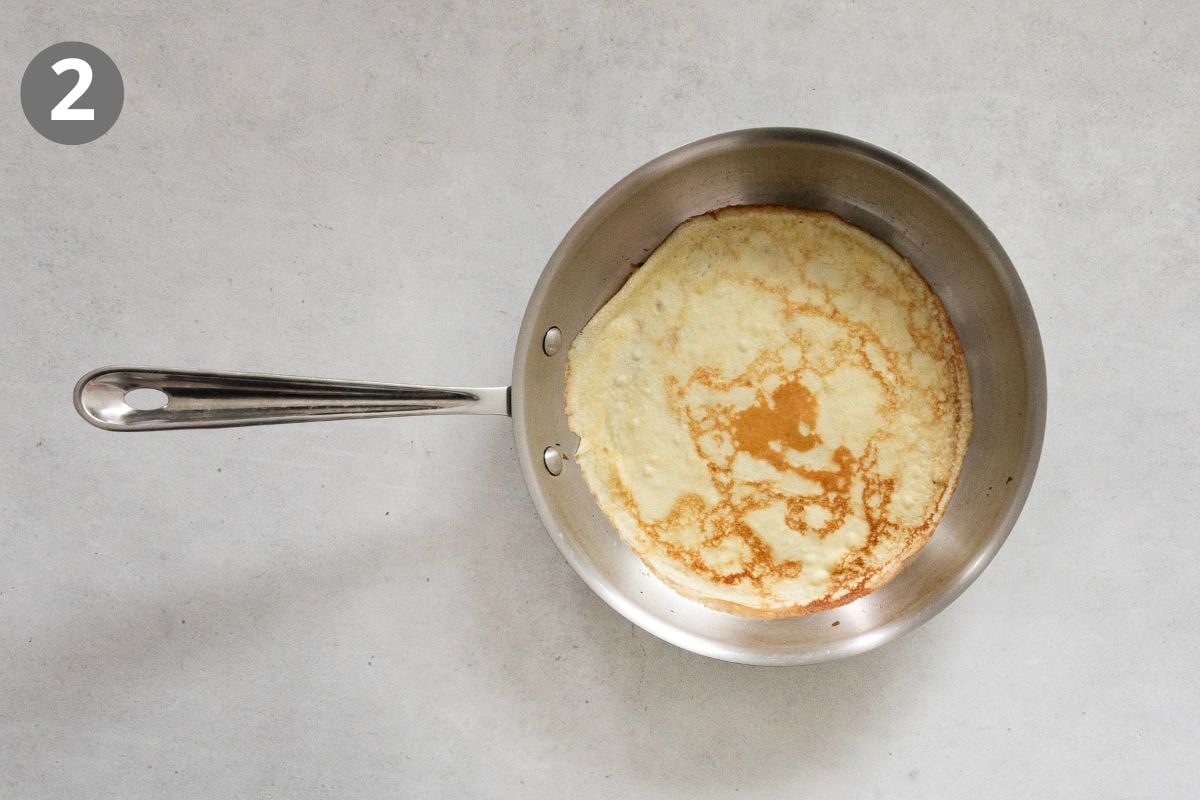
Cook the Pancakes: As soon as you pour the batter into the pan, immediately swirl the pan so the batter spreads into a thin, even layer. Swedish pancakes are much thinner than traditional American pancakes, and this quick swirl helps create their signature delicate texture.
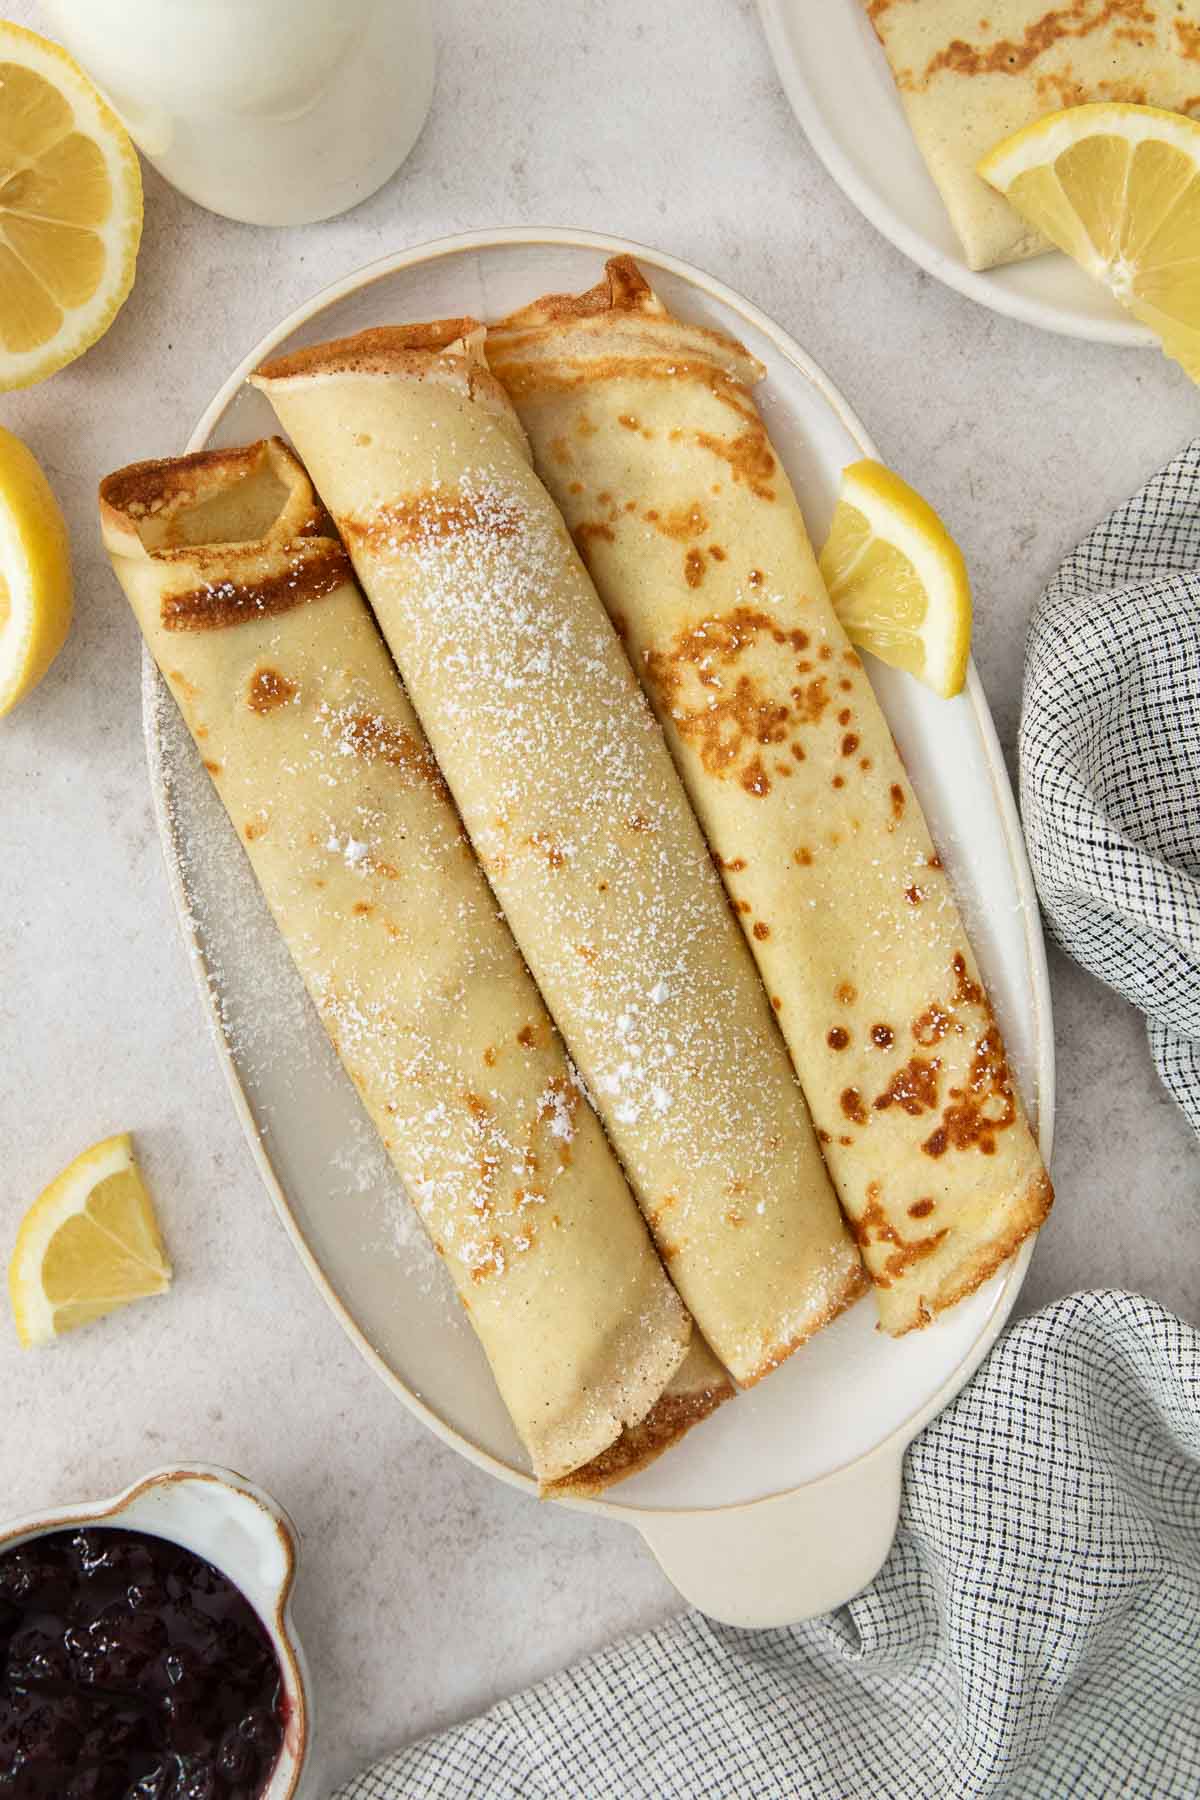
How to Serve: My favorite way to serve Swedish pancakes is with a sprinkle of sugar, a squeeze of fresh lemon juice, and rolled up while still warm. They’re also delicious folded into triangles and topped with lingonberry jam, whipped cream, or a dollop of yogurt.
Make-Ahead/Storage/Freezing Instructions
To Make-Ahead: This batter can hang out in the fridge for up to 24 hours! Just give it a little stir before cooking.
To Store: Cooled pancakes will keep in an airtight container or Ziploc bag in the fridge for up to 3 days. I place parchment paper between them so they don’t stick together.
To Freeze: These pancakes will keep in the freezer in a freezer bag or airtight container for up to 2 months. I recommend separating them with parchment paper to prevent sticking. You can reheat them straight from frozen!
More Gluten-Free Breakfast Recipes
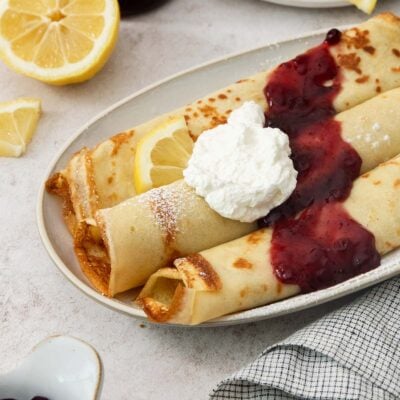
Gluten-Free Swedish Pancakes with Lemon Sugar
Video
Ingredients
- 3 large eggs
- 1¾ cups whole milk
- ¾ cup (113g) gluten-free measure-for-measure flour
- 3 tablespoons butter melted, plus more for cooking
- 2 tablespoons granulated sugar
- ½ teaspoon kosher salt
Toppings
- Lemon juice
- Granulated sugar
- Lingonberry or blueberry jam
- Plain yogurt
- Whipped cream
Instructions
- Add the eggs, milk, gluten-free flour, melted butter, sugar, and salt to a blender. Pulse briefly a few times until smooth. (Don’t overmix—just enough to combine!)3 large eggs, 2 tablespoons granulated sugar
- Pour the batter into a measuring cup, cover, and refrigerate for at least 30 minutes or up to 24 hours.
- Heat a nonstick pan or crepe pan over medium heat. Lightly butter the pan then pour in about ¼ cup batter. Immediately rotate the pan from side to side to form an even circle.
- Cook until the bottom is light brown, about 1-2 minutes. Flip and cook for 30 seconds on the other side. Brush the top with melted butter after flipping.
- Then flip the pancake onto a plate and butter the other side. Sprinkle with sugar and squeeze fresh lemon over the top and roll up. Or fold into triangles and serve with jam and whipped cream.









These were scrumptious! Kept in the fridge for almost 24 hours and re-whisked. I served with lingonberry jam and whipped cream rolled inside and powdered sugar atop, the way of my homeland. If you have a dosa maker I’ll save you the trouble of figuring this out – cook with the lid in the forward position, 3 minutes, flip, then 2 minutes. A full recipe made 6.
This is wonderful to hear, Jennifer! We’re so glad you loved the recipe. Thank you for sharing your experience with the dosa maker. It’s always appreciated when readers share their tips and tricks to help others. Happy baking!
I knew I had to make this when I saw it come out on the website! So good and easy! Love a lighter pancake!
Yay! We’re thrilled to hear you loved the new pancake recipe so much, Julie. We’re grateful for such wonderful feedback!
Thank you for your wonderful recipes! These look and sound delicious! What size is the pan you used in the video?
Hi Martha! It’s a 10″ pan. We hope you love the pancakes!
Quick question, in the instructions on the recipe 1. it says mix the sugar, baking powder and salt together in the blender. But it does not list baking powder. Is it missing or an oversight? Thanks
Hi Tara! That was a typo. These pancakes do not need baking powder. Thank you for helping us catch the error! We’ve updated the instructions and hope you enjoy the pancakes!
Directions say to add baking powder however there is no baking powder listed in the ingredients.
Hi Kris! Oops, that is a typo. No baking powder required in this recipe. We’ve updated the instructions. Thanks for your help catching that! We hope you love the pancakes!