

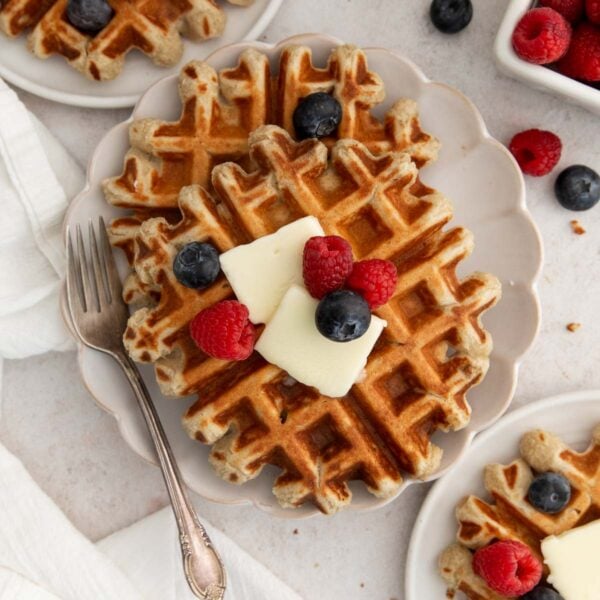
Recipe Overview
⏱️ Time to Taste: 45 minutes active, plus 8+ hours overnight rest
🥣 Ease: Easy prep! Quickly make the batter the night before, then cook fresh waffles in the morning
🌾 Flour Used: Gluten-Free Measure-for-Measure Flour
🧇 Equipment Needed: Waffle iron, large mixing bowl, medium saucepan
📅 Make Ahead: The batter can be refrigerated for up to 2 days
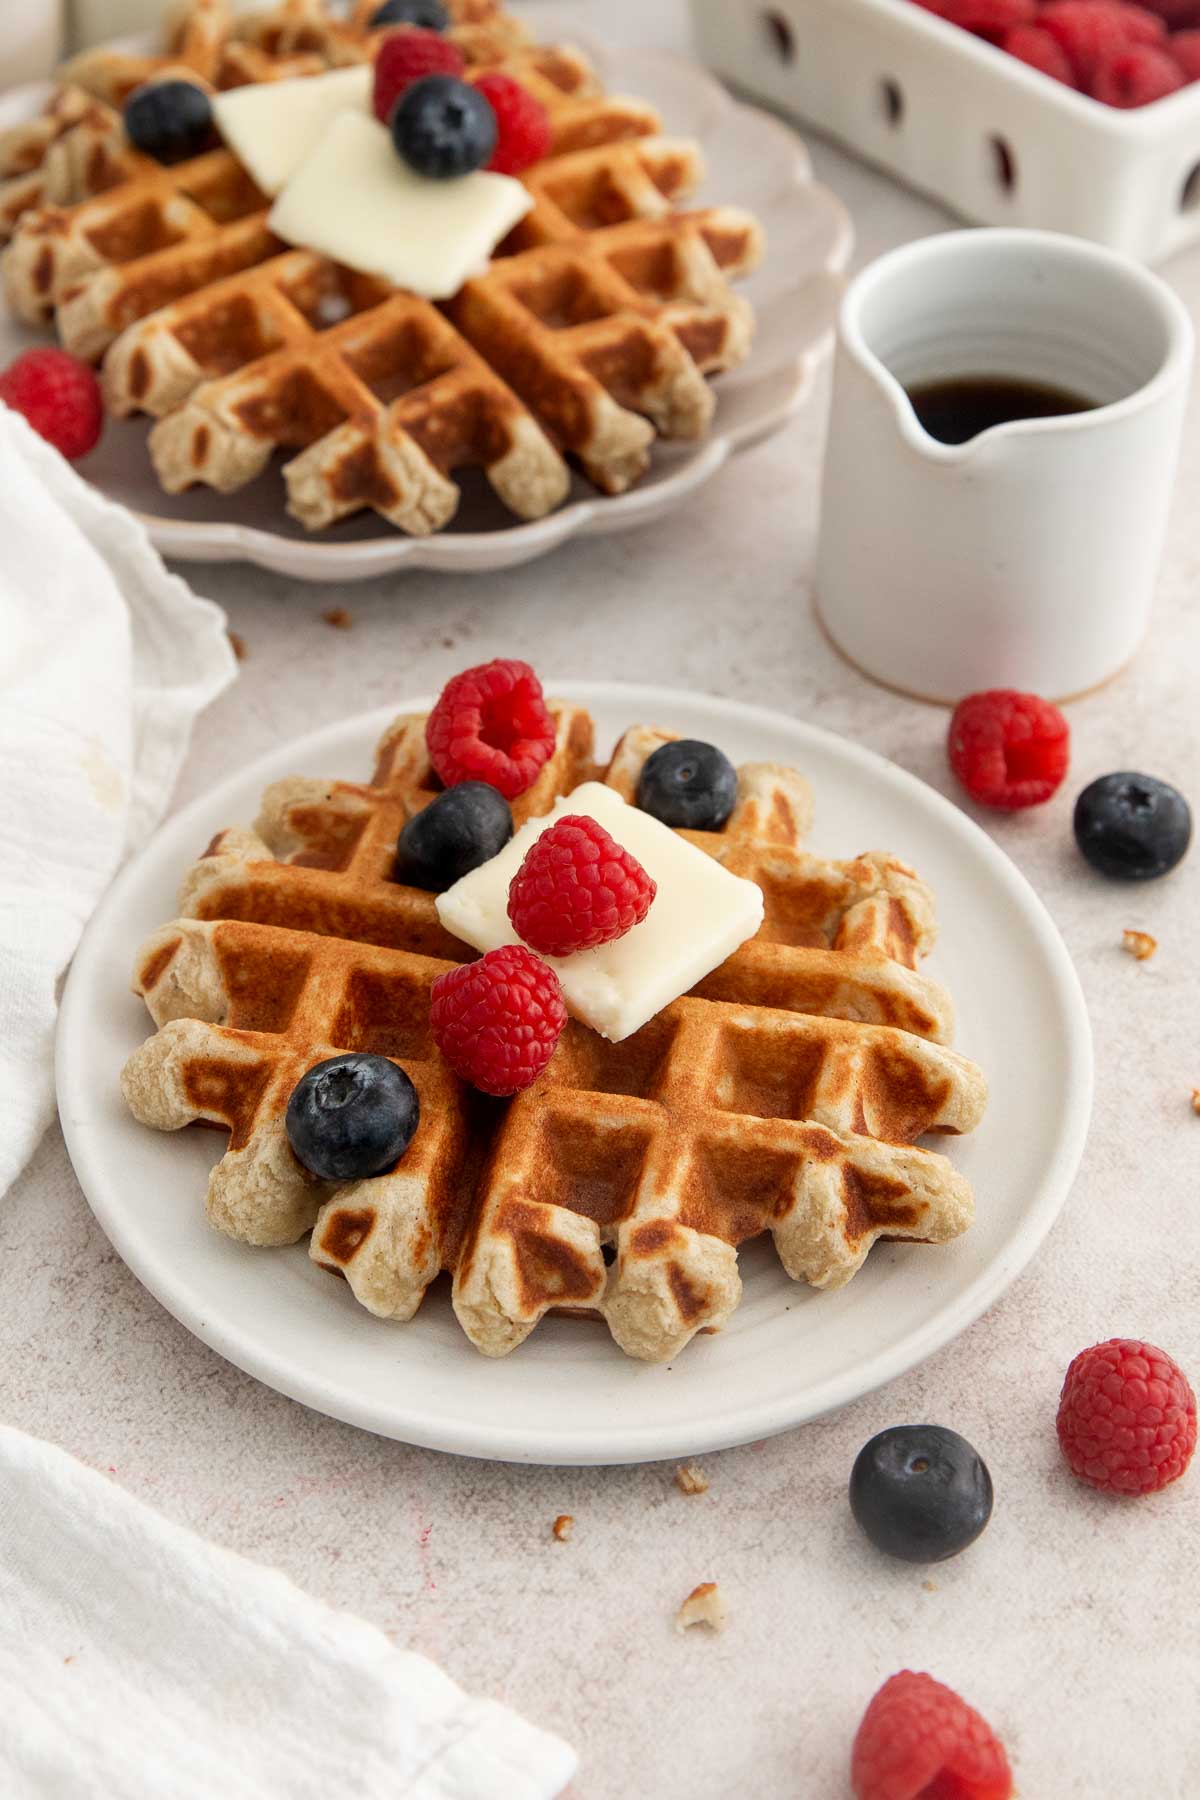
If you’ve never made yeast waffles before, you’re in for a treat! The overnight rest gives them a richer flavor and lighter texture than a typical waffle recipe for a truly unique breakfast.
I love making the batter the night before because all the work is done ahead of time. In the morning, all that’s left to do is heat the waffle iron and cook the waffles.
Ingredients You’ll Need
Here are a few notes on some of the key ingredients to make these gluten-free overnight yeast waffles. Jump to the recipe card below for the exact measurements.
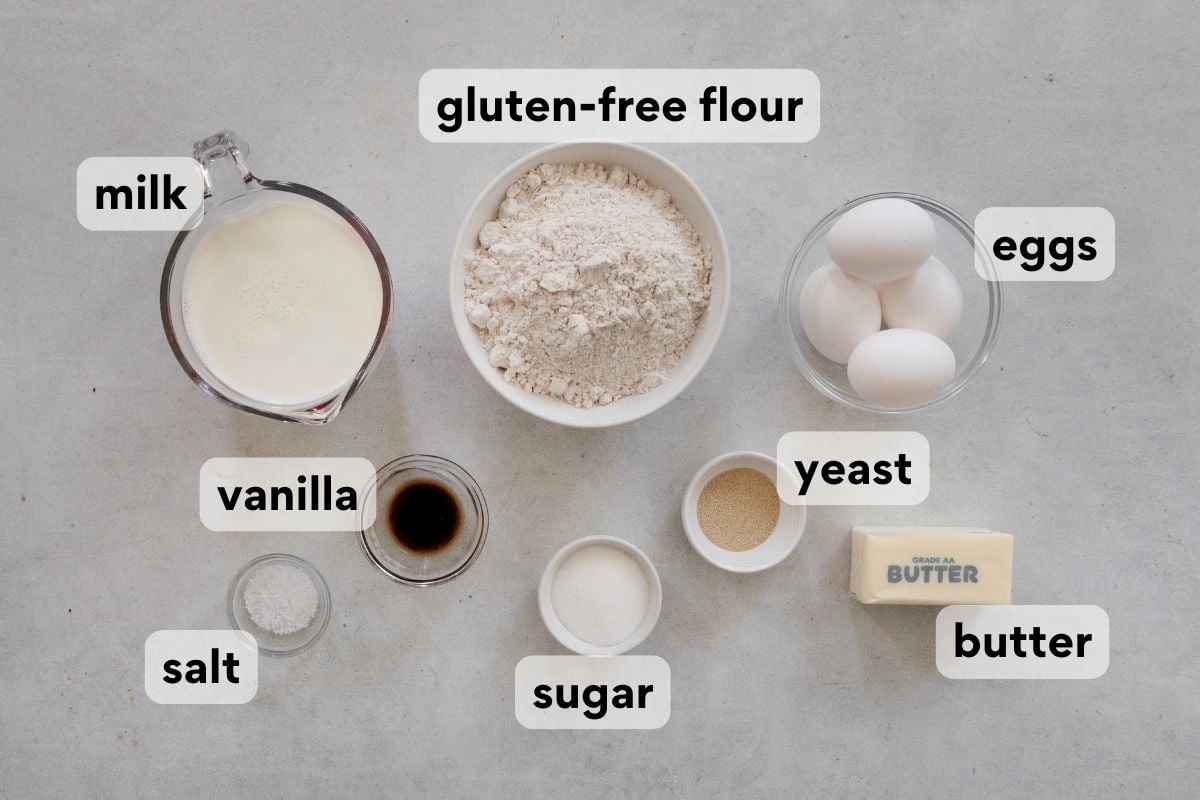
- Instant yeast: The yeast is what makes these waffles truly special. As the batter rests overnight, the yeast develops incredible flavor and helps create a light interior with perfectly crisp edges.
- Milk: Milk adds richness and moisture to the batter. I typically use whole milk for the best flavor, but any milk you enjoy should work well.
- Butter: Melted butter gives the waffles a rich flavor and helps create those wonderfully crisp, golden-brown edges that make overnight waffles so irresistible.
- Gluten-free measure-for-measure flour: A quality gluten-free flour blend provides structure while still allowing the waffles to bake up light and crisp. The overnight rest also gives the flour plenty of time to fully hydrate.
How to Make Gluten-Free Overnight Yeast Waffles
Here’s an overview of how to make this recipe. You can jump to the recipe for the full instructions!
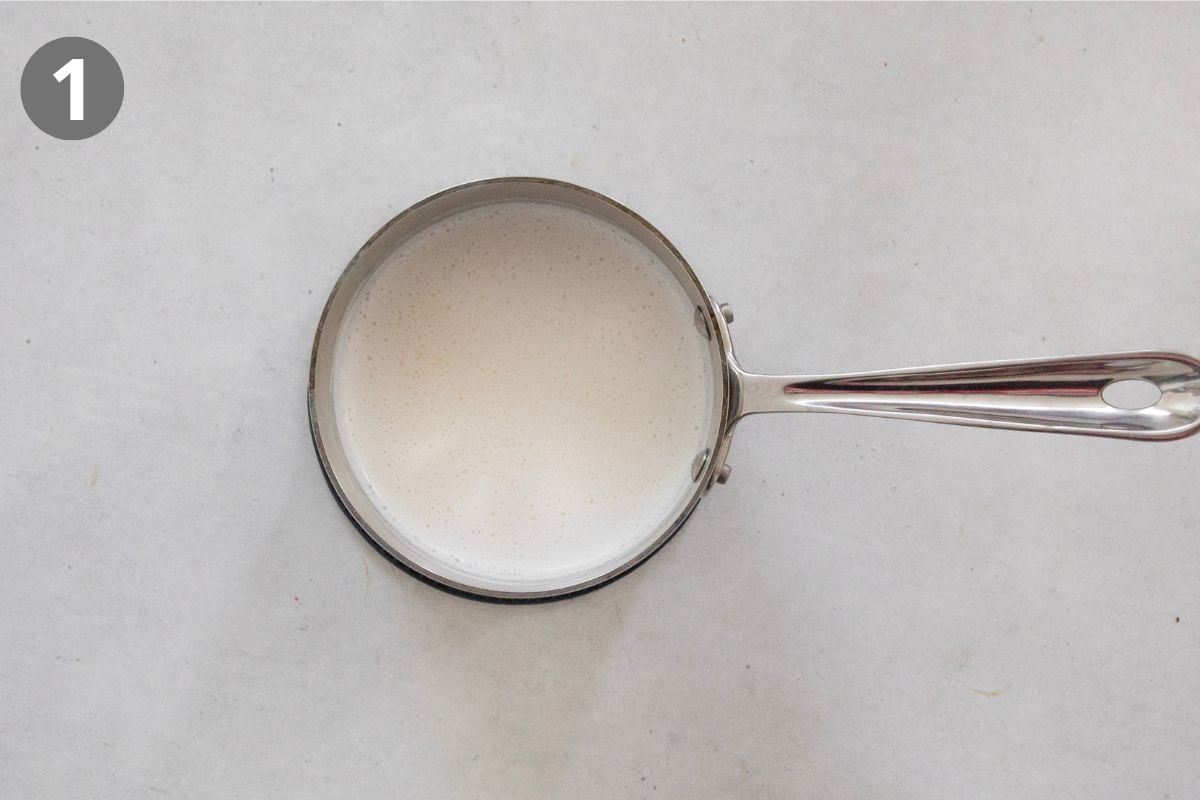
Prepare the Milk & Butter: I warm them first so the butter melts evenly and the mixture is at the right temperature for the yeast. Avoid overheating it! Hot liquid can affect the yeast and cook the eggs when added.
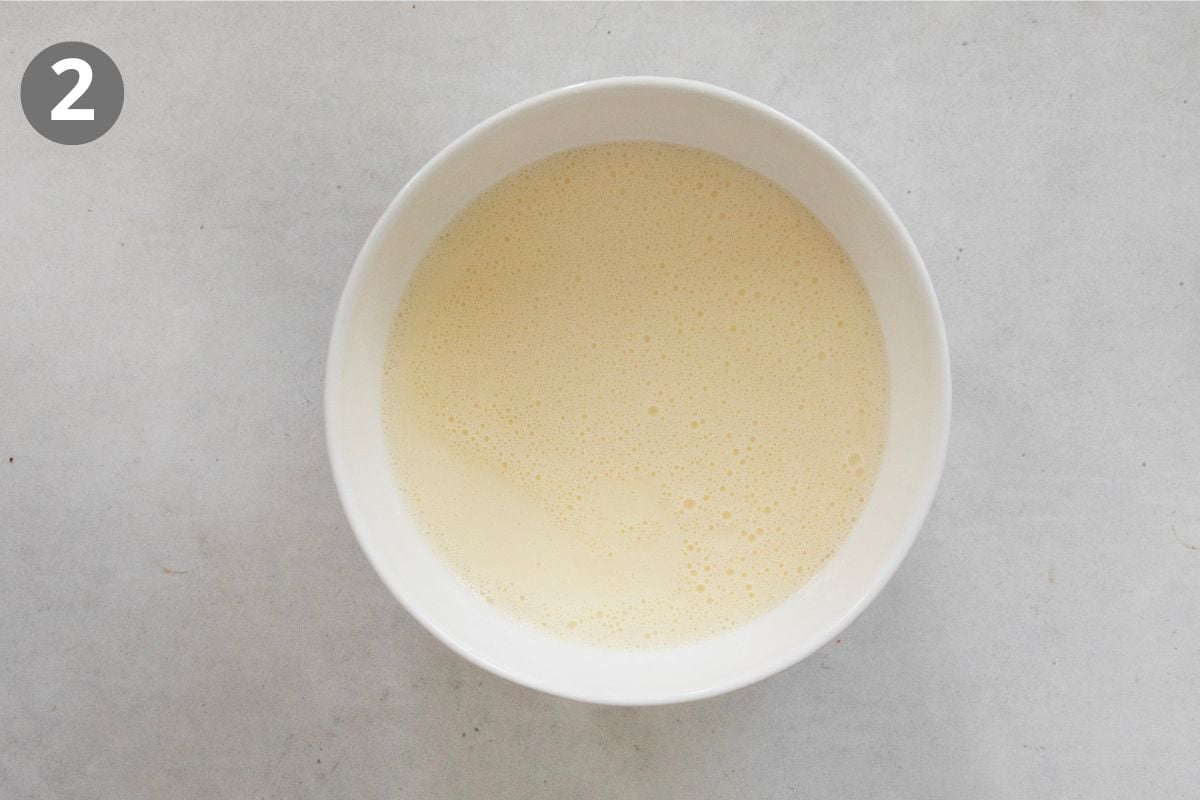
Build the Batter: I whisk the eggs and vanilla first, then slowly add the warm milk mixture while whisking. This gently brings the eggs up to temperature without accidentally scrambling them.
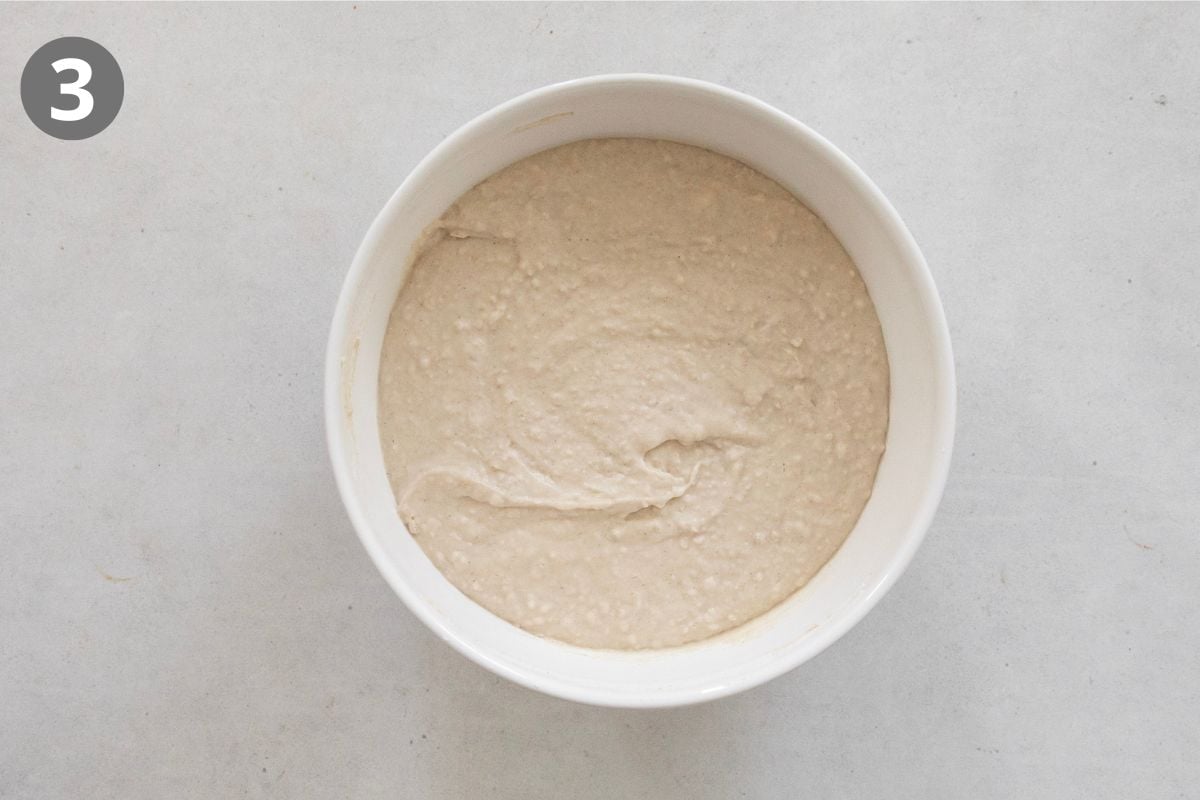
Combine & Chill: Once the dry ingredients are added, I cover and chill the batter.
Don’t be surprised if the batter looks bubbly after its overnight rest. That’s exactly what you want! The yeast has been hard at work developing flavor and creating the light texture that makes these waffles so delicious.
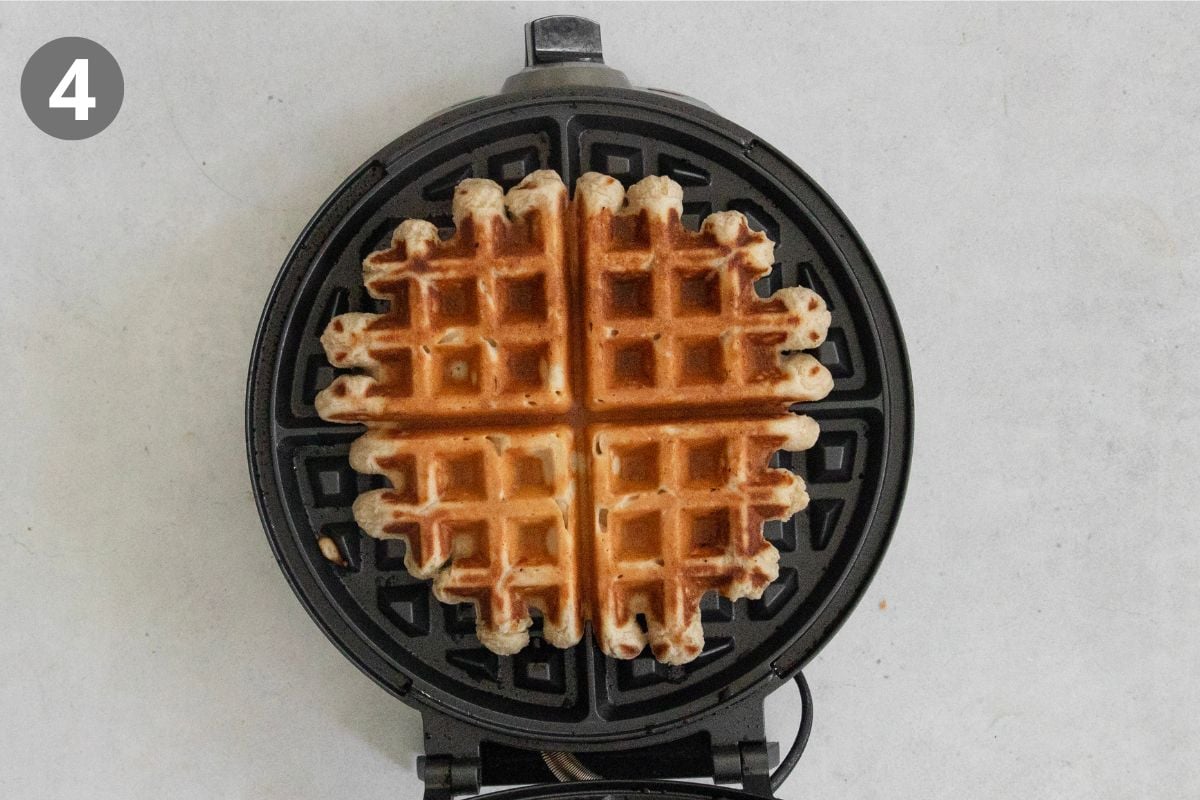
Cook the Waffles: For the crispiest waffles, cook them until they’re deeply golden brown. If you remove them too early, they won’t develop that signature crisp exterior.
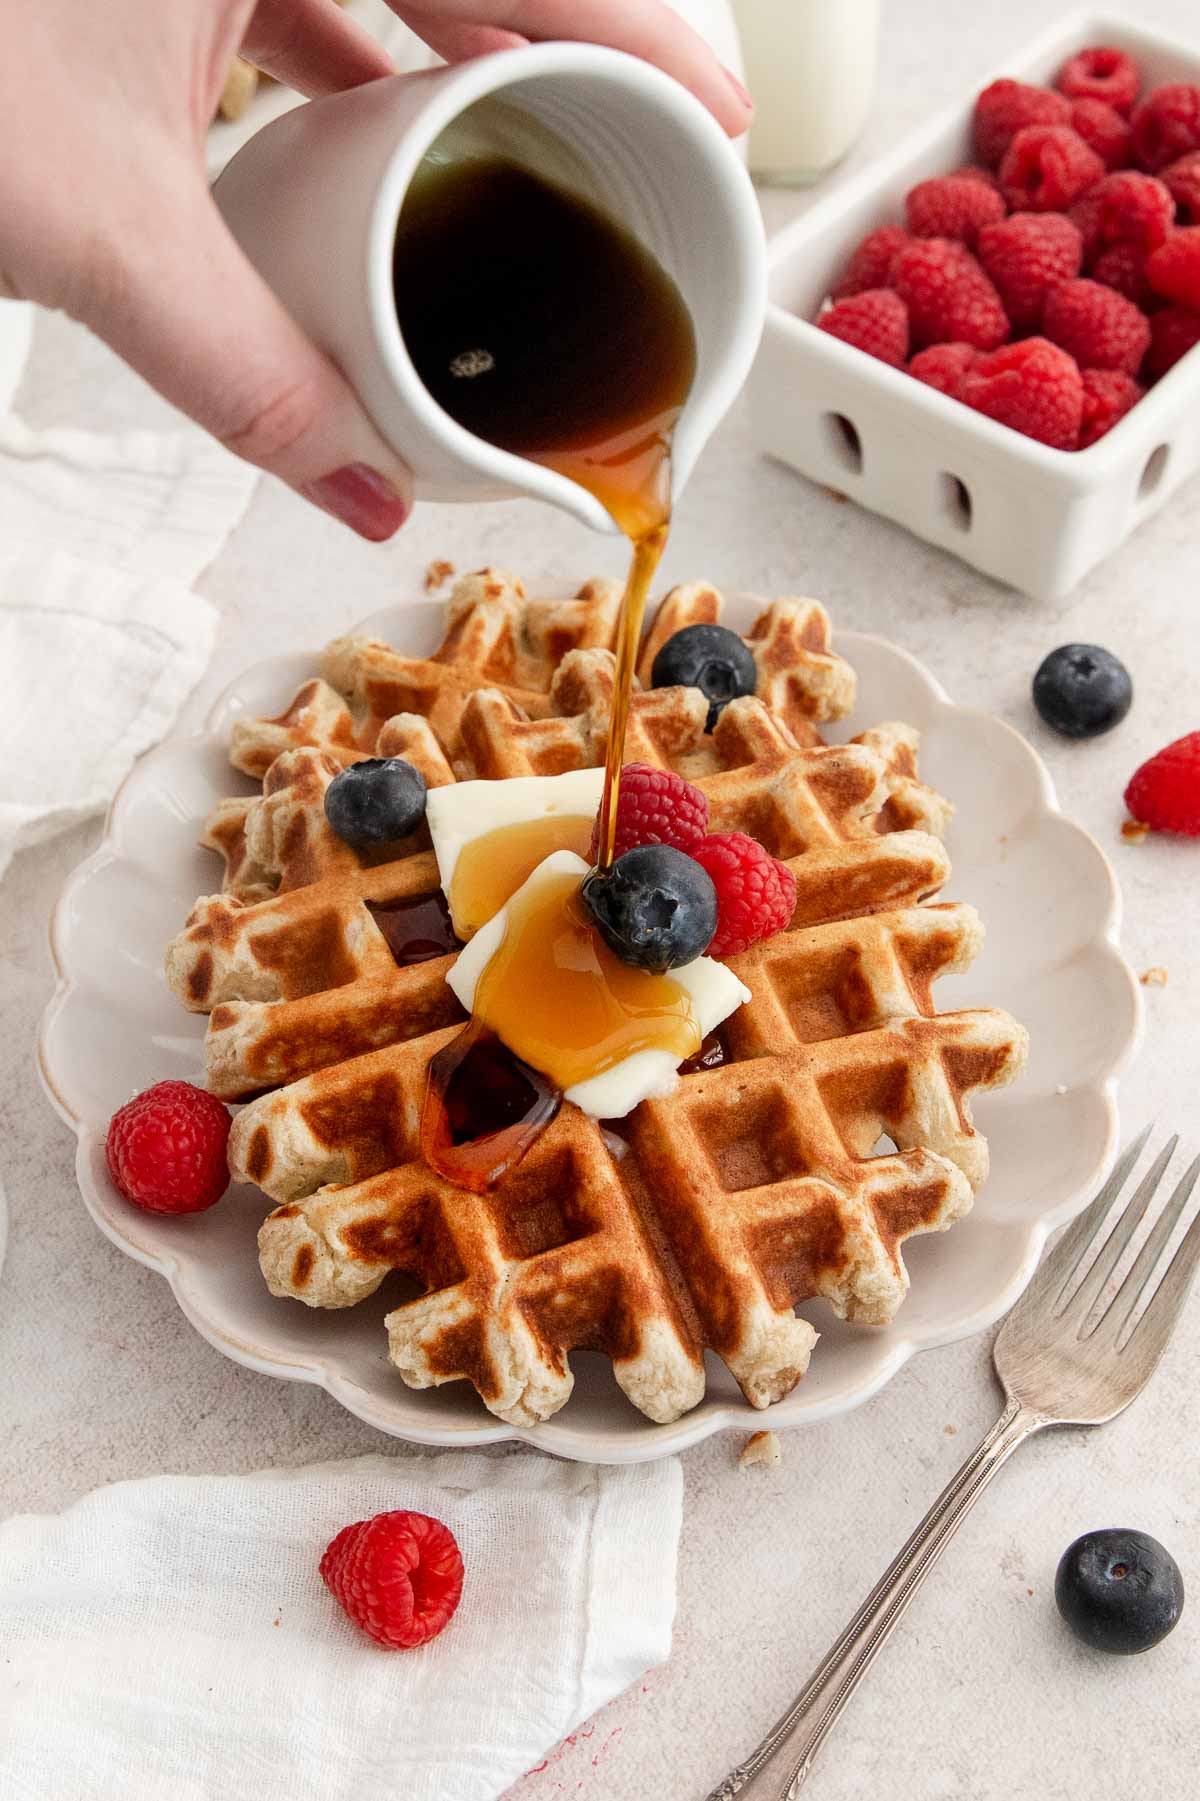
These waffles are delicious with maple syrup, fresh berries, whipped cream, or even a dusting of powdered sugar.
Preventing Soggy Waffles: If I’m making waffles for a crowd, I place them on a wire rack set over a baking sheet in a 200°F oven while I cook the remaining batches. This keeps them warm and crisp until it’s time to serve.
What Do Gluten-Free Overnight Yeast Waffles Taste Like?
These gluten-free overnight yeast waffles have a rich, buttery flavor with a subtle sweetness and a hint of vanilla. The yeast itself makes the flavor truly unique!
Why Use Yeast Instead of Baking Powder in Waffles?
Yeast gives waffles an extra layer of flavor and creates a different texture than a quick waffle made with baking powder. My classic gluten-free waffles use baking powder and whipped egg whites to create a light, crisp waffle without any waiting, while these overnight yeast waffles develop a buttery, slightly yeasty flavor with a soft, airy interior from the long rest.
Make-Ahead/Storage/Freezing Instructions
To Make-Ahead: These overnight waffles are easy to prep the night before and then cook in the morning, but the batter will keep in the fridge for up to 2 days!
To Store: Once the leftovers are cool, place them in an airtight container and refrigerate for up to 3 days. A little parchment paper between layers will prevent sticking!
To Freeze: I love freezing these waffles! Let them cool, then store in a freezer bag or airtight container and freeze for up to 3 months. You can even reheat them directly from frozen. Just pop them in a toaster or toaster oven until warmed through!
More Gluten-Free Breakfast Recipes
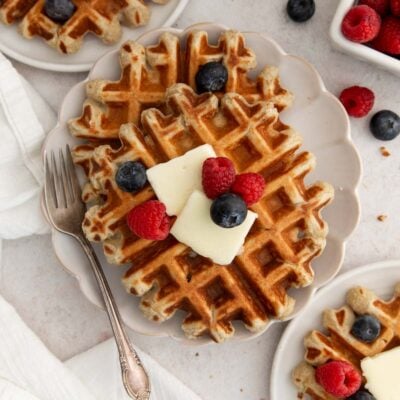
Gluten-Free Overnight Yeast Waffles
Ingredients
- 3½ cups milk of choice
- ½ cup (113g) butter, melted
- 4 large eggs
- 1 teaspoon vanilla extract
- 3¾ cups (562g) gluten-free measure-for-measure flour
- 2 tablespoons granulated sugar
- 1 tablespoon instant yeast
- 1 teaspoon kosher salt
Instructions
- In a medium saucepan, add the milk and butter. Heat over medium heat until the butter is melted and the mixture is warm, but not simmering.
- In a large bowl, add the eggs and vanilla. While whisking constantly, slowly pour in the warm milk mixture.
- Add the gluten-free flour, sugar, instant yeast and salt. Mix to combine until no dry streaks of flour remain.
- Cover the bowl and refrigerate for at least 8 hours or up to 2 days.
- The next day, preheat the oven to 200°F. Place a wire rack on a large baking sheet and set aside.
- Preheat the waffle iron. When the waffle iron is hot, lightly spray the inside with cooking spray, then scoop in the batter. Cook until golden brown, according to the waffle maker’s instructions.
- Serve immediately or keep warm on the wire rack-lined baking sheet in the warm oven until ready to serve.









These waffles were SO easy to make and super delicious! I cut the recipe in half and it made 6 round waffles! Fluffy and full of flavor! I also added a little more sugar to the batter because I like eating my waffles with peanut butter, not syrup! Delicious!
Yay! We’re so happy to hear you loved the overnight waffles so much, Kay! And it’s good to know the extra sugar worked well. We love peanut butter on top too! Thank you for such wonderful feedback!
Can you make pancakes with this recipe?
Hi Elise! We haven’t tested this batter as pancakes, so we wouldn’t recommend using this recipe as-is for pancakes. The batter is made for a waffle iron and is thinner than a typical pancake batter. We’d recommend using a gluten-free pancake recipe instead for the best results. We hope you enjoy the waffles!
Yummy! Thank you!
We’re so glad you love the recipe, Karen! Thank you for the kind response!