


Erin’s Recipe Rundown

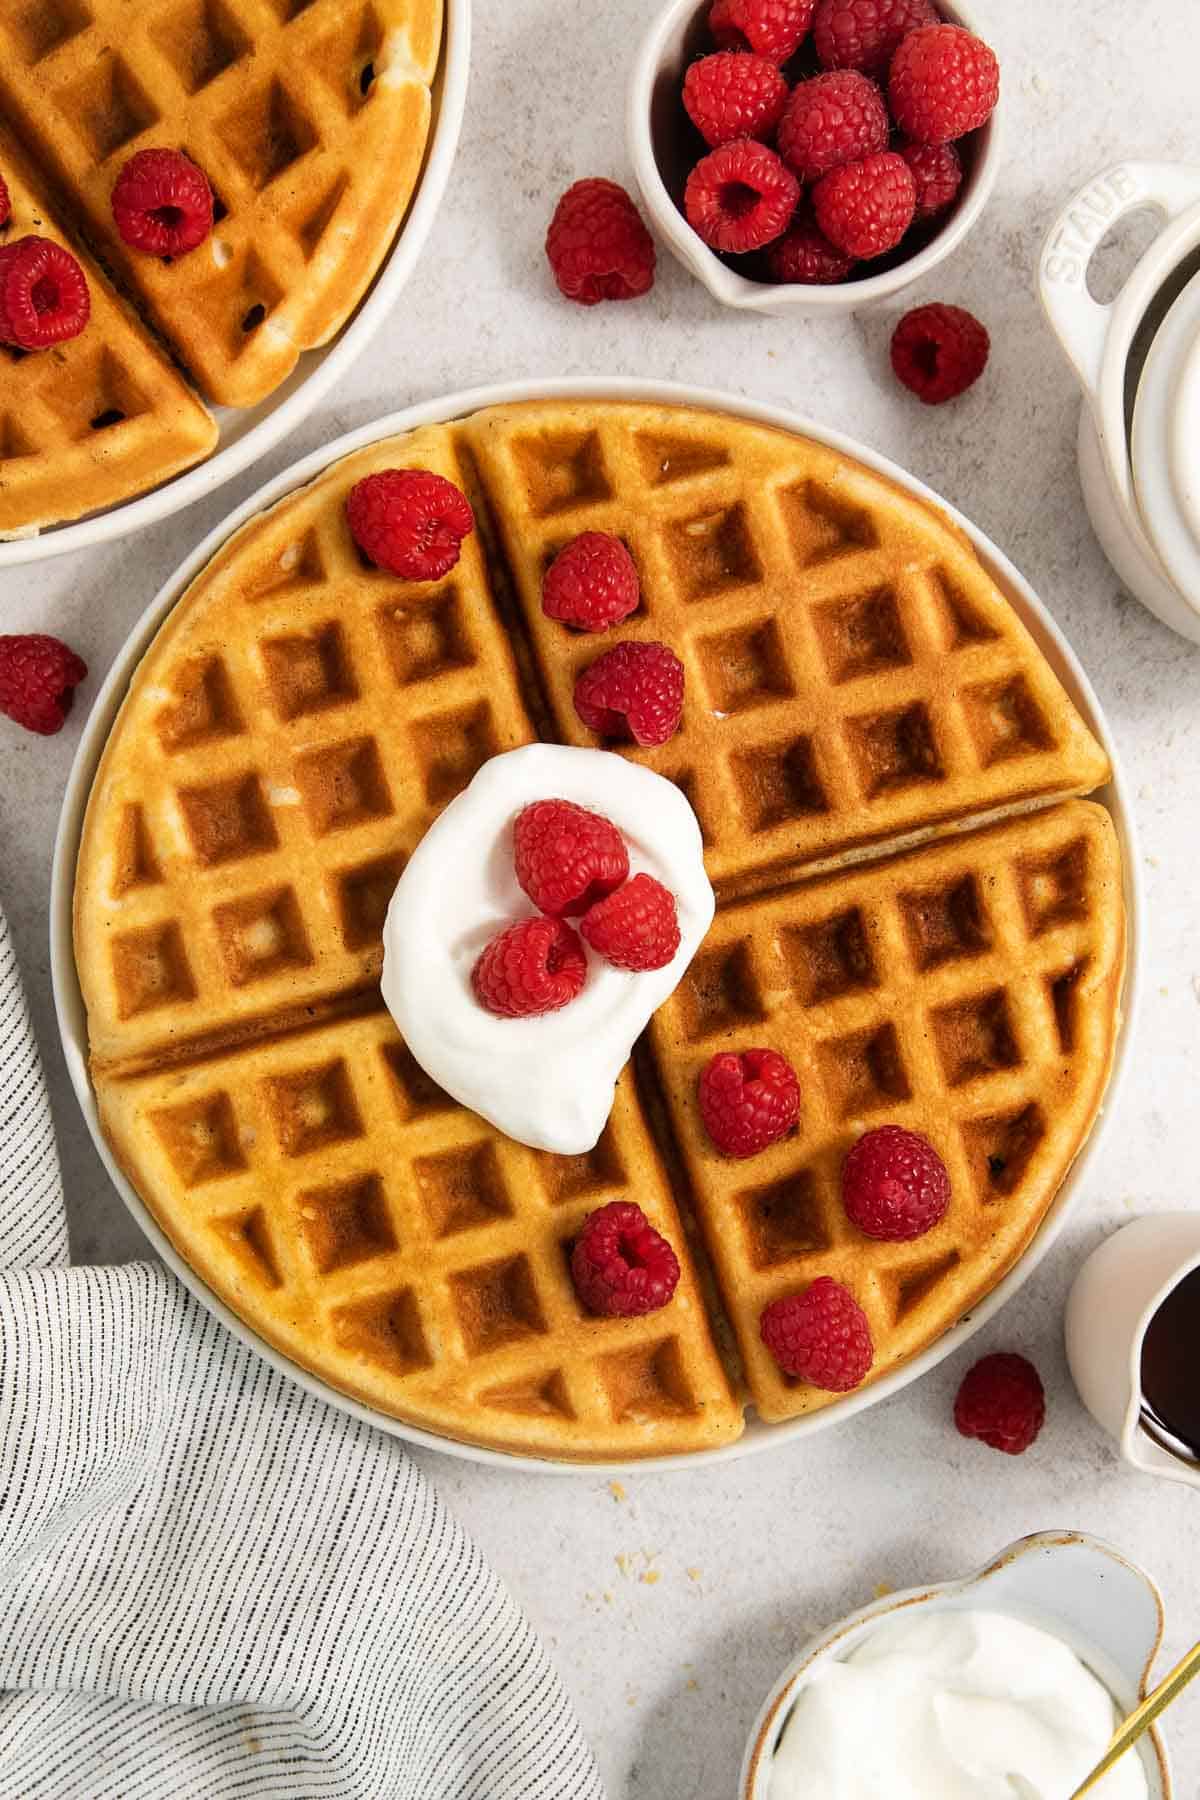
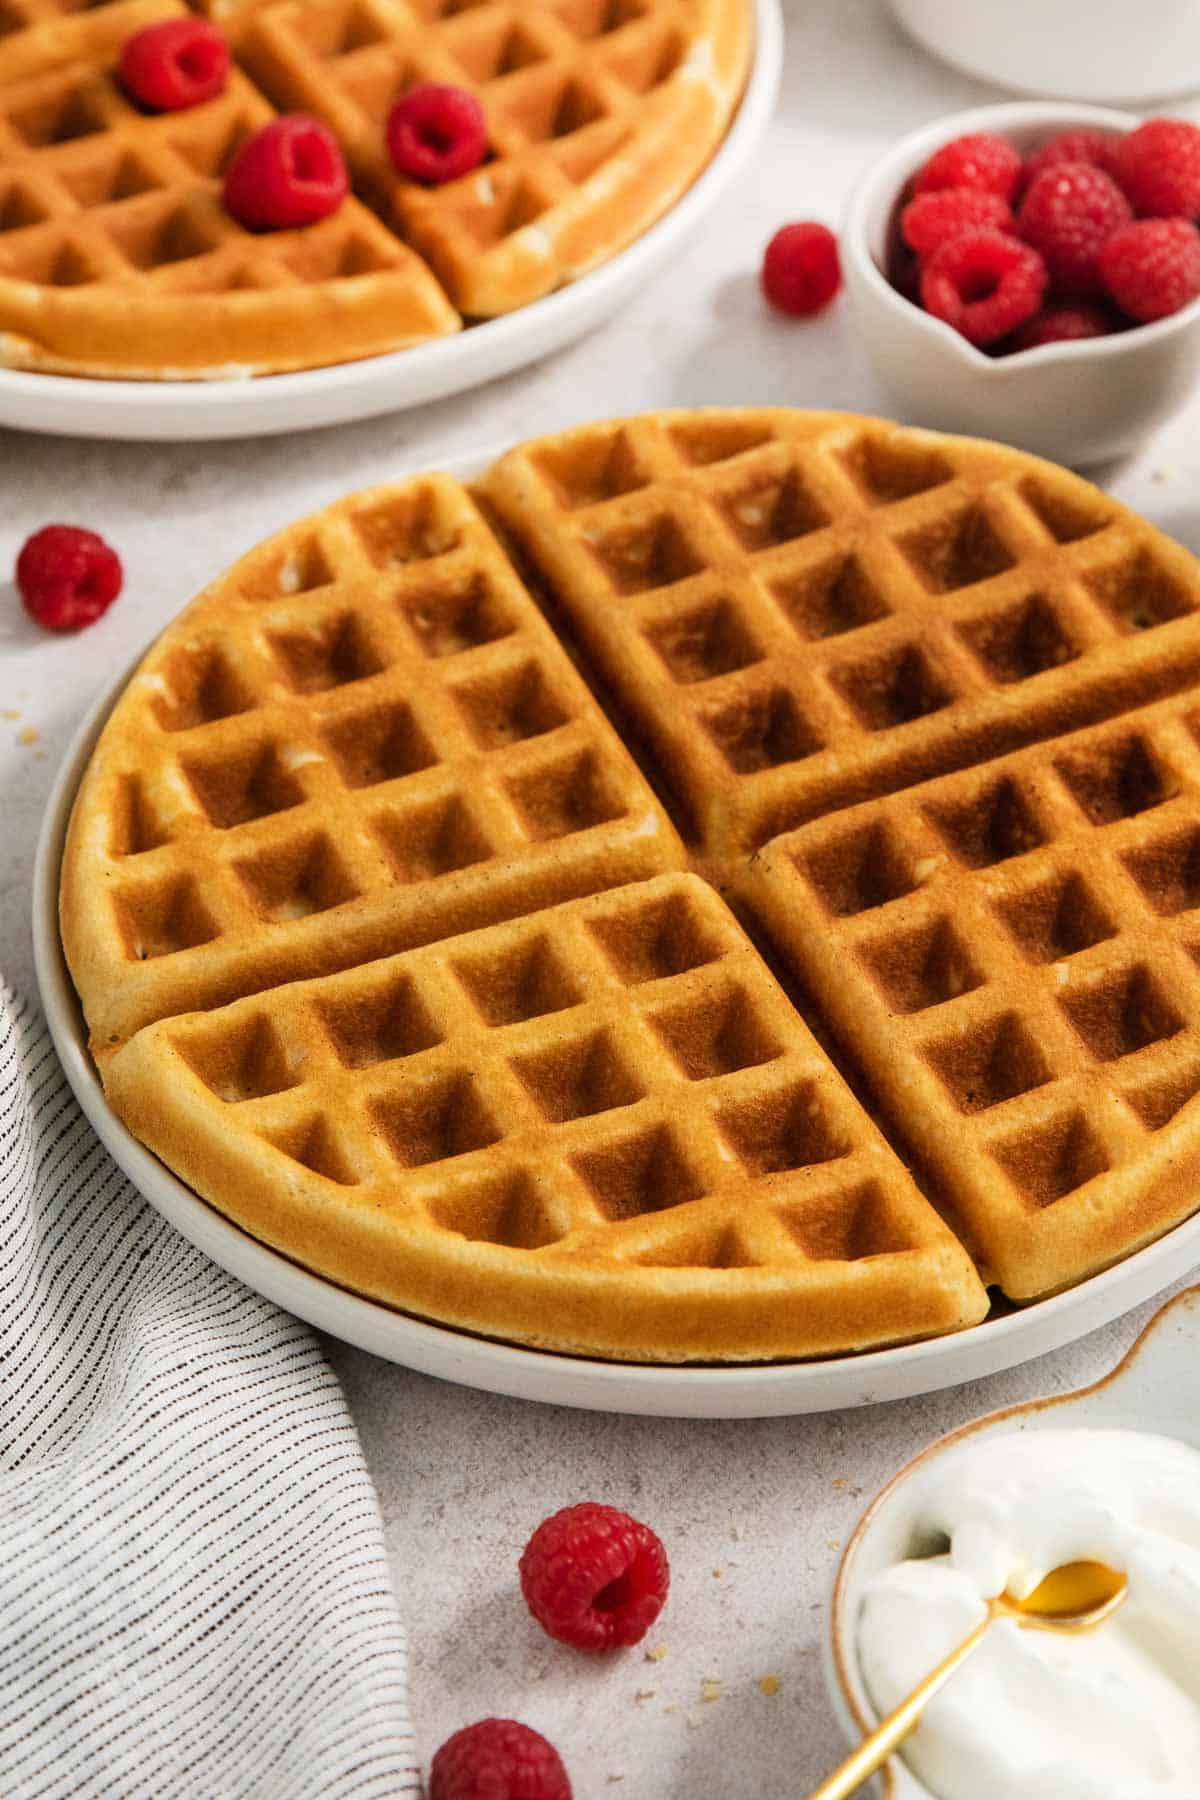
Texture: Crisp outside with a soft, fluffy inside.
Taste: Lightly sweet with a note of vanilla.
Ease: Simple to make with basic ingredients.
Top Tips: Separating the eggs and whipping the egg whites is 100% worth the effort for unbeatable results!
Recommended GF Flour: Works great with any gluten-free measure-for-measure flour that contains xanthan gum. I like Bob’s Red Mill the best with this recipe!
Would I make these again? Definitely! This recipe took a lot of trial and error over the years to get just right. The result is light, golden-brown waffles the whole family loves!
xoxo erin
Featured Comment
From Madeline: “Delicious! Loving all of your recipes. You can tell the method was well thought out. Honestly don’t NEED syrup on them! They’re so good as is. My toddler apparently loves them as well. Thank you!“
Ingredients You’ll Need
Here are a few notes on some of the key ingredients to make these classic gluten-free waffle. Jump to the recipe card below for the exact measurements.
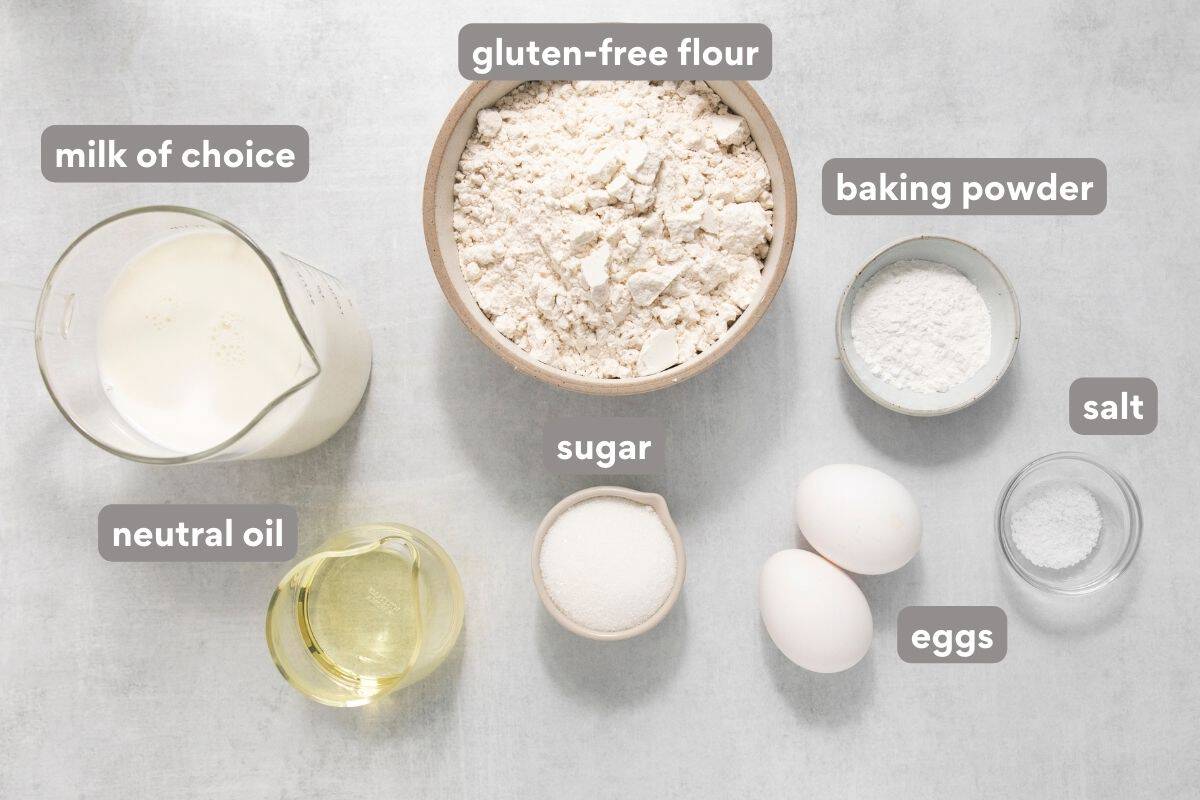
- Gluten-free flour: I recommend Bob’s Red Mill Gluten-Free 1:1 Baking Flour for this recipe. King Arthur Gluten-Free Measure-for-Measure Flour will also work.
- Baking powder: A generous amount of baking powder gives these crispy waffles lift.
- Eggs: Another trick to the perfect texture is to separate the eggs. Beating the egg whites until they’re fluffy keeps the batter light. Room-temperature eggs work best!
- Milk: I recommend using whole milk! It adds richness and helps with browning. You can still use any milk you like, but it may change the texture/color of the waffles.
- Oil: I find using a liquid fat, instead of butter, helps gluten-free waffles to turn out perfectly crisp. I like to use grapeseed oil, but any neutral oil will work.
How to Make Gluten-Free Waffles
Here’s an overview of how to make this recipe. You can jump to the recipe for the full instructions!
I preheat the oven to 200°F and get a baking sheet ready with a wire rack on top so that I can keep the waffles crisp and warm as I cook them. This works especially well if you are making a large batch or aren’t serving the waffles immediately.
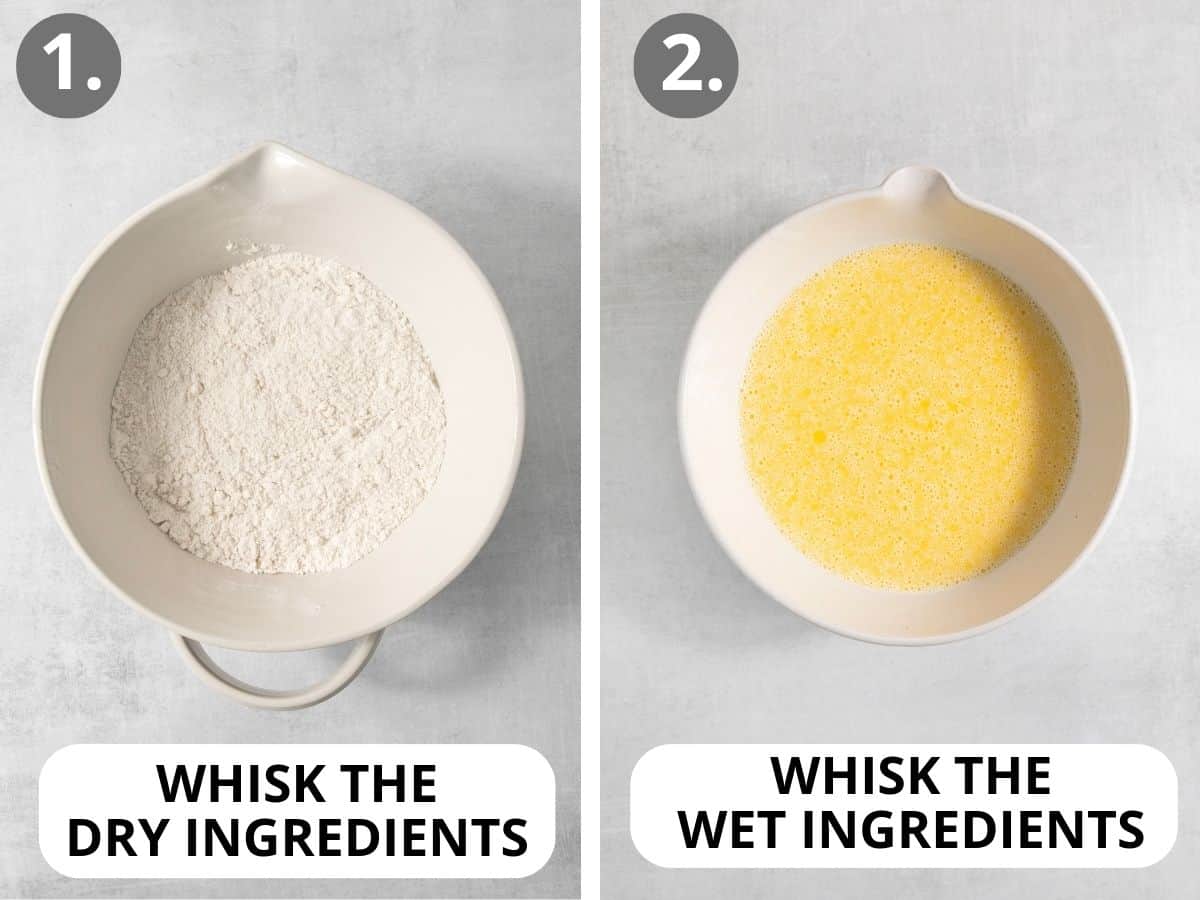
In one bowl, whisk together the dry ingredients. In another, lightly beat the egg yolks, then mix in the milk and oil.
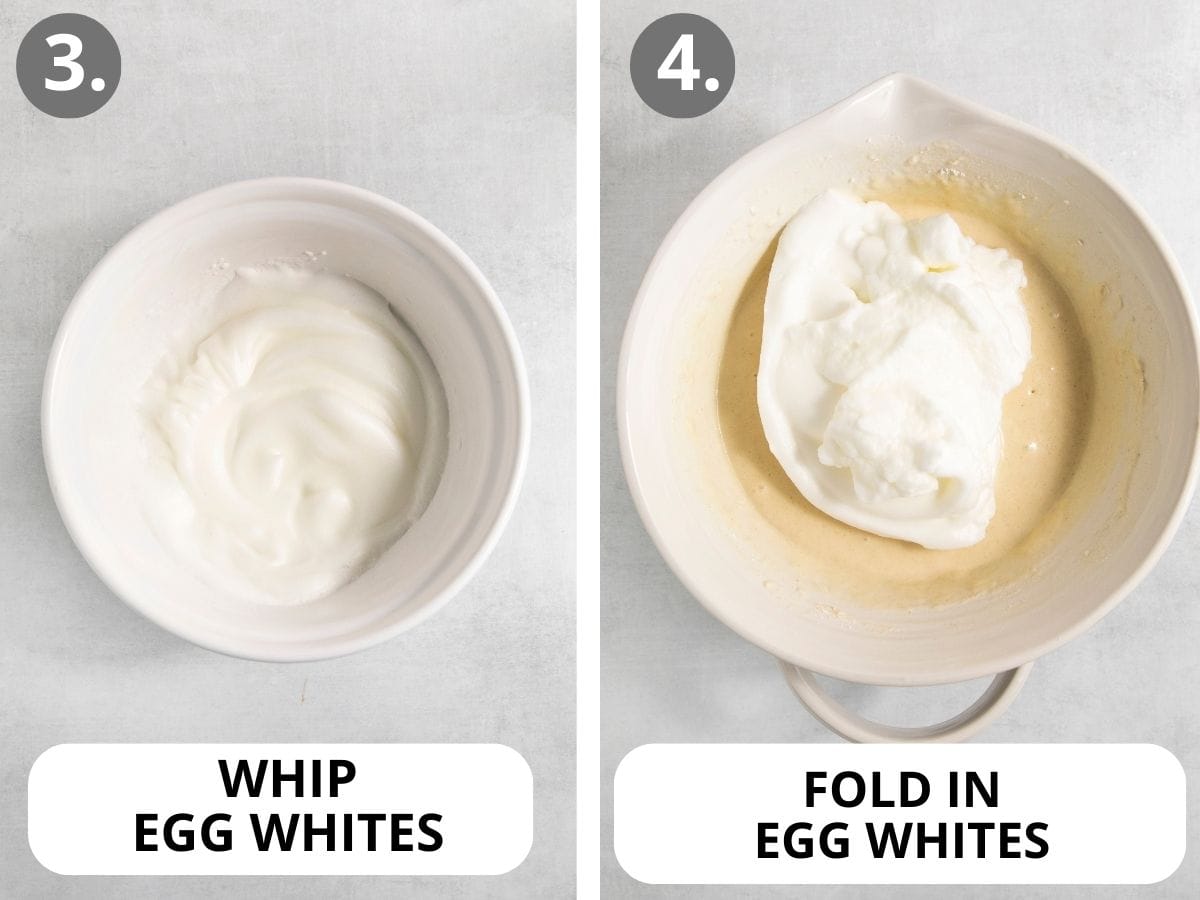
I like to use an electric mixer to whip the egg whites until stiff peaks begin to form. Gently fold them into the rest of the batter so that you don’t lose their airiness.
I recently upgraded our waffle iron and absolutely love it! Preheat the waffle iron, then spray with cooking spray before adding the batter. The waffles are done when they achieve a nice golden brown outside. It’s best to use your waffle maker’s instructions for this step so that they cook up just right!
Enjoy the waffles right away or pop them in the warm oven before serving. Beyond classic toppings, like butter and maple syrup, try fresh fruit, peanut butter, chocolate chips, etc. The options are endless!

Gluten-Free Waffles (1:1 Baking Flour!)
Ingredients
- 2 cups (300g) gluten-free measure-for-measure flour
- ¼ cup (50g) granulated sugar
- 1 tablespoon baking powder
- ½ teaspoon kosher salt
- 2 large eggs separated
- 1 ¾ cups (420ml) whole milk
- ⅓ cup (80ml) neutral oil
Instructions
- Preheat the oven to 200°F. Place a wire rack on a large baking sheet and set aside.
- In a large bowl, whisk together the gluten-free flour, sugar, baking powder and salt.
- In a separate bowl, lightly beat the egg yolks, then add the milk and oil. Mix well to combine.
- Add the wet ingredients to the dry ingredients and stir until just combined.
- In another bowl, beat the egg whites with an electric mixer until fluffy and stiff peaks begin to form.
- Gently fold the egg whites into the batter using a rubber spatula.
- Preheat the waffle iron. When the waffle iron is hot, lightly spray the inside with cooking spray, then scoop in the batter. Cook until golden brown, according to the waffle maker’s instructions.
- Serve immediately or keep warm on the wire rack-lined baking sheet in the warm oven until ready to serve.
Notes
Nutrition
This post was originally published in January 2014. It was updated with new instructions in June 2025.


I made this as written but only had 2% milk. They were like crepes and were rubbery. Are there other subs for whole milk or should you adjust ingredients if you do substitute?
Hi Sara, sorry these didn’t turn out as expected! We recommend using whole milk, we haven’t experimented with other substitutions! Perhaps adding a bit more oil would help? It’s also important to not over-mix the batter–that could be contributing to a rubbery texture. Hope that helps!
These were absolutely amazing. I followed the recipe exactly as written. Thank you!
Hi Rebecca, thanks so much for your review—glad to hear it!
Have you ever swapped honey or coconut sugar for the sugar?
Hi Teri, we don’t typically bake with sugar substitutes unfortunately. If you decide to give it a try, we’d love to hear how it goes!
Very good! I used buttermilk and they were delicious!!!
Hi Dawn, thank you for your positive feedback! We’re so glad you loved the recipe!