


Featured Comment
From A: “Made these for a back to school dinner, and everyone loved them. Thanks for a great alternative to regular gluten rolls. I will be making these for Thanksgiving for sure!! ★★★★★”
From Jenny: “These were amazing! My non gluten free relatives didn’t even know they were gf! Will definitely be making again ★★★★★”
From Amy: “These are so good! Your recipes are so easy to follow and turn out delicious every time! ★★★★★”
Why Try These Gluten-Free Crescent Rolls
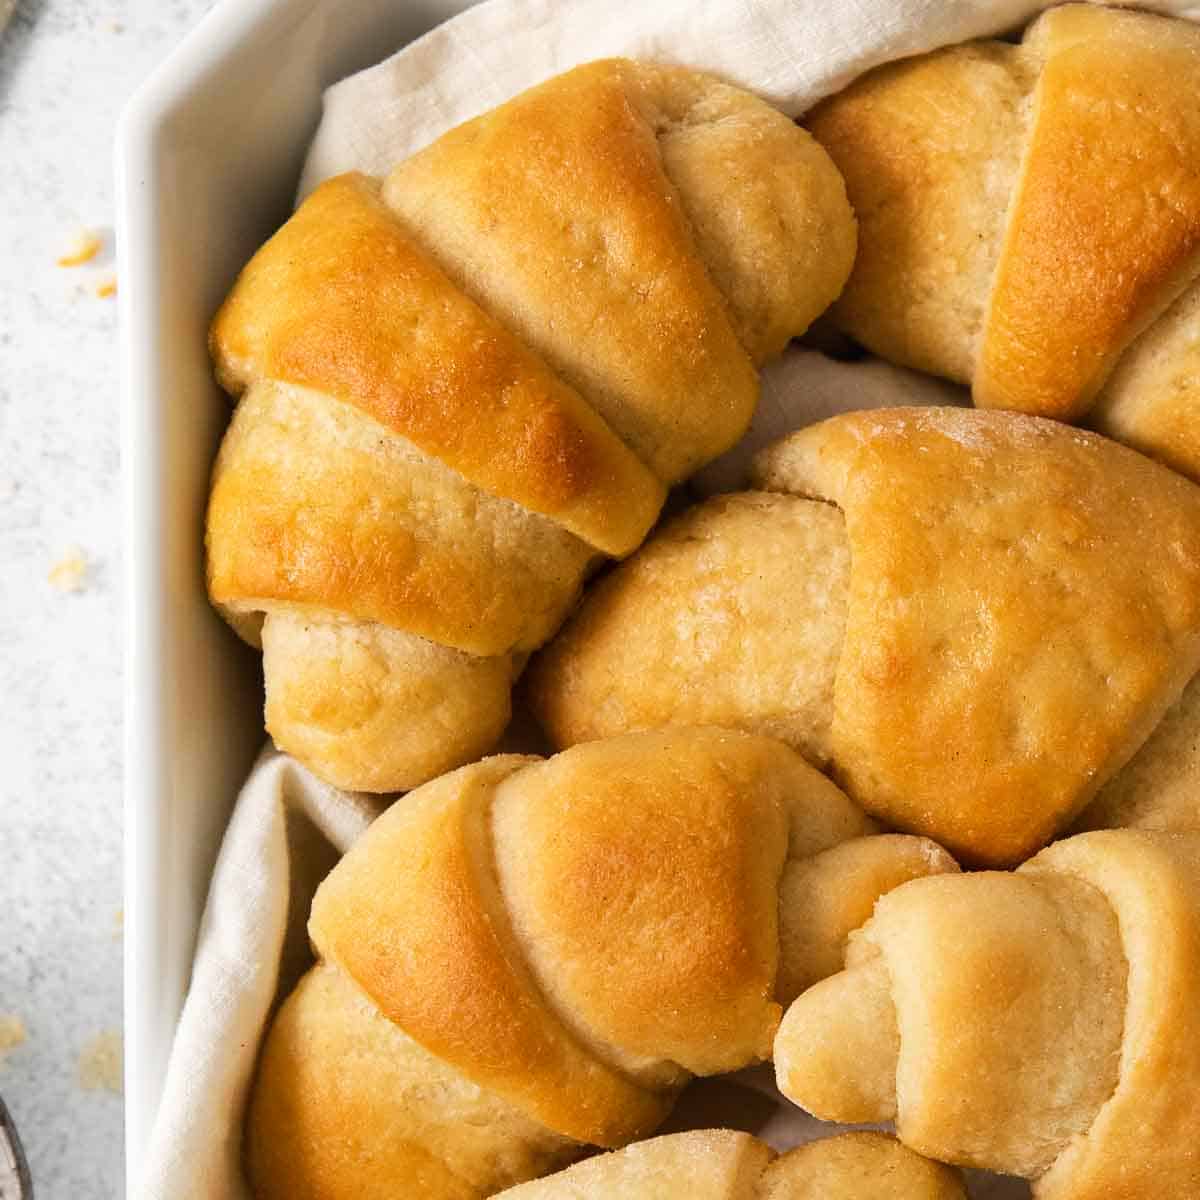
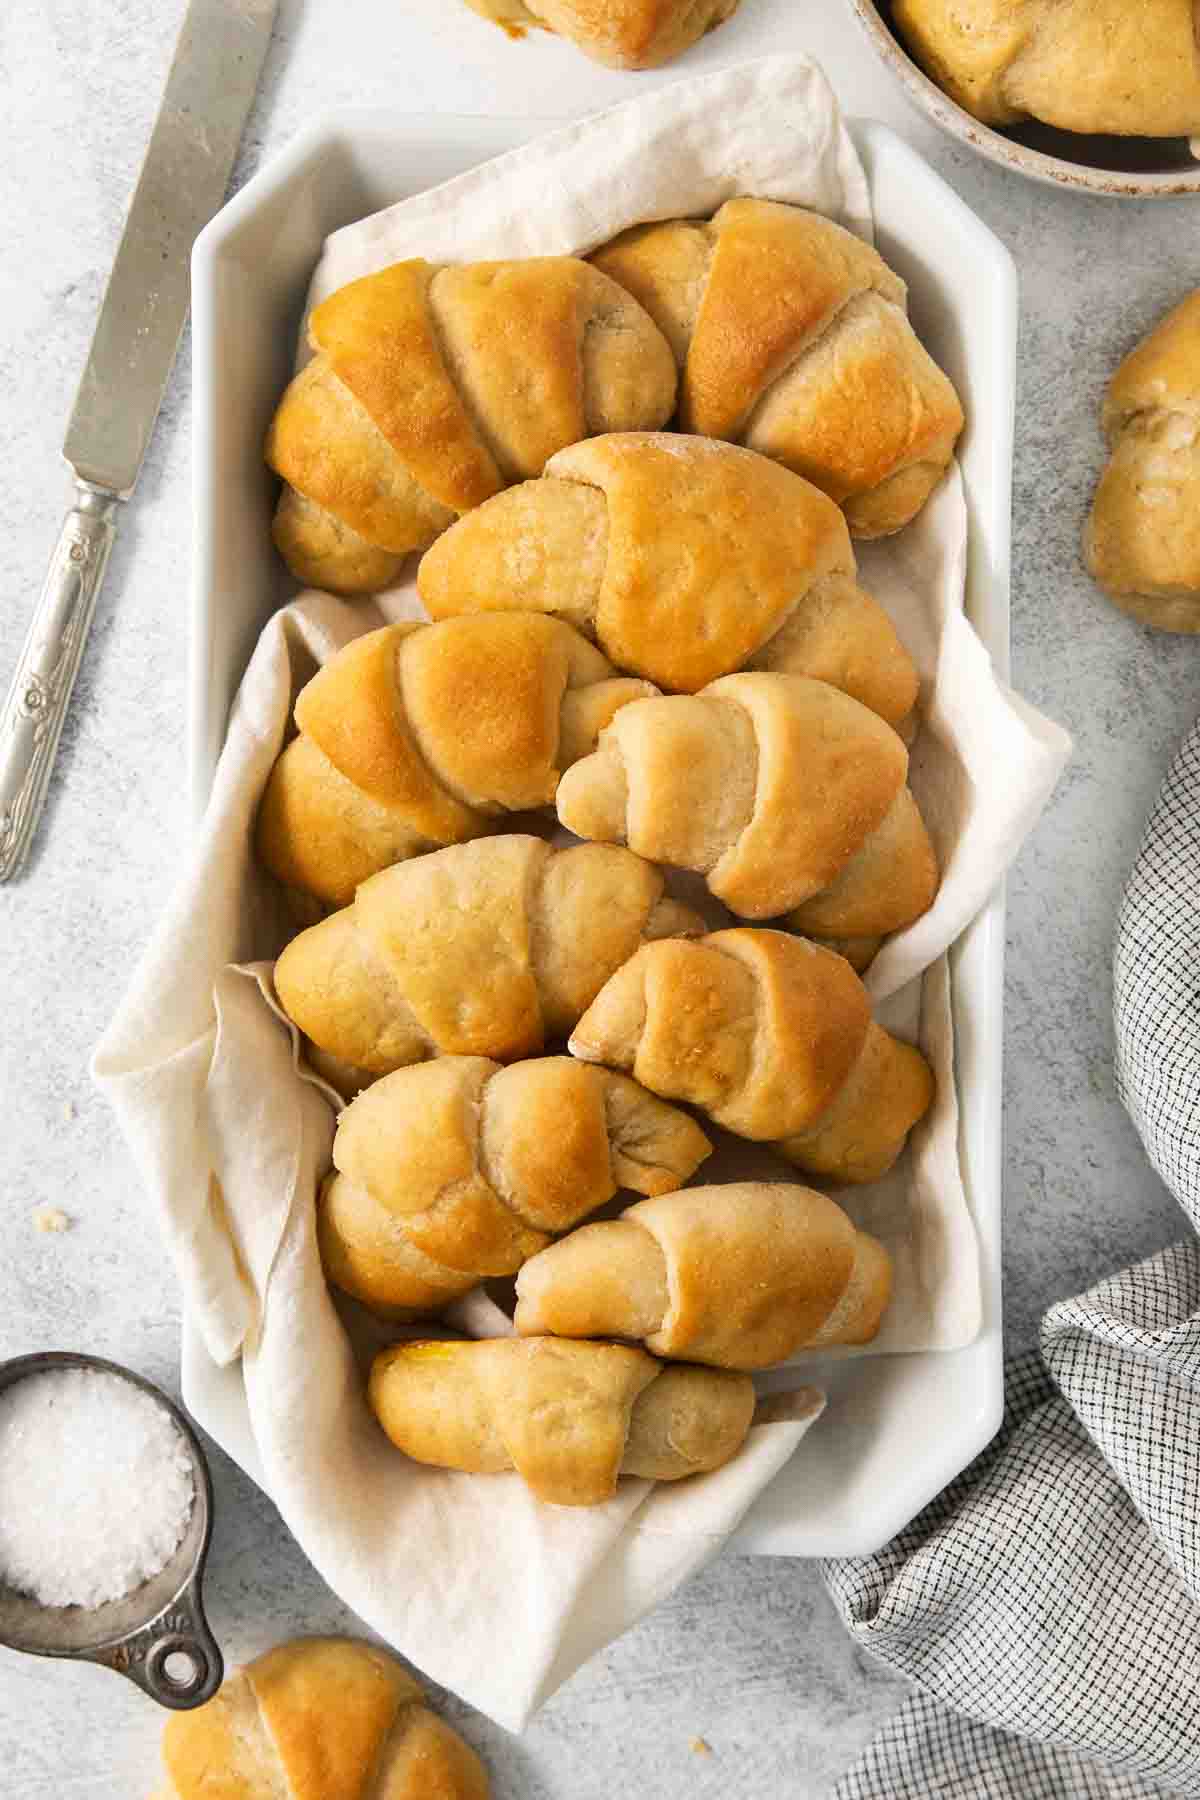
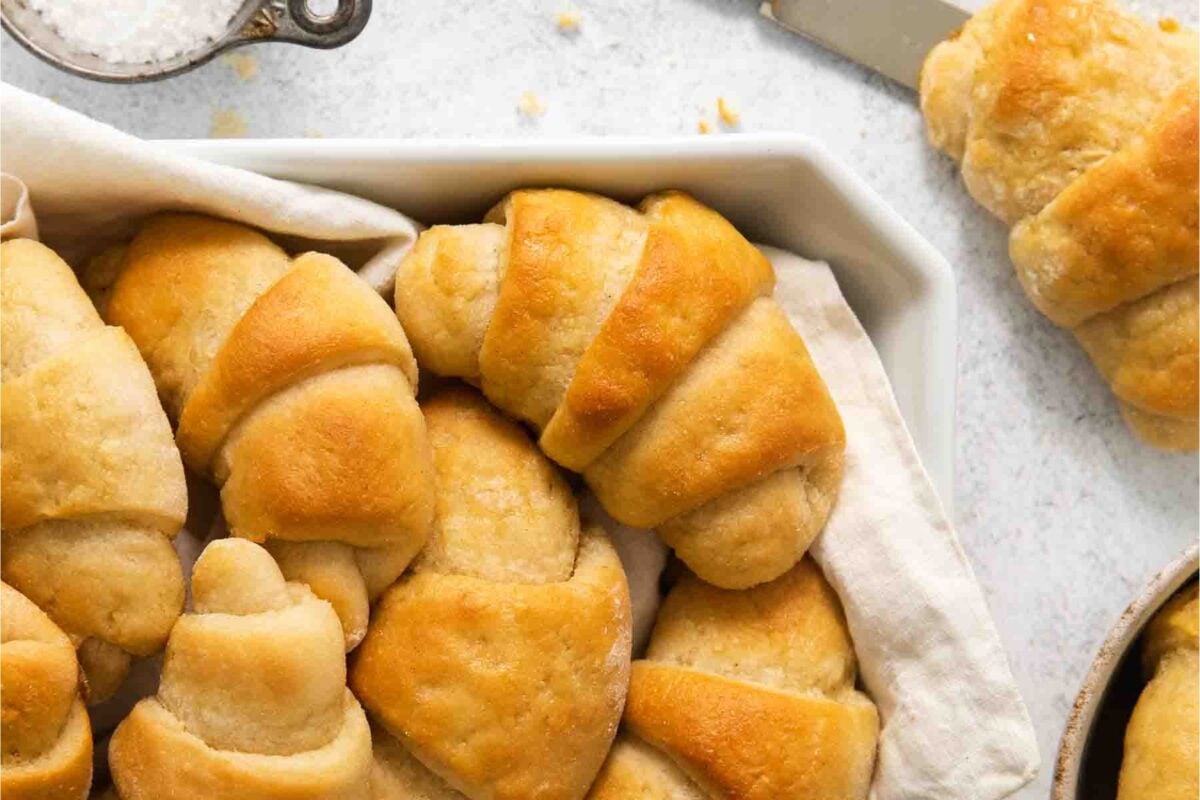
These gluten-free crescent rolls bring back a Thanksgiving tradition from my childhood! After years of trying to recreate my Mom’s crescent rolls, I finally found success with King Arthur gluten-free bread flour.
Outside of the holidays, I typically serve them with gluten-free pot roast or gluten-free beef stew for a comfort meal my whole family loves!
- Only one rise: The shaped rolls rise until doubled before baking, so there’s no second rise to worry about.
- Classic crescent roll shape: The gluten-free dough is workable enough to roll out and shape into the traditional crescent shape.
- Soft and fluffy texture: Gluten-free bread flour helps create the tender texture that’s difficult to achieve with a standard gluten-free 1:1 flour blend.
What You Need
Here are a few notes on some of the key ingredients to make these gluten-free crescent rolls. Jump to the recipe card below for the exact measurements.
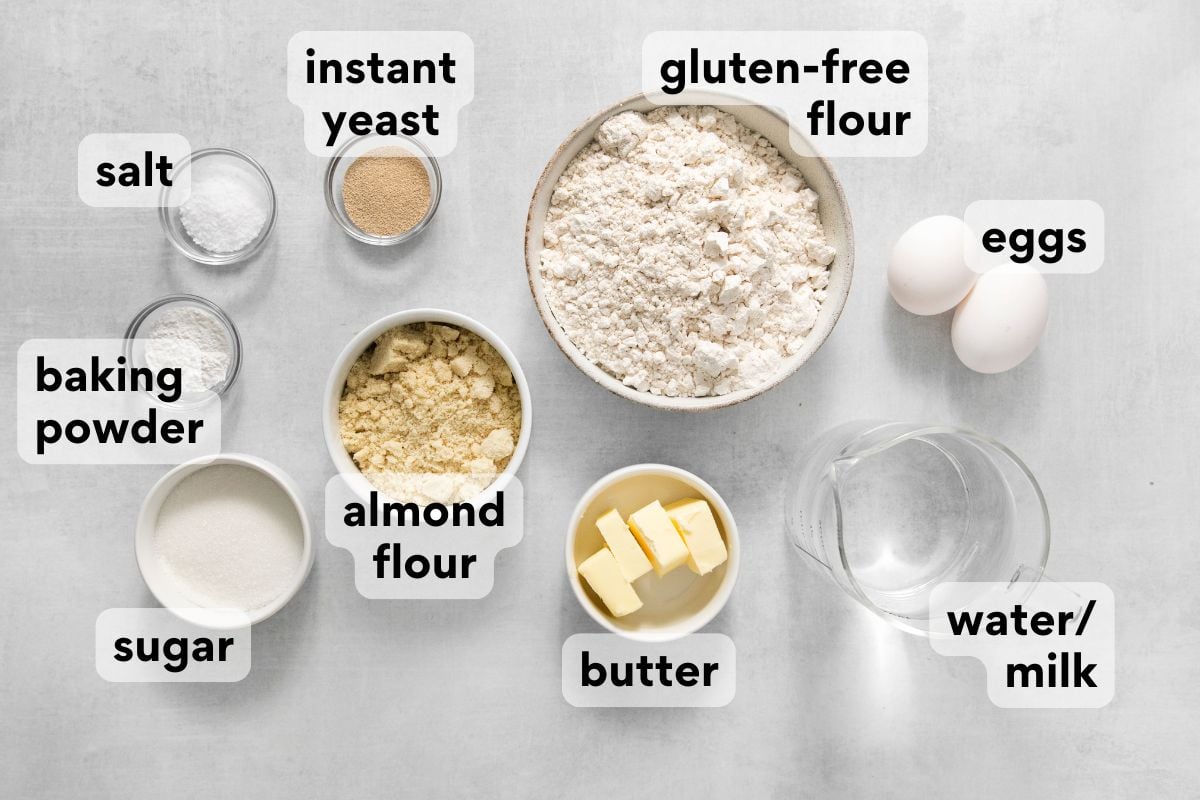
- Gluten-free bread flour. I use this gluten-free bread flour, which contains gluten-free wheat starch and xanthan gum. It creates a dough that’s easy to roll and shape. This is the key to making gluten-free crescent rolls that are as good as the original!
- Almond flour. I like to add a little almond flour for extra flavor and browning. I use the same trick in my gluten-free sandwich bread!
- Instant yeast. I’m a big fan of using instant yeast since it can be mixed directly into the dry ingredients. If using active dry yeast, dissolve it in the warm liquids first.
- Whole milk powder. This is a newer addition to my recipe! I’ve tested it multiple times, and the rolls turn out softer and more flavorful than ever. It’s a small change that makes a noticeable difference!
How to Make Gluten-Free Crescent Rolls
Here’s an overview of how to make this recipe. You can jump to the recipe for the full instructions!
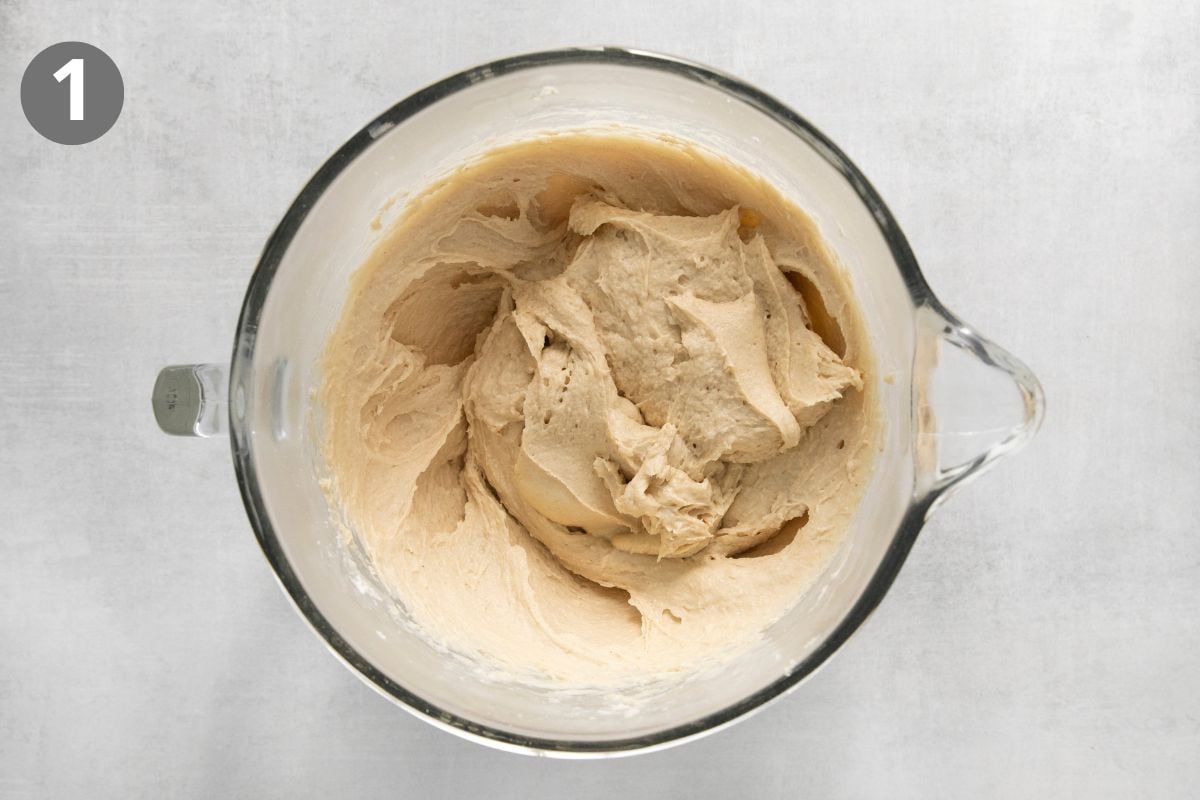
Make the dough. I start by combining the dry ingredients, then slowly add the liquid ingredients with the mixer on low. I increase the speed to medium and mix for 3 minutes, until very smooth. The dough should look like thick cookie dough!
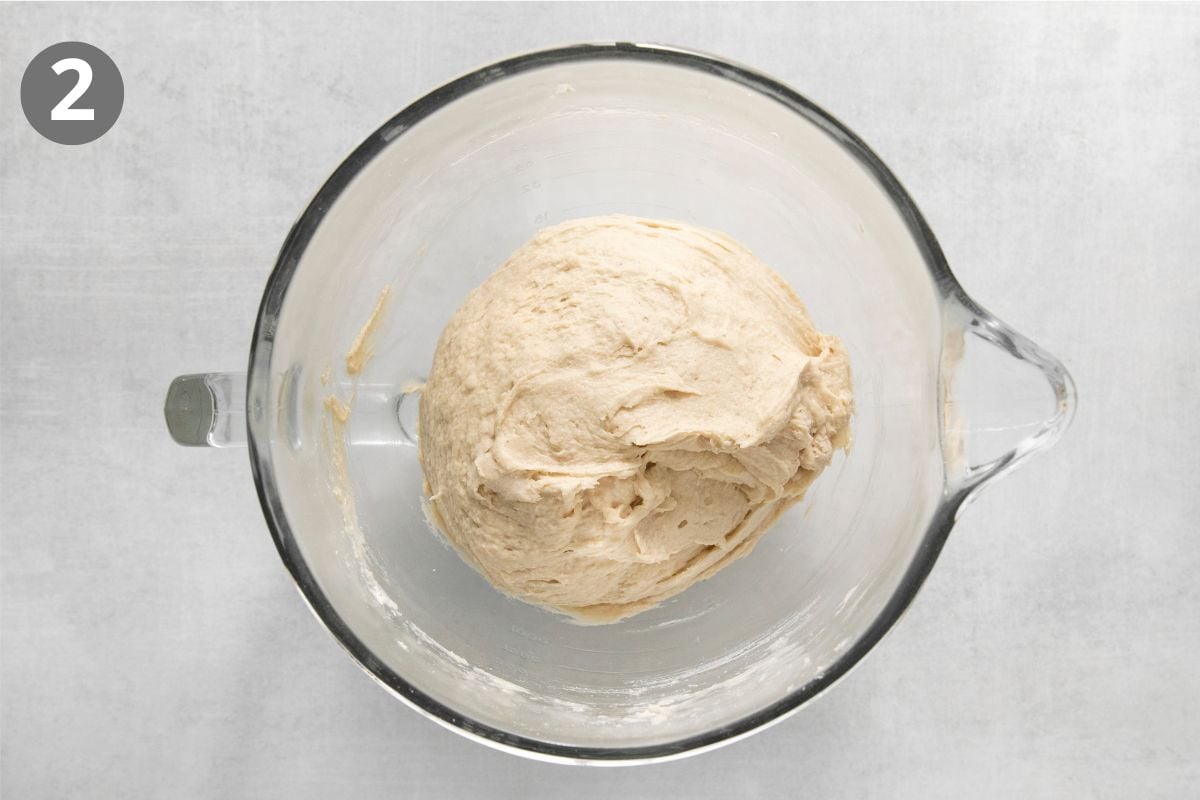
Cover and chill. I oil a spatula then scrape the dough away from the sides and bottom, then cover the bowl tightly with plastic wrap. Refrigerate the dough for 20 minutes. I find this makes the dough much easier to roll out and shape!
Erin’s Tip
I prefer using the paddle attachment on my stand mixer, rather than the dough hook. In my experience, the paddle mixes this thick dough more evenly.
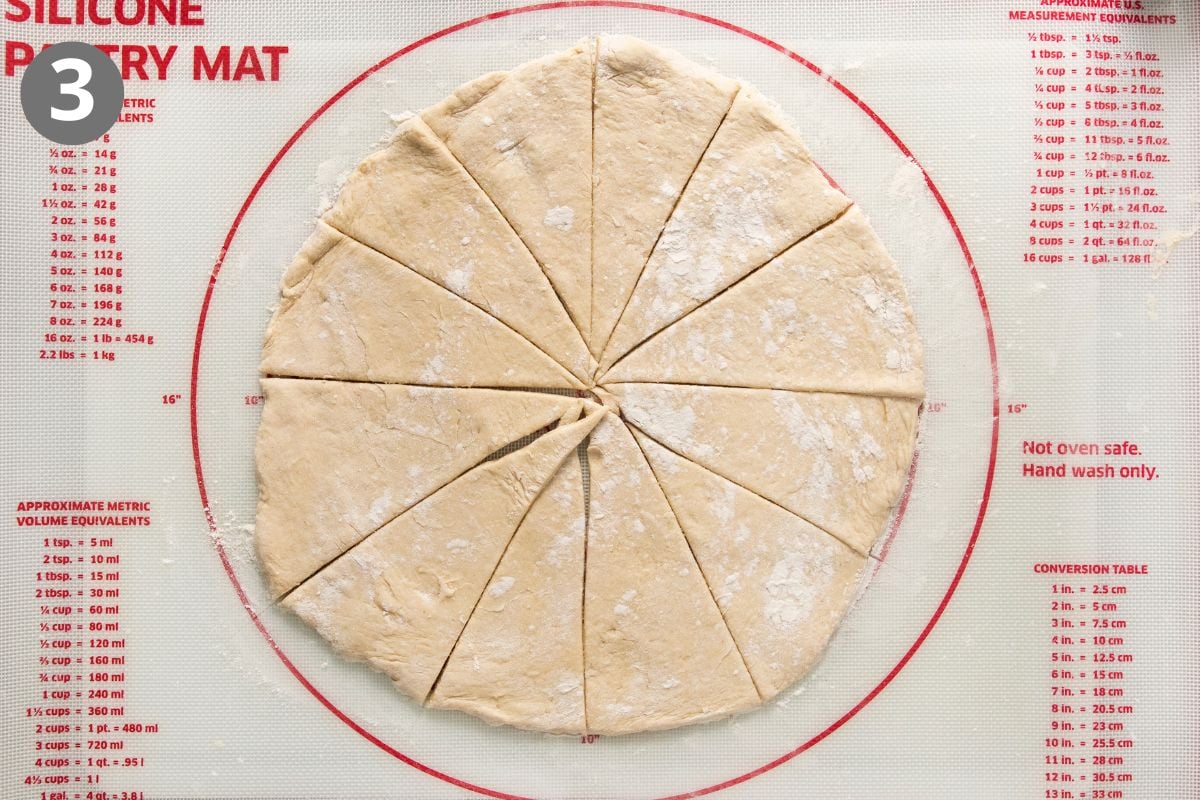
Roll and slice. Lightly flour your work surface, then scoop out half the dough. Roll it into a 12-inch circle and brush with 2 tablespoons of melted butter. Use a pizza cutter to slice the dough into 12 wedges. I aim for equal-sized wedges, but honestly, mine always vary a little and still turn out great! Repeat with the remaining dough.
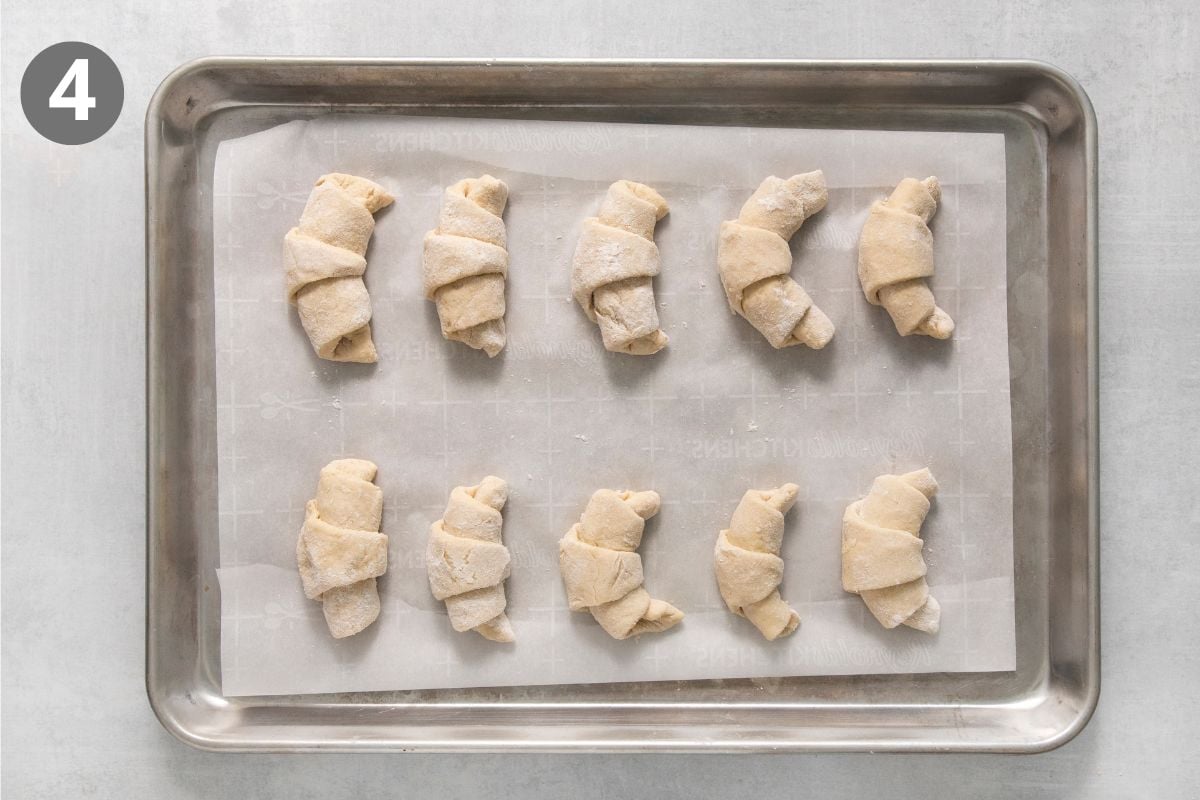
Shape and rise. I start at the wide end to roll up each wedge, then place the rolls point side down on the prepared baking sheets. Make sure you curve the ends to create the classic crescent shape! Cover the baking sheets and let them rise in a warm place until doubled in size. In my kitchen, this usually takes 45 minutes to 1 hour!
Erin’s Tip
I like using this silicone baking mat with circle measurements to make it easier to roll the dough into a 12-inch circles.
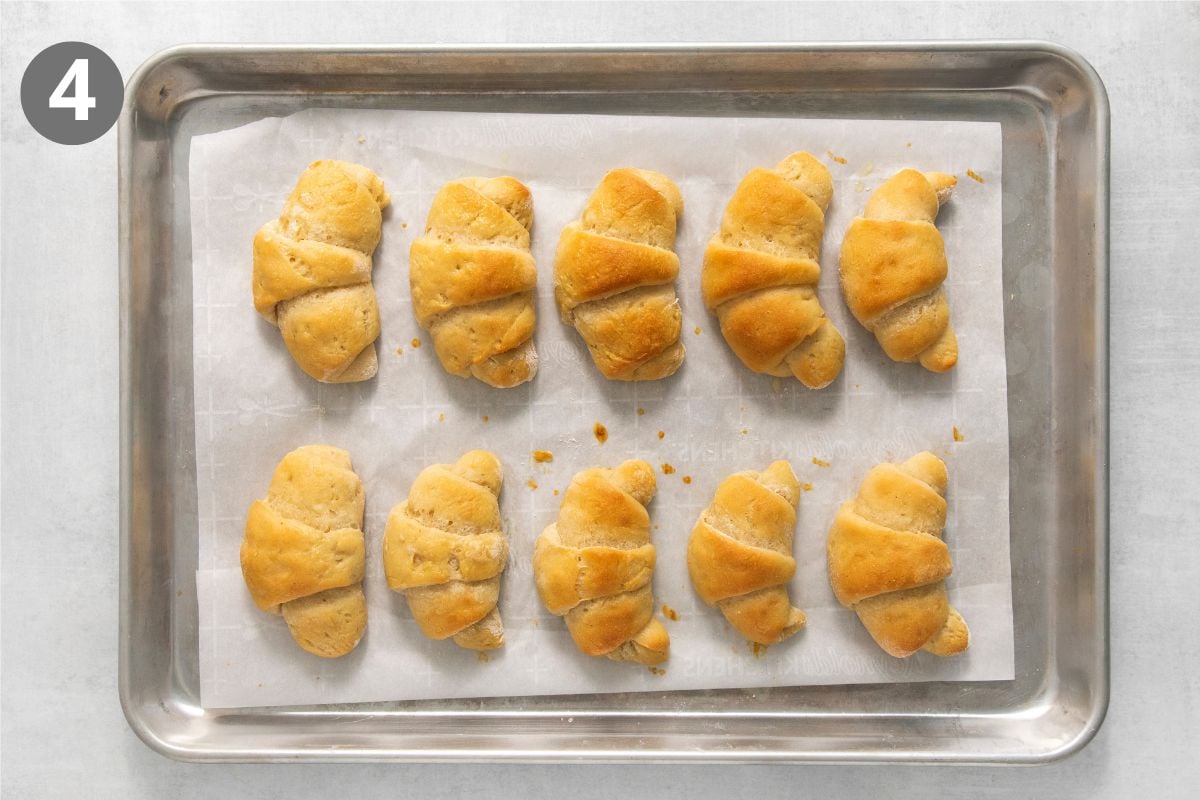
Bake and serve. Bake until the edges start to turn golden, then immediately brush the warm rolls with extra melted butter. I love serving these fresh from the oven while they’re still warm. So good!
More Gluten-Free Bread Flour Recipes
Buttery, Gluten-Free Crescent Rolls
Video
Ingredients
For the Dough:
- 4 cup (600g) King Arthur Gluten-Free Bread Flour
- 2/3 cup (75g) almond flour
- ¼ cup (50g) granulated sugar
- 3 tablespoons (20g) dry whole milk powder
- 2 ¼ teaspoons instant yeast
- 2 teaspoons kosher salt
- 1 teaspoon baking powder
- 1 cup (240ml) water, warm
- 1 cup (250ml) whole milk, warm
- 2 large eggs
- 4 tablespoons (56g) butter, melted
Instructions
- In the bowl of a stand mixer fitted with the paddle attachment, add the gluten-free bread flour, almond flour, granulated sugar, milk powder, instant yeast, salt and baking powder. Mix to combine.
- With the mixer running on low, slowly add the water, milk, eggs and melted butter. Increase the speed to medium and mix for 3 minutes. The dough will resemble thick cookie dough, this is normal.
- Using an oiled rubber spatula, scrape down the bottom and sides of the bowl. Cover the bowl tightly with plastic wrap and refrigerate for20 minutes. (Refrigerating the dough makes it easier to roll out.)
- Line 2 large baking sheets with parchment paper or silicone baking mats.
- On a lightly floured surface, scoop out ½ of the dough. Roll into a 12-inch circle. Repeat with the other ½ of the dough. Brush the top of the dough with melted butter, about 2 tablespoons per circle.(You’ll brush the rest of the melted butter on the rolls when they’re done baking.)
- Use a pizza cutter to slice each circle into 12 equal wedges. (They might vary in size a bit, but that’s fine.) Roll up each wedge, starting at the wide end, into a crescent shape. Place the rolls point side down, 2-inchesapart, on the prepared baking sheets. Curve the ends to form crescents.
- Cover with oiled plastic wrap and let rise in a warm place for 45-60 minutes.
- Preheat the oven to 350°F.
- Bake for 22-26 minutes, until the edges begin to turn golden brown. Remove from the oven and immediately brush the rolls with melted butter. Best served warm.
Notes
almond flour. To Make-Ahead: I like to make these gluten-free crescent rolls ahead of time, then freeze them. This way I know I get the perfect rise and structure! To Store: Leftovers can be stored in an airtight container at room temperature for up to 3 days. I like to refresh them by slicing the rolls in half, spreading a little butter on each half, then broiling the rolls for 2-3 minutes until warm and toasty. To Freeze: Place cooled rolls in a large zip-top freezer bag, press the air out, and seal tightly. The rolls can be frozen for up to 3 months. I recommend thawing them at room temperature for 1-2 hours before warming and serving.










These, like all your recipes are amazing. I do have a question. Do I have to add 2 teaspoons of salt? I don’t need the extra salt and was just wondering if I could half it?
Aww, thank you, Karen! We’re so glad you loved the crescent rolls! We wouldn’t recommend leaving it out completely, since it helps balance the sweetness and gives the rolls better flavor, but using half the amount should work just fine. We’d love to hear how it goes!
Made these for a back to school dinner, and everyone loved them. Thanks for a great alternative to regular gluten rolls. I will be making these for Thanksgiving for sure!!
We’re thrilled to hear the crescent rolls were such a hit at the back to school dinner. Thank you for the wonderful feedback! We hope they’re just as loved at your Thanksgiving meal!
I’m from Canada and we don’t have King Arthur flour here, so I used Caputo GF flour because it has wheat starch in it. It did not work. Turned into a sticky, goopy mess.
We’re sorry you had this experience, Sarah! Unfortunately, this recipe was designed specifically for the blend found in King Arthur GF Bread Flour and no other GF flour blend works the same. We hope your next bake goes much better!
These were amazing! My non gluten free relatives didn’t even know they were gf! Will definitely be making again
We love to hear this, Jenny! Thank you for coming back and sharing this positive feedback with us!
Do you have to have a stand mixer? I haven’t invested in one yet. Any suggestions on an affordable, but reliable mixer? Thanks!
Love these crescent rolls and even my non GF family loves them. I just made them today and filled them with pizza sauce and toppings (very lightly filled) and they turned out great!
We’re thrilled to hear how much you and your family love the recipe and that it worked well filled with pizza sauce and toppings. Thank you for sharing with us, Lisa!
Hey Erin – could you double-check your weight measurements? The back of the KA Bread Flour bag says 1 Cup = 120 grams, but your recipe is coming out to 150 grams – an extra 1/4 cup according to their measurements. I’ve tried both this and the cinnamon roll recipe following your weight measurements, and both doughs were dry. Next time I’ll try 4 cups at 120 grams, but wanted to raise the flag for ya!
Hi Erin, thanks for checking in. This is a very common question that comes up! I find that 1 cup of KAF weighs much closer to 150 grams. At the end of the day a cup measurement is subjective – and I think the manufacturer doesn’t realize gluten-free flour is denser than traditional wheat flour. Traditional wheat flour is 120 grams/cup. I like to make my recipes so they will turn out for both people using cup measurements and grams measurements. It is my way of doing it on this website (it’s consistent through all my recipes) even if it’s not the same as KAF. I hope this helps!
These are absolutely amazing!!! Quick question, the cookbook says 4 tbsps of butter & the website here says 8 tbsps of butter (for the dough)? Which one do you recommend following?
I had the same question and figured out the extra 4 tbsp is for brushing on!
Hi Jean, yes, you are correct! Sorry for the confusion!
Could you unroll them after to possibly put ham and cheese inside?
Hi Brianna, we haven’t tried that so we can’t say for sure, but sounds like a delicious addition!
I have missed regular crescent rolls so much, and while these definitely aren’t the exact same, they were great! Everyone loved them as a Thanksgiving side dish. I will definitely be making them again!
These are so good! Your recipes are so easy to follow and turn out delicious every time!
Hi Amy, thanks for the kind words! So glad you enjoyed the rolls!
How long can you store the dough in the fridge?
Hi Tamie, for best results, we recommend shaping the dough and then storing in the fridge for no longer than 24 hours.
Do you have any recommendations for those in higher altitudes? I tried adding more flour but then it makes them too dense. I struggled with them being too liquidity.
Hi Heather, sorry you’re having trouble with these! We recommend reducing the liquids slightly. Try reducing the water by 2-3 TB and the whole milk by 1-2 TB. You may also want increase the baking temperature to 375°F so they set up faster. If you try this, decrease the bake time to about 18 minutes. Let us know if these tips help!
Is it possible to make the dough ahead of time and refrigerate overnight?
Thanks!
Hi Ashley, we haven’t refrigerated the dough overnight, but it might work out! If you try it, be sure to shape the rolls before refrigerating.
My dough’s stop soft after the initial 20 minutes in the fridge and I couldn’t shape them. I ended up leaving them in the refrigerator overnight and had much more luck in shaping them the next day! They came out great!
Hi Cathi, glad to hear it! Thanks so much for sharing.
Mine didnt rise 🙁
Hi Marie, sorry these didn’t turn out as expected! Some potential fixes could be making sure the yeast is fresh, and the formed rolls stay warm and well covered while rising.
Could you skip the second rise and instead use these to make Taco Ring?
Hi Samantha! We haven’t tried that before, but it sounds delicious. If you decide to test it out, we’d love to hear how it goes!
Do you thinking subbing almond milk for whole milk would work? I have a cashew allergy and a dairy allergy so can’t do whole milk or cashew milk.
Hi Lesley, good question! Almond milk will probably work. The rolls may be slightly less rich and fluffy, but still delicious! For best results we recommend an almond milk with a higher fat content and no gums/additives.