


Featured Comment
From Jen: “Unbelievably soft, lemony, and easy to make! The lemon isn’t overpowering, it’s the (chef’s kiss) perfect amount! These will be added to my LONG list of repeat ME recipes!”
From JP: “These lemon cookies are fantastic especially from the freezer! I make a batch, place them in the freezer and eat them directly from the freezer! They are still soft and chewy and the lemon flavor is enhanced by the cold! Even family and friends who are not gluten free enjoy these!”
From Jessica: “So delicious! Followed the recipe as written and they turned out perfect. Great lemon flavor. Not dry or dense like other GF recipes I have tried. Thank you!”
Recipe Overview
⏱️ Time to Taste: About 1 hour 30 minutes (includes chilling)
✨ Texture: Soft centers with lightly crisp edges and a chewy bite
🥣 Ease: Easy (No rolling pin or decorating required!)
🌾 Flour Used: King Arthur Gluten-Free Measure-for-Measure Flour
🍋 Key Ingredient: Two whole fresh lemons for maximum citrus flavor
🎉 Best For: Spring, summer, baby showers, Easter, brunches, afternoon tea, cookie exchanges
❤️ Why You’ll Love It: Fresh lemon zest is rubbed into the sugar before mixing, creating incredibly fragrant cookies packed with real lemon flavor.
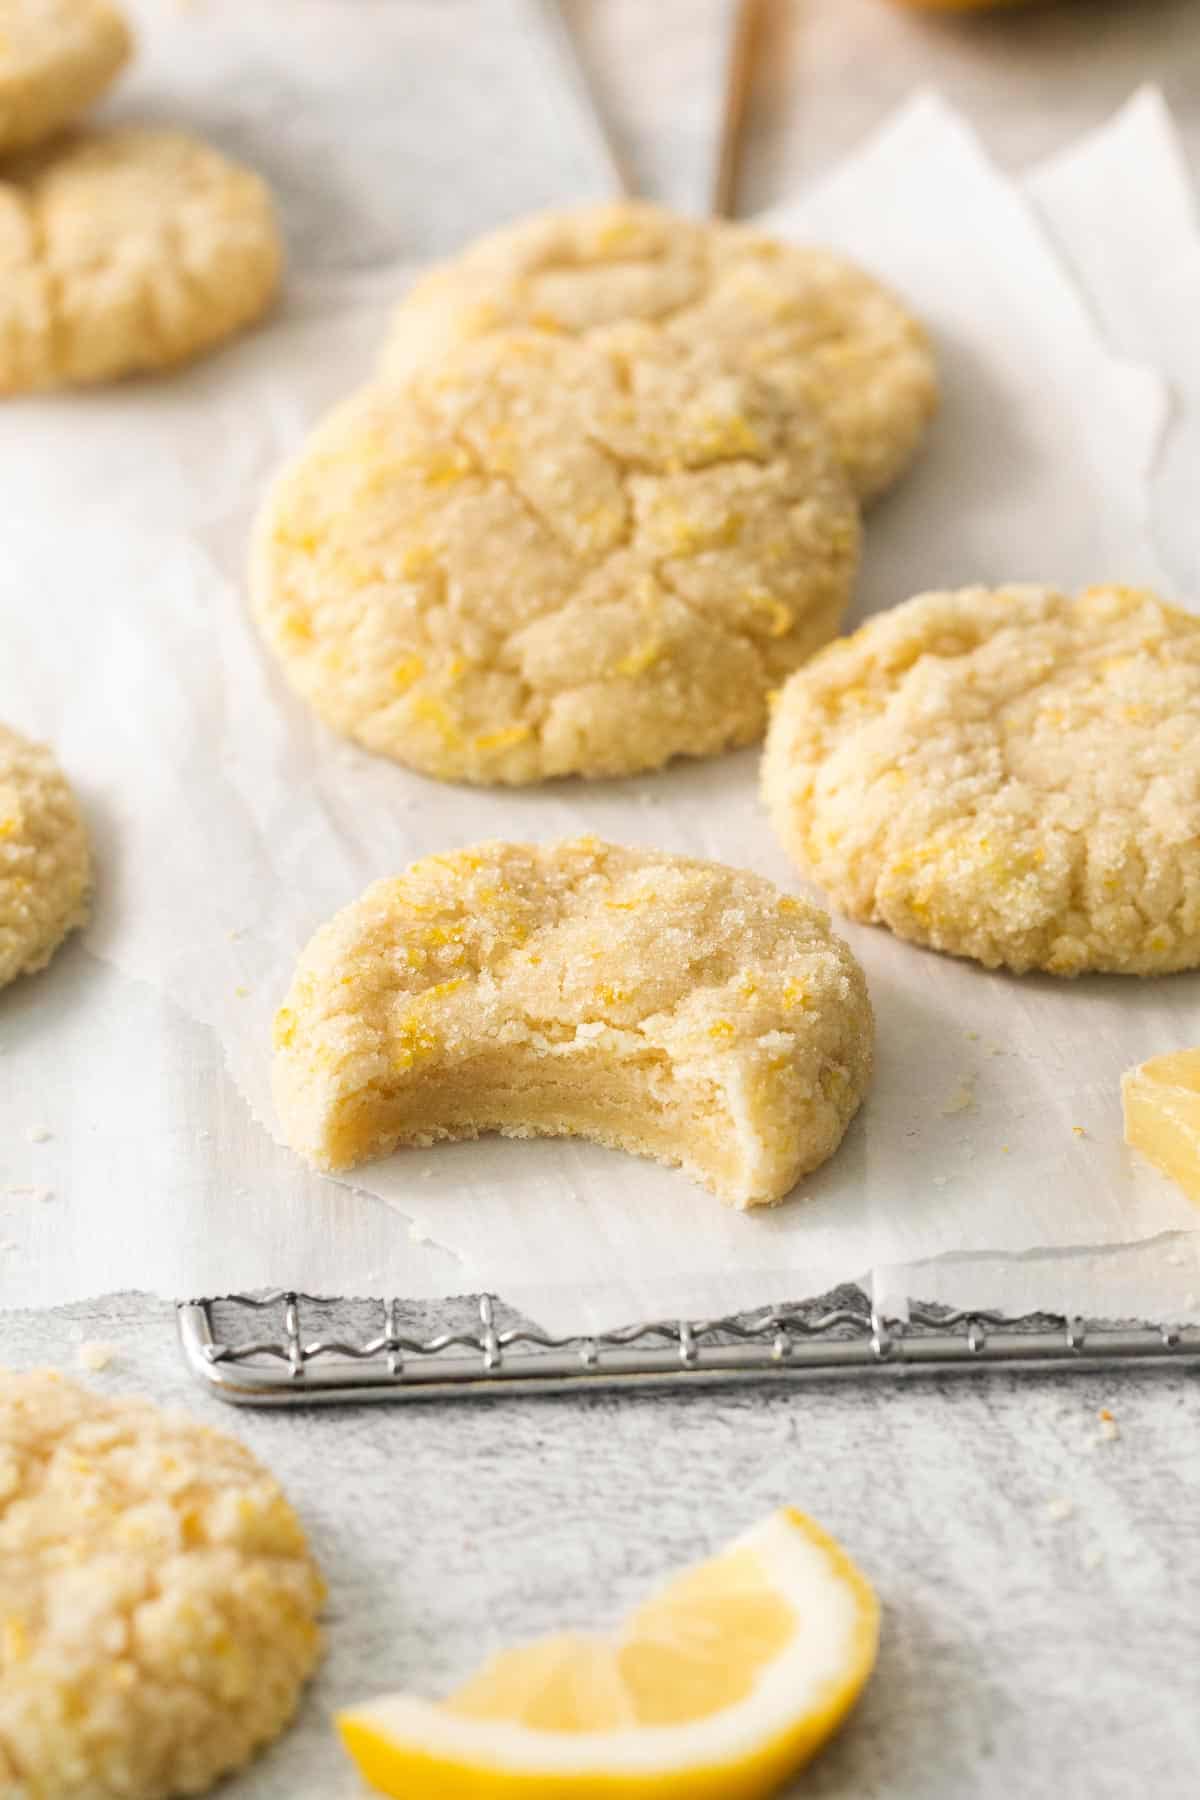
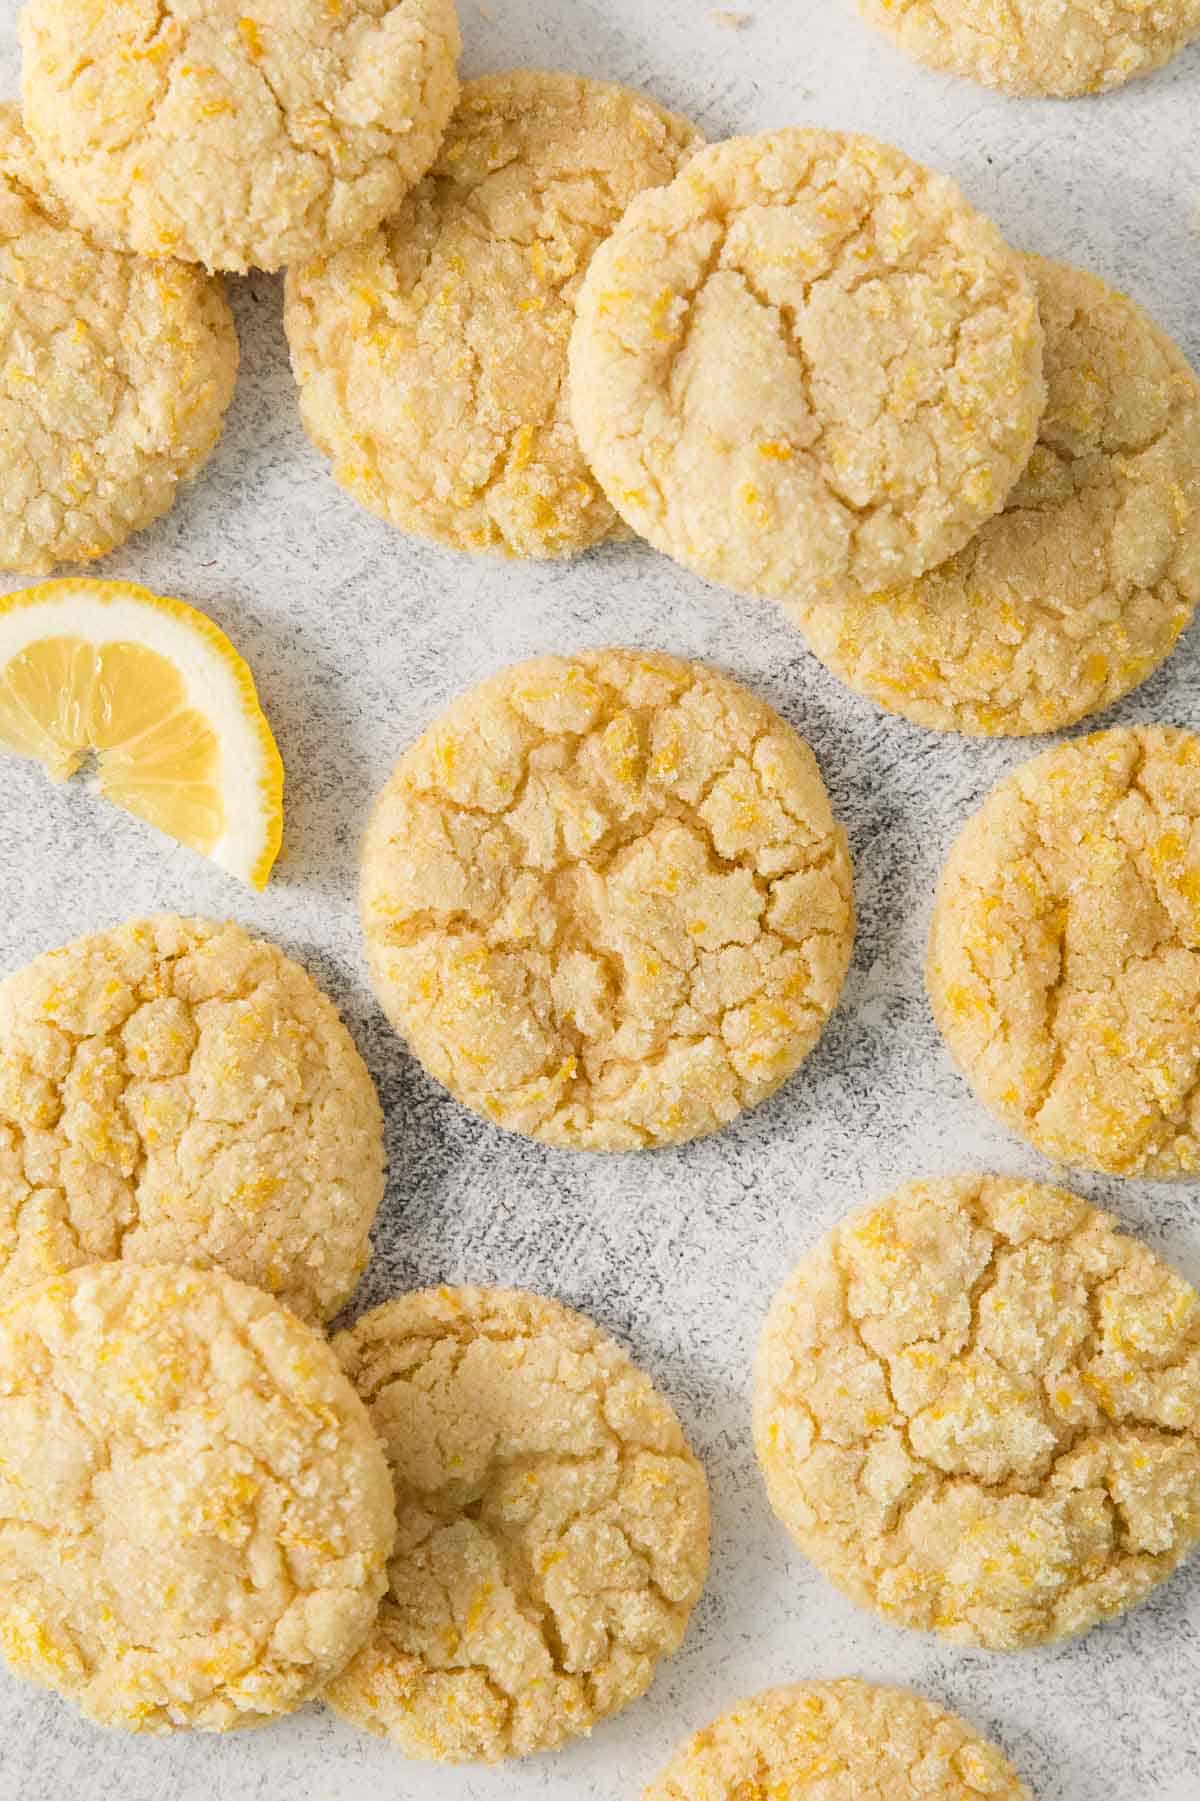
I love a classic gluten-free chocolate chip cookie, but when I’m in the mood for lemon cookies, I mean business! Keep in mind you’ll need TWO large lemons to make this recipe. It’s bursting with REAL lemon flavor. No lemon extract required!
I also love rolling the cookie dough balls in lemon sugar for even MORE sweet lemon flavor.
Ingredients You’ll Need
Here are a few notes on some of the key ingredients to make these gluten-free lemon cookies. Jump to the recipe card below for the exact measurements.
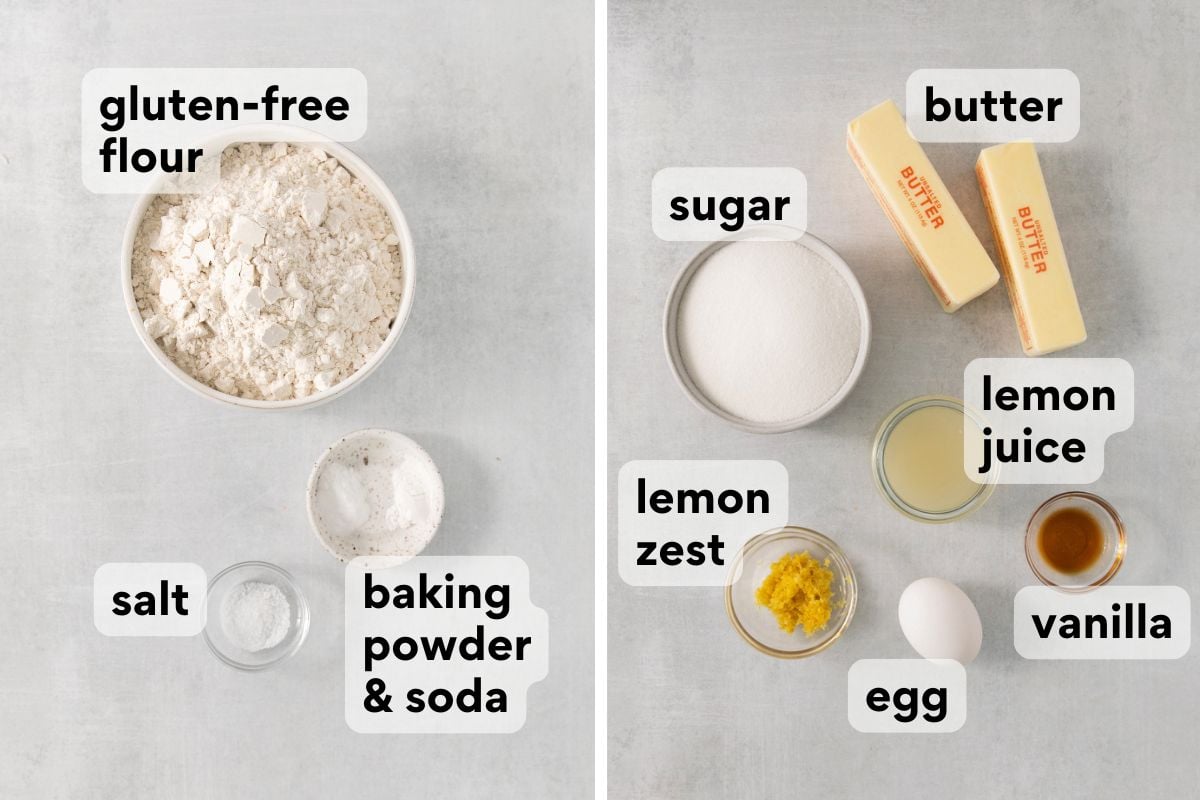
- Gluten-free flour: I recommend using a high-quality gluten-free flour blend that contains xanthan gum. This will give your cookies a nice chewy texture! I like King Arthur Gluten-Free Measure-for-Measure Flour.
- Butter: I use salted butter in all of my baking recipes. Letting it come to room temperature before using helps the butter cream more easily with the sugar for a lighter cookie!
- Lemon juice/zest: Just like with this lemon posset, I use real lemon juice and zest in this recipe for the brightest lemon flavor. Remember to zest the lemon before juicing. You’ll use the zest in both the dough and the sugar coating.
How to Make Gluten-Free Lemon Cookies
Here’s an overview of how to make this recipe. You can jump to the recipe for the full instructions!
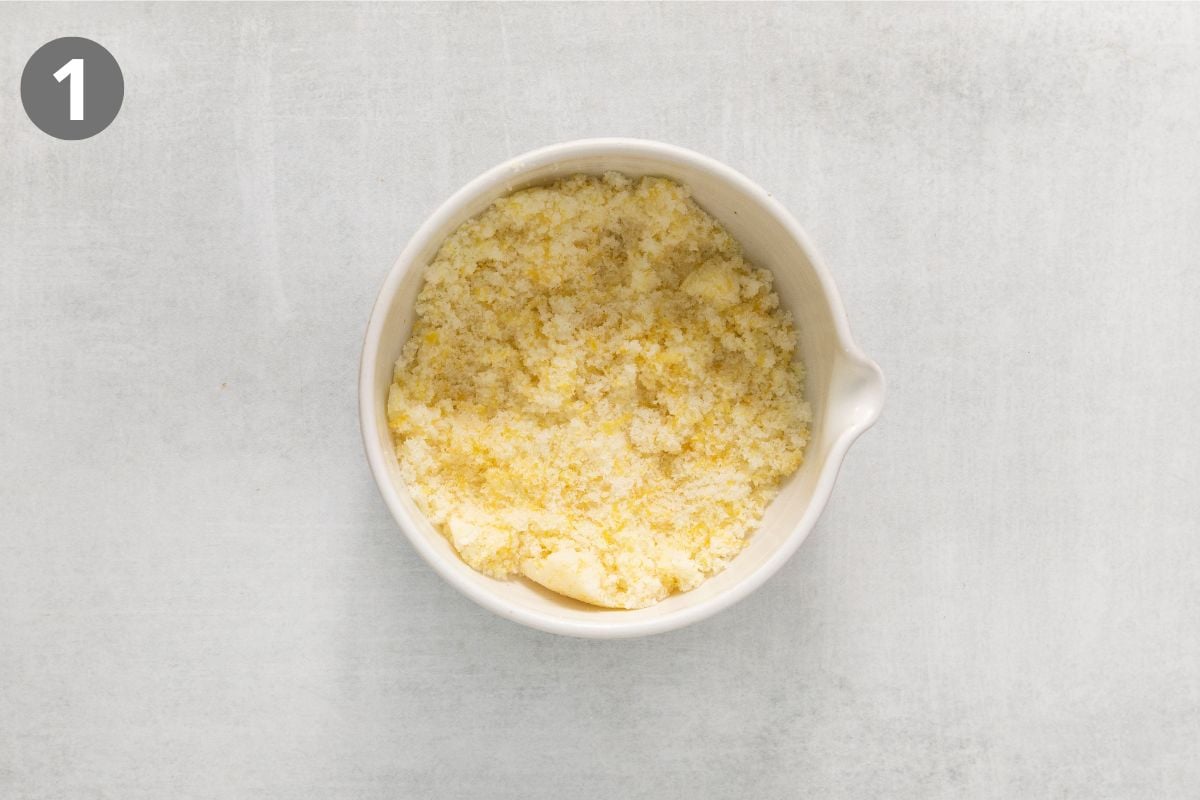
Prep the Lemon Sugar Coating: I rub the lemon zest into the sugar to release its natural oils, creating an even stronger lemon flavor.
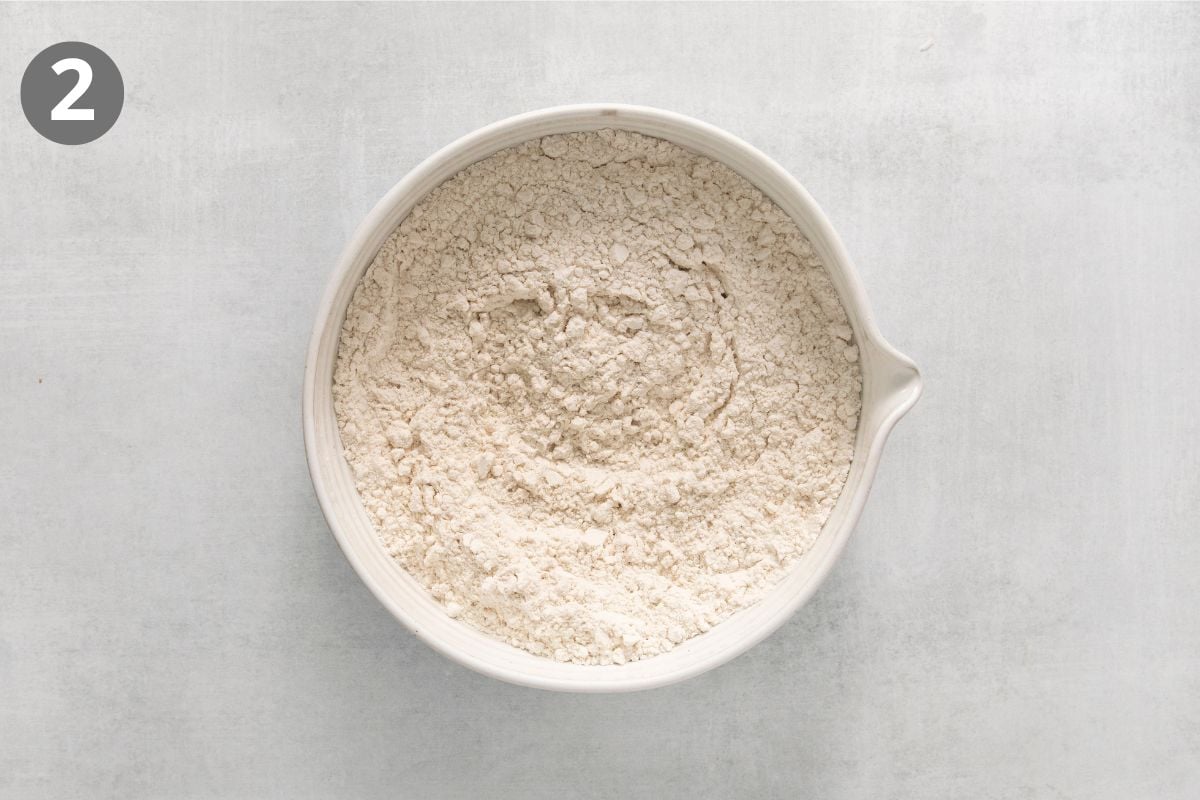
Combine the Dry Ingredients: Whisking the dry ingredients together first helps distribute the leavening agents evenly for consistent cookies.
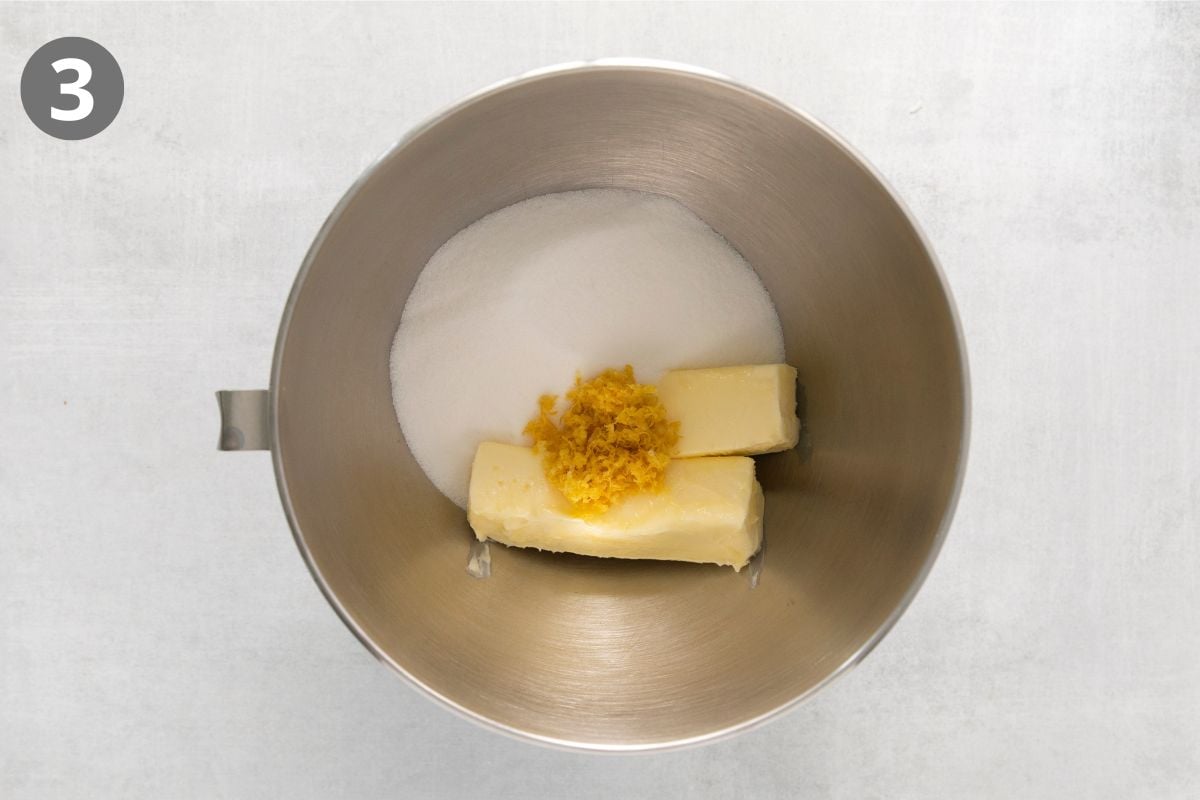
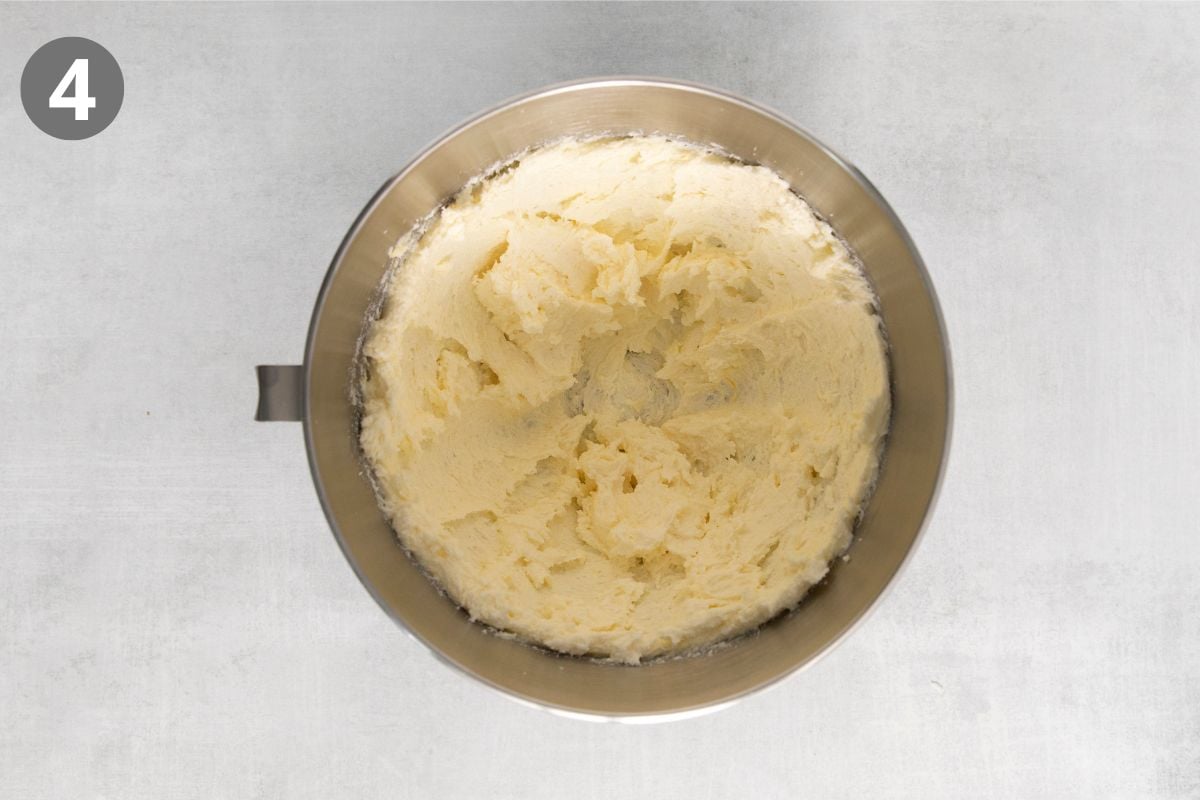
Cream the Butter: I mix the room-temperature butter with the sugar and lemon zest until light and fluffy. Properly creaming the butter helps create a lighter texture and soft, chewy centers.
Add Eggs, Vanilla, and Lemon Juice: I add these ingredients to the creamed butter and mix just until everything is fully combined and smooth (about 1 minute).
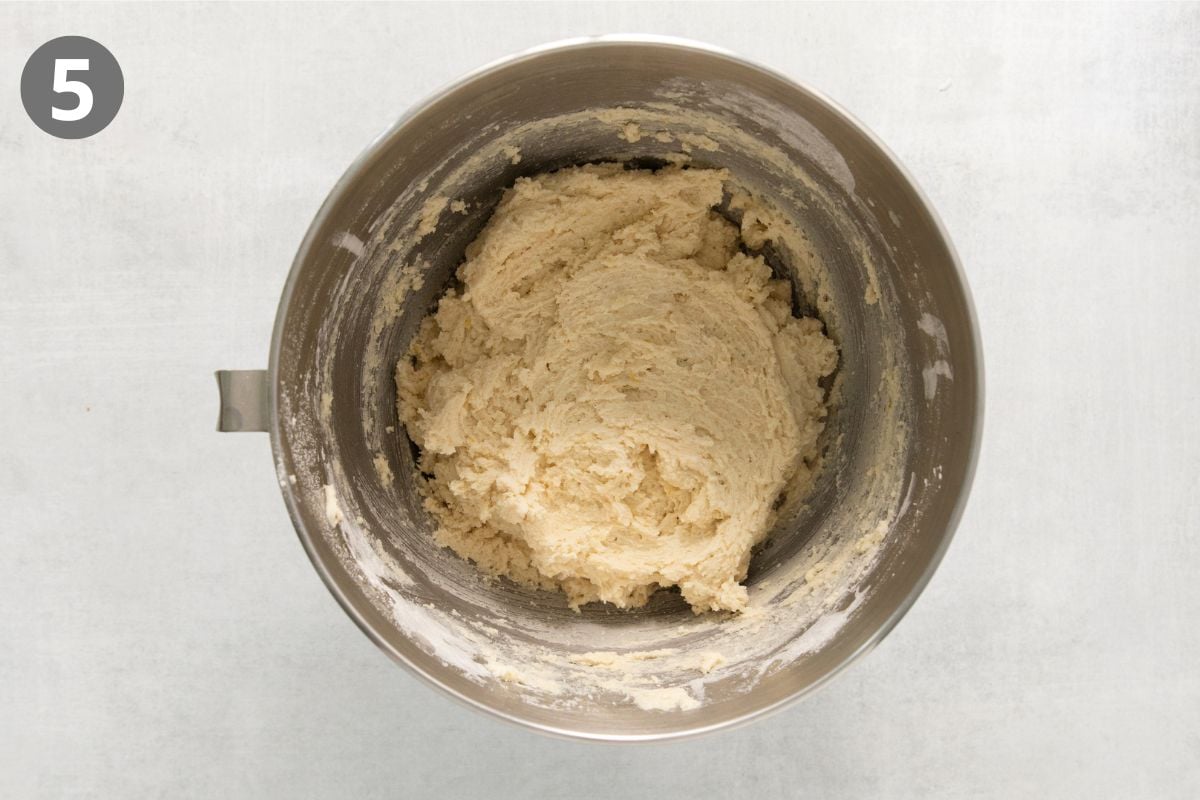
Combine & Chill: I slowly add the dry mixture in three additions, mixing just until combined. I highly recommend chilling the dough so the gluten-free flour can hydrate and the cookies don’t spread too much.
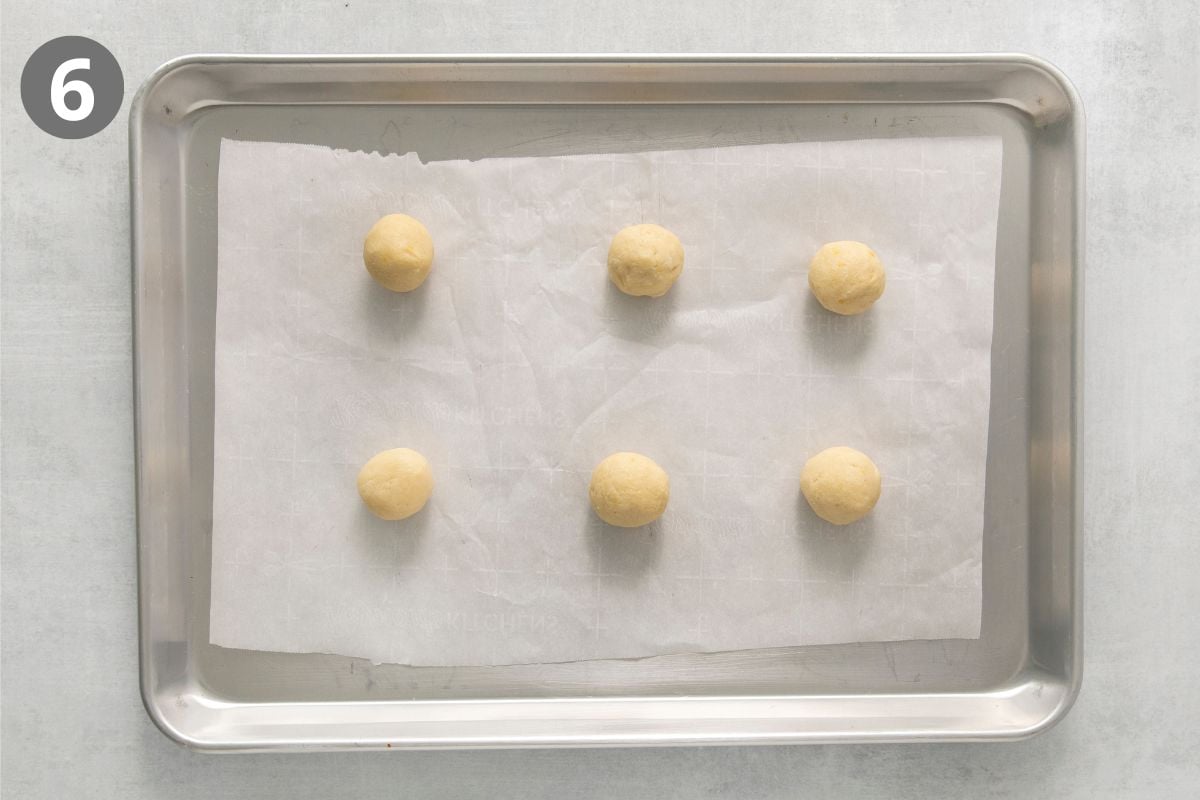
Coat & Bake: After chilling, roll the dough into balls, coat in lemon sugar, and bake for about 10 minutes until just set. I love the crisp, sweet lemon finish the sugar coating creates on the outside of the cookies.
Make-Ahead/Storage/Freezing Instructions
To Make-Ahead: The dough can be made in advance and refrigerated covered for 2 days or frozen for up to 3 months. I recommend rolling the dough into balls before freezing, then baking from frozen. Just add 1-2 minutes to the baking time.
To Store: Baked cookies can be stored in an airtight container at room temperature for up to 5 days.
To Freeze: Freeze baked cookies in a freezer bag or airtight container for up to 3 months. Thaw at room temperature for 1-2 hours.
What Do Gluten-Free Lemon Cookies Taste Like?
These gluten-free lemon cookies are soft and chewy with crisp edges and an irresistible fresh lemon flavor. They’re more citrusy than my gluten-free sugar cookies but sweeter and less tart than my gluten-free lemon bars, making them the perfect balance of bright and sweet.
How Do I Know When They’re Done Baking?
I pull these cookies from the oven when the edges look set, but the centers still appear slightly soft. They will continue to firm up as they cool on the baking sheet.
Can I Use Bottled Lemon Juice?
Fresh lemon juice is best for these cookies. I don’t recommend using bottled lemon juice. It doesn’t have the same bright, fresh flavor and may make the cookies taste flat.
More Gluten-Free Cookie Recipes
Gluten-Free Lemon Cookies (Soft & Chewy!)
Video
Ingredients
Lemon Sugar:
- ½ cup (100g) granulated sugar
- 2 teaspoons lemon zest, about the zest of 1 large lemon
Dry Ingredients:
- 2 ⅔ cups (400g) gluten-free measure-for-measure flour
- ½ teaspoon baking soda
- ½ teaspoon baking powder
- ½ teaspoon kosher salt
Other:
- 1 cup (226g) butter, at room temperature
- 1 ½ cups (300g) granulated sugar
- 2 teaspoons lemon zest, about the zest of 1 large lemon
- 1 large egg
- ¼ cup (60ml) freshly squeezed lemon juice, about the juiceof 2-3 lemons
- ½ teaspoon vanilla extract
Instructions
Make the Lemon Sugar
- Add the sugar and lemon zest to a bowl and use your fingertips to rub the zest into the sugar. This helps to release more essential oils from the zest. Set aside for rolling the dough balls before baking.
Make the Dough
- In a medium bowl, whisk together the dry ingredients. Set aside.
- In the bowl of a stand mixer with the paddle attachment (or use an electric hand mixer), add the butter, sugar and lemon zest. Mix until very light and fluffy, about 3-4 minutes, scraping down the sides of the bowl halfway through.
- Add the egg, lemon juice and vanilla and mix again for 1-2 minutes until the batter lightens in color. Scrape the sides of the bowl and mix again until everything is evenly combined.
- With the mixer running on low, slowly add the dry ingredients in 3 additions. Mixing well between each addition. Scrape down the sides of the bowl and mix for another 15 seconds.
- Cover the bowl with plastic wrap and refrigerate for 1 hour (or up to 2 days).
Bake the Cookies
- Preheat the oven to 350F. Line two large, rimmed baking sheets with silicone baking mats or parchment paper and lightly grease with cooking spray.
- Scoop the cookie dough into 2 tablespoon-sized balls and roll until smooth. (A #40 cookie scoop works well here.)
- Stir the lemon sugar to break up any clumps, then roll each dough ball in the sugar.
- Place the cookies 2 inches apart on the prepared baking sheet. Bake for 9-11 minutes. Let sit on the baking sheet for 5 minutes, then transfer to a wire rack to continue cooling. Enjoy!
Notes
Nutrition
This post was originally published in April 2023. It was updated with new photos and instructions in July 2026.










These are delicious! Made them for company, but not sure they will last until then! Your recipes have given me such confidence in my baking again, thank you!
Aww, we’re so happy to hear you enjoyed the recipe so much, Kerry! Thank you for sharing your positive baking experience with us!
I made this recipe 3 times! I’m making them again for a bridal shower on Saturday. Is the dough fine to chill overnight in the fridge? Thanks so much! These r delish!!
We’re so happy to hear the recipe has been such a hit! Thank you, Addyson. Yes, you can definitely chill the dough in the fridge overnight. You may want to let it sit out just 5-10 minutes before scooping the dough balls so that it’s workable. Happy baking!
My dough will hardly stiffen after refrigerating for an hour and now almost an hour in the freezer. The dough is sticky and hard to shape. What did I do wrong?!
Hi Robin, we’re sorry you had this experience! It sounds the dry/wet ratio is off (either not enough flour or too much liquid). What brand of flour did you use? With gf flour, different blends absorb moisture differently too. We really like King Arthur Gluten-Free Measure-for-Measure flour in this recipe. We hope these ideas help and next time goes much better!
These cookies look so good! Do you think almond flour would work for them?
Hi Debra, thank you for your question! Almond flour doesn’t typically work as a 1:1 swap for a gf flour blend (it has different properties and would require additional ingredients to be added/adjusted in this recipe). We recommend King Arthur GF Measure-for-Measure Flour for these cookies! Happy baking!
These sound delicious. Would you know if they can hold up for ice cream sandwiches if they are frozen before filling?
Hi Maryanne, that sounds fun! These are more of a soft and chewy cookie, but if frozen first that should allow you to assemble ice cream sandwiches without them breaking. We’d love to hear how it goes!
These turned out great for ice cream sandwiches. As suggested, I froze them before filling them with ice cream. They are delicious.
Yay! We’re so pleased to hear they worked well for the ice cream sandwiches and that you enjoyed the cookie recipe! Thank you for the kind feedback, Maryanne!
I made these for Easter dinner and they were a big hit! Everyone loved them and kept saying they couldn’t believe they were gluten free. My family is very helpful making gluten free items for me so they eat gluten free at nearly every family gathering.
Hi Janet, we’re so happy to hear these cookies were a hit with the whole family! It’s wonderful to have family supporting your gluten-free journey. Thank you for sharing your positive experience with us!
So easy and ssoooo good.
Super lite and very lemony
We’re so pleased to hear how much you loved the cookies, Anne! Thank you for your positive feedback!
These are fantastic and so easy to make! I made them for a Wedding Cookie table and also for a GF friend. I personally am not GF but you can’t even tell the difference! I followed the recipe, exactly, except I used unsalted butter instead of the salted, which was recommended. Thank you for such a terrific recipe! I will be sharing your website with my GF friend.
Hi Cathy, we’re so pleased to hear how much you love this recipe! Thank you for sharing such kind feedback with us. Happy baking!
I made this recipe and after the first batch, leaving them in the oven for 9-11 min and them being too soft, I decided to leave the next batch in the oven for 13 min. My cookies didn’t fully flatten out, can you give me so guidance on why this might be?
Hi Sophia, good question! A variety of factors can cause cookies to not spread. Too much of the dry ingredients, too little liquid, too hot oven, even the material of the baking sheet can impact how much the cookies spread or not. You might want to experiment with a lower oven temperature or a different baking sheet first. Another easy option you can try is letting the dough sit out at room temperature for 5-10 minutes before baking in case it’s just a matter of the butter being too cold. We hope this helps!
These are amazing cookies! I will definitely be making these again! I had to cook them for 8 more minutes, I don’t know if it was just my oven or the recipe but there where even more crispier and me and my family LOVE crispy cookies so it was a plus. They were so good!
We’re so glad this recipe was such a hit, Janelle! Thank you for your thoughtful feedback!
These cookies are delicious, honestly the best lemon cookies I have ever had. Very easy to make and look so pretty. I chilled the dough overnight, dough stayed soft so it was easy to roll. I will be baking these cookies again and again!
Yay! We’re so glad you loved the recipe, Patty! Thank you for taking the time to share your positive experience. Happy baking!
I haven’t made these yet, but I’ve made several of your recipes. I wonder how much lemon extract I should use instead of lemon zest and lemon juice to give them a little more flavor. They may be just fine as written, but I want to try out my extract.
Hi Hayley, we typically go the real lemon route with this one so we can’t totally say how the cookies with lemon extract will differ, but typically lemon extract can be used as a substitute for those two ingredients in baked goods. The general rule for replacing lemon zest with extract is: 1 teaspoon of lemon zest = 1/2 teaspoon of lemon extract. For lemon juice, it is a 1/2:1 ratio with the remaining amount replaced with water to get the right liquid quantity. Keep in mind lemon extract can be strong so it may be beneficial to start with a small amount and adjust according to preference. We hope this helps!
I love the flavor of these cookies, but after allowing them to cool on the pan for the 5 minutes as I tried to move them they fell apart. I followed the recipe exactly. Any help would be appreciated!
Oh that’s a bummer! We’re sorry the cookies fell apart for you, Kianna. This usually happens if the dough is too dry. If chilling the dough in the refrigerator for at least 1 hour didn’t provide the moist cookie texture we’re looking for, you can try adding an extra egg or egg yolk to the mixture for added moisture. If you have a kitchen scale, weighing the ingredients listed with gram measurements will produce a more accurate dough mixture. We hope this helps!
Replaced the butter with refined coconut oil and they turned out amazing! Thank you for posting this recipe!
Thank you for the positive feedback and tip, Lauren! We’re happy you enjoyed the lemon cookies!
Absolutely Love Lemon! From a healthier standpoint, I’ve cut down the butter amount in baking by using 1/2 butter + 1/2 applesauce; mostly in desert breads. Wonder IF this would work for these lemon cookies? May change the consistency of the dough to much.
Hi Mary Ann, we’re not sure how that substitution would do in this recipe, but it’s worth a try! We’d love to hear how it goes, if you decide to try it out.
I am going to make these this morning and use lime instead of lemon, since I have a lime tree and a lot of limes! The reviews convinced me to try these for my gluten-free friend.
Sounds like a fun plan, Lisa! We’d love to hear how it goes using limes instead of lemon.