


Featured Comment
From Jen: “Unbelievably soft, lemony, and easy to make! The lemon isn’t overpowering, it’s the (chef’s kiss) perfect amount! These will be added to my LONG list of repeat ME recipes!”
From JP: “These lemon cookies are fantastic especially from the freezer! I make a batch, place them in the freezer and eat them directly from the freezer! They are still soft and chewy and the lemon flavor is enhanced by the cold! Even family and friends who are not gluten free enjoy these!”
From Jessica: “So delicious! Followed the recipe as written and they turned out perfect. Great lemon flavor. Not dry or dense like other GF recipes I have tried. Thank you!”
Recipe Overview
⏱️ Time to Taste: About 1 hour 30 minutes (includes chilling)
✨ Texture: Soft centers with lightly crisp edges and a chewy bite
🥣 Ease: Easy (No rolling pin or decorating required!)
🌾 Flour Used: King Arthur Gluten-Free Measure-for-Measure Flour
🍋 Key Ingredient: Two whole fresh lemons for maximum citrus flavor
🎉 Best For: Spring, summer, baby showers, Easter, brunches, afternoon tea, cookie exchanges
❤️ Why You’ll Love It: Fresh lemon zest is rubbed into the sugar before mixing, creating incredibly fragrant cookies packed with real lemon flavor.
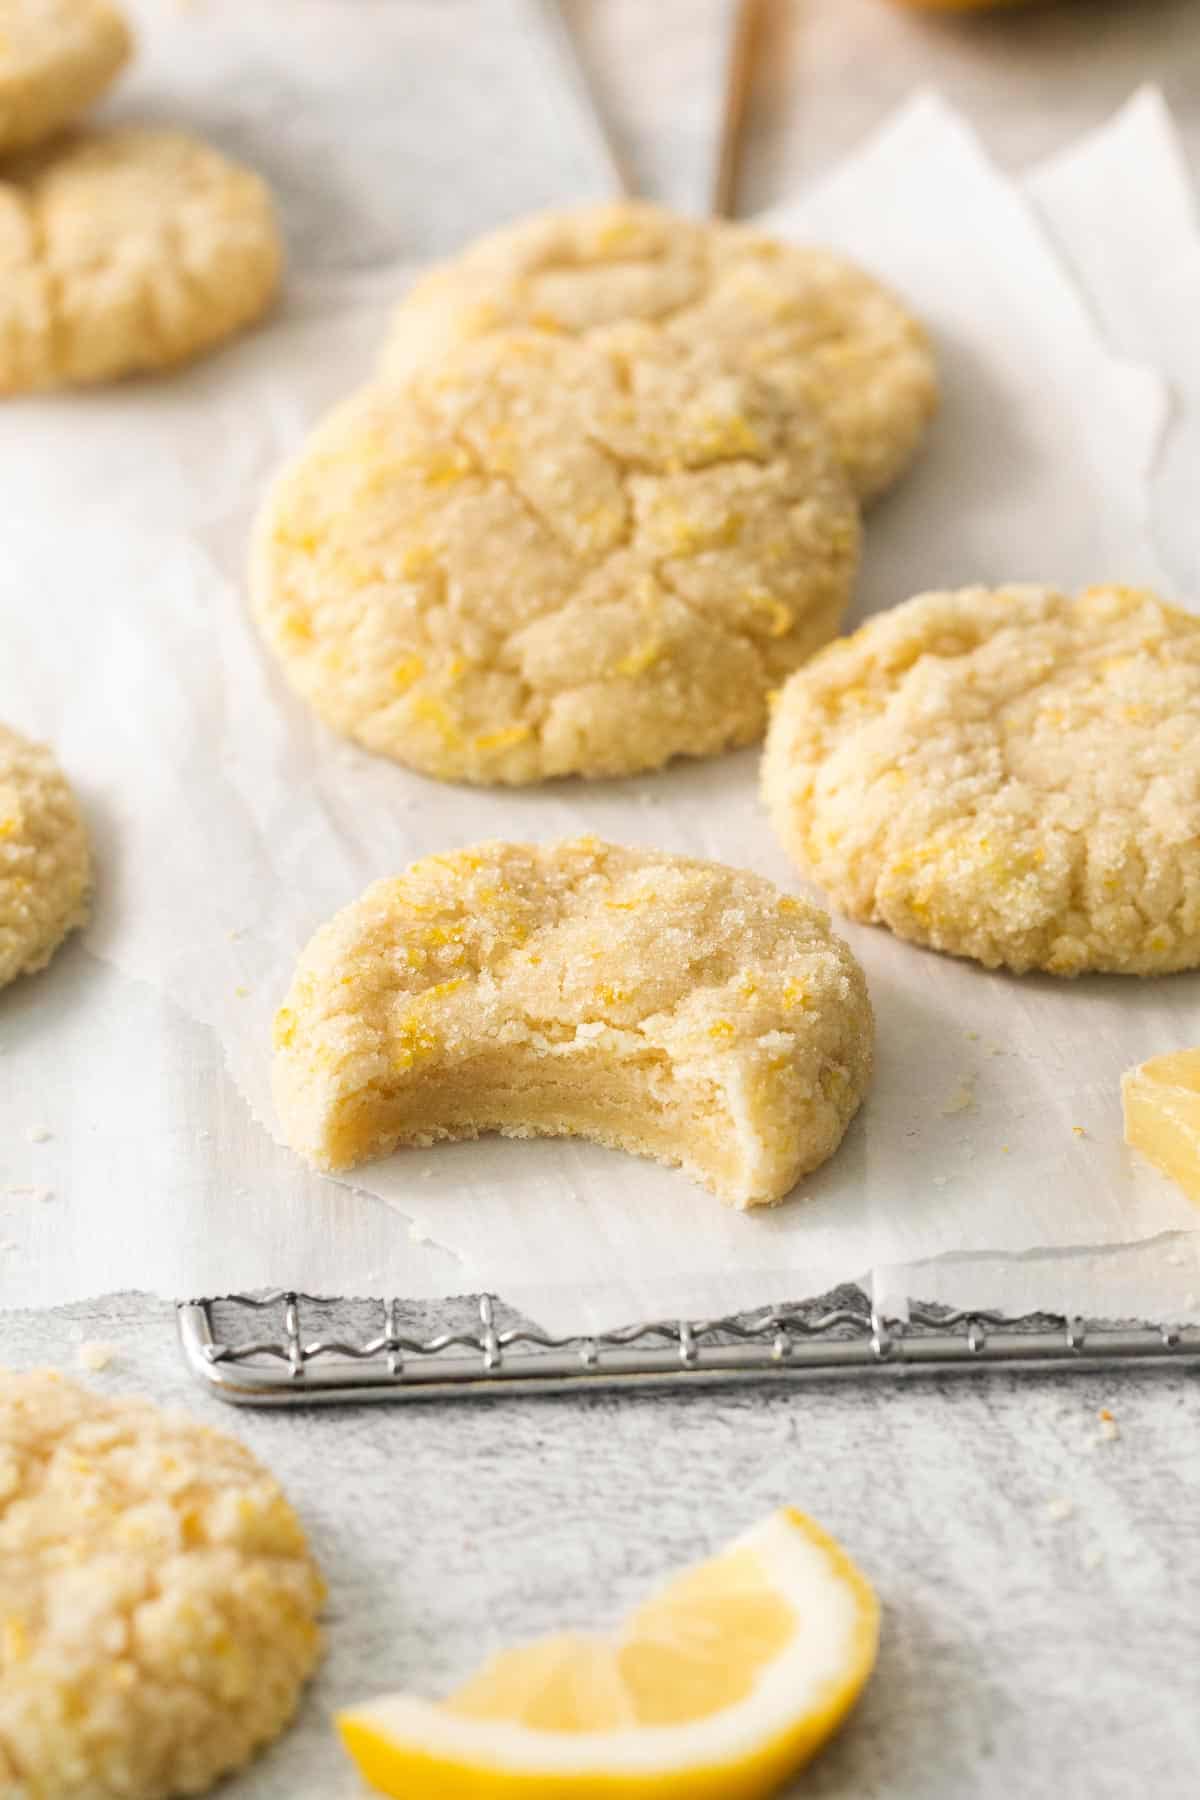
I love a classic gluten-free chocolate chip cookie, but when I’m in the mood for lemon cookies, I mean business! Keep in mind you’ll need TWO large lemons to make this recipe. It’s bursting with REAL lemon flavor. No lemon extract required!
I also love rolling the cookie dough balls in lemon sugar for even MORE sweet lemon flavor.
Ingredients You’ll Need
Here are a few notes on some of the key ingredients to make these gluten-free lemon cookies. Jump to the recipe card below for the exact measurements.
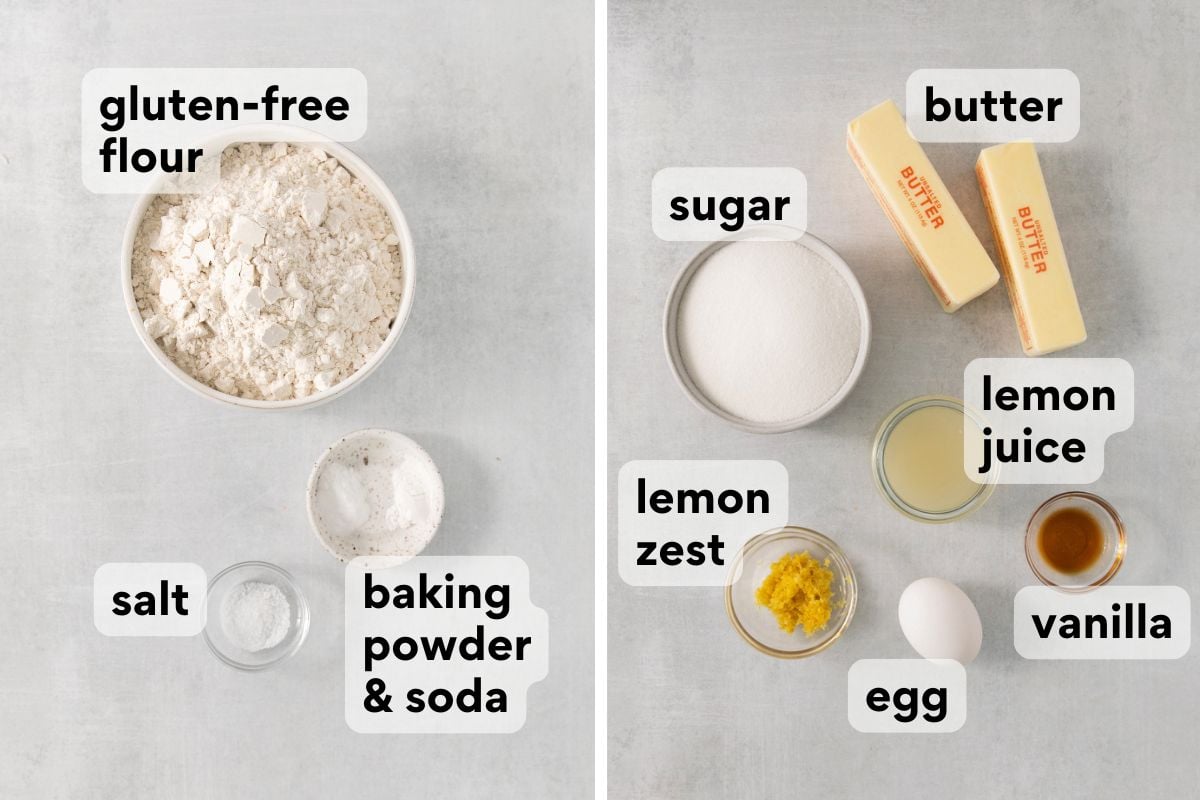
- Gluten-free flour: I recommend using a high-quality gluten-free flour blend that contains xanthan gum. This will give your cookies a nice chewy texture! I like King Arthur Gluten-Free Measure-for-Measure Flour.
- Butter: I use salted butter in all of my baking recipes. Letting it come to room temperature before using helps the butter cream more easily with the sugar for a lighter cookie!
- Lemon juice/zest: Just like with this lemon posset, I use real lemon juice and zest in this recipe for the brightest lemon flavor. Remember to zest the lemon before juicing. You’ll use the zest in both the dough and the sugar coating.
How to Make Gluten-Free Lemon Cookies
Here’s an overview of how to make this recipe. You can jump to the recipe for the full instructions!
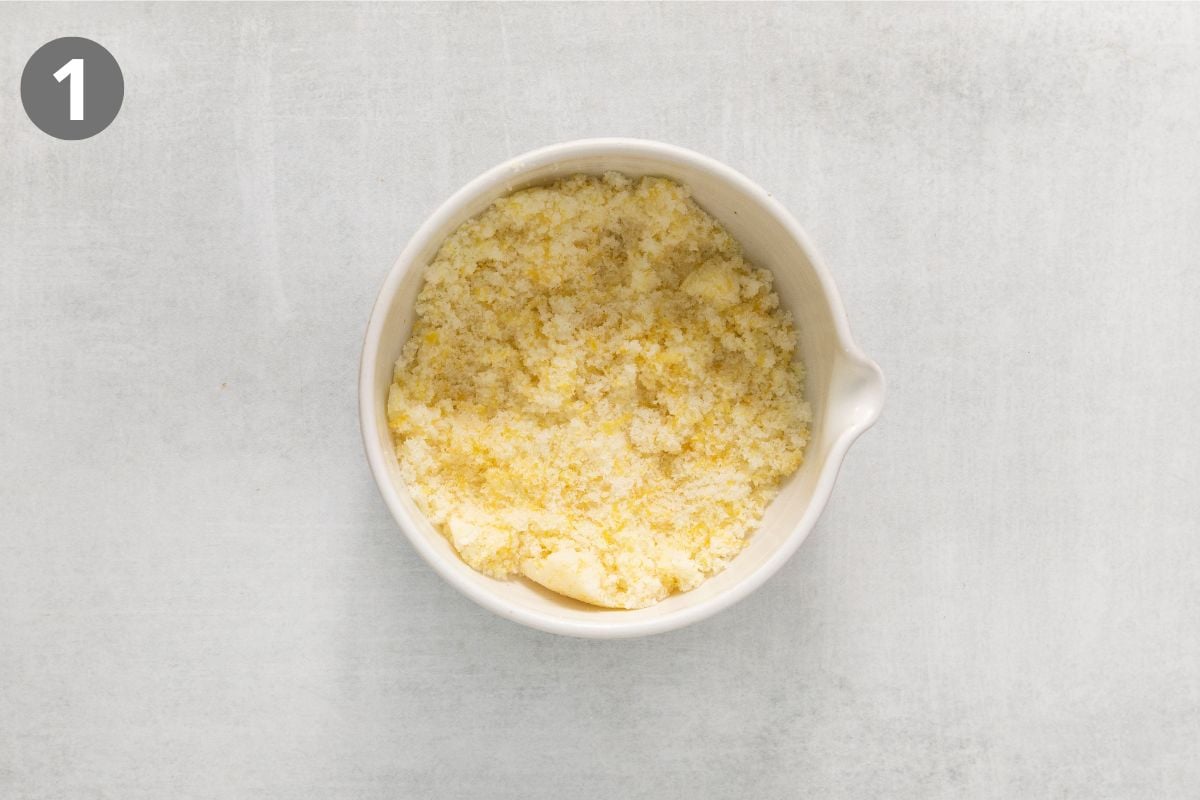
Prep the Lemon Sugar Coating: I rub the lemon zest into the sugar to release its natural oils, creating an even stronger lemon flavor.
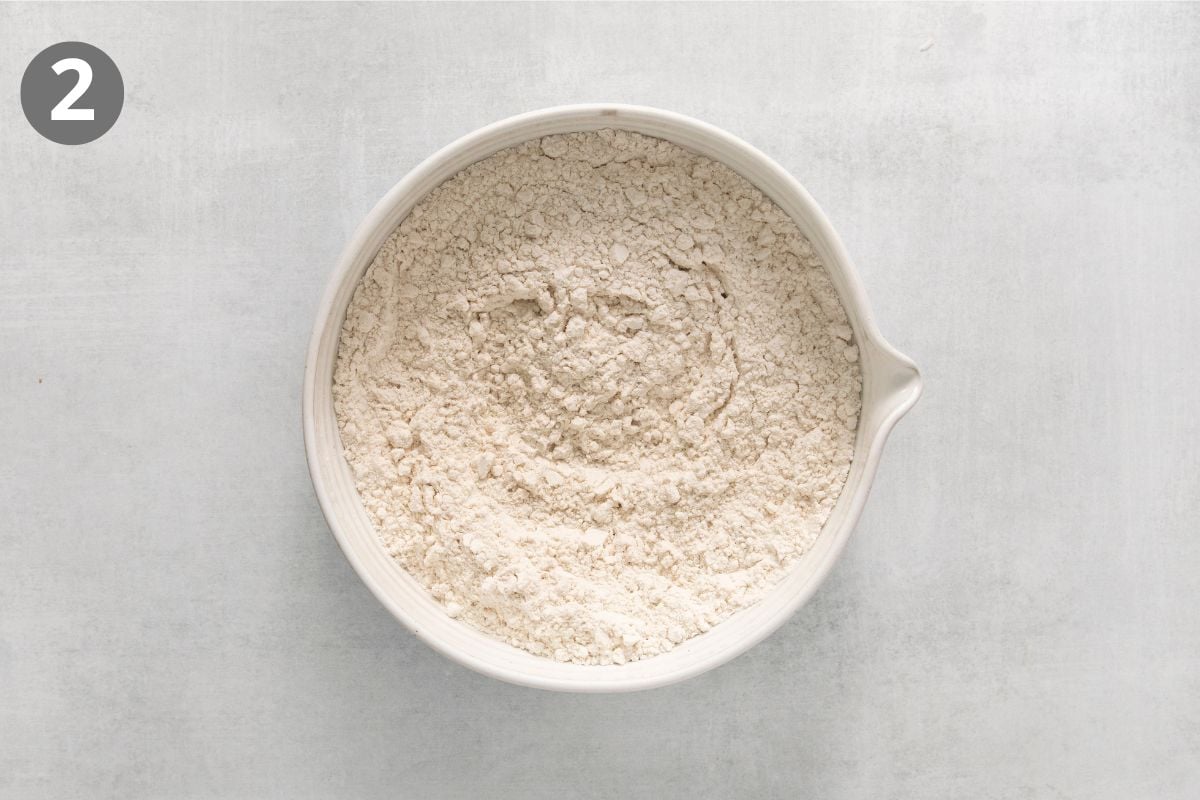
Combine the Dry Ingredients: Whisking the dry ingredients together first helps distribute the leavening agents evenly for consistent cookies.
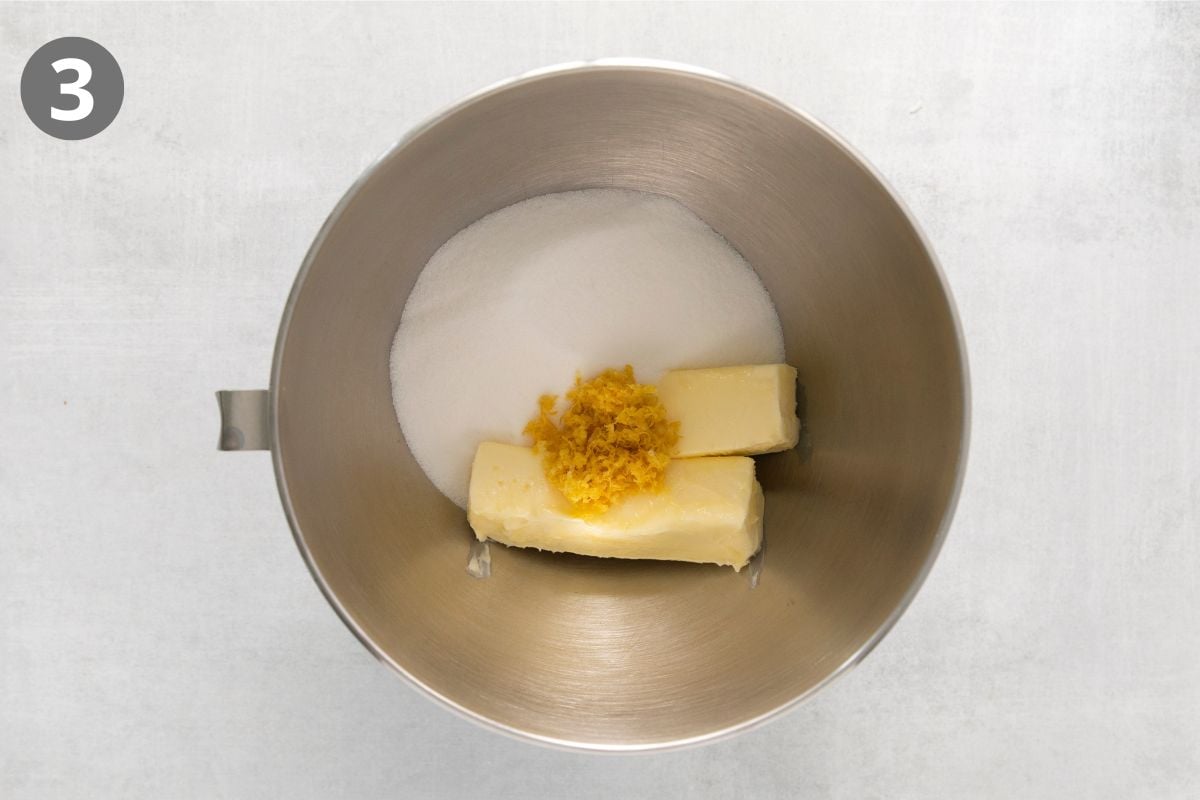
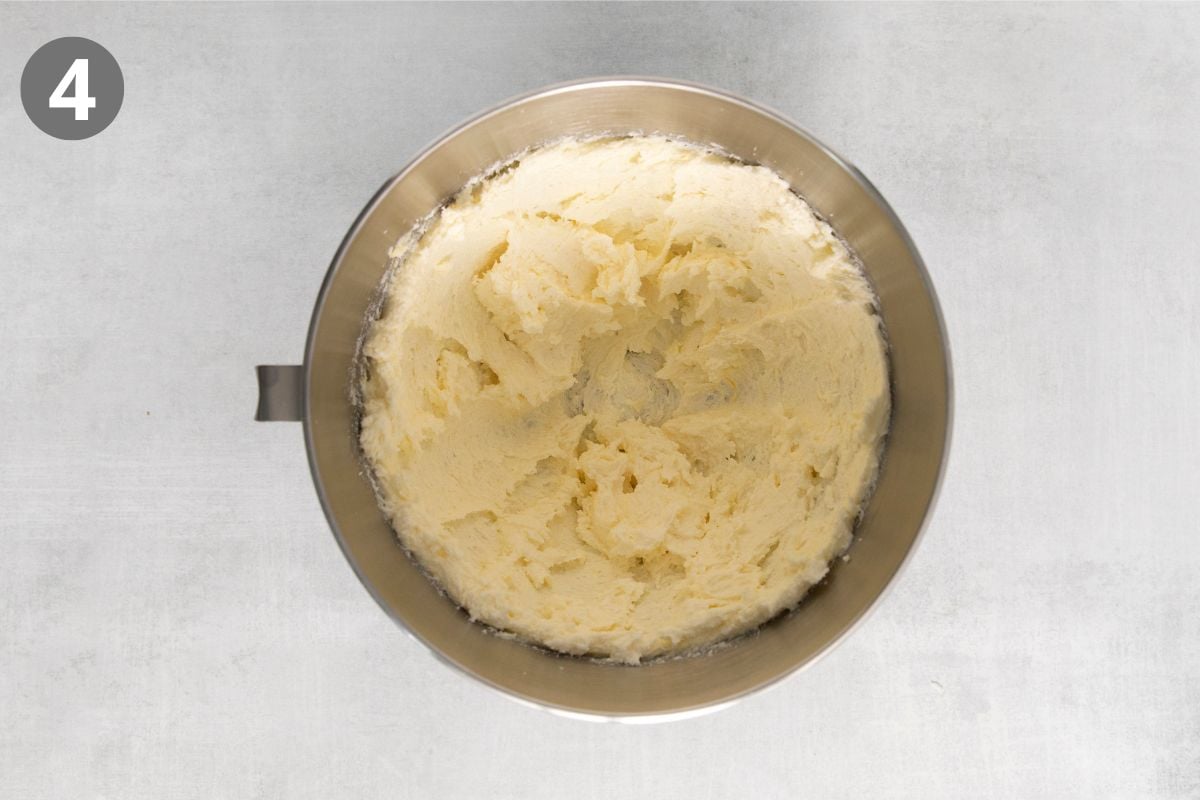
Cream the Butter: I mix the room-temperature butter with the sugar and lemon zest until light and fluffy. Properly creaming the butter helps create a lighter texture and soft, chewy centers.
Add Eggs, Vanilla, and Lemon Juice: I add these ingredients to the creamed butter and mix just until everything is fully combined and smooth (about 1 minute).
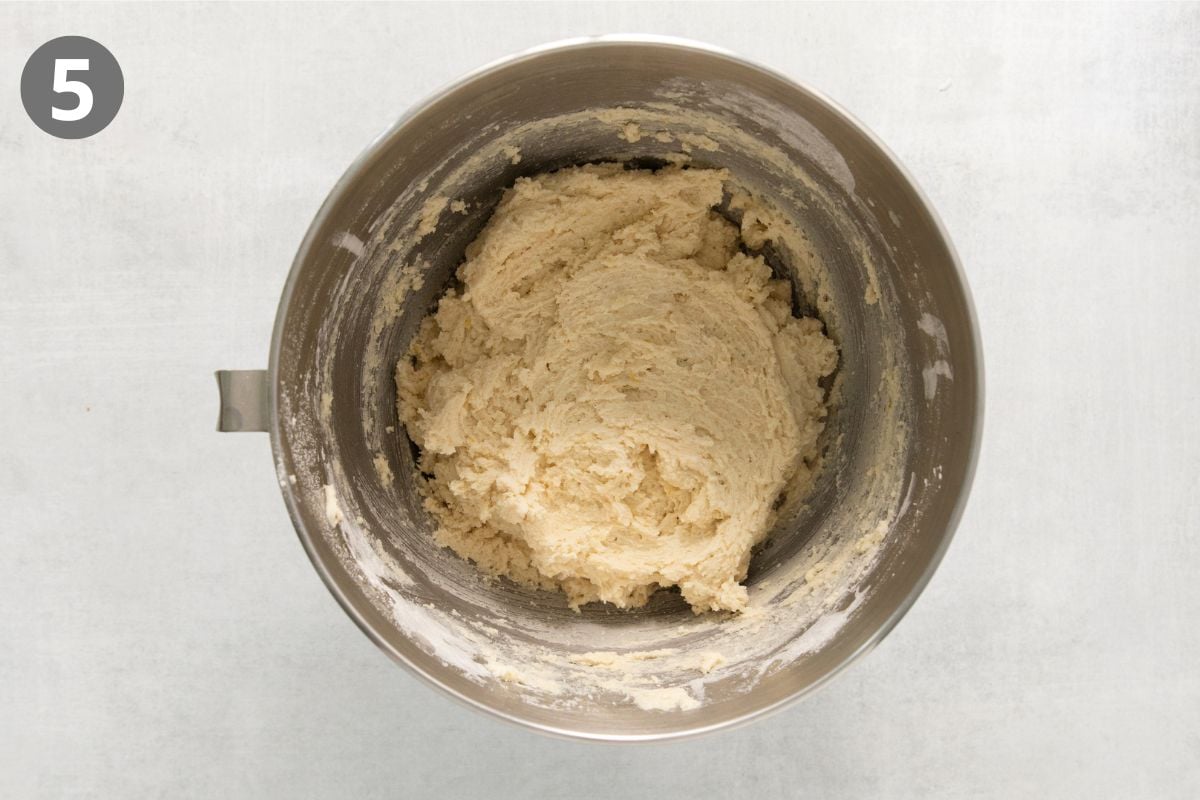
Combine & Chill: I slowly add the dry mixture in three additions, mixing just until combined. I highly recommend chilling the dough so the gluten-free flour can hydrate and the cookies don’t spread too much.
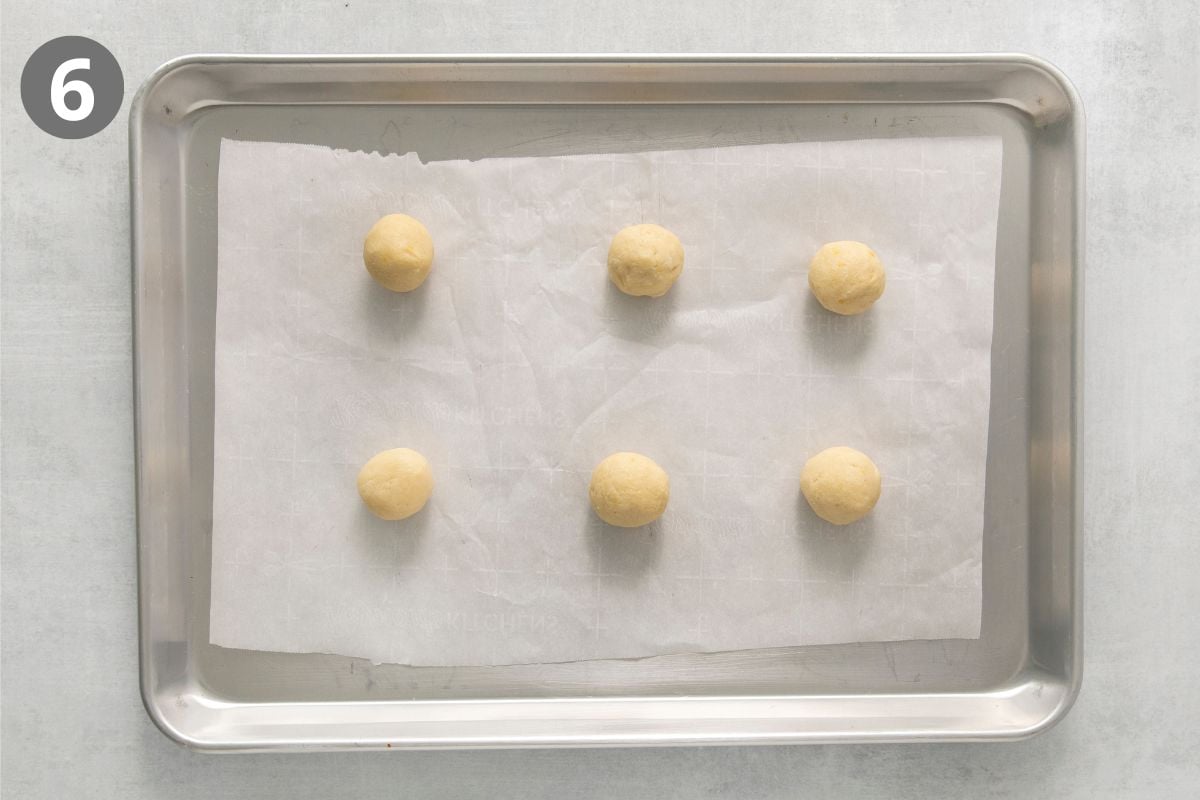
Coat & Bake: After chilling, roll the dough into balls, coat in lemon sugar, and bake for about 10 minutes until just set. I love the crisp, sweet lemon finish the sugar coating creates on the outside of the cookies.
Make-Ahead/Storage/Freezing Instructions
To Make-Ahead: The dough can be made in advance and refrigerated covered for 2 days or frozen for up to 3 months. I recommend rolling the dough into balls before freezing, then baking from frozen. Just add 1-2 minutes to the baking time.
To Store: Baked cookies can be stored in an airtight container at room temperature for up to 5 days.
To Freeze: Freeze baked cookies in a freezer bag or airtight container for up to 3 months. Thaw at room temperature for 1-2 hours.
What Do Gluten-Free Lemon Cookies Taste Like?
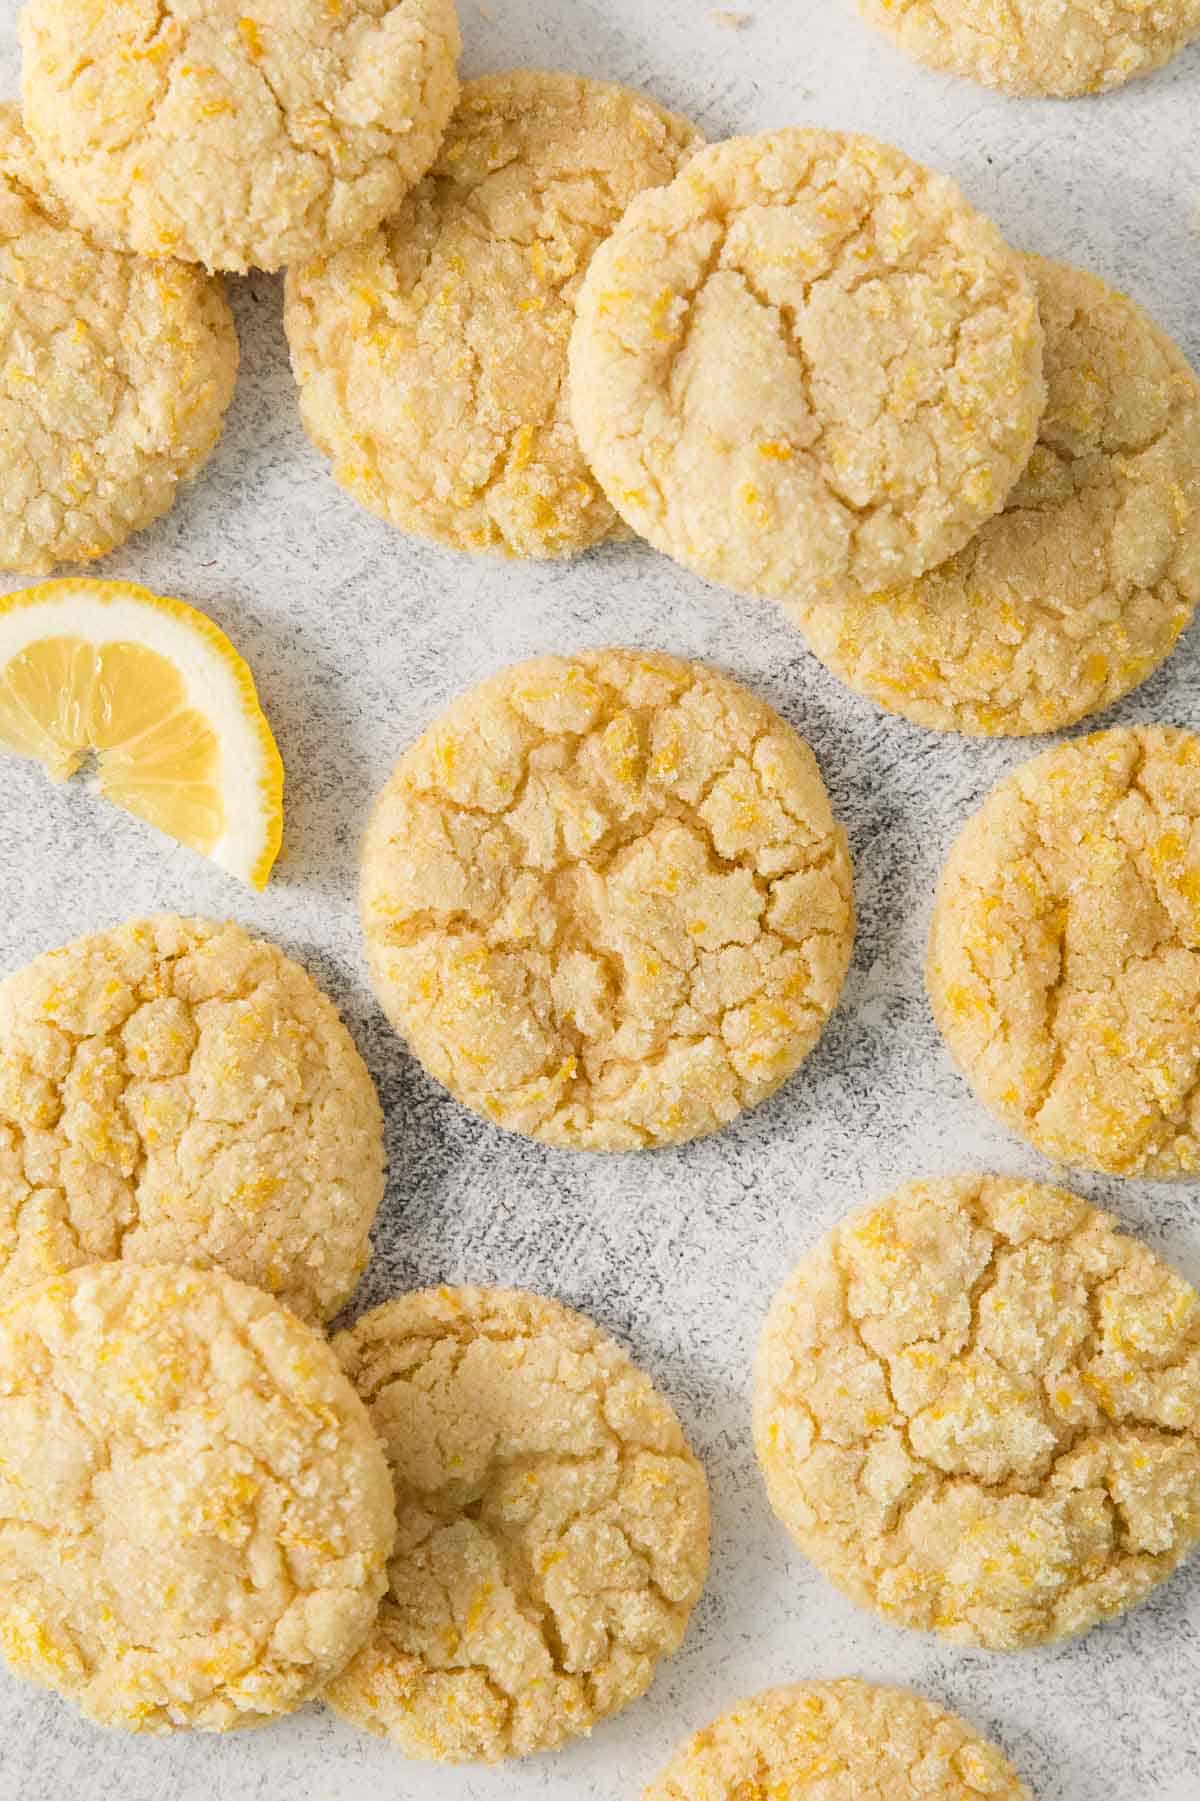
These gluten-free lemon cookies are soft and chewy with crisp edges and an irresistible fresh lemon flavor. They’re more citrusy than my gluten-free sugar cookies but sweeter and less tart than my gluten-free lemon bars, making them the perfect balance of bright and sweet.
How Do I Know When They’re Done Baking?
I pull these cookies from the oven when the edges look set, but the centers still appear slightly soft. They will continue to firm up as they cool on the baking sheet.
Can I Use Bottled Lemon Juice?
Fresh lemon juice is best for these cookies. I don’t recommend using bottled lemon juice. It doesn’t have the same bright, fresh flavor and may make the cookies taste flat.
More Gluten-Free Cookie Recipes
Gluten-Free Lemon Cookies (Soft & Chewy!)
Video
Ingredients
Lemon Sugar:
- ½ cup (100g) granulated sugar
- 2 teaspoons lemon zest, about the zest of 1 large lemon
Dry Ingredients:
- 2 ⅔ cups (400g) gluten-free measure-for-measure flour
- ½ teaspoon baking soda
- ½ teaspoon baking powder
- ½ teaspoon kosher salt
Other:
- 1 cup (226g) butter, at room temperature
- 1 ½ cups (300g) granulated sugar
- 2 teaspoons lemon zest, about the zest of 1 large lemon
- 1 large egg
- ¼ cup (60ml) freshly squeezed lemon juice, about the juiceof 2-3 lemons
- ½ teaspoon vanilla extract
Instructions
Make the Lemon Sugar
- Add the sugar and lemon zest to a bowl and use your fingertips to rub the zest into the sugar. This helps to release more essential oils from the zest. Set aside for rolling the dough balls before baking.
Make the Dough
- In a medium bowl, whisk together the dry ingredients. Set aside.
- In the bowl of a stand mixer with the paddle attachment (or use an electric hand mixer), add the butter, sugar and lemon zest. Mix until very light and fluffy, about 3-4 minutes, scraping down the sides of the bowl halfway through.
- Add the egg, lemon juice and vanilla and mix again for 1-2 minutes until the batter lightens in color. Scrape the sides of the bowl and mix again until everything is evenly combined.
- With the mixer running on low, slowly add the dry ingredients in 3 additions. Mixing well between each addition. Scrape down the sides of the bowl and mix for another 15 seconds.
- Cover the bowl with plastic wrap and refrigerate for 1 hour (or up to 2 days).
Bake the Cookies
- Preheat the oven to 350F. Line two large, rimmed baking sheets with silicone baking mats or parchment paper and lightly grease with cooking spray.
- Scoop the cookie dough into 2 tablespoon-sized balls and roll until smooth. (A #40 cookie scoop works well here.)
- Stir the lemon sugar to break up any clumps, then roll each dough ball in the sugar.
- Place the cookies 2 inches apart on the prepared baking sheet. Bake for 9-11 minutes. Let sit on the baking sheet for 5 minutes, then transfer to a wire rack to continue cooling. Enjoy!
Notes
Nutrition
This post was originally published in April 2023. It was updated with new photos and instructions in July 2026.










Wow!!! These cookies are truly delicious and amazing!! I was shocked at how good they are. I followed the recipe exactly and used King Arthur’s Gluten Free flour. I did have to bake mine an extra couple minutes and they didn’t fully flatten out. Thank you so much for sharing this recipe with the world!!
Hi Kristie, we’re so happy you loved the lemon cookies! Thank you for coming back and letting us know how they turned out!
We LOVE these cookies! The first time we made them they were chewy and a bit crisp around the edges- perfection! Last time however they’d were a bit “cakey” without that nice chewy texture. Any thoughts? I reviewed everything and can’t figure out why they were different.
Hi Cari, we’re so happy to hear you all love the recipe! Thank you! The change in texture from one batch to the next can be caused by such things as: too warm butter, the flour measurement being off or using a different brand of gf flour, the oven being too cool, or even environmental factors like a change in humidity in the kitchen. We hope your next batch turns out amazing!
After allowing the cookies to cool and set on the counter, I was a bit disappointed with how airy the texture was. I ended up eating one of these cookies the next day and the texture was sooo much better! With the better texture and delicious flavor, these for sure get five stars from me!
I’m fairly new to gf baking. It’s been a challenge. I’m going to attempt these. Is there a baking spray you can recommend to spay the parchment as listed in the recipe?
Hi Jodi, you can use any cooking spray you like. Our favorite neutral oils are grapeseed and avocado oil. You can get these as sprays too.
Okay. So I made these today. I will say the flavor is on point so I give these a 5. I will say me being inexperienced could be the blunder. So my cookies didn’t seem to come out of the ball form enough so I patted them down a bit, which I’m sure is a no no I also cooked them 3 minutes longer than the 11 minutes. They still seem chewy (not over cooked) and like I said the flavor is good. But maybe the texture is a tad off almost like they are a tad bit too chewy? Any ideas anyone? The inexperienced baker would appreciate it 🙂
Hi Tiffany, a variety of factors can cause cookies to not spread. Too much of the dry ingredients, too little liquid, too hot oven, even the material of the baking sheet can impact how much the cookies spread or not. If they still seemed chewy and not dry, you might want to experiment with a lower oven temperature or different baking sheet first. Darker metals cause less spreading with cookies so you could try a shiny metal, if not tried already. We hope this helps!
I could not be happier with how these turned out. So good. This will be my go-to cookie recipe.
Hi,
I love your Cookie recipes. Already tried many of them. Delicious!!!!! Just one question about the nutrition Info provided. Is this Information per 100g or per Cookie?
Best regards and keep producing more auch amazing recipes,
Sabine
I’m so glad you like the cookie recipes! Yes that is the nutrition information if you make 24 cookies with the recipe. I hope this helps!
they are amazzinggg. i accidentally put the first measurements of lemon zest and sugar into the cookies, instead of the second measurement, so i ended up with only a half of a cup of sugar instead of 1.5 like its supposed to be but they were actually perfect. especially with cream cheese frosting. probably the best lemon cookies ive ever had. without the frosting, i would do 3/4 a cup of sugar instead of only a half. i used half a cup of bobs red mill and the rest king arthur.
Best gluten free cookies ever. got so many compliments on these. THANK YOU!
I’m so glad you enjoyed them! 🙂
They do not taste at all like GF cookies! I used about 75% almond flour and 25% coconut flour! I’ll definitely keep on regular rotation!!
Hi! If I make this dough and refrigerate it, will they cook the same the next day?
Yes! That works wonderfully. In fact, the dough gets even better with a longer rest.
My daughter has a recently-diagnosed wheat allergy. These were the first GF thing I made using Bob’s Red Mill 1-for1 flour. They are delicious and even the non-GF family members loved them. Thank you for offering ideas and recipes as I navigate this new world of baking and cooking. I also appreciate product recs as I understand some GF items/product lines are better than others.
I’m so happy these turned out well as your first gluten-free baked good! Best of luck with the wheat-free diet. Let me know if you have any questions!
Just like everything I’ve ever made off of this site, these cookies are AMAZING! I made them for a dinner I had with my non-gluten free friends, and they LOVED them. I sent them home with some and actually just got a text yesterday from one of them saying, “I can’t stop eating these cookies! They are SO GOOD!” So lemony, chewy, and delicious. Can’t recommend enough!
Hooray! I’m so happy even your non-GF friends enjoyed them! Thanks for the comment 🙂
I’m so glad you enjoyed them! 🙂
These are the best GF cookies I have baked yet!! I love anything lemon and these fit the bill. I didn’t have enough lemon zest (about 1/2) and I would encourage you to use as the recipe states. I flattened the balls a little because I like a crispier cookie but they were crispy on the outside and a little soft on the inside. Just finished them up and going to make another batch. My non GF husband didn’t know they were GF. LOL Thanks for all the great recipes!
Outstanding!!
These look fantastic! Many cookie doughs can be balled up and frozen raw. Have you tried that with a recipe like this? Thanks for great recipes! I used to make a lime cookie that contained almond flour though need to avoid almonds now, so I was super excited to see this recipe!
Yes the dough balls from this recipe freeze great! They can be baked straight from the freezer. I hope you enjoy them if you try them!