
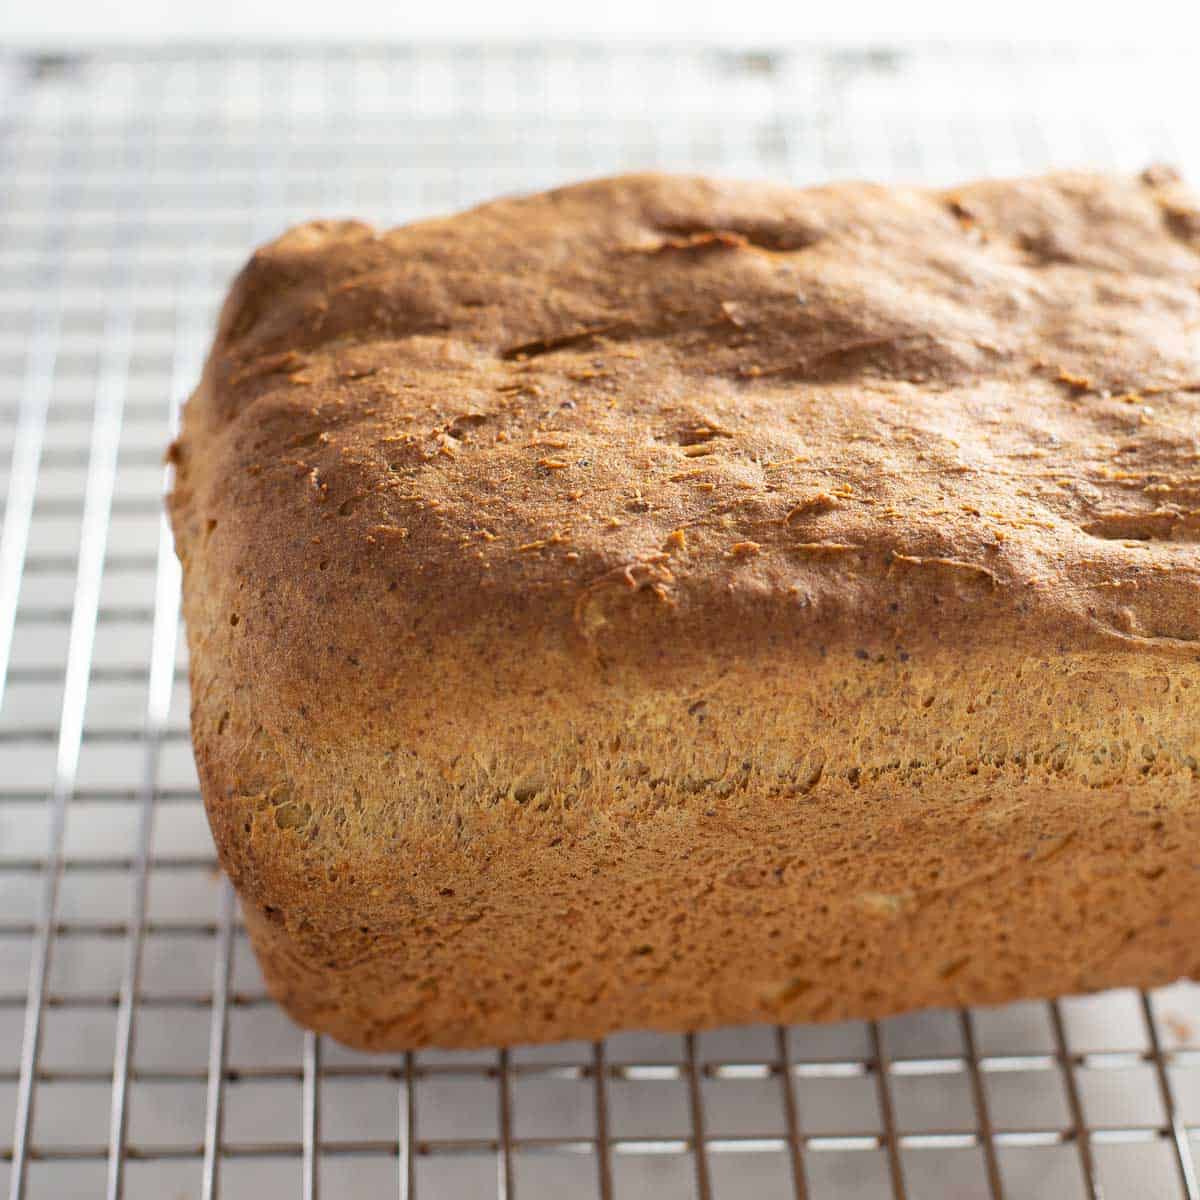

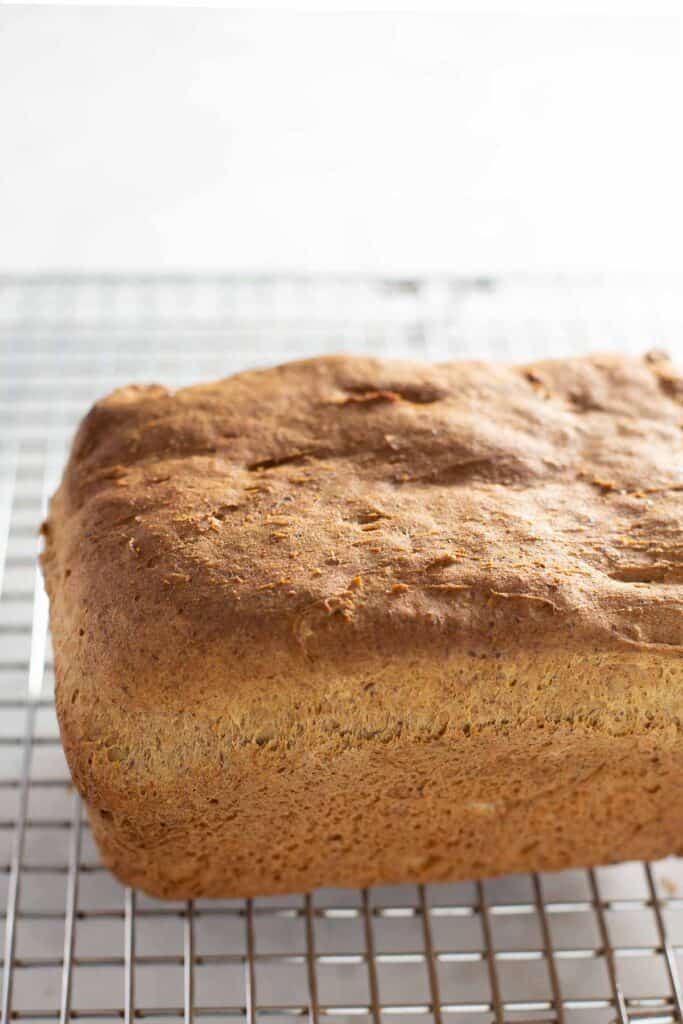
This Gluten-Free Sandwich Bread Recipe makes a soft, tender and healthy loaf that’s perfect for sandwiches, toast and more!
This post includes tips and tricks to make an amazing gluten-free sandwich bread with delicious flavor and texture every time. It’s sure to become your go-to recipe!

I have tried a lot of homemade gluten free bread recipes over the years. I can confidently say this is the best gluten-free homemade sandwich bread I’ve ever made or eaten!
It has the perfect texture (not crumbly at all!), delicious flavor (think flaxseed with a touch of honey), and is way more nutritious than store-bought bread (thank you almond flour and psyllium husk powder).
Best of all this bread tastes amazing NOT toasted!
So many gluten-free breads have to be toasted to be edible. This bread is not only delicious without toasting the first day, but also good for 2 days after it’s baked. You’ll never need to try another recipe for gluten free sandwich bread!

What Is Gluten-Free Sandwich Bread Made Out Of?
Just like regular bread is made with wheat flour, gluten-free bread is made with flours from gluten-free grains like rice, sorghum, etc.
In this easy gluten-free bread recipe, I use a gluten-free all-purpose flour. Gluten-free all-purpose flour is simply a blend of gluten-free flours and starches that’s designed to mimic the results of wheat flour in baking.
I’ve found gluten-free baking isn’t always as simple as swapping in gluten-free flour for wheat flour. This is especially the case for gluten-free yeasted breads!
Why You’ll Love this Recipe!
- Perfect texture (Not crumbly!)
- Delicious flaxseed and honey flavor
- Easy to make
- Doesn’t need to be toasted
- Lasts up to three days

For more gluten free recipes and gluten-free bread dough, be sure to check out these recipes for gluten-free artisan bread, gluten-free focaccia bread, gluten-free dinner rolls, gluten-free flatbread, gluten-free hamburger buns, and gluten-free Detroit-style pizza.
How to Make Gluten-Free Sandwich Bread
These how-to numbered pictures match up with the instructions below. I’ve also included a video with step-by-step instructions for making this gluten-free sandwich bread.

- Mix together the warm water, flaxseed meal, and psyllium husk. Let the wet ingredients sit for 2-3 minutes before adding it to the dough.
- Combine all the dry ingredients in the large bowl of a stand mixer. Mix to combine.
- Add the psyllium husk mixture along with the eggs, butter and honey to the gluten-free flour blend and other dry ingredients.
- Beat the dough for 6 minutes.
- Use a rubber spatula to smooth the dough into a prepared pan. Let rise in a warm place for 45-60 minutes. (You can cover it with plastic wrap, if desired. But make sure to spray the plastic wrap with cooking spray, first!)
- Once you let the dough rise, bake for 35-45 minutes.
You also might like this gluten-free crescent roll recipe.

Storage Instructions
Be sure to let this bread cool fully on a cooling rack before storing in an airtight container, plastic bread bag, or plastic wrap. Store at room temperature or in the fridge. This gluten-free sandwich bread tastes great up to two days after making.
Gluten-Free Sandwich Bread FAQs
I recommend using a high-quality, gluten-free all-purpose flour for gluten-free baking. For best results, pick a blend that contains xanthan gum or another binder. These blends are usually called measure-for-measure or 1:1 baking flour. This is my favorite gluten-free measure-for-measure baking flour.
Yes! You can easily make this bread dairy-free by substituting the butter for olive oil. However, you cannot omit the eggs. Eggs are important for the structure and flavor of this loaf.
Be sure to carefully measure the dry ingredients so you get the right amounts. Bake the bread in a glass loaf pan. This helps it rise and brown properly. Let the bread rise for the right amount of time. If the bread rises for too long it may sink slightly in the middle once it’s baked.
Gluten-Free Bread Tips and Tricks
Gluten-free bread recipes are very different than regular bread recipes. Here are a few things to keep in mind while making gluten-free sandwich bread:
- Gluten-free bread only needs a single rise. I use instant yeast or fast-acting active dry yeast in this gluten-free bread recipe because the dough only needs to rise one time. Gluten-free dough isn’t stable enough for a double rise. The good news is this makes this delicious gluten free bread much faster to make than traditional bread.
- You’ll need to add some binders. In traditional bread recipes gluten is what gives the bread structure and stability. Since this bread is obviously missing the gluten, it benefits from other ingredients that act as binders. I use a combination of psyllium husk powder, ground flaxseed and a flour blend that contains xanthan gum in this gluten-free bread recipe to give the bread structure and stability.
- The dough will resemble cookie dough. Don’t be alarmed when this bread dough looks nothing like regular bread dough! It’s supposed to be that way. Just like this gluten-free pizza crust recipe, the dough will be thick and sticky, but not kneadable. See the picture below (Step 4) for a visual on the consistency. You can also see the video in this post to see what the final dough for this gluten free sandwich bread recipe looks like.
Looking for more gluten-free bread recipes? Try my gluten-free breadsticks.
More Gluten-Free Recipes


If you like this gluten free sandwich bread recipe, leave me a comment below. I’d love to hear from you!

Gluten-Free Sandwich Bread (Amazing & Easy!)
Video
Ingredients
Dry Ingredients:
- 1 3/4 cups gluten-free 1:1 baking flour 280 grams
- 1 envelope highly active or instant yeast 2 1/4 teaspoons
- 1/2 cup almond flour 40 grams
- 1 teaspoon fine salt
Psyllium Husk Mixture:
- 1 cup warm water
- 1/4 cup ground flaxseed meal 30 grams
- 2 teaspoons psyllium husk powder
Wet Ingredients:
- 3 eggs
- 2 tablespoons honey
- 1/4 cup butter or olive oil
Instructions
- In the bowl of a stand mixer, add the dry ingredients and mix to combine.
- In measuring cup, combine the warm water, flaxseed and psyllium husk powder. Whisk until smooth and let sit for 1-2 minutes before adding to the dry ingredients.
- With the mixer running on low, add the psyllium husk mixture along with the eggs, honey and butter. Increase the speed to medium-high speed and beat for 6 minutes.
- Scoop the batter and smooth into a grease 9×5 pan. Let rise in a warm spot for 45-60 minutes. The bread will not double in size but should rise a few inches.
- Preheat the oven to 350F.
- Bake the bread for 35-45 minutes, until the internal temperature registers 200F on an instant-read thermometer or until the top is golden and seems firm when tapped.
- Let the bread cool in the pan for 10 minutes. Turn out onto a wire rack to cool for at least another 20 minutes before slicing. Enjoy!
Notes
- I recommend using a high, quality gluten-free all-purpose flour for gluten-free baking. For best results, pick a blend that contains xanthan gum or another binder.
- Be sure to carefully measure the dry ingredients so you get the right amounts.
- Bake the bread in a glass loaf pan. This helps it rise and brown properly.
- Let the bread rise for the right amount of time. If the bread rises for too long it may sink slightly in the middle once it’s baked.


I’ve made this bread for over 6 months, I make it once a week, cut it and freeze it to toast for breakfast. It is so good!
I have made some tweaks to it, it is soft and doesn’t taste like dust, I like to know what’s in my bread, this one doesn’t disappoint. I’ve even made it into buns, which I like better than a GF bun recipe.
Can this be made without a stand mixer?
Thanks!
Hi Anne, yes! We recommend mixing in a bowl with a spoon and then kneading by hand–a hand mixer won’t stand up to this dough.
Thank you! I was hoping that was the answer.
I’m looking forward to trying this bread recipe. Would it be possible to make in a bread machine? If so, would the recipe need to be modified? Or would I mix the ingredients together and just put in the bread machine to proof and bake? Thank you!
Hi Tiffany, good question! We haven’t tried this in a bread machine but don’t recommend it for baking this bread–the results will be less predictable. You could use the bread machine on the “gluten-free” or “dough” cycle to mix the dough, but then I’d transfer to a loaf pan and bake as instructed in the recipe. Hope that helps!
This bread was so easy to make. Unfortunately, mine came out crumbly. What could I have done wrong? 🙁 I forgot to put the butter in, but then added it last after everything was already mixed. Could that have been the problem?
I want to purchase your cookbooks but don’t know which to get first lol.
Hi Malyssa, good question! Yes, it’s important to follow the steps in order for proper texture. Hopefully you can try it again soon in that order! Thanks for your interest in the cookbooks! Happy to answer questions about them if you want!
OMG! That was it-Baker error, lol. It came out perfect. THIS IS THE BREAD!!!!! The bread I can make as part of my pantry staples. You are a genius, Brook. I have tried a lot of recipes, and this one is the winner. Even my 11-year-old, who isn’t fond of anything gluten free, loves it. I’m going to try to make in a bread maker next.
I make this bread once a week it’s my go to bread. I love knowing what’s in my bread, hence homemade! It’s fast to put together with a 1hour rise window. I cut it then freeze and I’m good for the week! I also make this recipe as GF buns and it works so well! ( with a special bun pan)
Hi Charlotte, that’s a great idea! So glad you’ve been enjoying this recipe!
Would I be able to use regular yeast? How would that change the rising/resting time?
Hi Debbie, we haven’t made this recipe with regular yeast. Active dry yeast needs to be proofed first in warm water, so that would slightly change the moisture content. The rise time would also be longer, but we don’t have specifics! Hope that helps!
Do you recommend King Arthur 1:1 or do you think their GF bread flour would do better?
Hi Leslie, good question! The recipe will always call out if GF bread flour is preferred. This recipe was developed with 1:1 baking flour, so we highly recommend using that! Bread flour would slightly change the texture.
I’m allergic to nuts, so I can’t use almond flour. Do you have an alternative? I want to bake the sandwich loaf. Thank you.
Hi Judy, good question! We haven’t tried a nut-free version of this bread, but you could try replacing the almond flour with more gluten-free flour. Fair warning that it may change the texture a bit. But we’d love to hear how it turns out if you try it!
On step 7 what does turn out mean?
Hi Cindy, it means flip the bread out of the pan onto the wire rack so it can cool the rest of the way. We hope you enjoy the recipe!
Fantastic recipe for GF sandwich bread. My husband has celiac and while I love to bake I’ve never been a fan of bread making until I came across this recipe and your artisan bread recipe. This was so easy and so not time consuming which got major points from me. My husband absolutely loves the taste and really loves that he doesn’t have to toast it to taste good. Thank you so much for this recipe!! It’s definitely a keeper.
Yay! We’re so pleased to hear how much both you and your husband love the sandwich bread, Linda! Thank you for taking the time to share such amazing feedback with us. Happy baking!