
Soft, buttery homemade caramels! A tried-and-true recipe you’ll want to make every Christmas. Hundreds of reviewers agree these are the most delicious homemade soft caramels around!
This post was originally published in 2012. It has been updated with new step-by-step photos but the recipe is still the same treasured recipe from an old church cookbook.
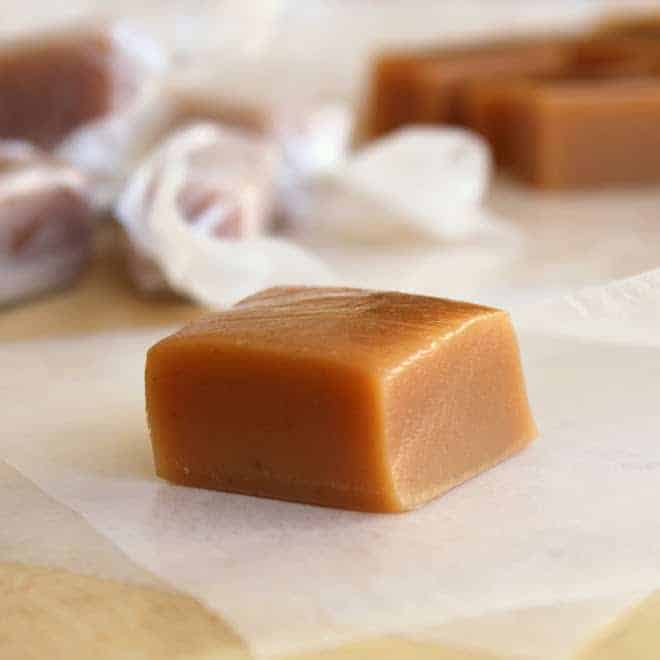
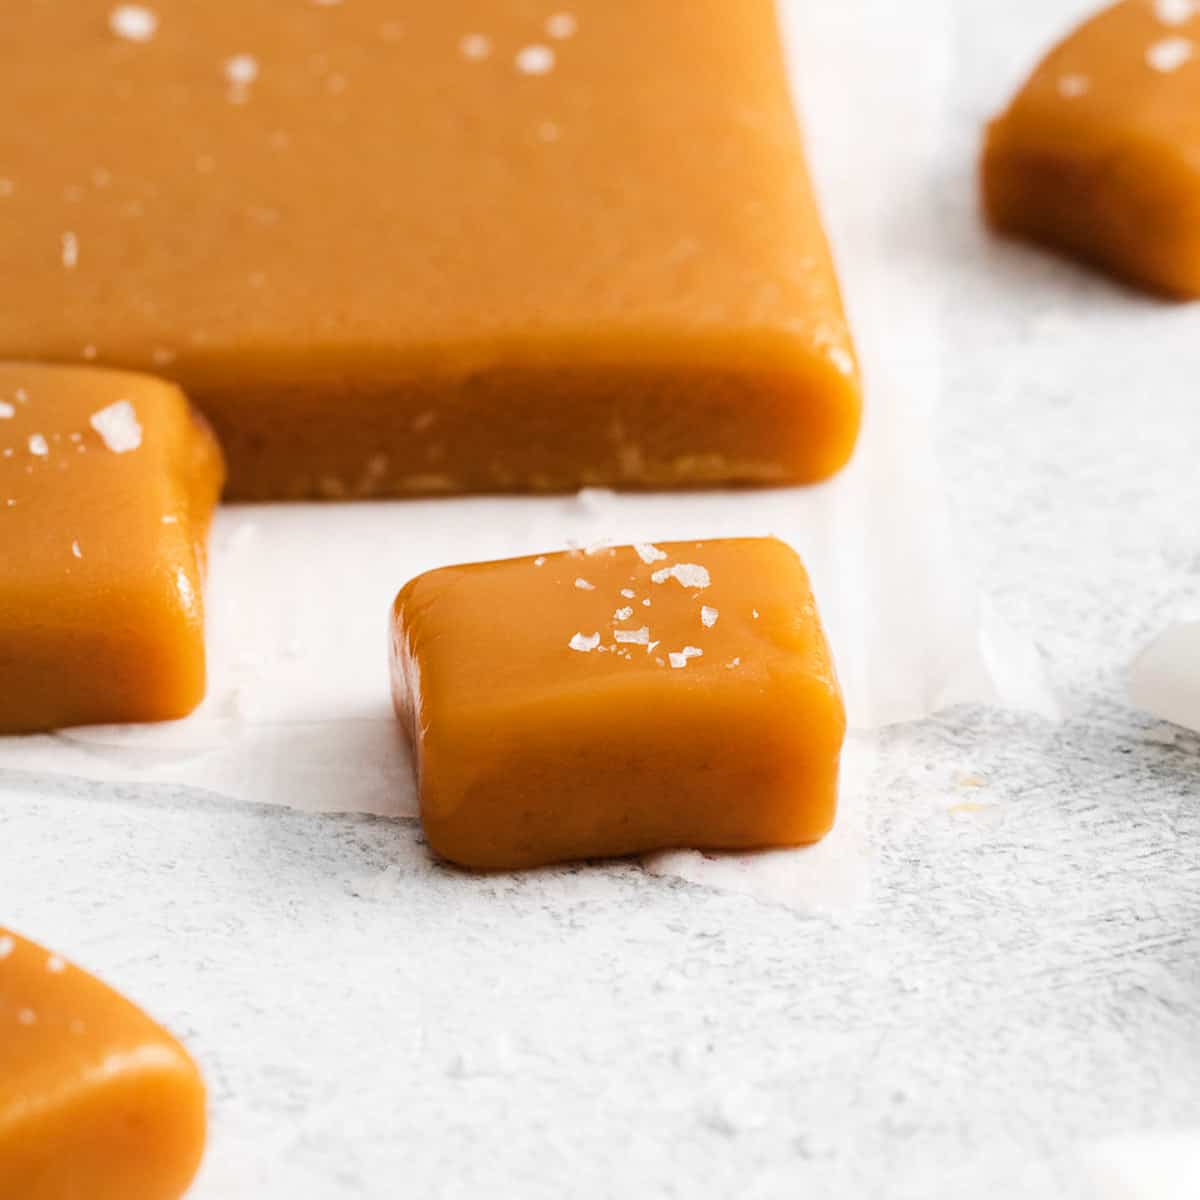
I’ve tried other caramel recipes over the years, but always come back to this one. These are perfectly soft, but not such a soft caramel that they fall apart.
This recipe makes a ton of caramels! I usually make them for my yearly Christmas neighbor gifts. It’s a family tradition to make a batch or two the weeks leading up to Christmas.

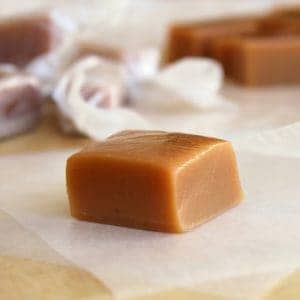
(Original photo from 2012 post)
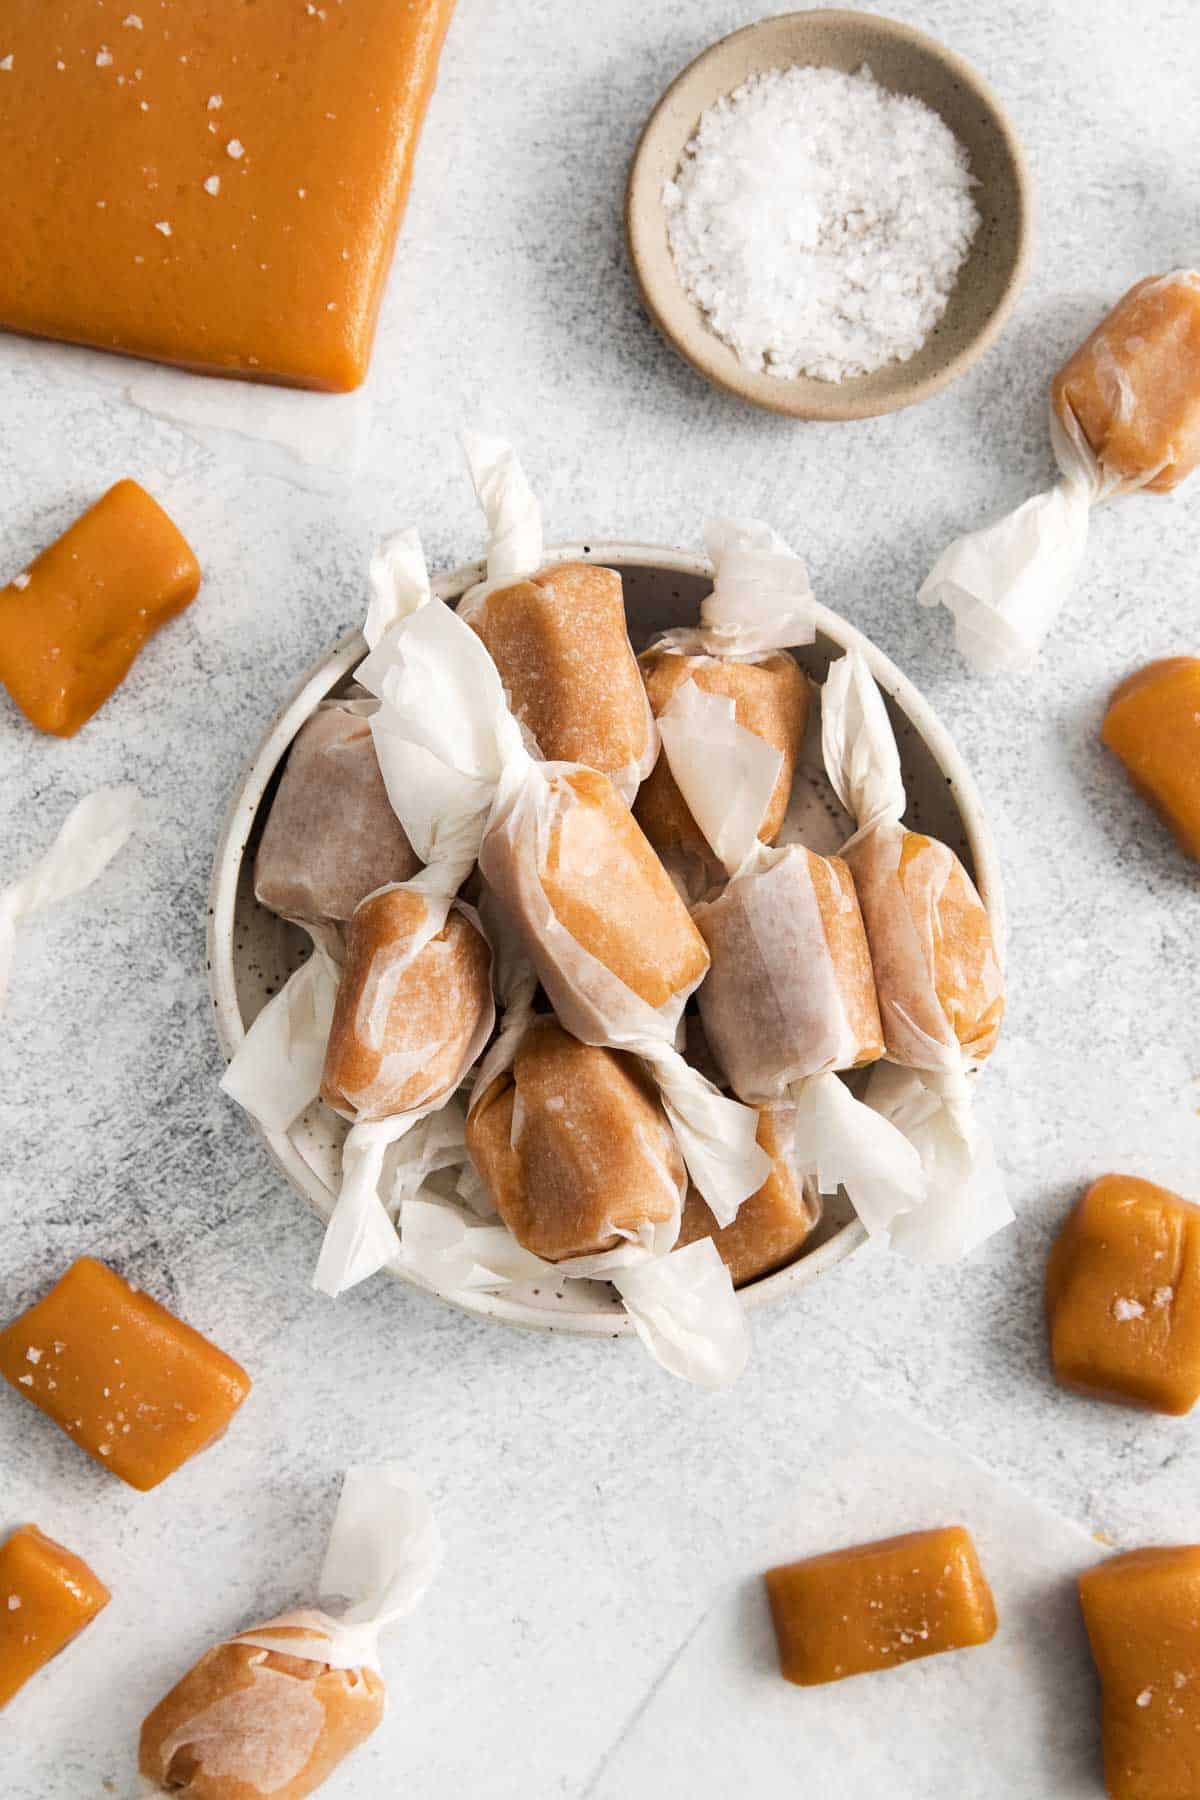
I actually look forward to spending the evening wrapping caramels in wax paper (and sneaking some bites!) and hanging out with family.
VIDEO: How to Make Caramels
Homemade Soft Caramels
This recipe makes a ton of caramels, so you’ll want to recruit the whole family to help wrap them and package them in gift boxes for friends and neighbors. They’re a creamy indulgence and quick treat everyone will love!
Long ago my Grandma would cut individual pieces of wax paper to wrap up these caramels. Now I just buy a pack of pre-cut wrappers on Amazon. I like these wax paper squares or these clear wrappers.
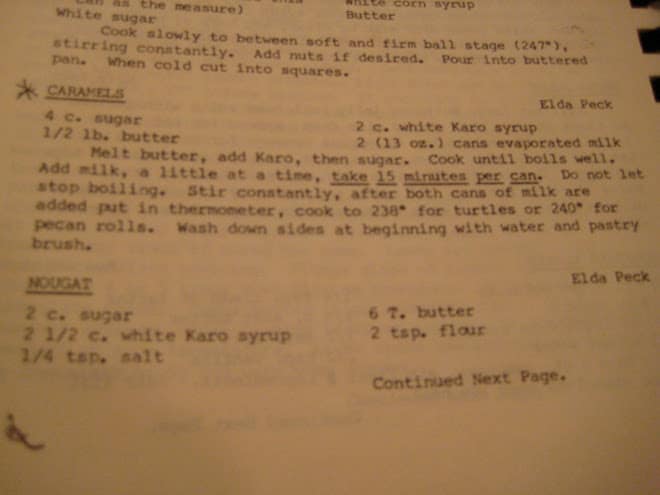
The original recipe my Grandma used came from an old church cookbook. It was submitted by a woman named Elda Peck.
So wherever you are Elda Peck, thank you! Your soft homemade caramels are a classic candy favorite at our house!
Why You’ll Love this Recipe
- Soft, melt-in-your-mouth texture
- Great for the holidays
- Deep caramel flavor
- Makes a large batch for gifting
Ingredients You’ll Need
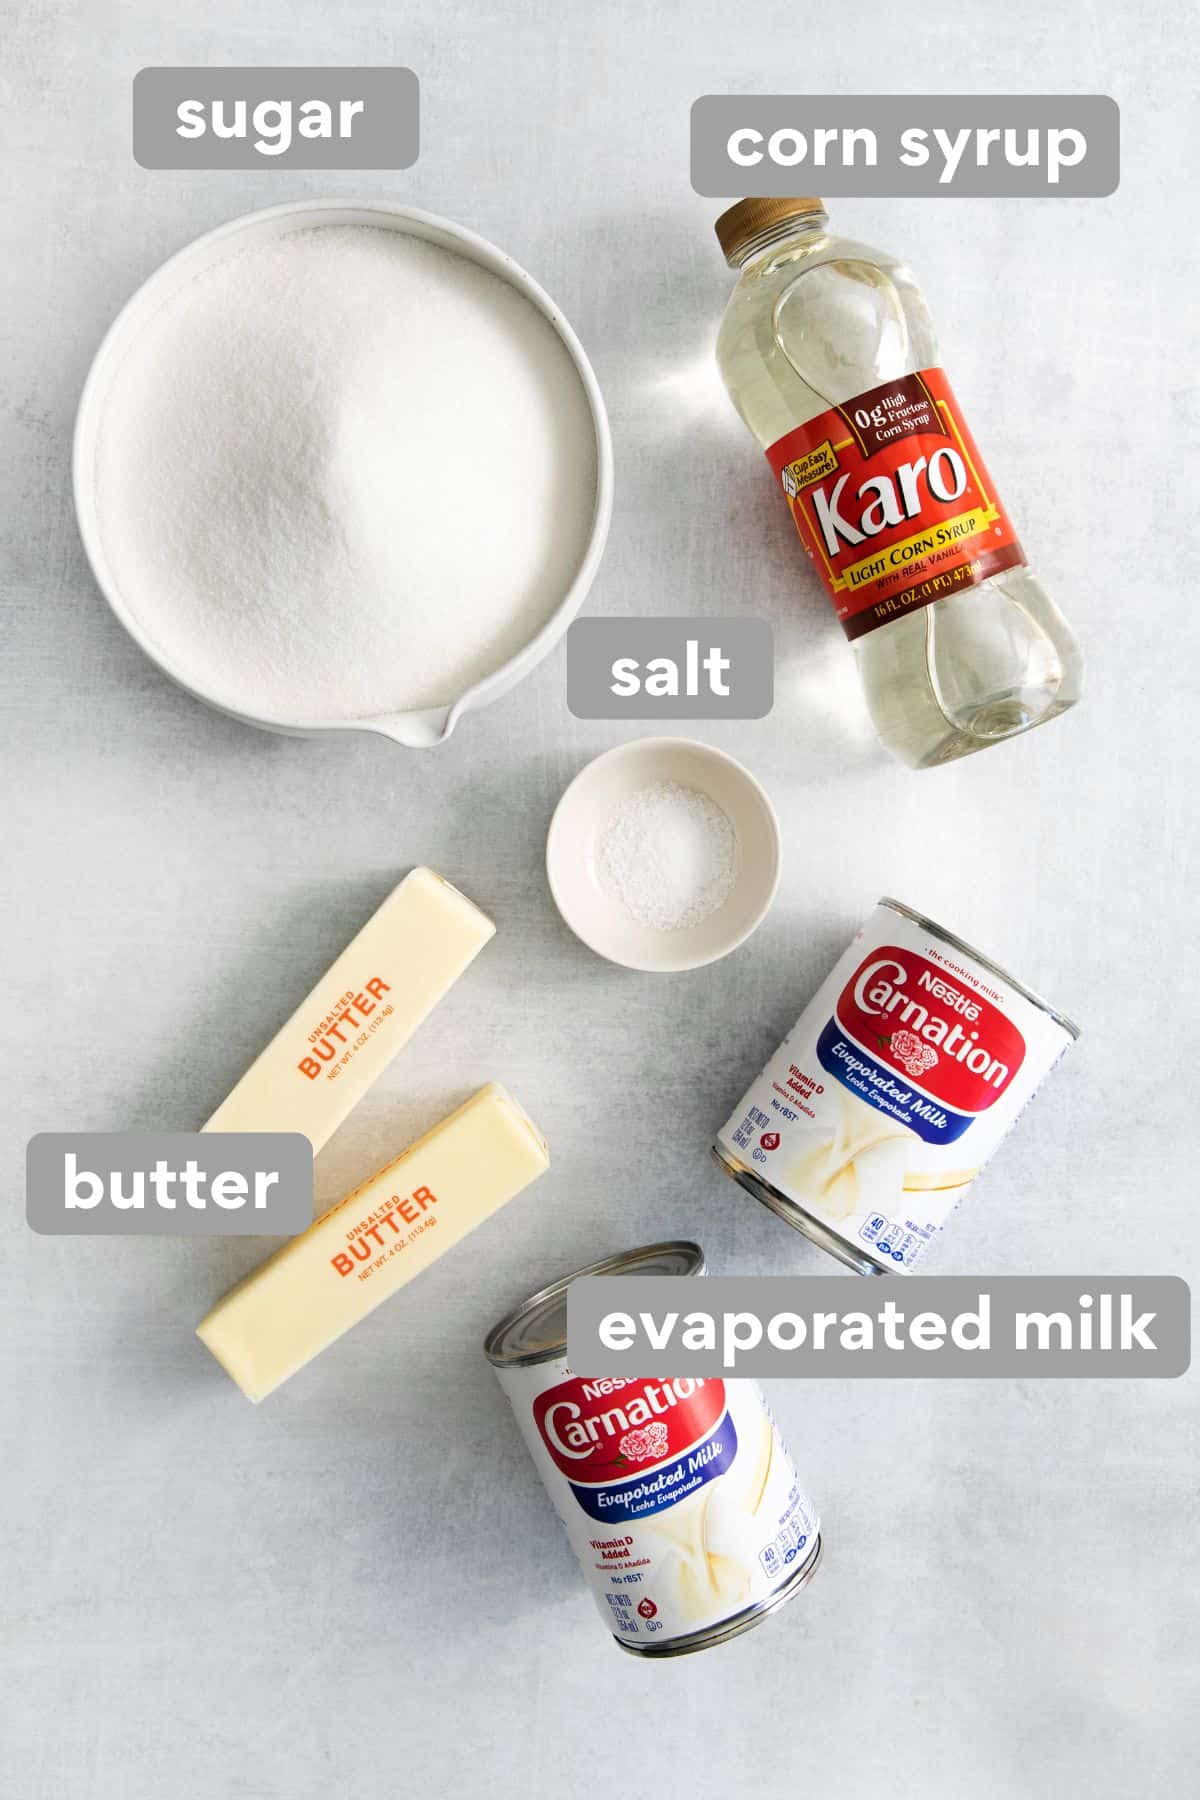
These homemade caramels are made with simple, easy-to-find ingredients. The magic is in the method of making them!
- Sugar: It’s important to use white granulated sugar to create the best rich caramel flavor. No other type of sugar will work! I like Domino brand best.
- Butter: I like to use salted butter for these caramels!
- Corn syrup: For the best caramels, use light corn syrup (not dark corn syrup).
- Salt: Kosher sea salt is best for this recipe — it gives the best texture and flavor!
- Evaporated milk: Evaporated milk helps give these soft chewy caramels a creamy, smooth texture.
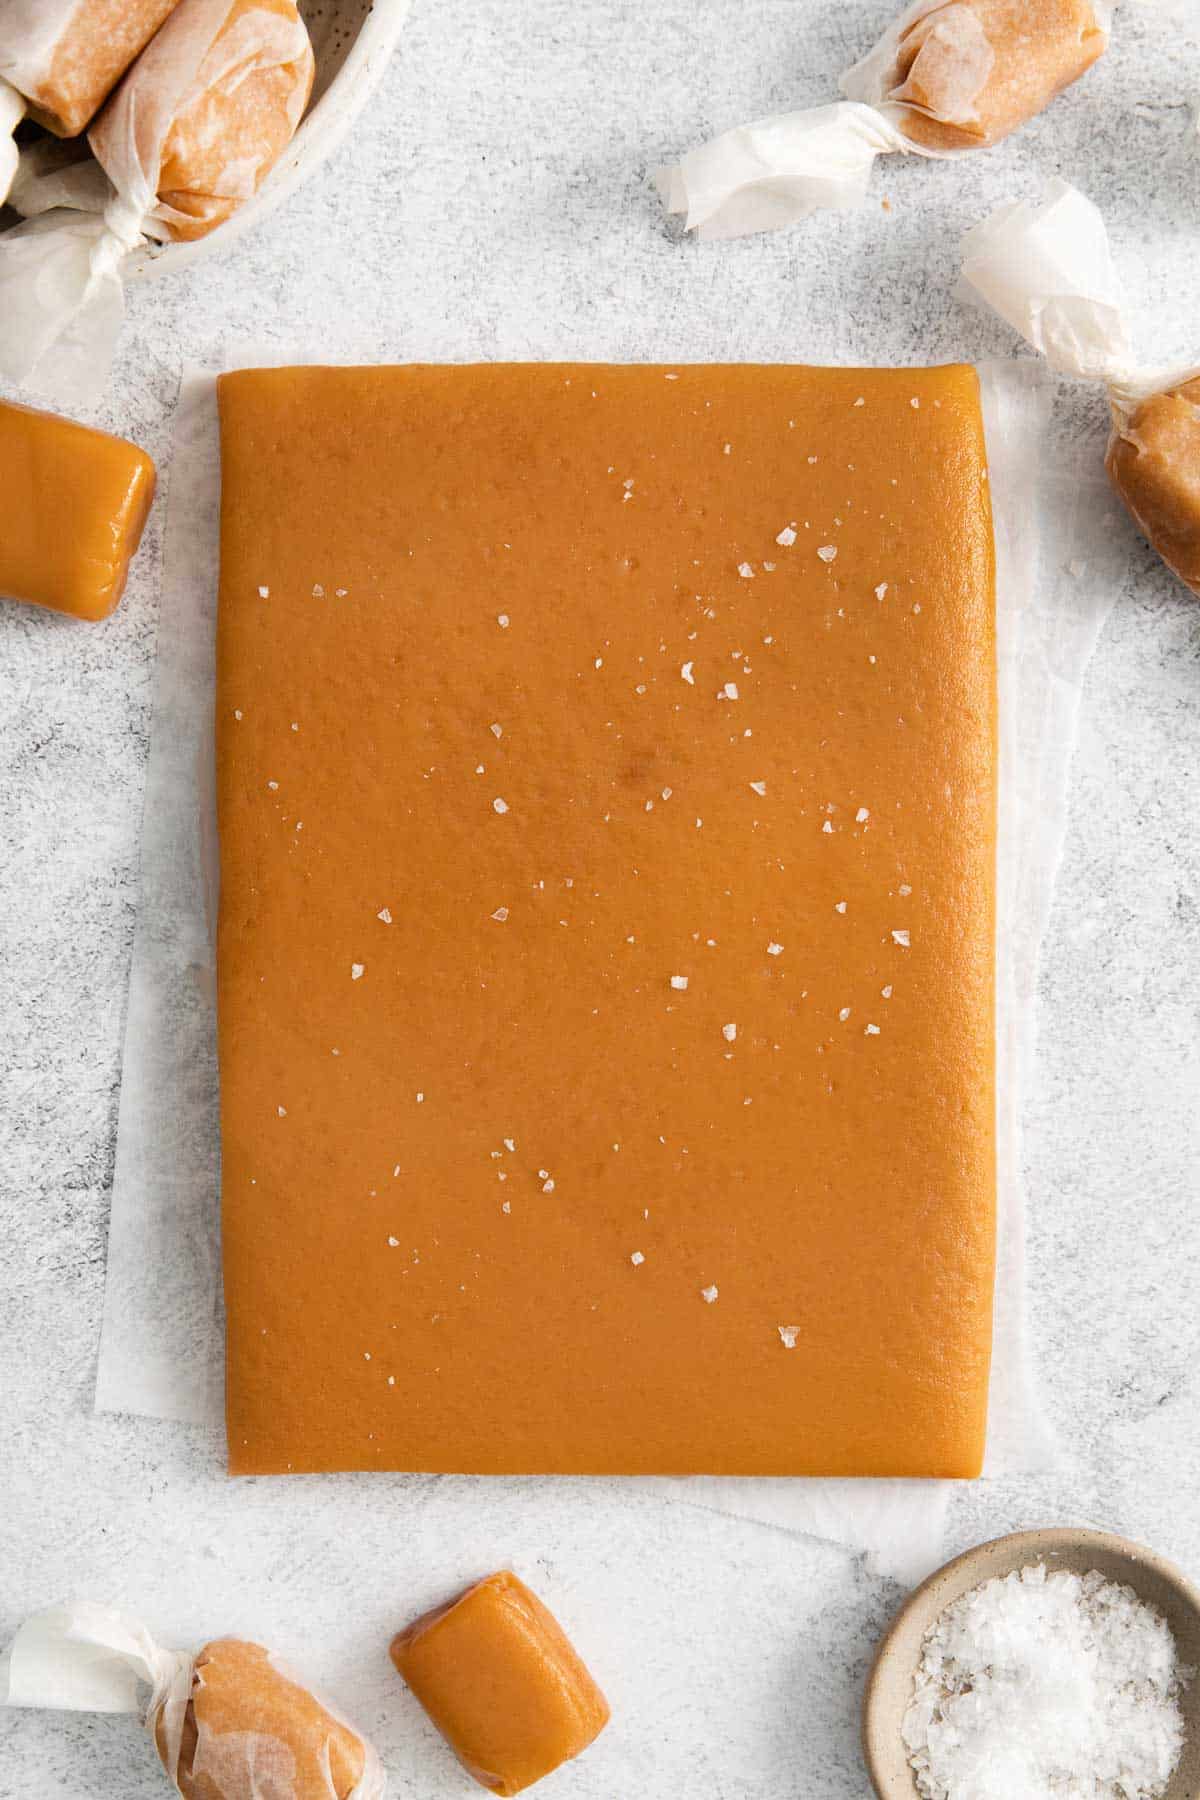
Optional but delicious: I also love adding the seeds of a vanilla bean to these caramels. Just add scrape the seeds out of the vanilla bean pod and add them in with the sugar. They’re also delicious topped with some flaky sea salt.
How to Make Homemade Caramels
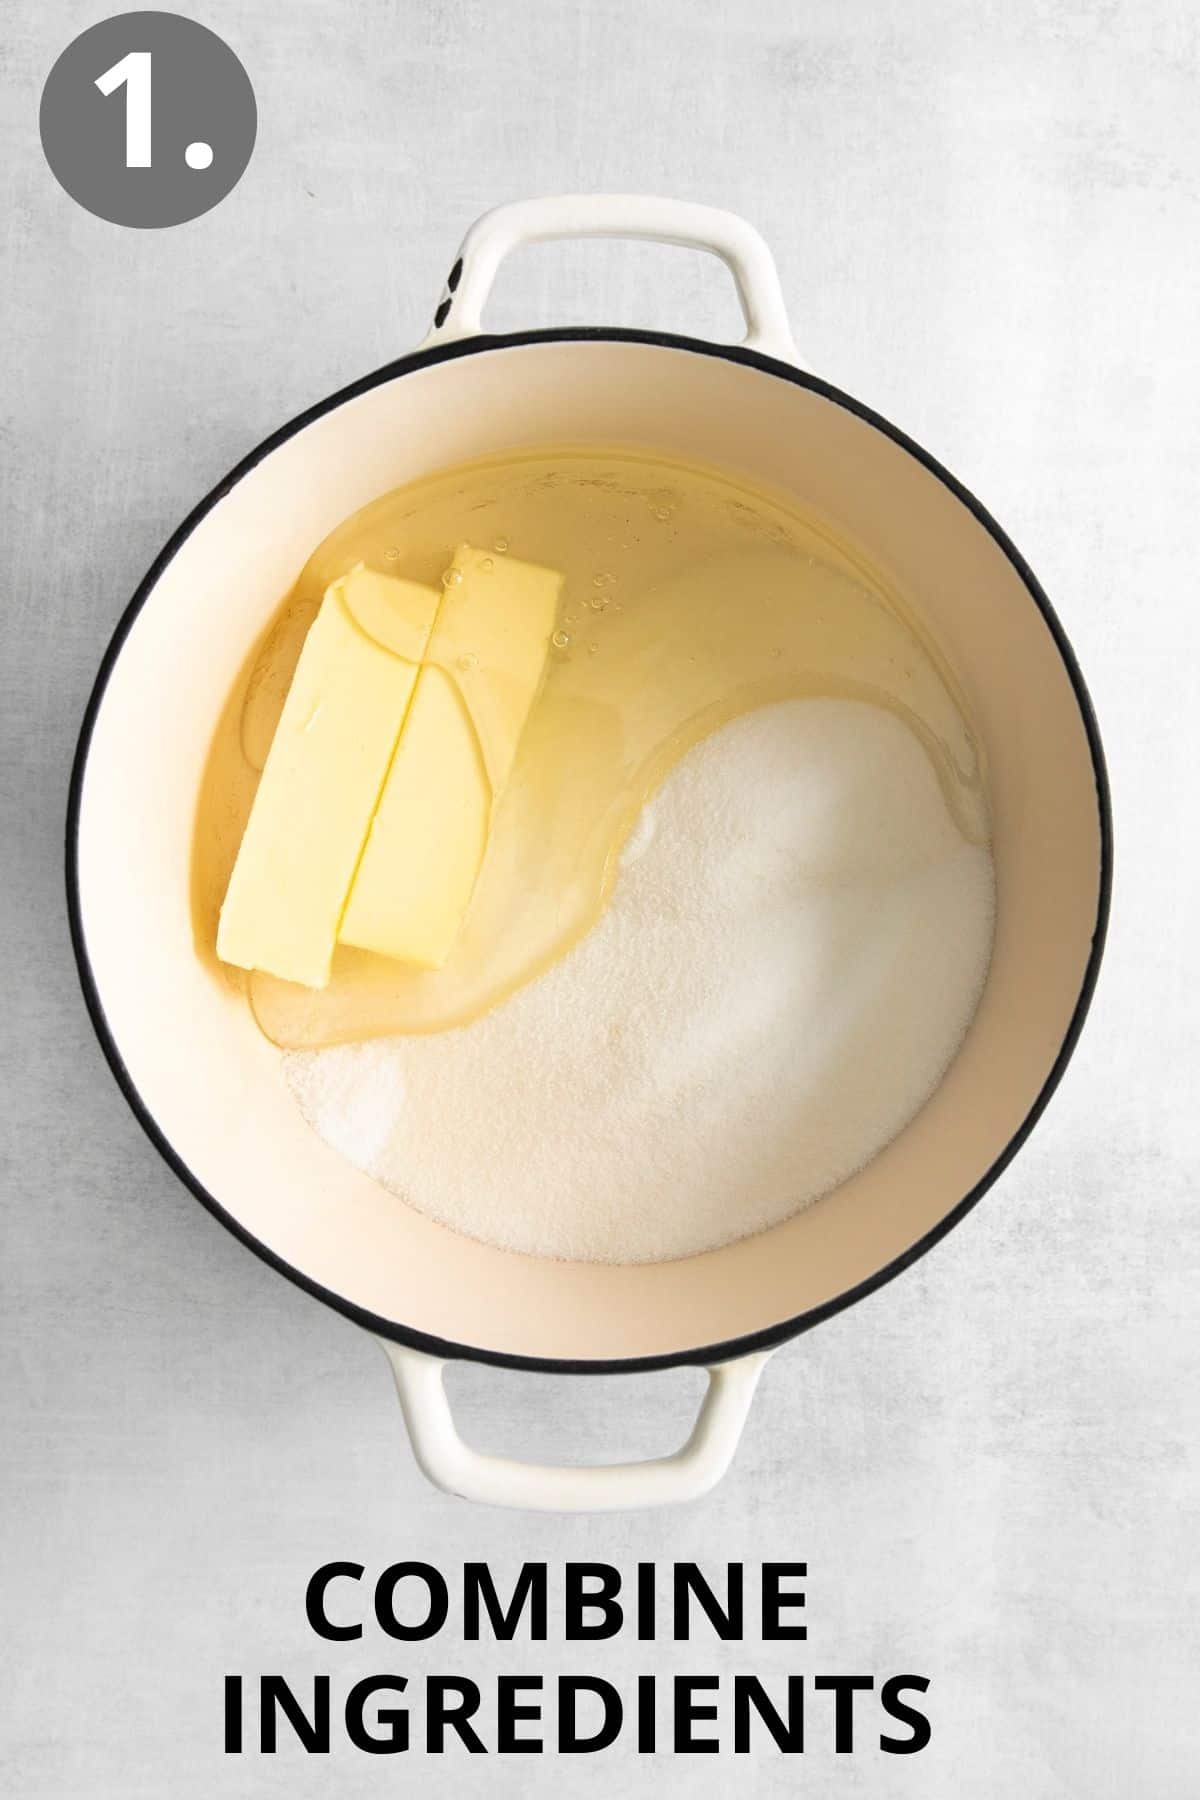
- Melt the sugar, butter, corn syrup, and salt together in a large, heavy-bottomed sauce pan over medium heat or medium-high heat.
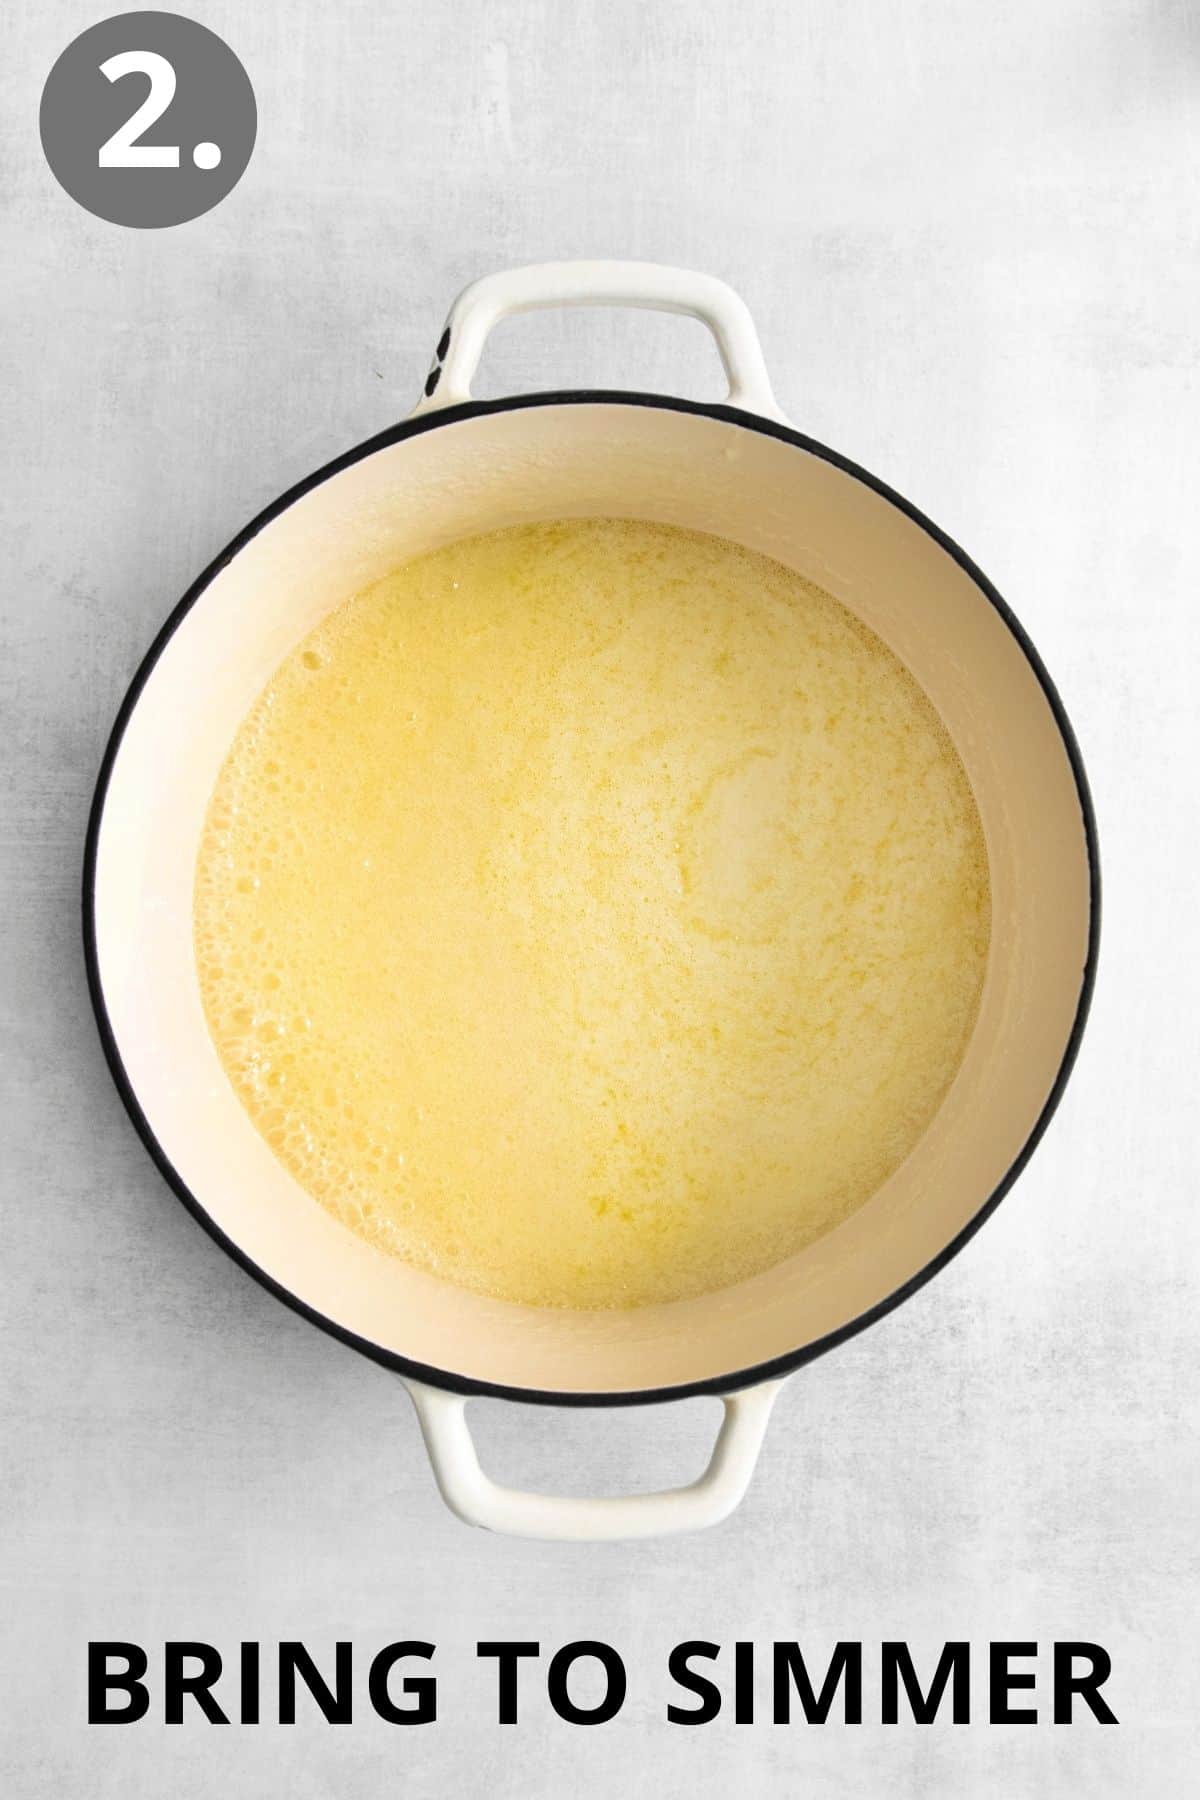
- Once the mixture comes to a boil, add the evaporated milk a little at a time, taking 5-10 minutes per can and stirring constantly. A labor of love indeed.
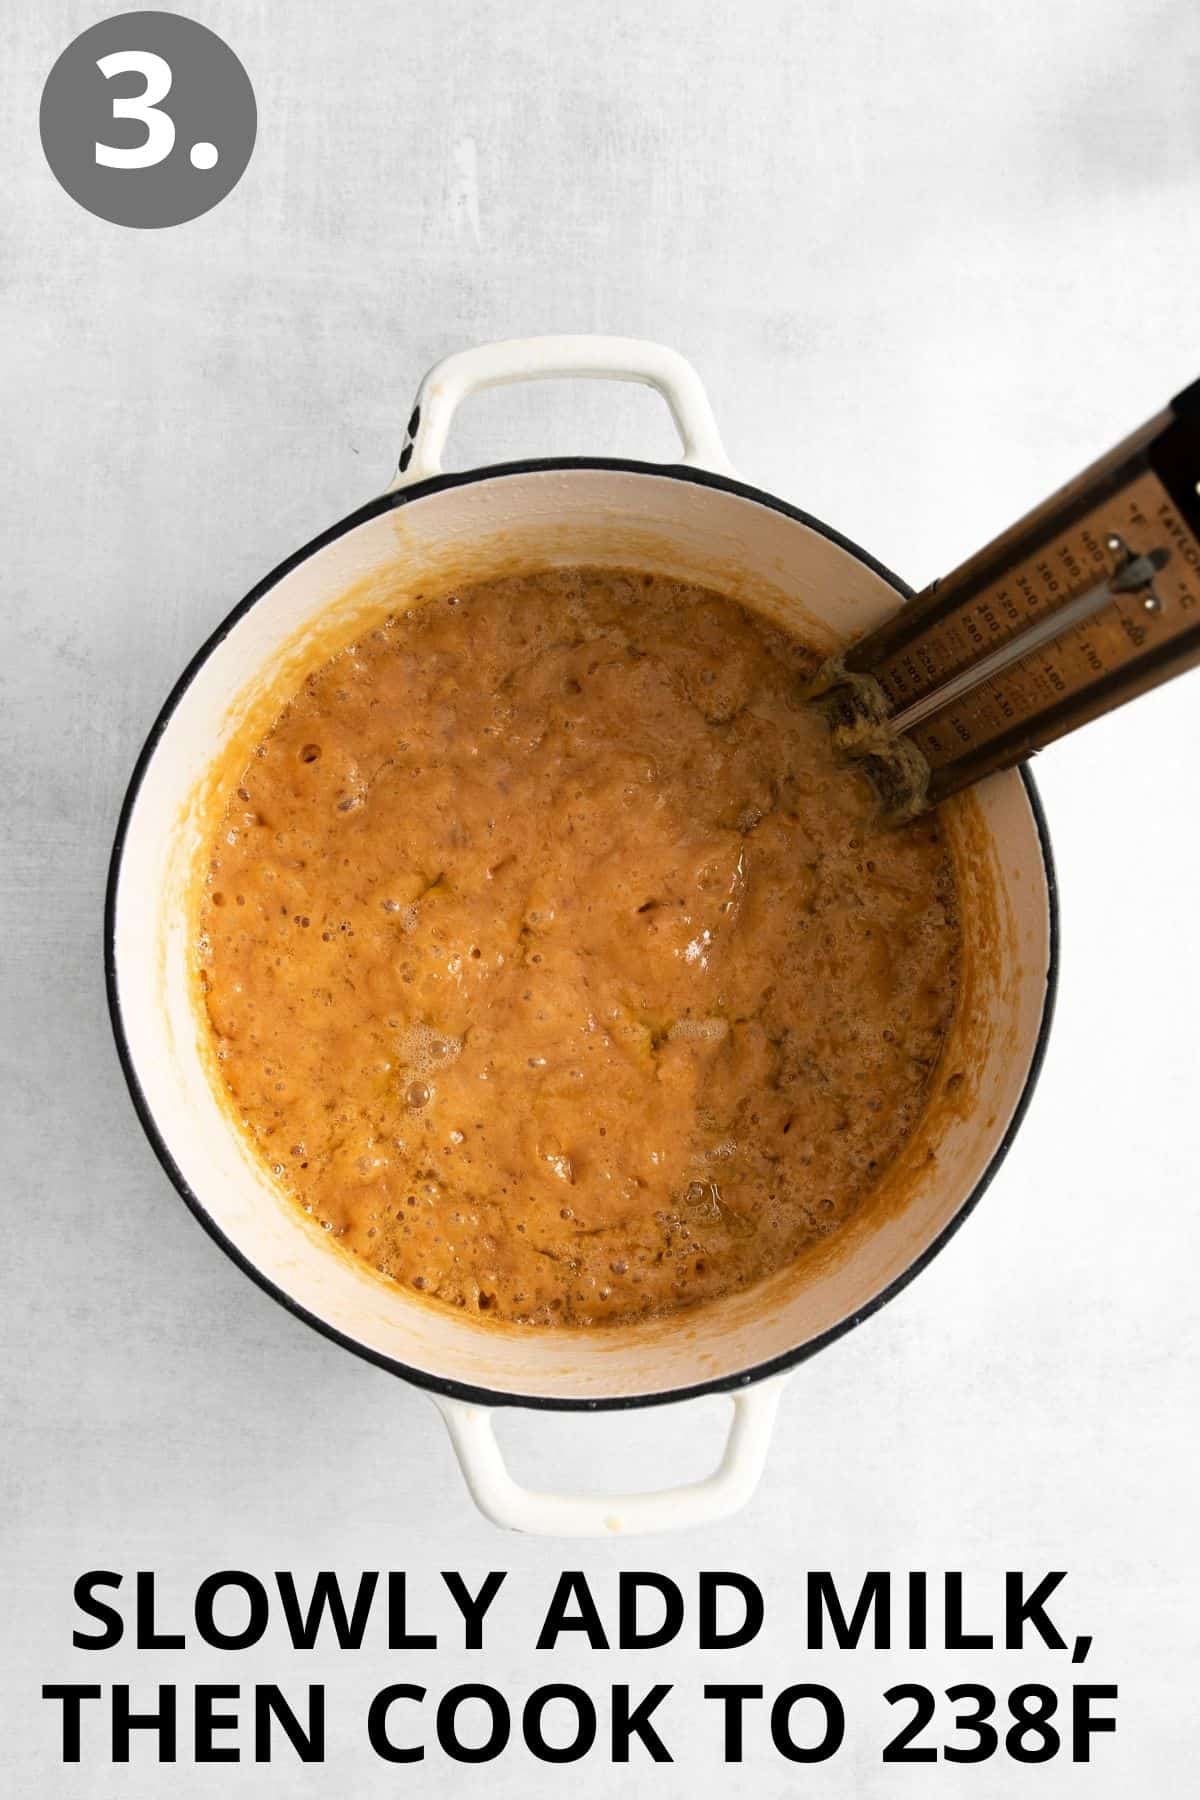
- Once all the milk is added use a candy thermometer and bring the mixture to 238F-240F and not any hotter! Even a few degrees hotter will make them chewy instead of soft.
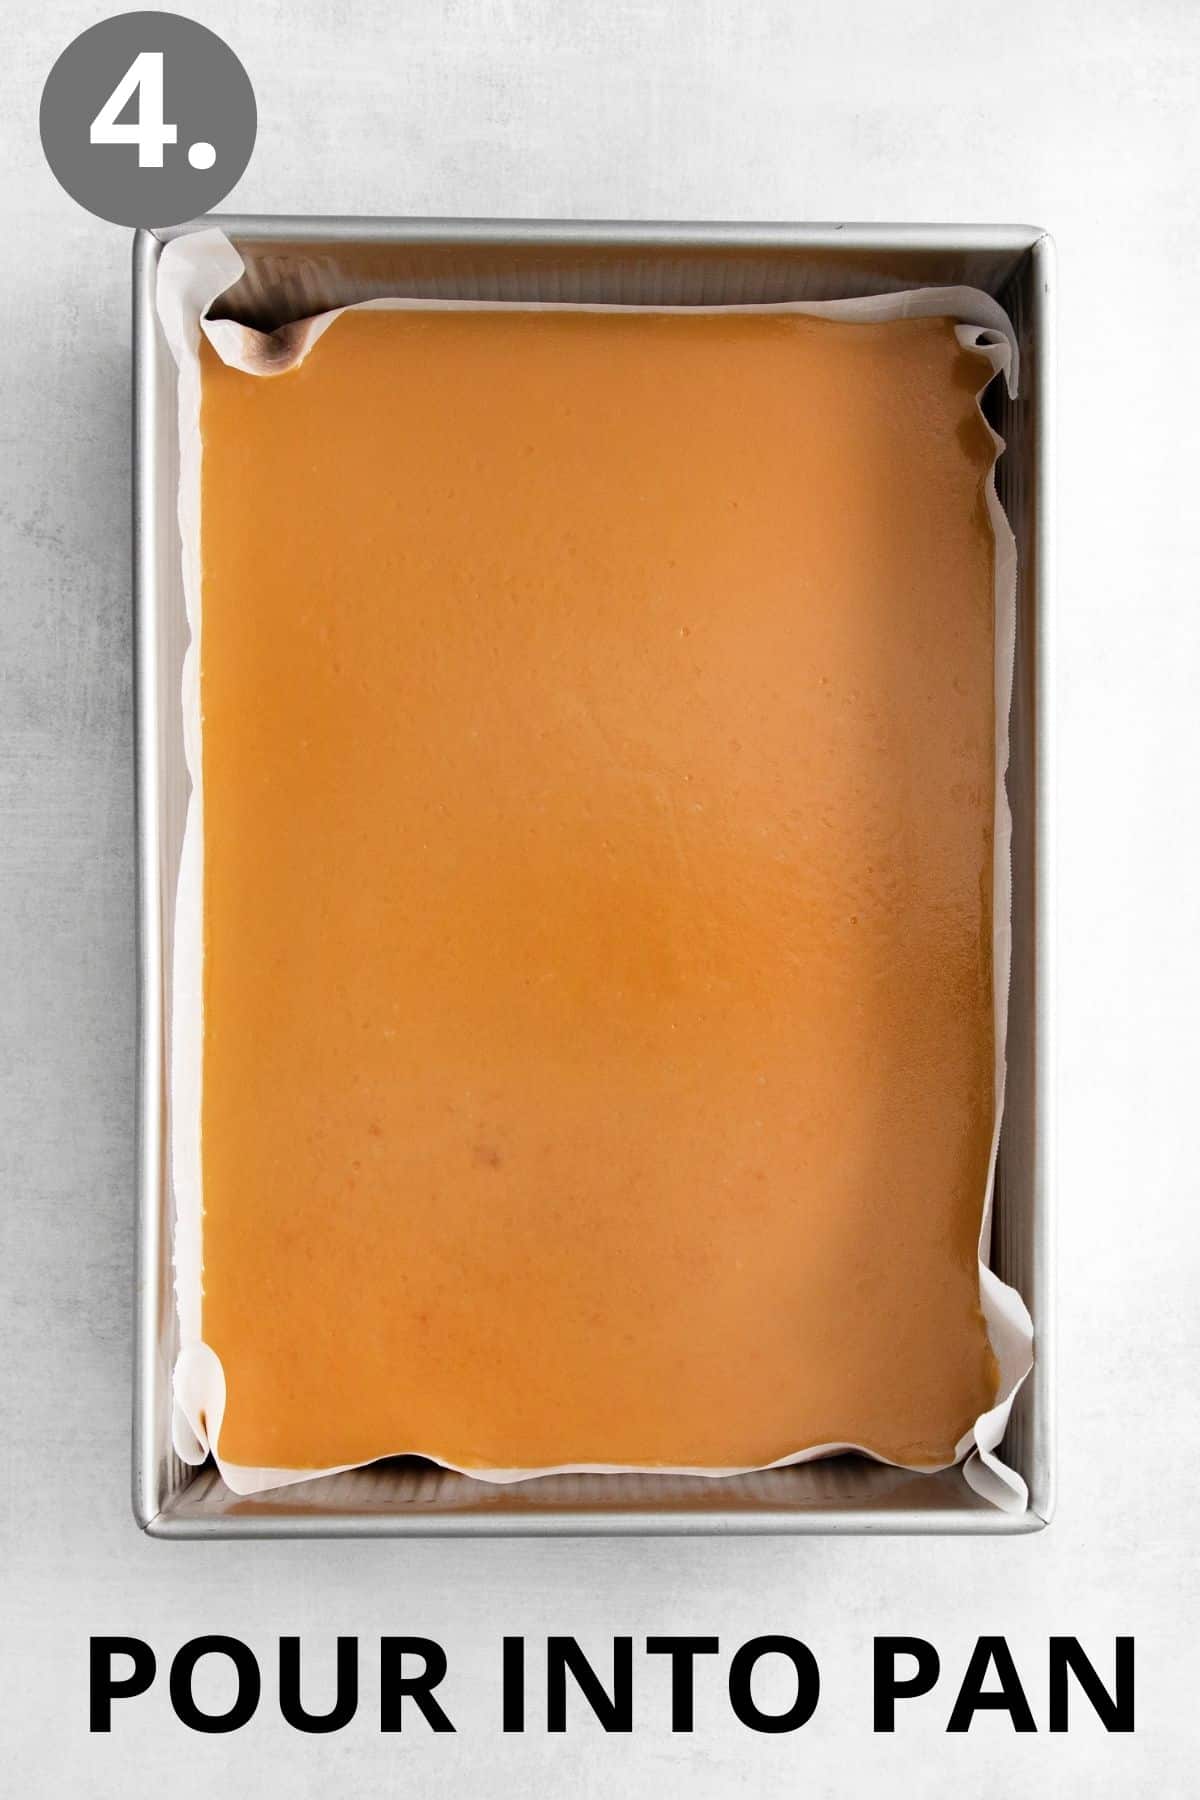
- Pour into a parchment lined 13×9 pan and cool completely. Cut and serve. Enjoy!
Storage Instructions
For a perfect bite size candy, individually wrap these creamy caramels in pre-cut wrappers from Amazon. From there, you can store them in an airtight container or in a candy jar. You can store them at room temperature or in the fridge. They’ll last up to a week at room temperature and even long in the refrigerator.
Expert Tips & Tricks
- Testing the temperature: The most important part of making homemade caramels is to be sure they come up to the right temperature. For soft caramels 238F is the perfect temperature. I like to use a candy thermometer while I’m stirring/cooking the caramels then MOST IMPORTANTLY double check the temperature with an instant thermometer. Be sure to check the temperature in the middle of the caramel mixture! If the thermometer is touching the bottom of the pan the temperature won’t be correct.
- Testing the consistency: I highly recommend using a thermometer AND the cold water test to be sure you get perfectly chewy candies. To do the cold water test, simply fill a small cup with cold water then drizzle a little of the caramel into the cup. You should be able to use your fingers to form it into a stable ball, but it will still be soft and easy to squish.
- Use a stainless steel pot if possible! These caramels turn out much butter when made in a stainless steel pot (as opposed to an enameled Dutch Oven).
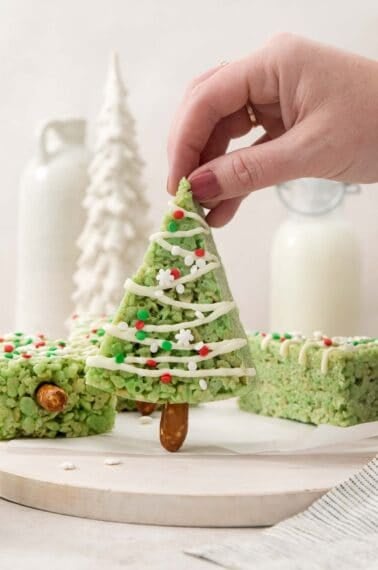
We also might this tried-and-true marshmallow fudge every year!
More Recipes from My Grandma’s Cookbook
I hope you love this recipe as much as we do! If you try these homemade caramels, be sure to leave me a comment/rating below. I’d love to hear from you!
Soft, Buttery Homemade Caramels
Video
Ingredients
- 4 cups (800g) granulated sugar
- 2 sticks (226g) butter
- 2 cups (480ml) white corn syrup
- 1 teaspoon kosher salt
- 2 12 oz. cans (708ml) evaporated milk
Instructions
- Line a 9×13 pan with parchment paper and set aside.
- Melt the sugar, butter, corn syrup, and salt together in a large, heavy-bottomed pot over medium heat. (A stainless steel pot works best for these caramels.)
- Once the mixture comes to a boil, add the evaporated milk a little at a time, taking 10-15 minutes per can and stirring constantly. A labor of love indeed.
- Once all the milk is added use a candy thermometer and bring the mixture to 238F-240F and not any hotter! Even a few degrees hotter will make them chewy instead of soft. (This will take another 15 minutes or so!) I highly recommend double checking the temperature with an instant read thermometer as it comes to temperature.
- Immediately pour into the prepared pan and cool completely. (Once the caramels are cool – I recommend freezing them for 20-30 minutes before slicing. Or you can refrigerate them for a few hours. You don't want them to be frozen solid, but if they're cold this helps the caramels hold their shape when cutting/wrapping.) Cut and serve. Enjoy!
Notes
- Testing the temperature: The most important part of making homemade caramels is to be sure they come up to the right temperature. For soft caramels 238F is the perfect temperature. I like to use a candy thermometer while I’m stirring/cooking the caramels then MOST IMPORTANTLY double check the temperature with an instant thermometer. Be sure to check the temperature in the middle of the caramel mixture! If the thermometer is touching the bottom of the pan the temperature won’t be correct.
- Use a stainless steel pot if possible! These caramels turn out much butter when made in a stainless steel pot (as opposed to an enameled Dutch Oven).


I must’ve done something wrong because it turned out so hard and the butter separated into a thin film on top. It’s still edible (and yummy!), but not as soft as I was hoping. Maybe my thermometer was off, and maybe I should’ve stirred the caramel more as it was getting up to temp. I look forward to trying this again!
Hi Katie, we’re sorry you had this experience, but we’re glad you still enjoyed the flavor! Candy can be finicky for sure. Going even slightly over the required temperature can mess with the texture. Unlike other caramel recipes, this caramel needs to be stirred constantly while cooking that can definitely cause the butter to separate. We hope you have a better experience next time!
Made these last year and they were a hit! This year I’m going to make these as per recipe, and then also add some instant espresso powder to a second batch as well as mixing a batch of apple cider caramels in with them in the holiday tin for some variety and options!
We love those ideas, Athena – we’d love to hear how they go! We’re so glad you loved the recipe as-is too! Thank you for sharing with us!
I’ve never made caramels before and swore I was doing something wrong with how long it took to come to temp, but my digital thermometer didn’t fail me! They turned out amazing, all 160 of them!!
Yay! We’re so glad it was a success! Thank you for sharing your experience with us, Haley. We’re happy to hear you loved the recipe!
Haven’t made them yet but I was wondering if this is workable enough for dipping pretzel rods?
Hi Jessica, these caramels were designed to be soft and chewy so they may not set up well for coating pretzels. If you decide to give it a try, we’d love to hear how it goes!
Love these caramels! Does anyone else have a problem with the caramel sticking to the pre-cut wax paper squares? I don’t have a problem when I use regular wax paper and cut them myself. But, for some reason, the precut ones always seem to stick. Any suggestions?
Hi Renee, we’re so happy to hear you loved the recipe! Thank you for your kind feedback! When using precut squares, make sure the caramels are chilled when wrapping (if they’re warm, they’re more likely to stick). You can also reinforce the coating by very lightly greasing them with a little neutral oil or nonstick spray. We hope these ideas help!
Made this a few times for my family. They love it. I had a different recipe for years. I made my children caramel for the holidays when they were teenagers. I lost that recipe when we moved.
I’ve looked and looked for a similar recipe. They all had a bunch of different ingredients but didn’t sound right. It was just a simple one with few ingredients. When I seen this one and read how it was made, I knew this was it. Thank you!!!
Yay! We’re so happy to hear how much your family loved this recipe! Thank you for taking the time to share with us, Sandi!
These remind me of the caramels I tasted in France. Would it be possible to add a layer of small cut up figs on the bottom of the pan and pour the caramel over so that you could make different flavored caramels?
Hi Michelle, thank you for your kind feedback! Yes, that’s definitely worth a try. Sounds delicious – we’d love to hear how it goes!
Hi! I had to do this recipe twice because I overcooked my first batch. My candy thermometer failed me. It was still edible just want what I was looking for. My second batch turned out perfectly. I invested in an instant read thermometer and I was much more successful. They were so soft and chewy at the same time!! As long as you don’t cook them too long, this recipe is an excellent guide! Thanks for sharing Christie!
We’re so happy to hear the second batch turned out well, Becki! Thank you for sharing your positive experience with us. Happy baking!
Just made this recipe. It worked very well. Took a full hour to cook. I was worried as temp from 220-230 was climbing slow, but from about 230+ it went a little faster. Would love to try a variation with a splash of bourbon in them, but not sure how to do that.
We’re so glad you enjoyed the recipe! We haven’t tried adding alcohol to the caramels before. Thank you for taking the time to share your feedback with us. Happy baking!
I’ve now made this recipe twice and am in love. My family wants this for Thanksgiving and Christmas. I love the simplicity of the ingredients, and the easy flow of the recipe. Have only used flaky salt to cover after pouring onto the parchment lined pan. Want to try adding bourbon instead of vanilla next time I use this recipe. Thank you Erin.
We’re so glad you loved the recipe, Gary! Thanks for sharing your positive feedback with us. Happy baking!
Can I half this recipe and it still work?
Hi Kristi, yes that should work! They won’t take as long to come to temperature and you’ll only need an 8×8 pan when making a half recipe. We hope you enjoy the caramels!
I love this recipe! Irs amazing!
I have a question though. After you add the evaporated milk, and the caramel is coming up to a soft ball (238°L, do you continue to stir the caramel?
Thank you!
Hi Melinda, we’re so happy to hear you loved the recipe! Yes, unlike other caramel recipes, you’ll want to stir this caramel constantly while cooking. Once it hits that 238-240F, immediately stop and pour into a prepped pan. We hope this helps!
What about altitude? This effects the temperature precision rule, right?
Hi Teri, good question! High altitudes do impact sugar cooking. The general guideline is to reduce the target temperature by about 2°F for every 1,000 feet above sea level. For example, at 5,000 feet you’d reduce the final temperature by 10°F so that it reaches 228°F-230°F, instead of 238°F-240°F. High altitudes can cause liquids to evaporate faster, so keep a close eye on the texture as it cooks. If it seems too thick, you can add a little extra evaporated milk to reach the right consistency. We hope these ideas help!
Absolutely delicious! Husband and I did it together. I found one in an airtight container 10 months later still tasty!!!
Love !!! Thanks forsharing
Hi Sharon, we’re so glad the caramels were a hit! Thank you for taking the time to share your experience with us!
I love this recipe but make my carmel darker (firm ball) because it cuts down on sweetness
Hi Mary, thank you for your positive review! We’re happy to hear you loved the recipe!
Hi, when my mixture reached a boil it was still very clear, not amber at all. Is it still the right time to start stirring in the evaporated milk? Will it get darker?
Hi Ash, yes you’ll want to slowly add the evaporated milk once the mixture starts boiling. You’ll add the milk very slowly over the course of 10-15 minutes and the mixture should get darker as it comes to temperature. We hope you enjoy the recipe!
Updated comment. These are for sure a labor of love as the recipe indicates. These caramels are DELICIOUS! A mistake that I made was to cut all of the caramels at once. While wrapping them, they started to stick together, so I ended up doing two strips at a time. For me, the recipe made approximately 130 pieces. No doubt that changes with how big or small you cut them. I wil be making these again!! Can’t wait for everyone to try them. Thanks for a great recipe!
Yay! We’re so happy to hear you loved the caramel recipe, Jane! Thank you for taking the time to share your experience with us. Happy baking!
Hello, I’m newly diagnosed celiac disease and I also have a dairy allergy. Can the Carmel’s be made dairy free?
Thank you so much!!! Your recipes are so amazing and always a hit in my house.
Hi Crystal, we’re so glad you’re enjoying the recipes! We haven’t tried dairy-free subs in this recipe. We have a dairy-free caramel sauce recipe, but it doesn’t solidify into chewy candies like this one. If you decide to try out dairy-free alternatives with this recipe, we’d love to hear how it goes!