

Featured Comment
From April: “This is my first time making fudge. Such easy and clear directions. It came out so delicious!! It’s a huge hit with everyone. Can’t wait to make this every year for Christmas treats. ★★★★★”
From Sha: “This is such a hit! My fam instantly love marshmallow cream fudge! So easy and delicious! ★★★★★”
From Jacque: “Best and easiest fudge. Made it once for my brother at Christmas and it quickly became his must have Christmas present every year! ★★★★★”
Why You’ll Love This Recipe
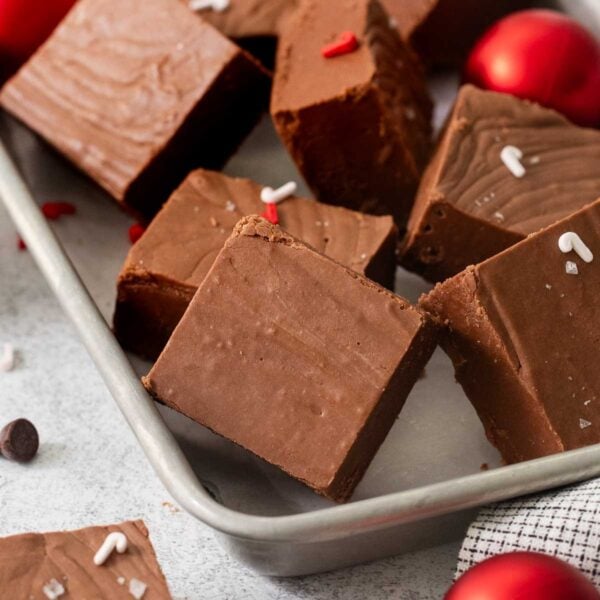
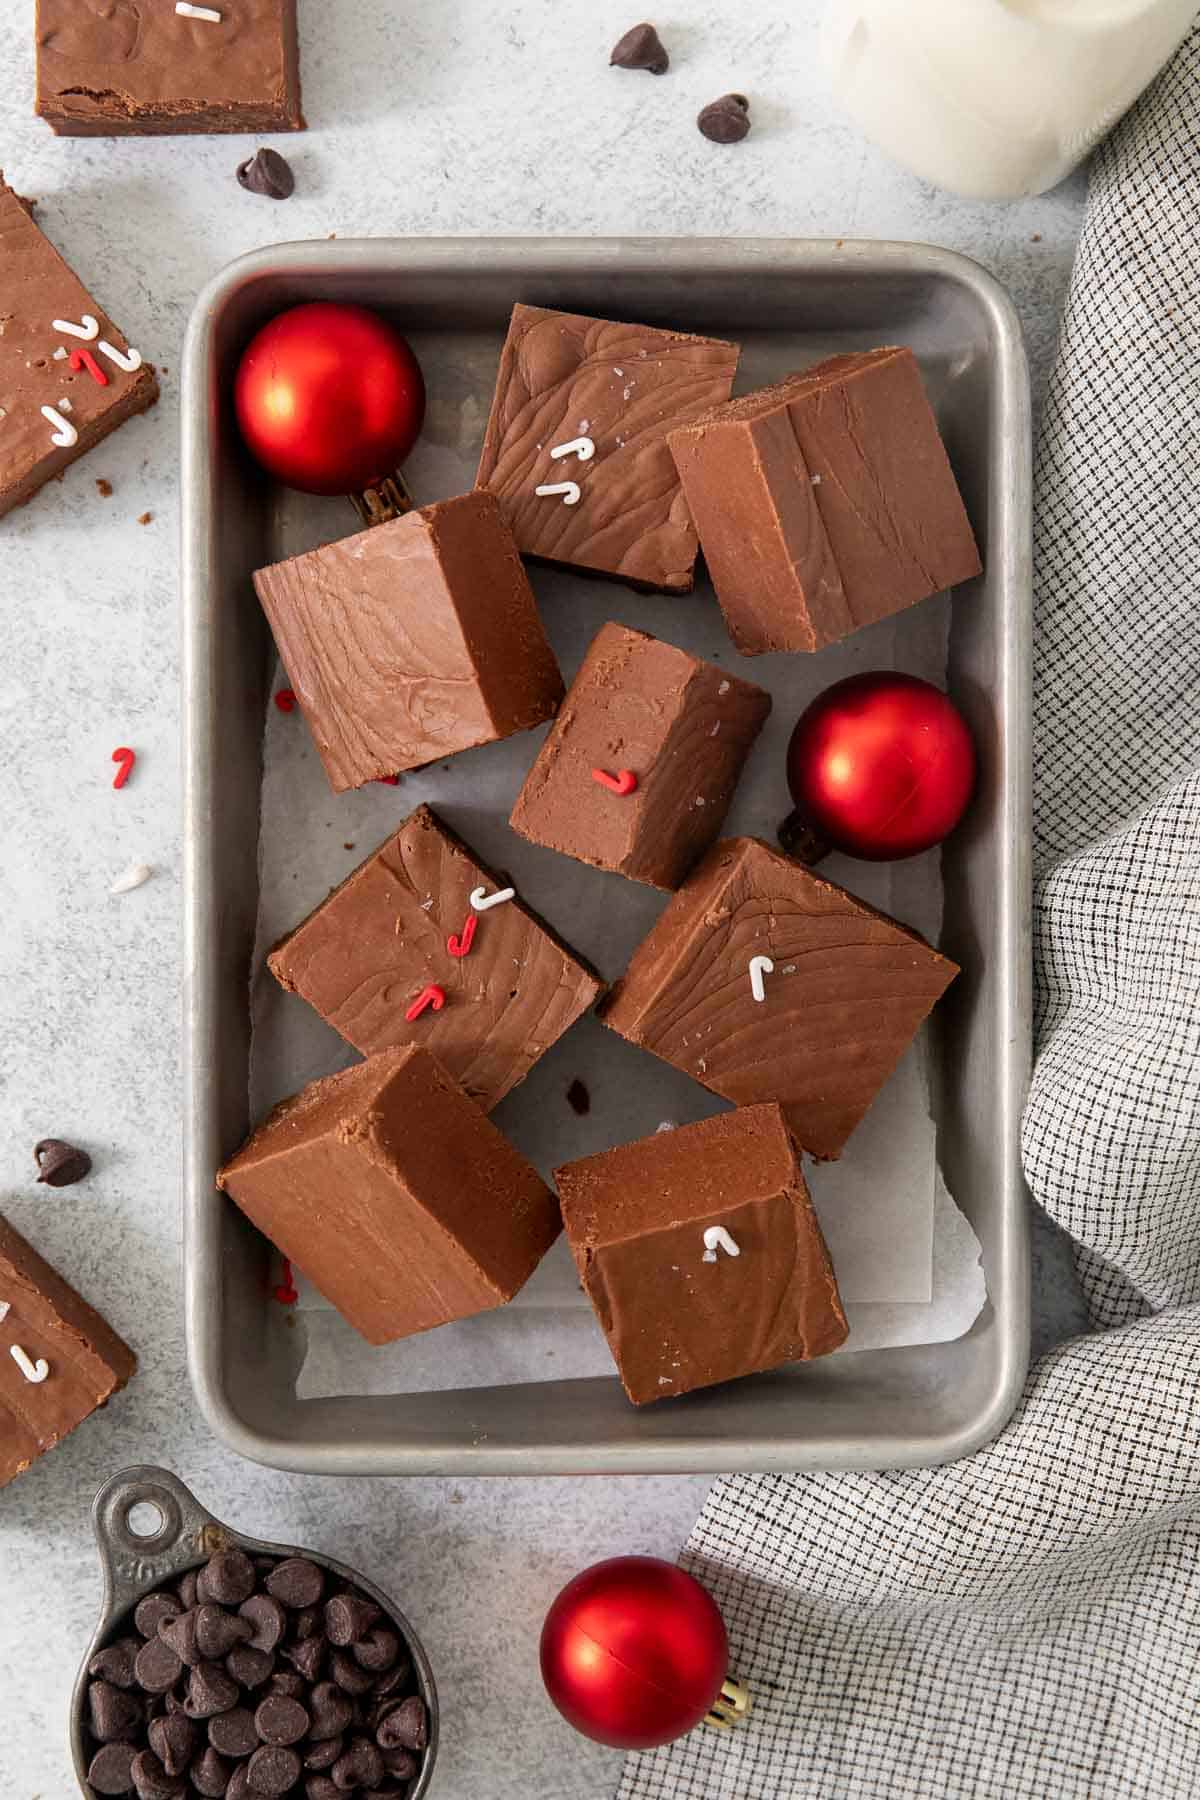
The holiday season just wouldn’t be the same without this chocolate marshmallow fudge! I love making this homemade fudge along with caramels every year for neighbor gifts.
I have learned a LOT by making this recipe year after year, so I gathered all of my tips into one place so you can learn from my mishaps!
- Smooth and creamy texture: This comes from making sure you cook the fudge to the right temperature.
- Fool-proof recipe: The trick for perfect fudge is in more in the method than the ingredients. This recipe has all the tips!
- Great for gifting: I love to wrap pieces of fudge individually, then box them up for gifts for teachers/neighbors/anyone.
What You Need
Here are a few notes on some of the key ingredients to make this marshmallow cream fudge. Jump to the recipe card below for the exact measurements.

- Chocolate chips. The quality of chocolate you use is so important! I typically use Guittard. It’s rich, decadent, and labeled gluten-free.
- Marshmallow fluff/creme. While marshmallow fluff doesn’t typically contain gluten, some brands come with a greater risk of cross-contamination. To be safe, I always use brands that are labeled gluten-free!
- Butter. I love using salted butter in this recipe because it brings out the chocolate flavor without making the fudge taste salty.
- Walnuts. I like to use fresh walnuts that I coarsely chop, rather than buying pre-chopped. They have better flavor!
Use High Quality Chocolate Chips
I recommend using a higher quality chocolate chip, like Guittard or Ghirardelli. I’ve tried this fudge with many kinds of chocolate chips and it really does make a difference!
Equipment You’ll Need
Digital thermometer: An instant-read digital thermometer is essential for making perfect marshmallow cream fudge! This helps ensure your fudge reaches the EXACT temperature (234F) for smooth, creamy fudge that isn’t dry or crumbly.
Heavy-bottomed pan: It’s best to cook this fudge in a heavy bottomed saucepan for even heating.
Spatula: I like using a heat-resistant rubber spatula for stirring the fudge once it’s off heat.
How to Make Marshmallow Fudge
Here’s an overview of how to make this recipe. You can jump to the recipe for the full instructions!
Before you Begin
Prep Before You Begin
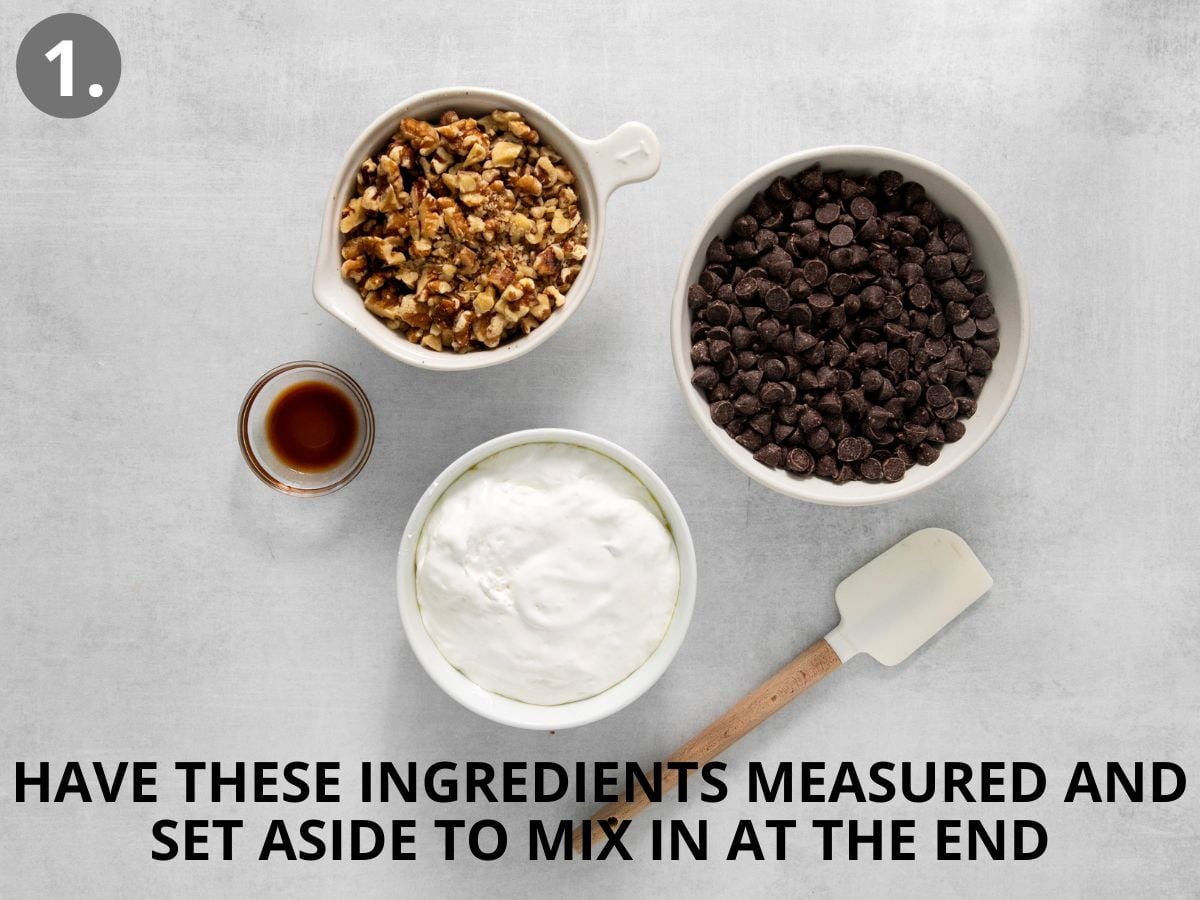
One of the keys to delicious fudge is to work very quickly once it reaches the right temperature. It’s SO helpful to have all of your ingredients opened, measured, and prepared before starting the cooking process.
Prep the Following
- Line a 9×9 inch square pan with foil or parchment paper. Spray with a little cooking spray.
- Open (and measure if needed) the chocolate chips. I usually pour them into a bowl.
- Peel off the seal of the marshmallow cream and get a spoon ready to scoop it. I usually spray the spoon with a little cooking spray so it doesn’t stick.
- Measure the vanilla into a small bowl.
- Coarsely chop the walnuts, if using.
- Line everything up by the stove.
- Set out a heat-proof rubber spatula. I like to use a different spatula to finish the fudge than the one I used to cook the fudge to make sure no sugar crystals end up in it.
- Make sure you have your digital thermometer on hand.
Cook the Fudge Base

Bring to a rolling boil. I heat the butter, sugar, evaporated milk, and salt over medium heat. It’s important to stir the mixture constantly once it begins to bubble!
Stir until it reaches temperature. Once it’s boiling, continuously stir the mixture until it reaches 234°F. I find this usually takes 3-5 minutes.
Finish the Fudge

Remove from heat. Immediately turn off the stove and move the pan away from the heat so that the fudge doesn’t overcook and ruin the consistency. I quickly stir in the chocolate chips, marshmallow fluff, vanilla, and walnuts with my second spatula.
Pour into pan to cool. As soon as the chocolate has melted and the marshamallow fluff has blended into the fudge, pour it into the prepared pan. I like to let the fudge cool overnight before slicing, but if you need it sooner than that, at least give it 4 hours to set.
Erin’s Tip
You can double this recipe and pour it into a 9×13 pan. I don’t recommend making anything larger than a double batch because it becomes too hard to work with.

More Candy Recipes

The Best Marshmallow Fudge Recipe (Creamy Every Time!)
Video
Ingredients
COOK TOGETHER:
- ¾ cup (170g) salted butter
- 2 ½ cups (500g) granulated sugar
- ⅔ cup (167ml) evaporated milk
- ¼ teaspoon kosher salt
PREP TO STIR IN AFTER COOKING:
- 1 (12-ounce) bag (340g) high-quality semi-sweet chocolate chips
- 1 (7-ounce) jar marshmallow cream (also called marshmallow fluff)
- 1 teaspoon vanilla extract
- 1 cup (125g) walnuts, coarsely chopped (optional)
Instructions
Prep the Ingredients
- Line a 9×9 inch square pan with foil or parchment paper. Spray with a little cooking spray. Set aside.
- One of the keys to delicious fudge is to work very quickly once it’s done cooking. You’ll have all the ingredients you mix in after cooking the base prepped and ready. Prep the following:– Open (and measure if needed) the chocolate chips. I usually pour them into a bowl.– Peel off the seal of the marshmallow cream and get a spoon ready to scoop it. I usually spray the spoon with a little cooking spray.– Measure the vanilla into a small bowl.– Coarsely chop the walnuts, if using and place into a bowl.– Line everything up next to the stove.– Set out a clean heat-proof rubber spatula. (I like to use a different spoon/spatula to finish the fudge than the one I used to cook the fudge to ensure no sugar crystals end up in the fudge.)– Make sure you have your digital thermometer.
Boil the Butter, Sugar, Milk and Salt
- In a medium, thick-bottomed saucepan, bring the butter, sugar, milk and salt to a rolling boil on medium heat, stirring constantly once the mixture begins to bubble.
- Once the mixture reaches a boil, keep stirring for 3-5 minutes until the mixture reaches 234°F on a candy thermometer. (Adjust the temperature for altitude if needed.) Turn the heat off immediately and remove the pan from the heat when the mixture reaches 234°F. Overcooking at this stage makes for dry, crumbly fudge.
Finish the Fudge
- I like to switch to a heat-proof rubber spatula for this part. Working quickly, stir in the chocolate chips, marshmallow fluff, vanilla extract and walnuts.
- Once the chocolate is melted and the marshmallow fluff is incorporated, immediately pour the fudge into the prepared pan.
- Cool the fudge for at least 4 hours, until set and preferably overnight. Slice into squares and enjoy!










Easily the best fudge I have made in a long time!!
Yay! We’re happy to hear you loved the fudge. Thank you for sharing your positive feedback with us, Christina!
Delicious, creamy fudge. I don’t have a thermometer so used very cold water to test for soft-ball stage after boiling for 3-5 minutes. Worked great! Also only had unsalted butter so I added 1/4 tsp table salt and it was just right. I saw one commenter wanted to use instant coffee; it should be added with the evaporated milk at first stage of cooking so it can dissolve fully. This is a great recipe and not over sweet like some are.
We’re so glad to hear you loved the recipe so much, Carrie! Thank you for taking the time to share with us!
This is my first time making fudge. Such easy and clear directions. It came out so delicious!! It’s a huge hit with everyone. Can’t wait to make this every year for Christmas treats.
Hi April, glad it turned out so well for you! Thanks so much for the review and merry Christmas!