

Featured Comment
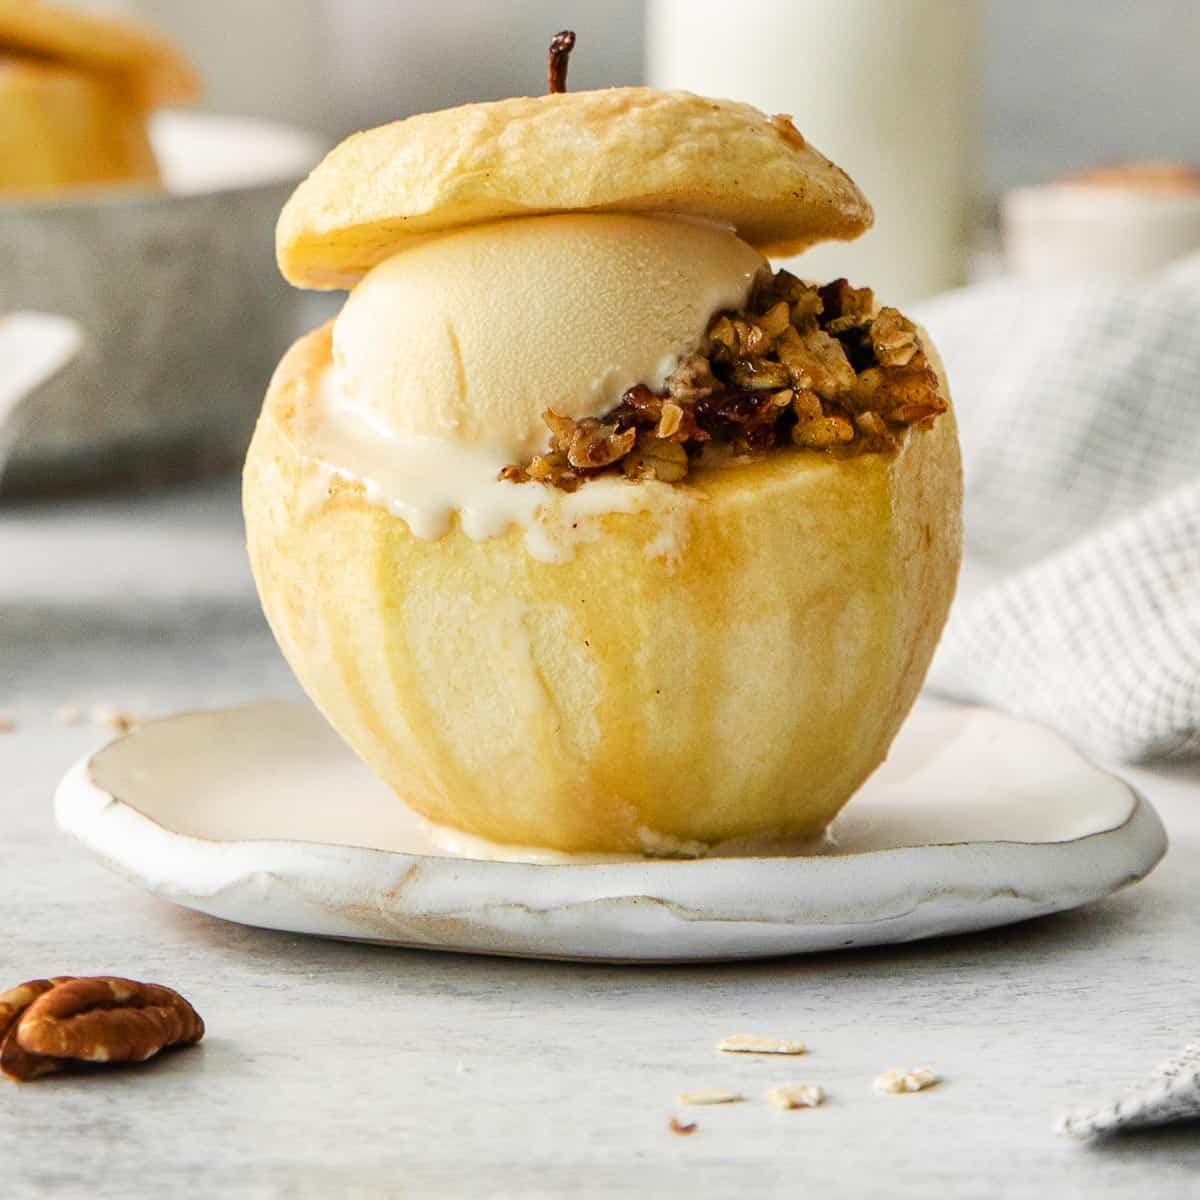
From Sha: “These baked apples are not only savory, they look so beautiful and Instagrammable! ★★★★★”
Recipe Overview
⏱️ Time to Taste: About 1 hour, including cooling time
✨ Texture: Tender baked apples with a chewy, nutty filling and buttery maple sauce
🥣 Ease: Easy, with simple prep and no complicated techniques
💡 Helpful Tip: Use Granny Smith apples for a bold, tart flavor and firm texture that holds up to baking. I peel them beforehand for a softer, more enjoyable bite.
🎉 Best For: Fall gatherings, Thanksgiving dessert, or simple cozy treat anytime!
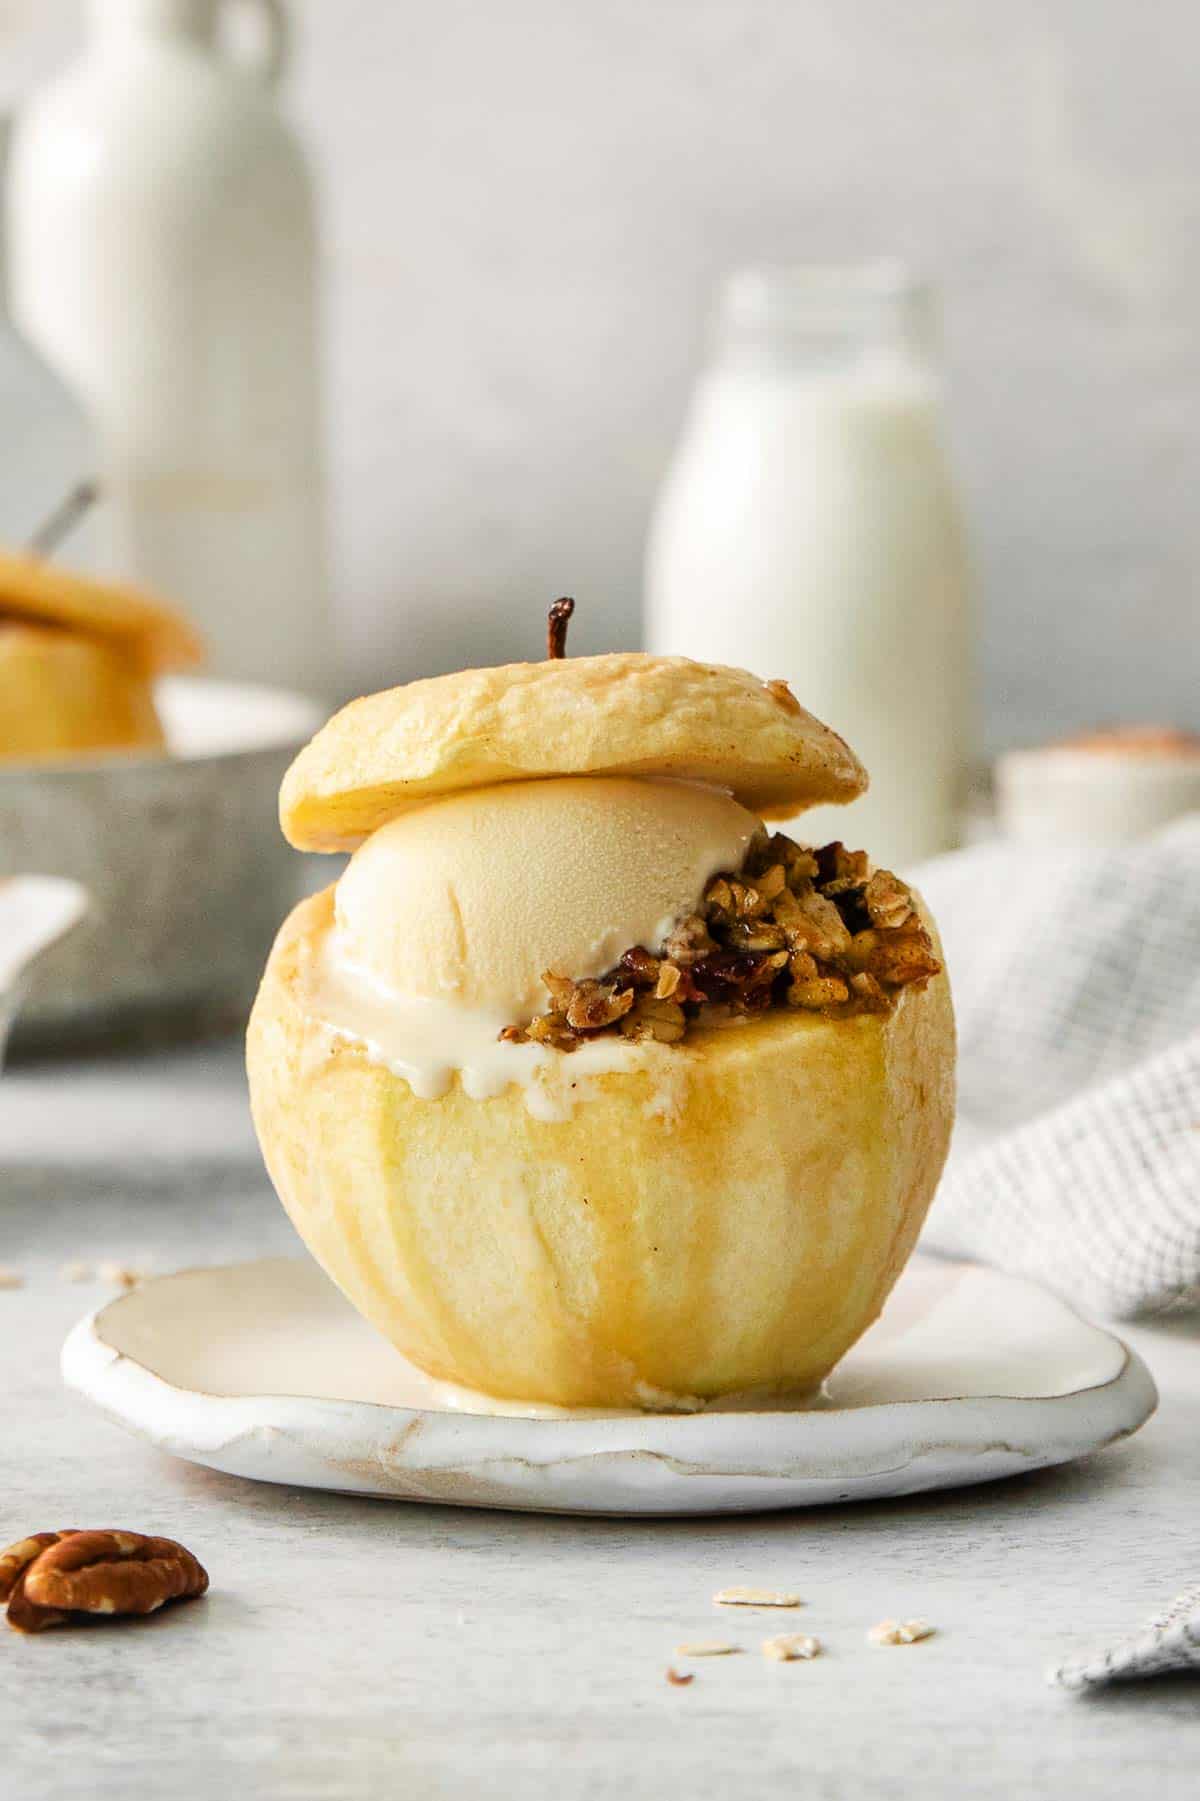
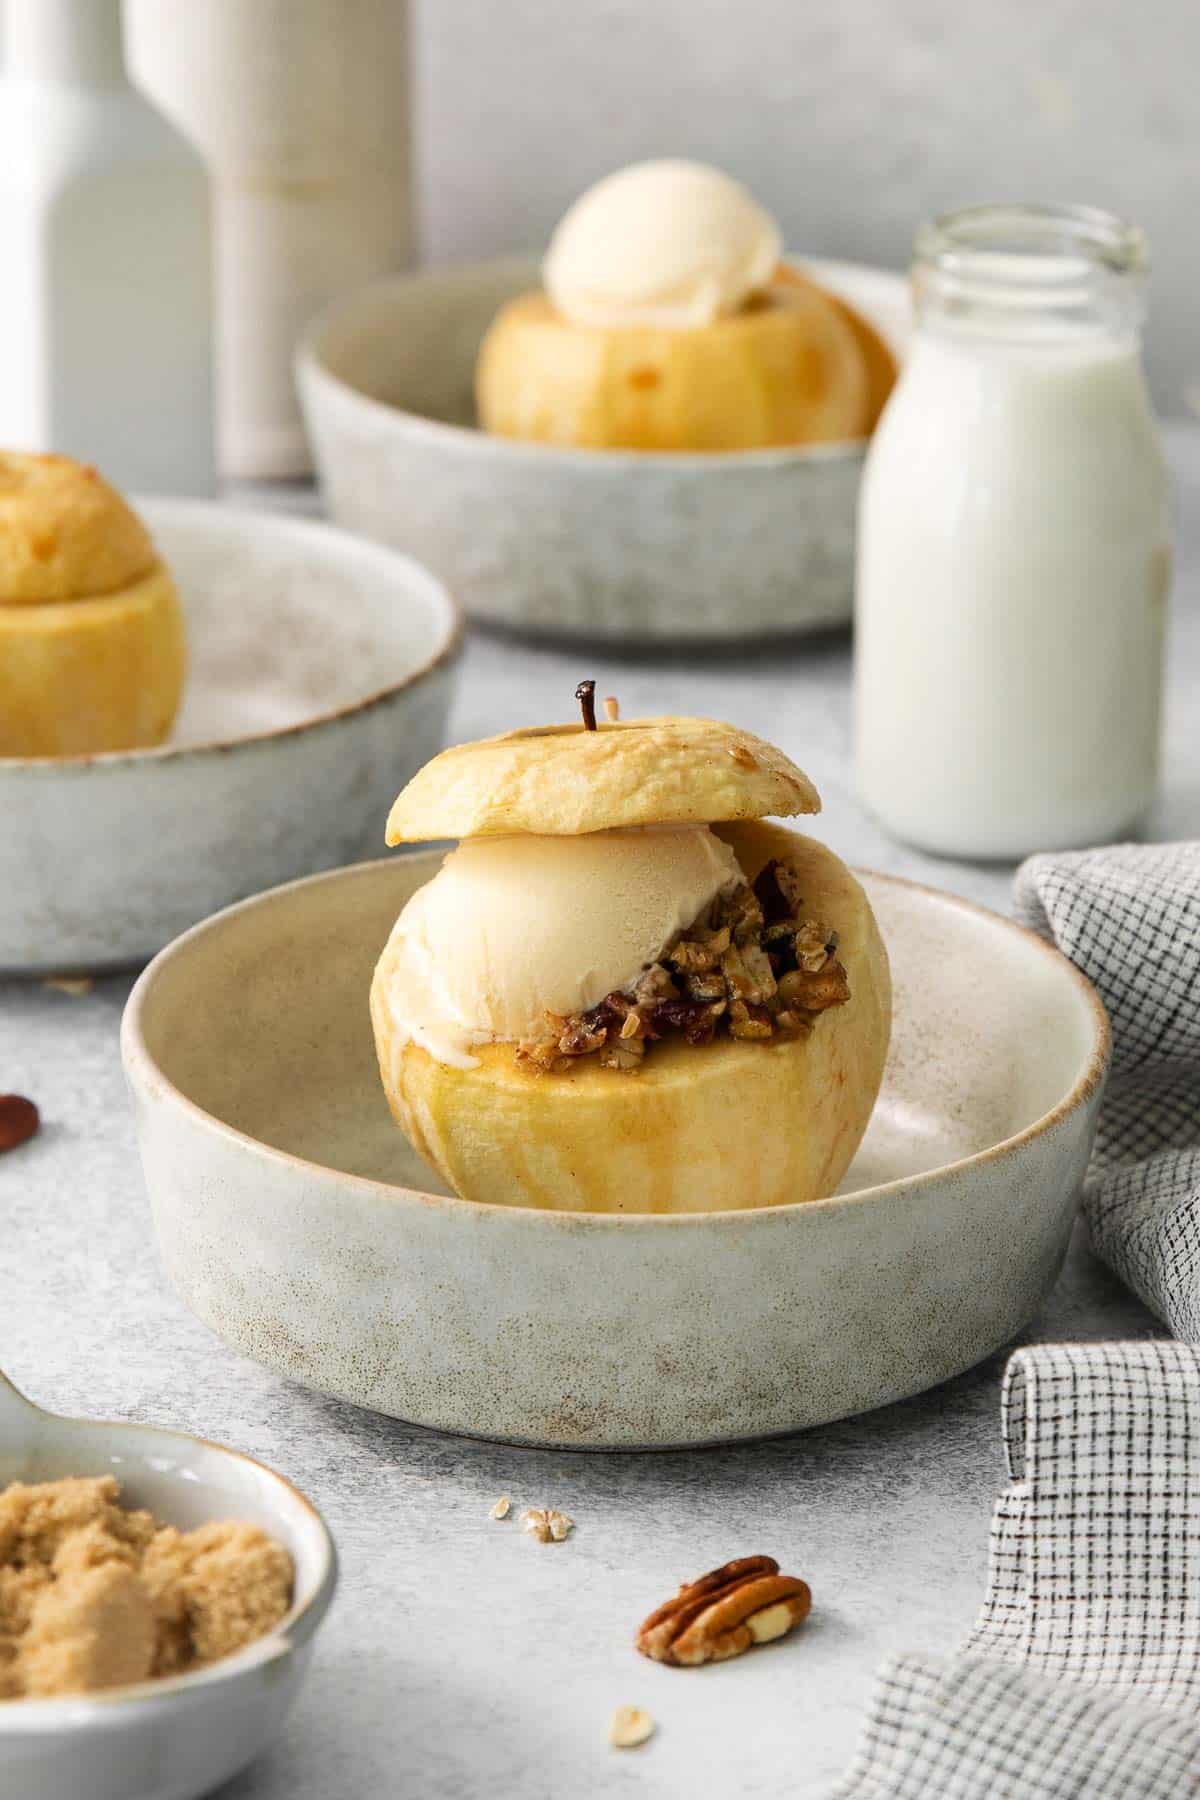
I love apple season! Cobblers, crisps, and pies are gluten-free fall favorites, but sometimes I crave a simple baked apple. No crust or dough, just apples filled with brown sugar, oats and pecans, then topped with vanilla ice cream and an amazing maple sauce.
Throughout the fall, I make this recipe along with simple favorites like apple compote and gluten-free apple crisp. When I have pears on hand, my poached pears recipe joins the rotation too!
Ingredients You’ll Need
Here are a few notes on some of the key ingredients to make these baked apples. Jump to the recipe card below for the exact measurements.
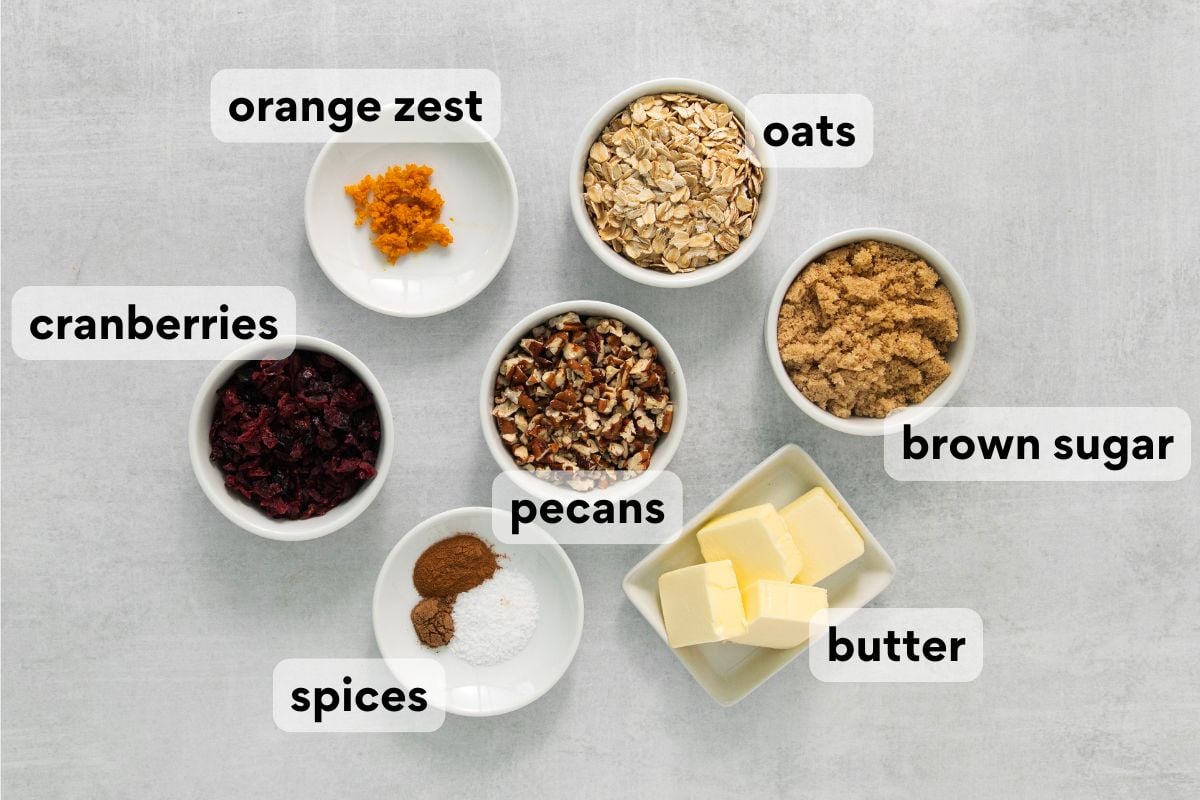
- Apples: I like using Granny Smith apples for a bold, tart flavor and firm texture that holds up to baking. You can also use a firm variety like Honeycrisp or Pink Lady.
- Pecans: Toast and finely chop the pecans to bring out the nutty flavor and give them a nice crisp texture. You can save time by buying chopped toasted pecans at the grocery store!
- Cranberries: I love adding finely chopped dried cranberries for a bit of tartness and chewy texture. Use unsweetened dried cranberries if you want to reduce the sugar.
- Orange zest: A bit of fresh orange zest gives this recipe a nice bright, citrusy flavor that balances well with the spices. Don’t skip out on this ingredient!
- Oats: Be sure to use gluten-free oats if you want to keep this recipe gluten-free!
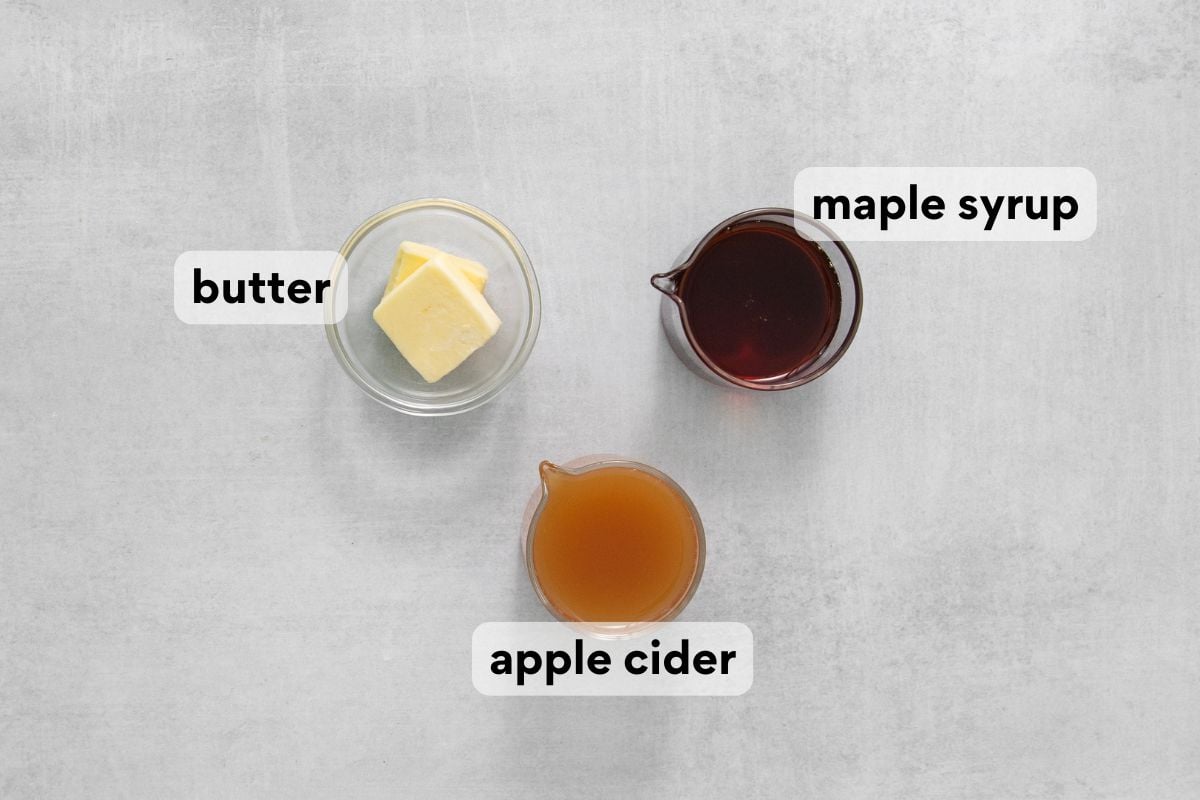
- Maple syrup: I always prefer real, grade A maple syrup for a richer maple flavor. This makes all the difference in the sauce!
How to Make Gluten-Free Baked Apples
Here’s an overview of how to make these baked apples. You can jump to the recipe for the full instructions!

Prepare the apples: Shave a thin slice off the bottom of the apples so they sit flat in the dish. Cut off the apple tops and save them for later. Peel and core the apples—a melon baller works best for coring. Be careful not to cut all the way through. You want a nice little well about 1½-inches. Put the apples in your baking dish.
Make the filling: Stir the filling ingredients together until they’re well combined. Spoon the mixture into each apple, packing it in and mounding any extra right on top. Place the saved apple tops back on like little lids.
Bake the apples: Whisk the maple sauce ingredients and pour into the dish around the apples. Bake, regularly basting the apples with the sauce to add flavor and caramelized texture. (Add a few tablespoons of cider to the sauce if it gets too thick.)
Serve: Remove from oven when the apples can be easily poked with a toothpick, but still hold their shape. Spoon warm sauce over the top, add a scoop of vanilla ice cream, and enjoy!
Make-Ahead/Storage/Freezing Instructions
To Make Ahead: You can core and peel the apples, prepare the filling, and stuff them up to 4 hours before baking. Cover the prepped the apples and refrigerate. I recommend waiting to prepare the sauce until just before baking.
To Store: Leftover baked apples should be stored in an airtight container in the fridge for up to 3 days. Warm in the oven at 375°F for 10-15 minutes or microwave before serving.
To Freeze: I don’t recommend freezing the apples. Freezing and thawing changes the texture of the apples.
More Gluten-Free Apple Recipes

Gluten-Free Baked Apples
Ingredients
- 6 large Granny Smith apples
For the Filling:
- 4 tablespoons (56g) butter, softened
- ⅓ cup (71g) brown sugar
- ⅓ cup (40g) dried cranberries, finely chopped
- ⅓ cup ($3g) toasted pecans, finely chopped
- ⅓ cup (28g) gluten-free rolled oats
- 1 teaspoon orange zest
- ½ teaspoon kosher salt
- ½ teaspoon ground cinnamon
- ¼ teaspoon ground nutmeg
For the Sauce:
- 2 tablespoons (28g) butter melted
- ⅓ cup (80ml) maple syrup
- ½ cup (118ml) apple cider
Instructions
- Preheat the oven to 375°F. Lightly grease a 9×13 baking dish, or any dish that can fit 6 apples without them touching.
PREPARE THE APPLES
- Shave a thin slice off the bottom (blossom end) of 6 apples to allow them to sit flat. Cut top 1/2 inch off the stem end and set aside for topping the apples later.
- Peel the apples.
- Core the apples using a melon baller, or small paring knife. (I find a melon baller works best!) Be careful not to cut all the way through. The opening should be about 1½-inches. Place the apples in the baking dish.
MAKE THE FILLING
- Mix together the ingredients for the filling until well combined.
- Spoon the filling inside the apples, mounding any extra on top. Top with reserved apple caps.
BAKE THE APPLES
- Whisk together the sauce ingredients and pour into the baking dish.
- Bake for 35-40 minutes, basting with the sauce every 10 minutes. The apples are done when they can easily be poked with a toothpick. (Add a few tablespoons of cider to the sauce if it gets too thick.)
- Serve the apples topped with a spoonful of sauce and a scoop of ice cream. Enjoy!
Notes
Nutrition
This post was originally published in September 2023. It was updated with new photos and instructions in August 2026.









These baked apples are not only savory, they look so beautiful and Instagrammable!