


Featured Comment
From Phoebe: “Being gluten free has made me avoid treats because they are never the same… until this!!! This recipe is fantastic! It’s so good I can’t stop thinking about it! Thank you for such a wonderful recipe! ★★★★★“
From Susan: “I chose the Apple Crumble to make as my first Fall dessert of the season and it was DELICIOUS!!!! I’ll be adding this to my favorites! I had to use restraints not to consume the entire pan myself! Thank you for such consistently yummy recipes! I’ve loved each one I’ve tried! ★★★★★“
From Elle: “I never leave recipe reviews, but this is genuinely the nicest and easiest crumble I’ve ever had! I made one using a different recipe recently where you use hard butter and crumble it in your hands, and so was wary about this one not having that same method. But I trusted the process and I’m so glad I did!!!! ★★★★★“
3 Things to Love About This Recipe
- No pre-cooking the apples! Simply toss the apple mixture and add it straight to the baking dish. The filling comes together in minutes!
- The topping is extra easy. There’s no need to cut in cold butter or wait for it to soften. I designed this topping with melted butter. It coats the flour evenly and creates a crisp, buttery crumble!
- Make-ahead friendly. You can prep the filling and topping separately a day ahead, then toss it in the pan and bake fresh. It’s an easy gluten-free holiday dessert to throw together for fall gatherings or family holidays!
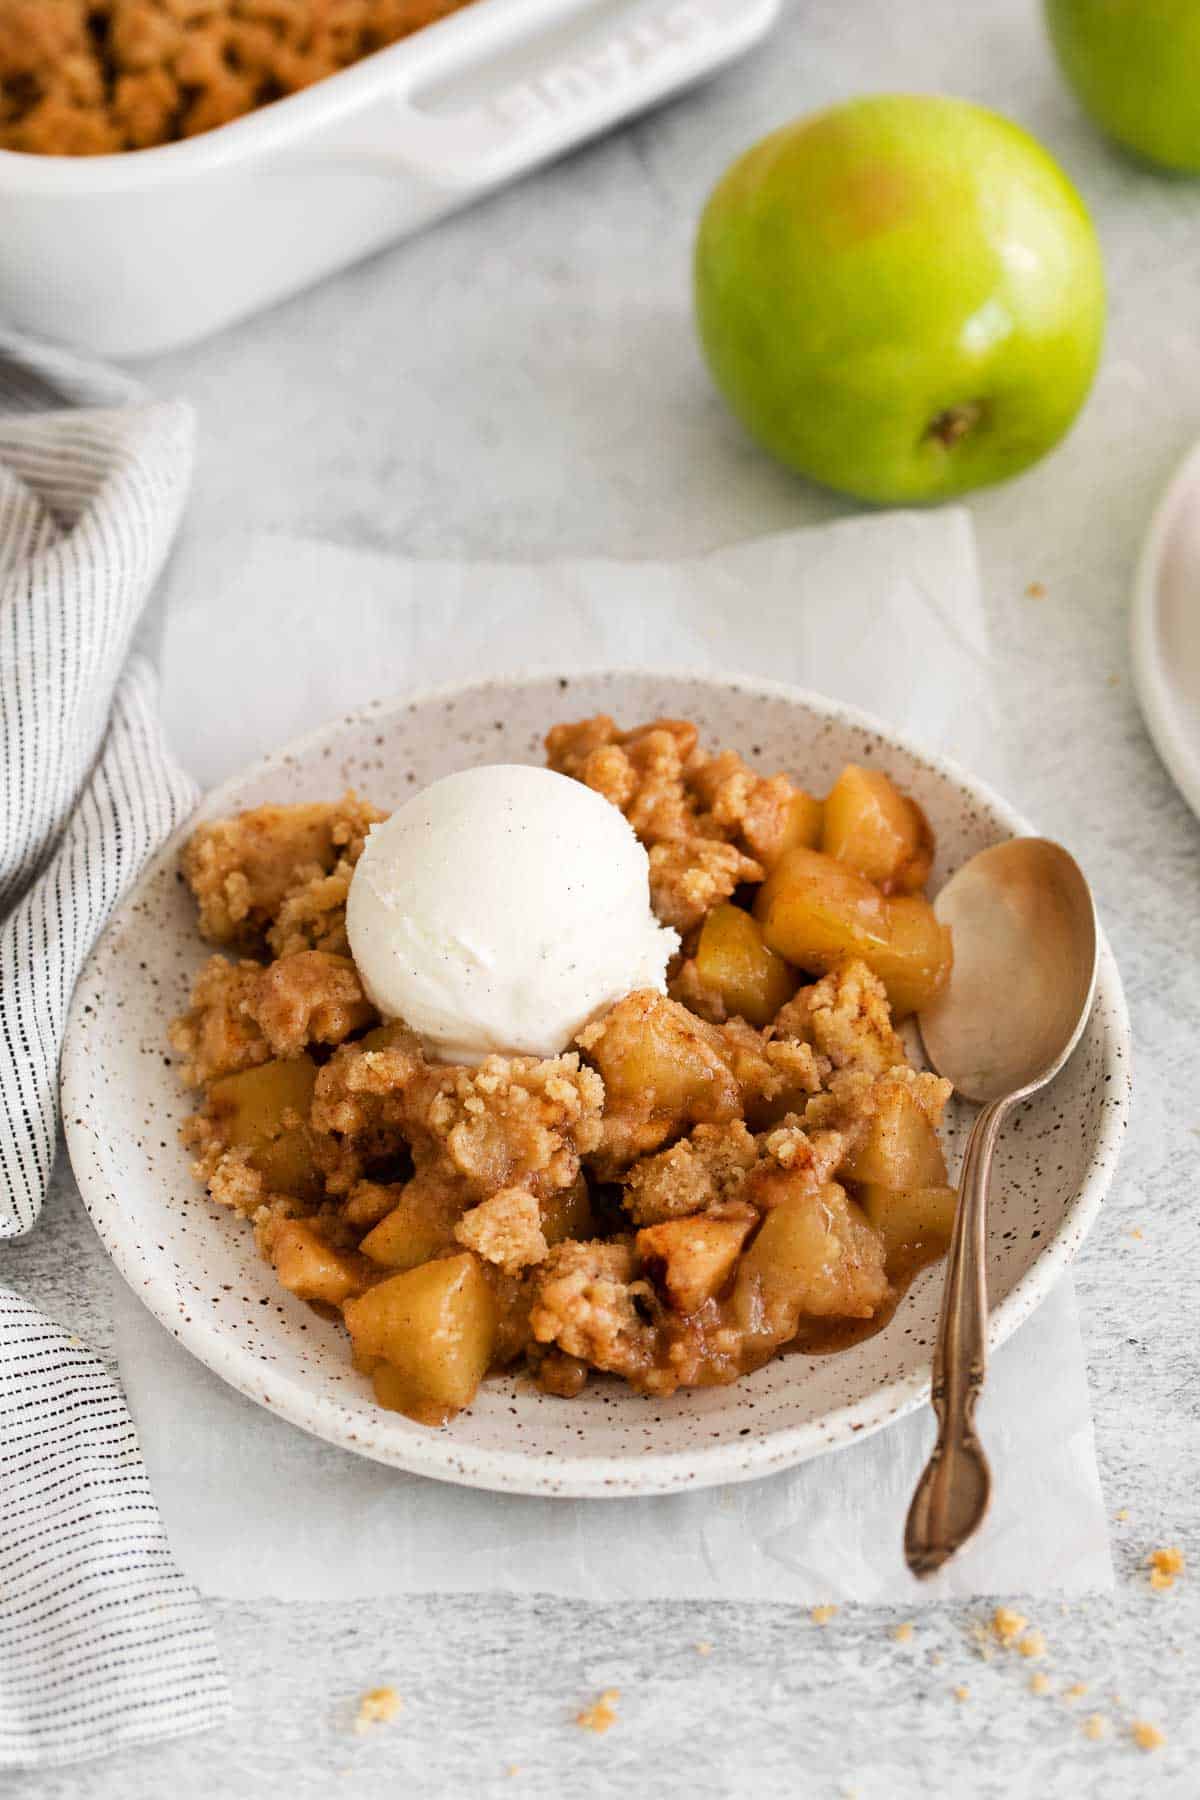
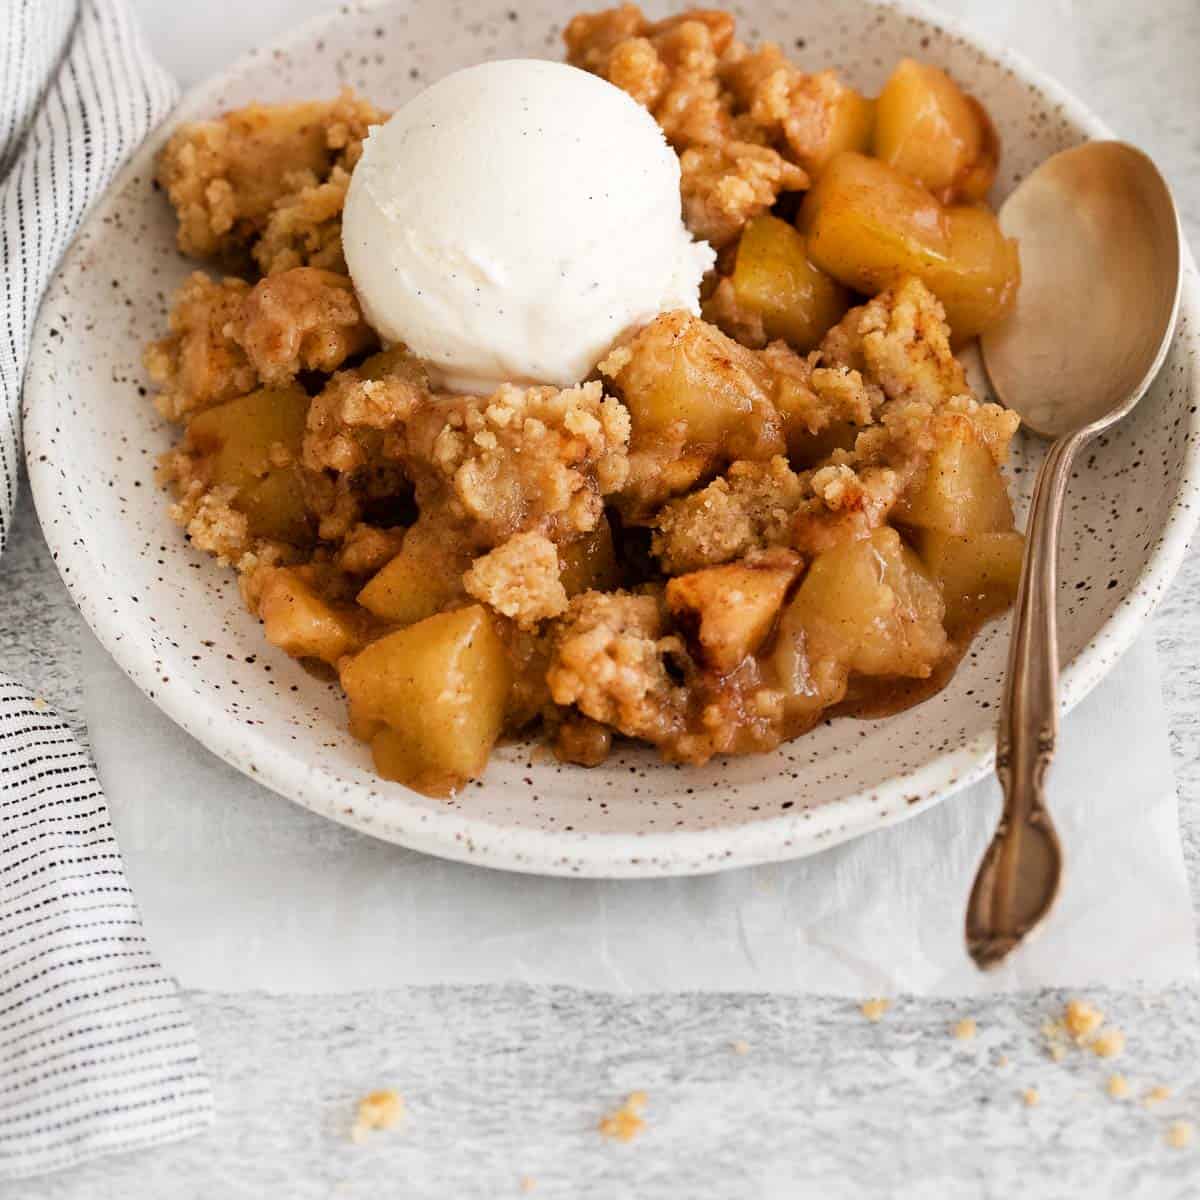
Plain, topped with a scoop of vanilla ice cream, or even with a drizzle of easy caramel sauce, I love serving this gluten-free apple crumble on cool fall nights when I’m craving a cozy fall recipe.
But honestly, I’m just as likely to whip it up on a random summer afternoon when I need a dessert that’s simple to make and absolutely delicious. To me, there’s no wrong time for this crumble!
What You Need
Here are a few notes on some of the key ingredients to make these gluten-free apple crumble. Jump to the recipe below for the exact measurements.
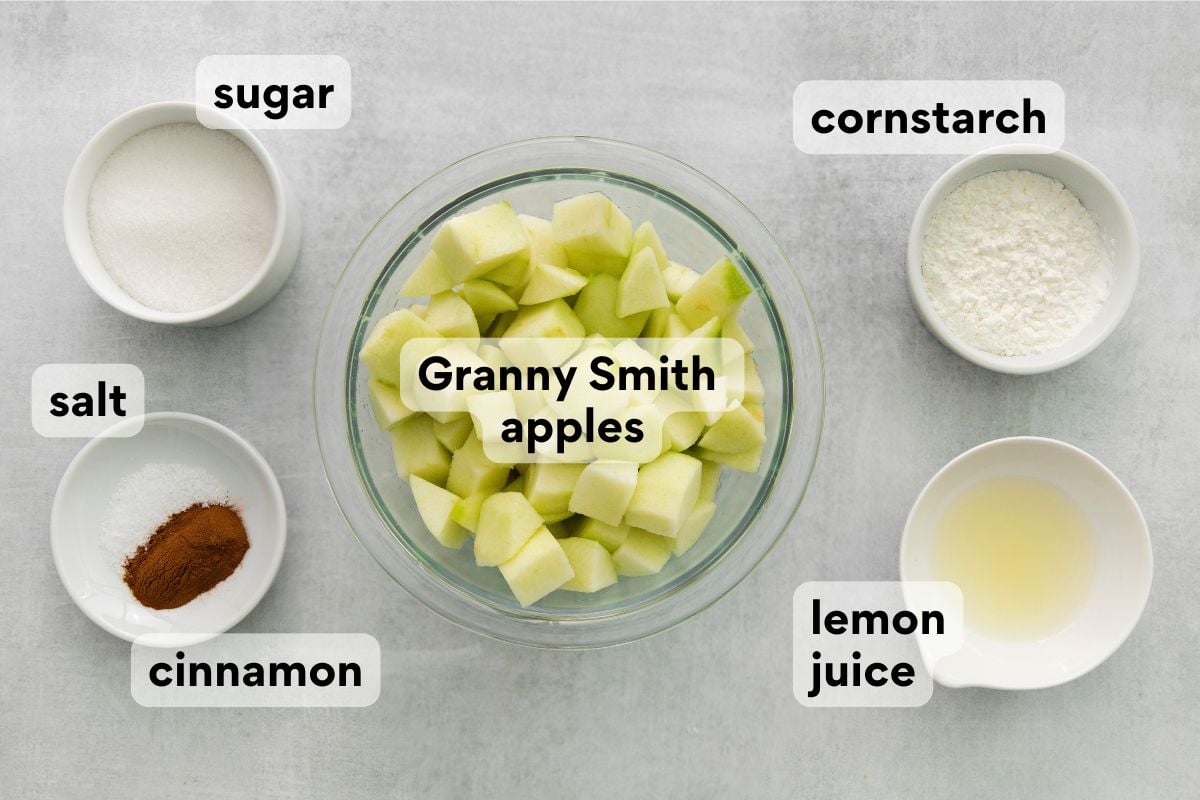
- Apples: I like to use Pink Lady or Granny Smith apples. They’re firm and crisp, so they hold their shape and bake up tender without becoming mushy. Plus, the tart flavor balances the sweetness of the topping. You can use other firm apples, like Honeycrisp or Fuji, for a sweeter version.
- Cornstarch: I use cornstarch, instead of gluten-free flour, to effectively thicken the juices released by the apples as they bake. I want a gooey filling, never watery!
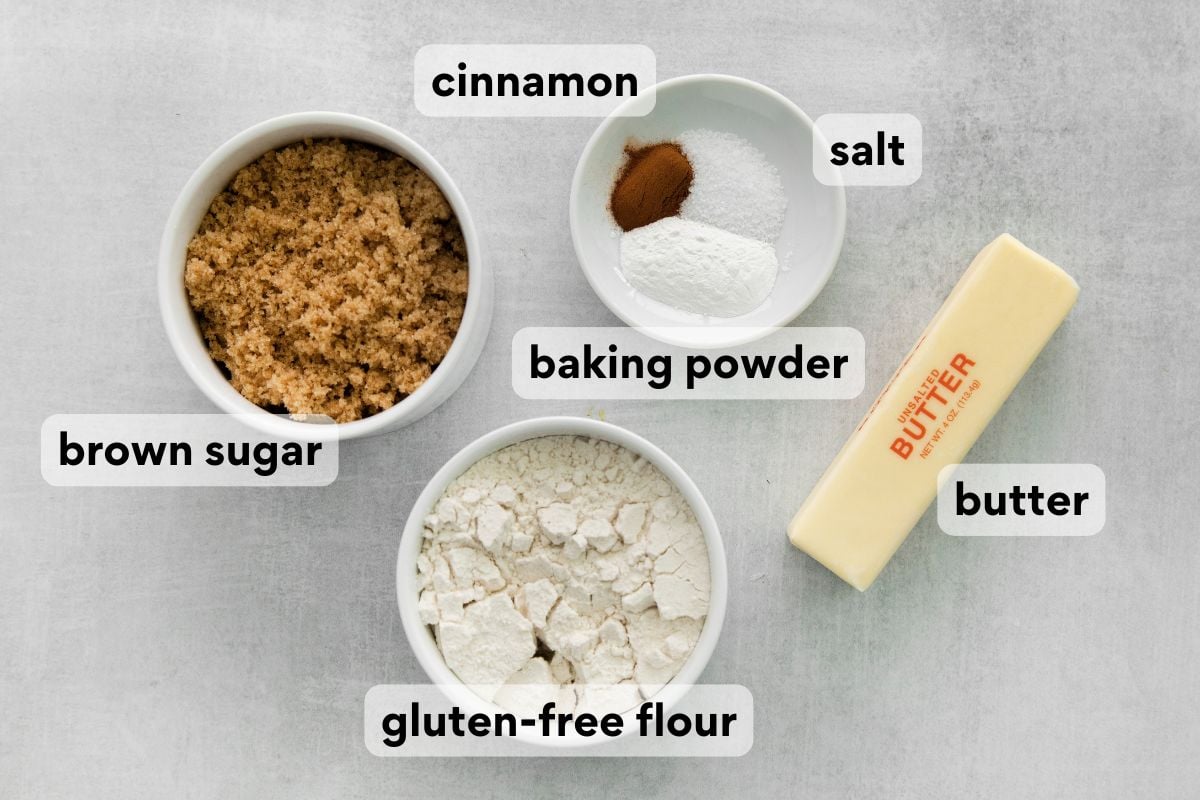
- Baking powder: This isn’t a traditional ingredient in apple crumble, but I love including it to make the topping lighter and more tender rather than dense.
- Gluten-free flour: I use my favorite, King Arthur gluten-free measure-for-measure flour. The xanthan gum in the blend helps bind the topping together into crumbly pieces instead of leaving it loose and sandy.
How to Make Gluten-Free Apple Crumble
Here’s an overview of how to make this apple crumble. You can jump to the recipe for the full instructions!
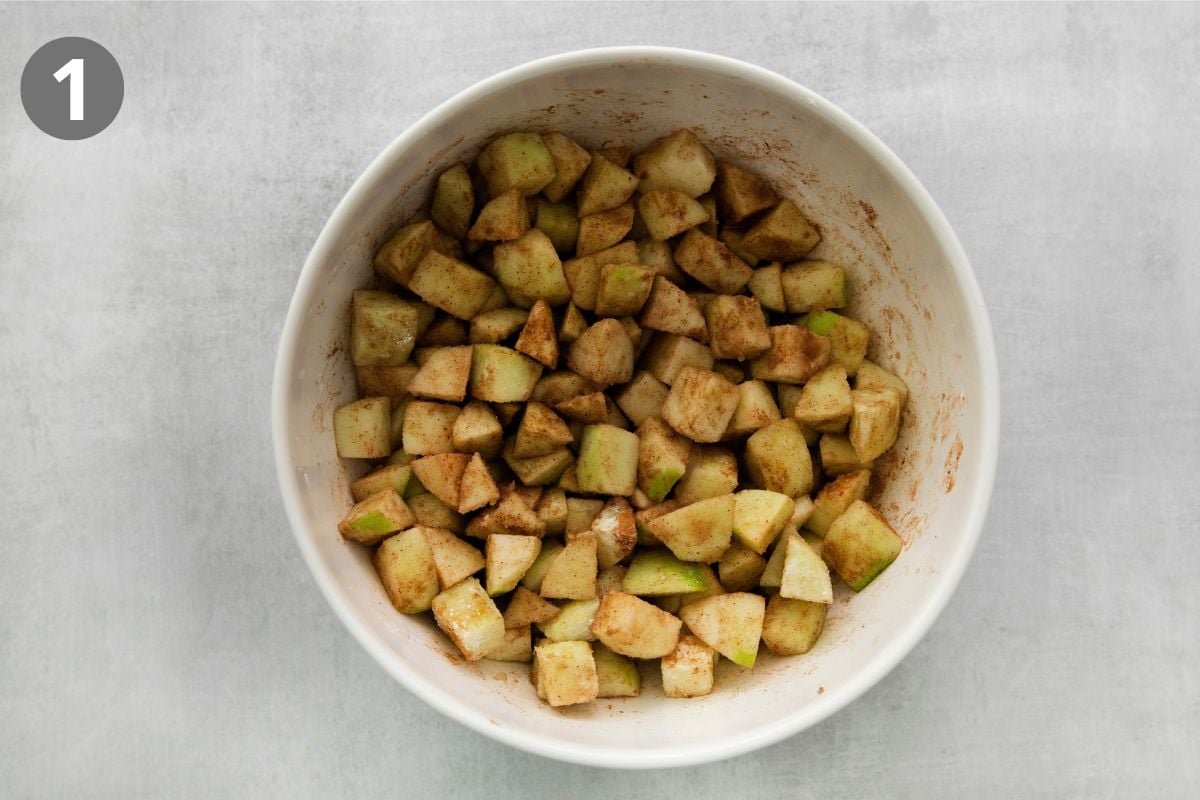
Make the filling. After the apples have been peeled, cored, and diced, mix them with sugar, lemon juice, cornstarch, cinnamon, and salt until evenly combined.
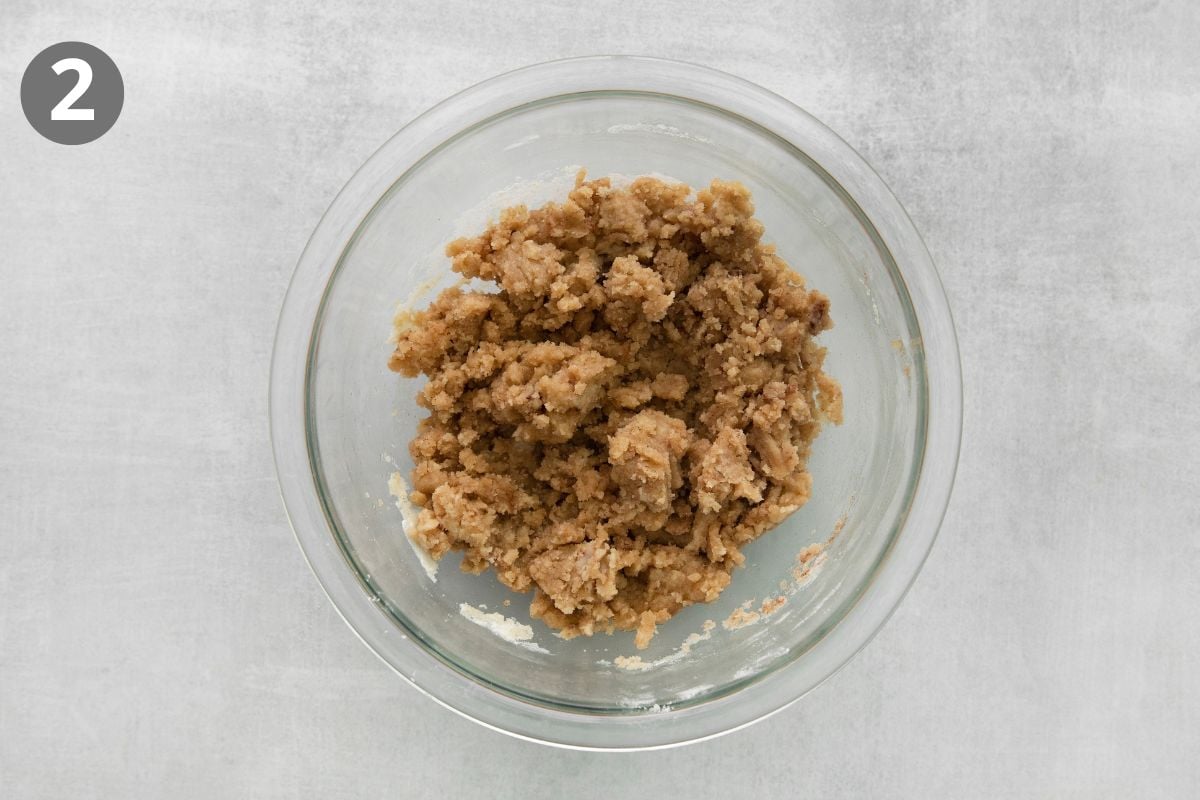
Prep the topping. Whisk the gluten-free flour, brown sugar, baking powder, cinnamon, and salt together. Add the melted butter and stir until crumbly. I find a fork works best for this!
Erin’s Tip
Want a less sweet option? I don’t often recommend reducing the sugar in my recipes, but this is one that can handle cutting the sugar down by half, if you prefer!
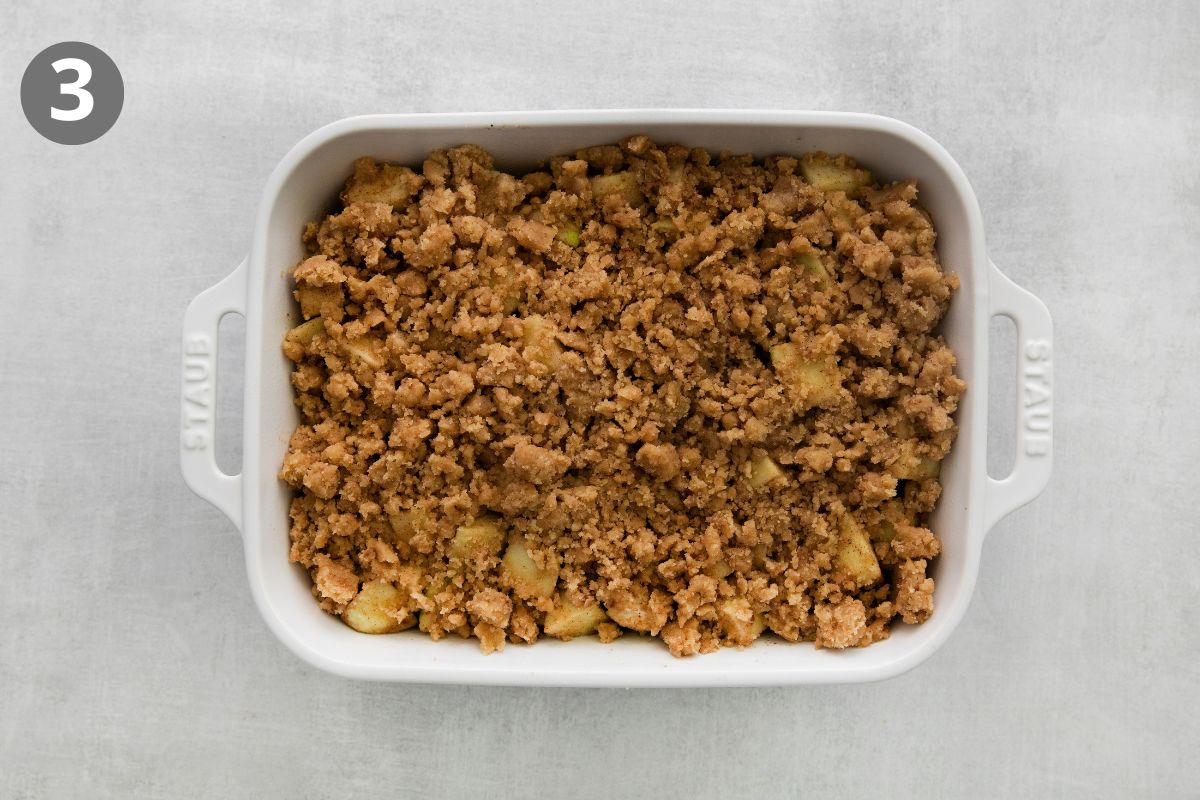
Assemble the crumble. Spread the apple mixture evenly across the bottom of the prepared dish, then sprinkle the crumble in pea-sized pieces on top.
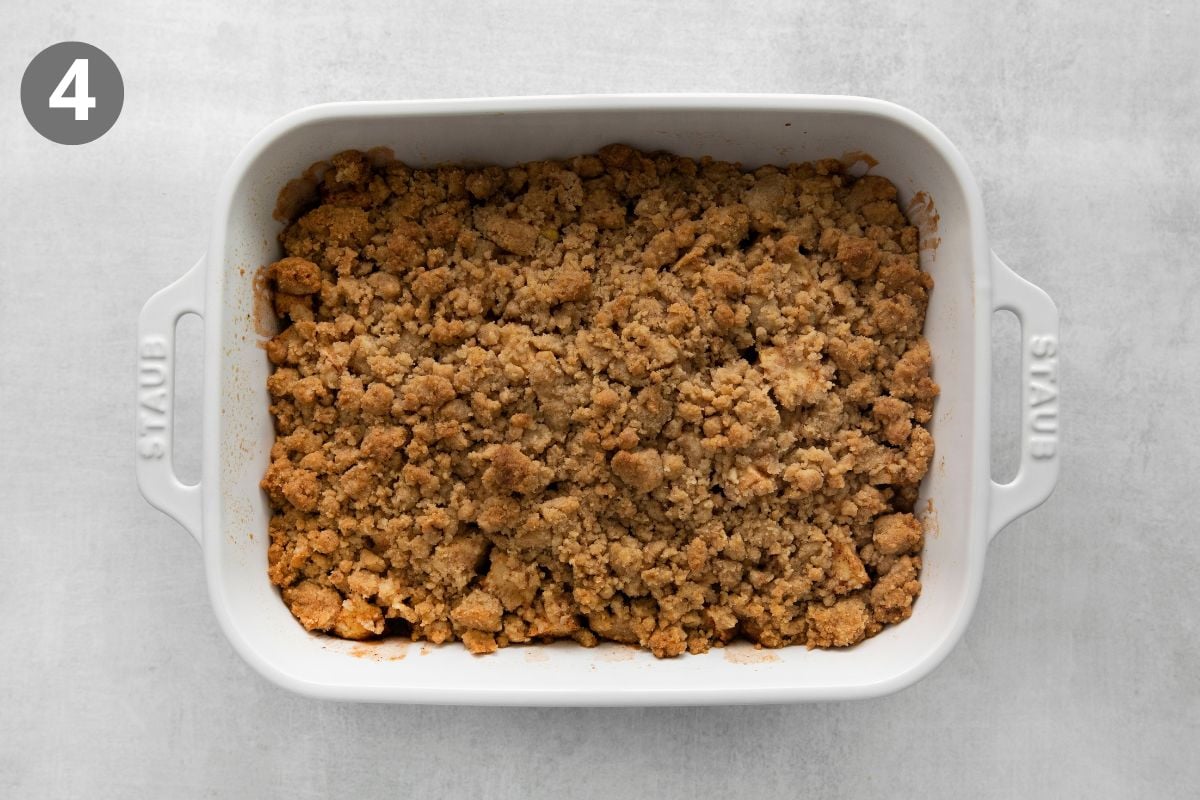
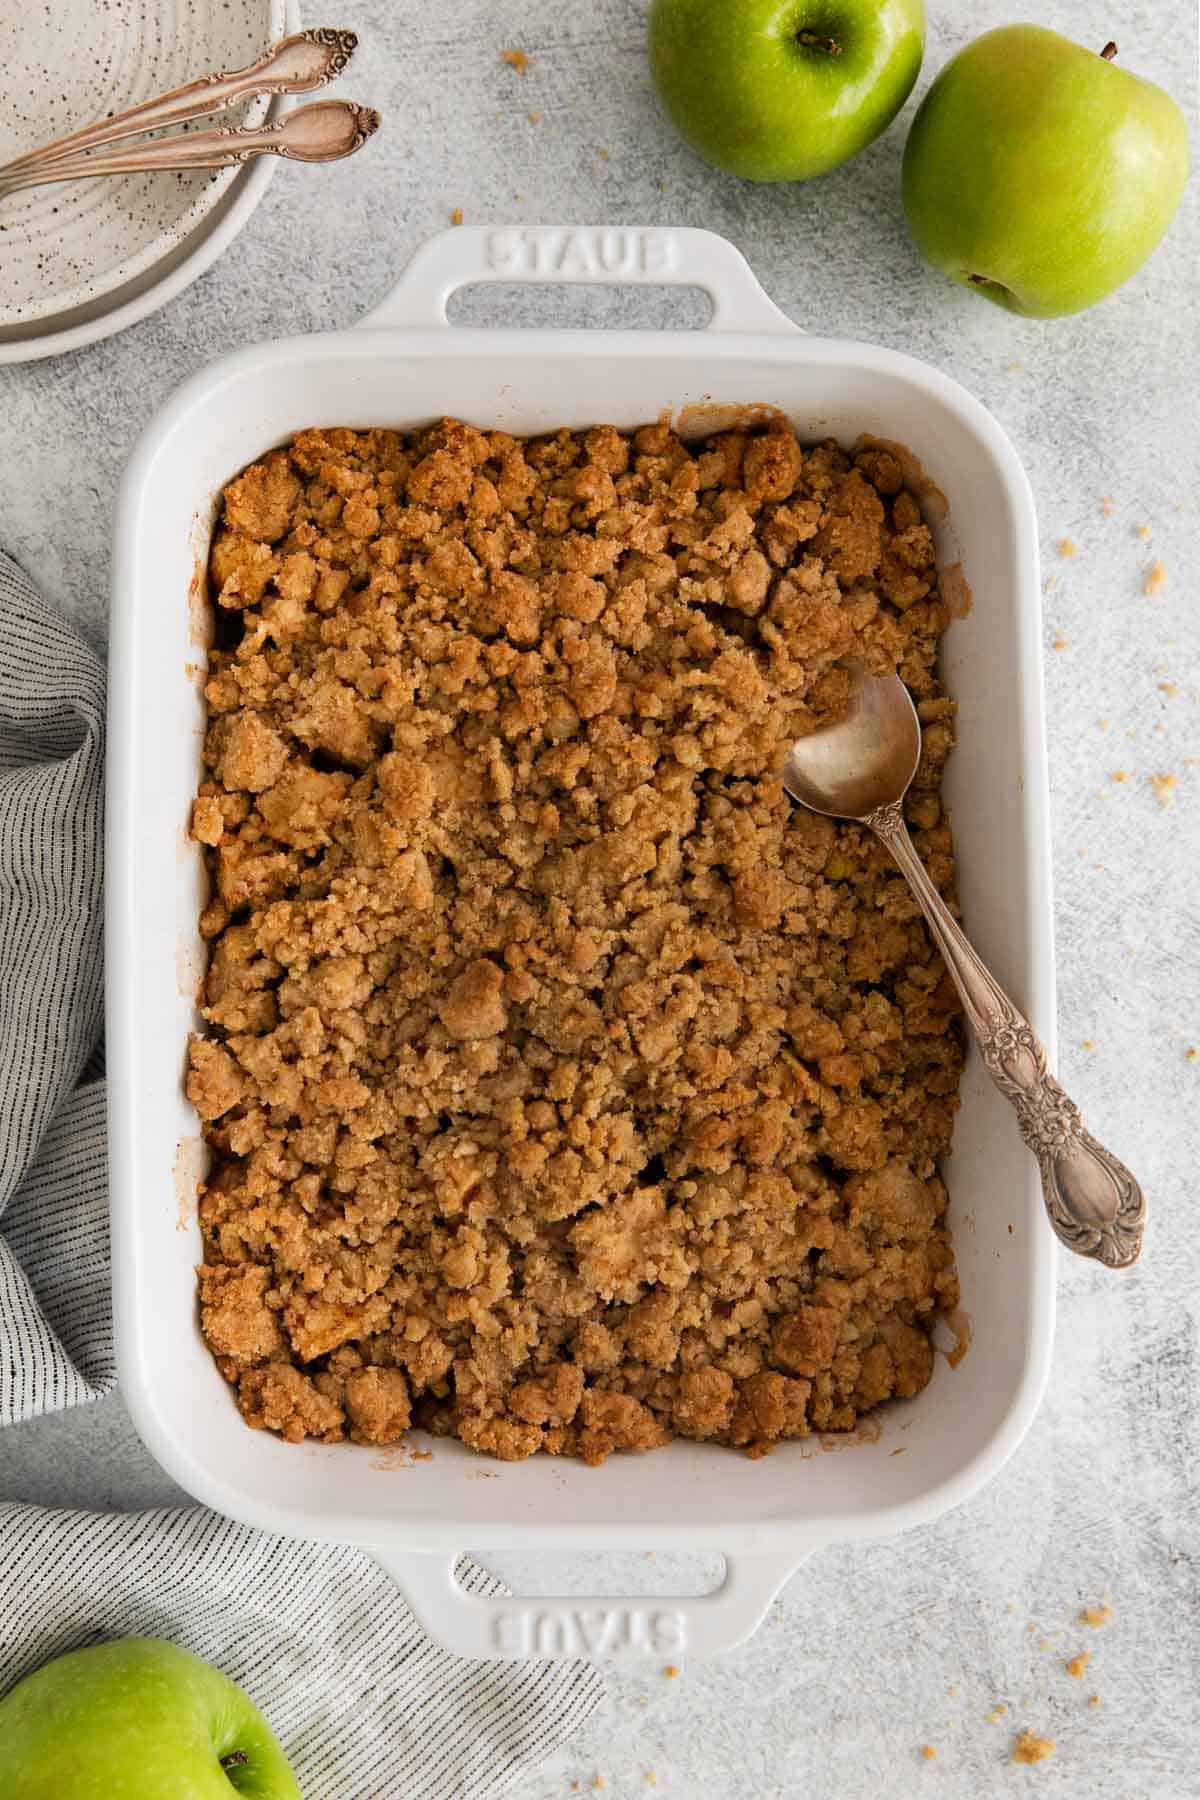
Bake and cool. Bake until it’s bubbling and golden brown on top (about 35-45 minutes), then let it cool for 15 minutes. This helps the filling set a little more so it’s perfectly gooey when served.
Erin’s Tip
Make it mini! This apple crumble can also be baked in individual ramekins. I recommend reducing the baking time by about 10 minutes when making minis.
More Gluten-Free Apple Recipes
Easy Gluten-Free Apple Crumble
Ingredients
For the Crumble Topping:
- 1 cup (150g) gluten-free measure-for-measure flour
- 3/4 cup (160g) brown sugar
- 1 teaspoon baking powder
- ½ teaspoon ground cinnamon
- ½ teaspoon kosher salt
- ½ cup (113g) butter, melted
For the Apple Filling:
- 2 ½ pounds (1kg) apples peeled, cored, and diced into bite sized pieces (about 6 to 7 cups), I like to use Pink Lady or Granny Smith apples!
- 1/3 cup (67g) granulated sugar
- 1 ½ tablespoons lemon juice
- 2 tablespoons cornstarch
- 1 teaspoon ground cinnamon
- ½ teaspoon kosher salt
Instructions
- Preheat the oven to 375°F. Spray a 9×9-inch baking pan with cooking spray.
- FOR THE APPLE FILLING: In a large bowl, add the apples, sugar, lemon juice, cornstarch, cinnamon and salt. Stir to evenly combine. Pour the filling into the prepared baking pan and spread into an even layer.
- FOR THE CRUMBLE TOPPING: In a medium bowl, whisk together the gluten-free flour, brown sugar, baking powder, cinnamon and salt until evenly combined. Pour in the melted butter and stir with a fork until pea-sized pieces form.
- Sprinkle the crumble mixture evenly over the filling.
- Bake for 35-45 minutes, until the topping is golden brown and the filling is bubbling around the edges.
- Remove from the oven and let cool for 15 minutes before serving.









I would love to try this with blackberries! We have so many right now…any thoughts on how to tweak it?
Hi Christina! Blackberries typically release more juice so you may need to increase the cornstarch a bit to help the filling thicken up. If the berries are especially sweet you may also want to reduce the sugar slightly. Beyond that we’d try the recipe as-is. We’d love to hear how it goes! Blackberry crumble sounds delicious!
Wow, this Apple Crumble was perfectly delicious!! Even the gluten eaters loved it♥️ I had to put it under the broiler to crisp up that topping a little more. That made it really crunchy!
We love to hear this, Connie! Thank you for sharing your positive experience with us. Happy baking!
Being gluten free has made me avoid treats because they are never the same… until this!!! This recipe is fantastic! It’s so good I can’t stop thinking about it! Thank you for such a wonderful recipe!
Aw, that’s the best feedback you could give! Glad you enjoyed it!
This recipe is delicious! It is always a favorite at family gatherings.
If you wanted to use individual ramekins, what size should you use? and about how many will it make?
Thank you
Hi Jennifer, thanks for your review and question! Individual ramekins are a great idea. We recommend using a 6- or 8-ounce size, baking for about 25 minutes. This recipe should give you about 8-10 servings with the 6-ounce ramekins or 6-7 servings with the 8-ounce ramekins.
Brooke,
Thank you for the quick response! I will try it this way next time I make this delicious recipe.
I chose the Apple Crumble to make as my first Fall dessert of the season and it was DELICIOUS!!!! I’ll be adding this to my favorites! I had to use restraints not to consume the entire pan myself! Thank you for such consistently yummy recipes! I’ve loved each one I’ve tried!
Aww, we’re so happy to hear you loved the crumble this much, Susan! Thank you for such amazing feedback!
This is one of my fav recipes. I’m wondering if it would be feasible to try with peaches instead of apples. Since peaches are softer, any idea how long I should cook for and if it would cook the topping well enough?
Hi Cassandra, we’re so pleased to hear this apple crumble has become such favorite! Since peaches are softer and juicier, the recipe would most likely need several adjustments to make the filling work with the peaches. It may be easier to use the topping from this recipe with the filling from the gluten-free peach crisp recipe. That way the filling is correct for peaches and you still get the topping-style used with this crumble. We’d love to hear how it goes!
Haven’t tried yet but question…..why does the butter need to be melted them cooled before making crumble? Normal crumble you cut in the butter. What makes the difference with gf?
Hi Patricia, good question! For gluten-free flour, the melted butter creates a better texture/structure since gluten-free flour absorbs liquids differently and can more easily become dry. The melted butter method helps the crumble to spread well and create a crispy, even layer. We hope this helps!
I love this recipe
Was wondering could you use pumpkin pie filling or frozen mixed berries and follow this amazing recipe
Thanks
Hi Raffelina, we can’t say that we’ve tried either, but both sound delicious! Those fillings might offer different levels of moisture as they bake. If you decide to give it a try, we’d love to hear how it goes!
I never leave recipe reviews, but this is genuinely the nicest and easiest crumble I’ve ever had! I made one using a different recipe recently where you use hard butter and crumble it in your hands, and so was wary about this one not having that same method. But I trusted the process and I’m so glad I did!!!! I put in the fridge separately for 2 hours before cooking as it was for dessert, and I think that helped make the crumble extra crisp. I used leftover pink lady apples that were starting to brown slightly and they were so nice. I can’t wait to use this recipe again, thanks so much!!
Yay! We’re so glad you enjoyed this recipe so much! Thank you for taking the time to share your experience, Elle.
Should I use a 9 by 13 inch baking pan or a 9 by 9 one?
Hi Gena, the recipe calls for either an 8×8 or 9×9 baking dish. You could always make 1.5x the recipe for a 9×13. We hope you enjoy the apple crumble!
It turned out amazing!!!
Thank you so much for this gf recipe! It’s soooooo delicious and easy to make. I’m no baker but have made this twice and it’s been a big hit!