
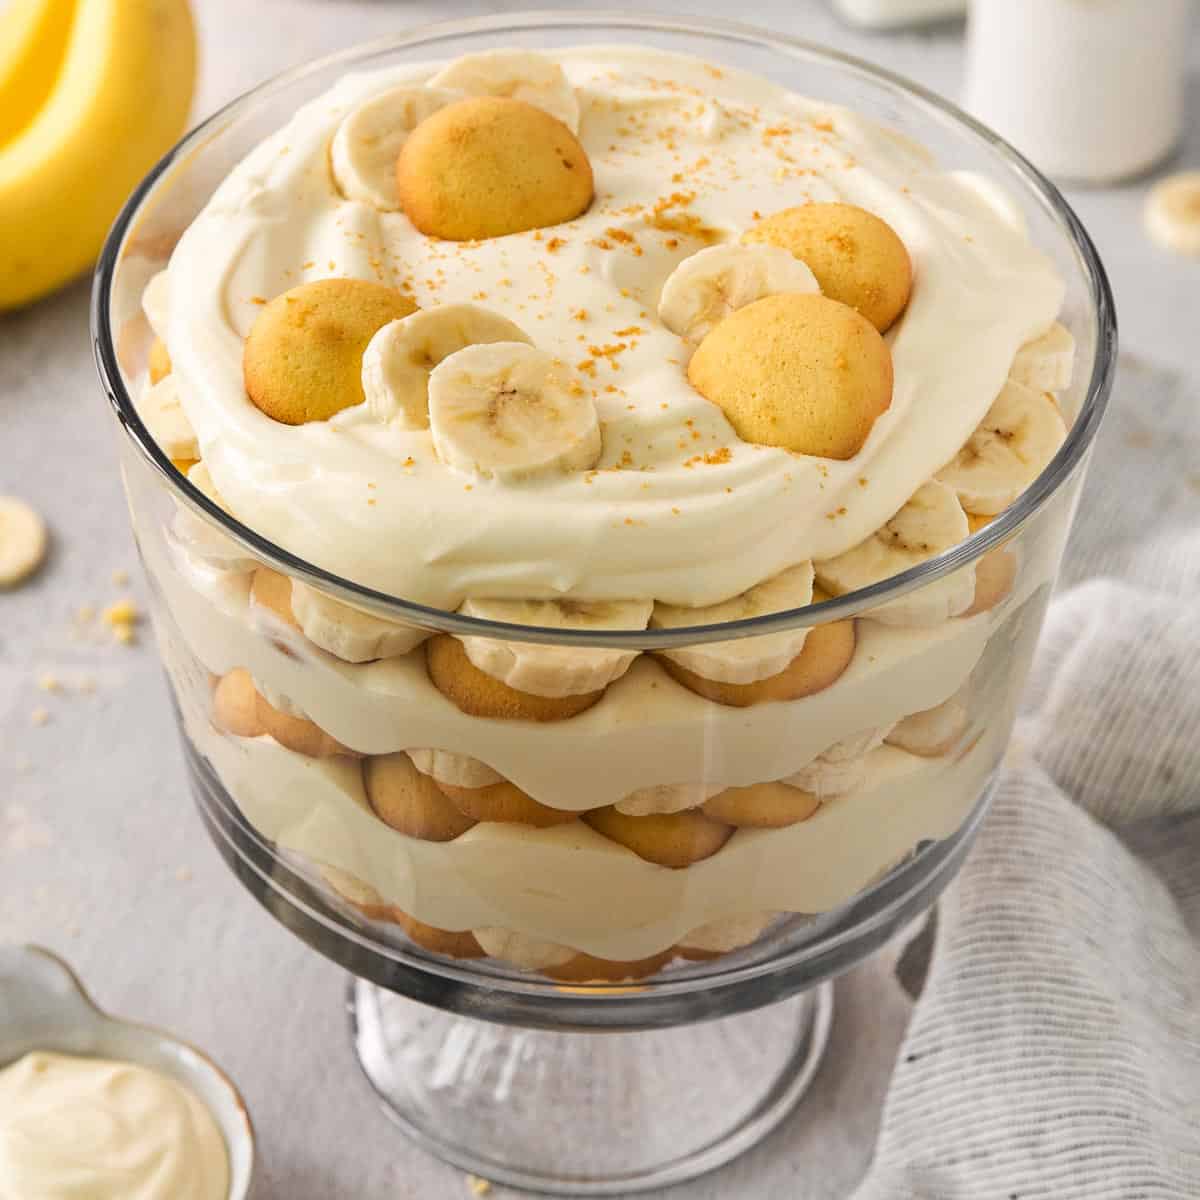
This gluten-free banana pudding is just like the famous Magnolia Bakery recipe – but made 100% gluten-free!
This easy, no-bake dessert is layered with fresh banana slices, vanilla wafers, and REAL whipped cream! It’s my go-to for summer BBQs, parties and holidays!
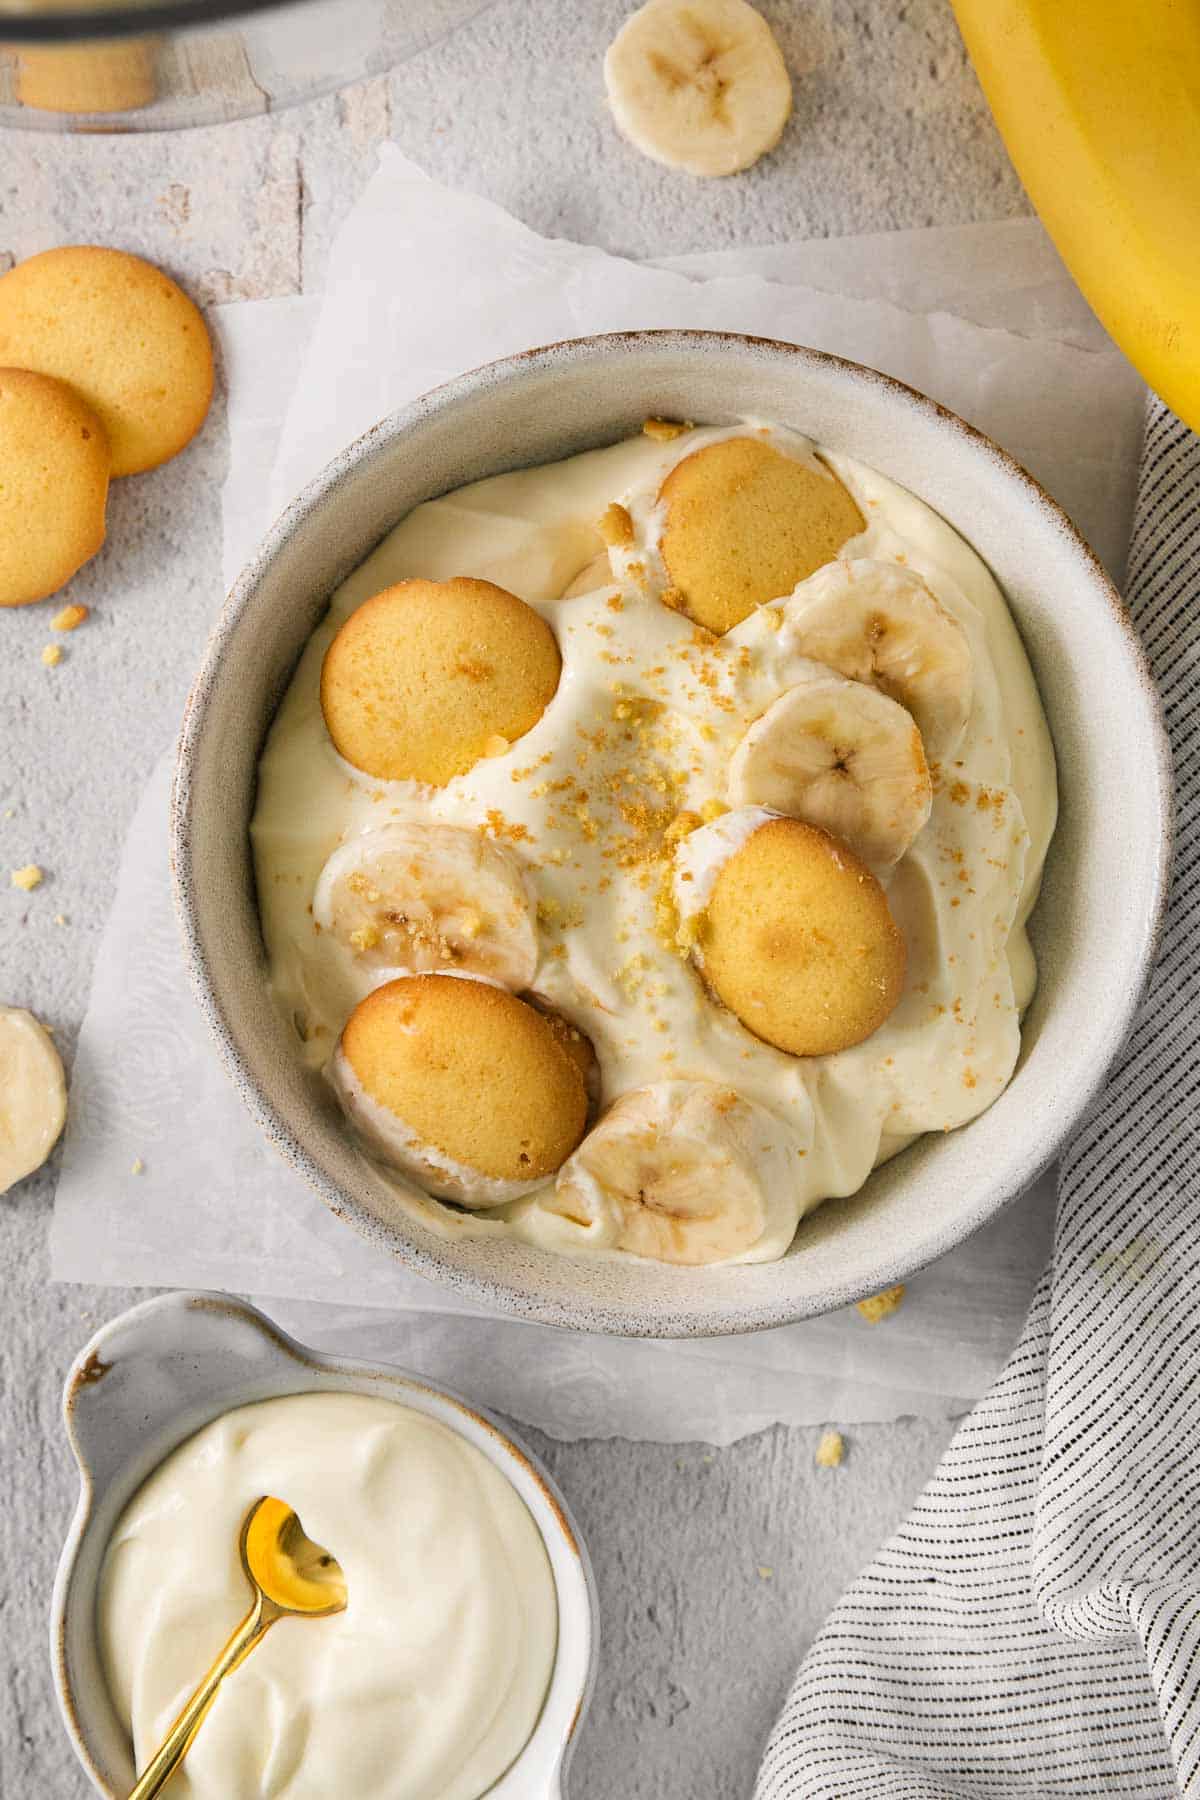
Banana pudding is a classic Southern dessert, and it’s easy to see why. It’s full of so many delicious flavors and textures: rich and creamy vanilla pudding, fresh bananas, vanilla wafer crumbles, and fluffy whipped cream.
This easy recipe uses a boxed pudding mix to save time, but you would never know it from the taste!
I combined the vanilla pudding mix with sweetened condensed milk for extra rich and creamy pudding. This is the secret ingredient in the famous banana pudding from Magnolia bakery in New York City, so I trusted that it would make this pudding extra amazing. And I was right!
Since most pudding mixes are already gluten-free, this recipe was easy to revise for people with Celiac disease. I simply swapped out the vanilla wafers for gluten-free Kinnikinnick vanilla wafers! The result is just as delicious as traditional banana pudding.
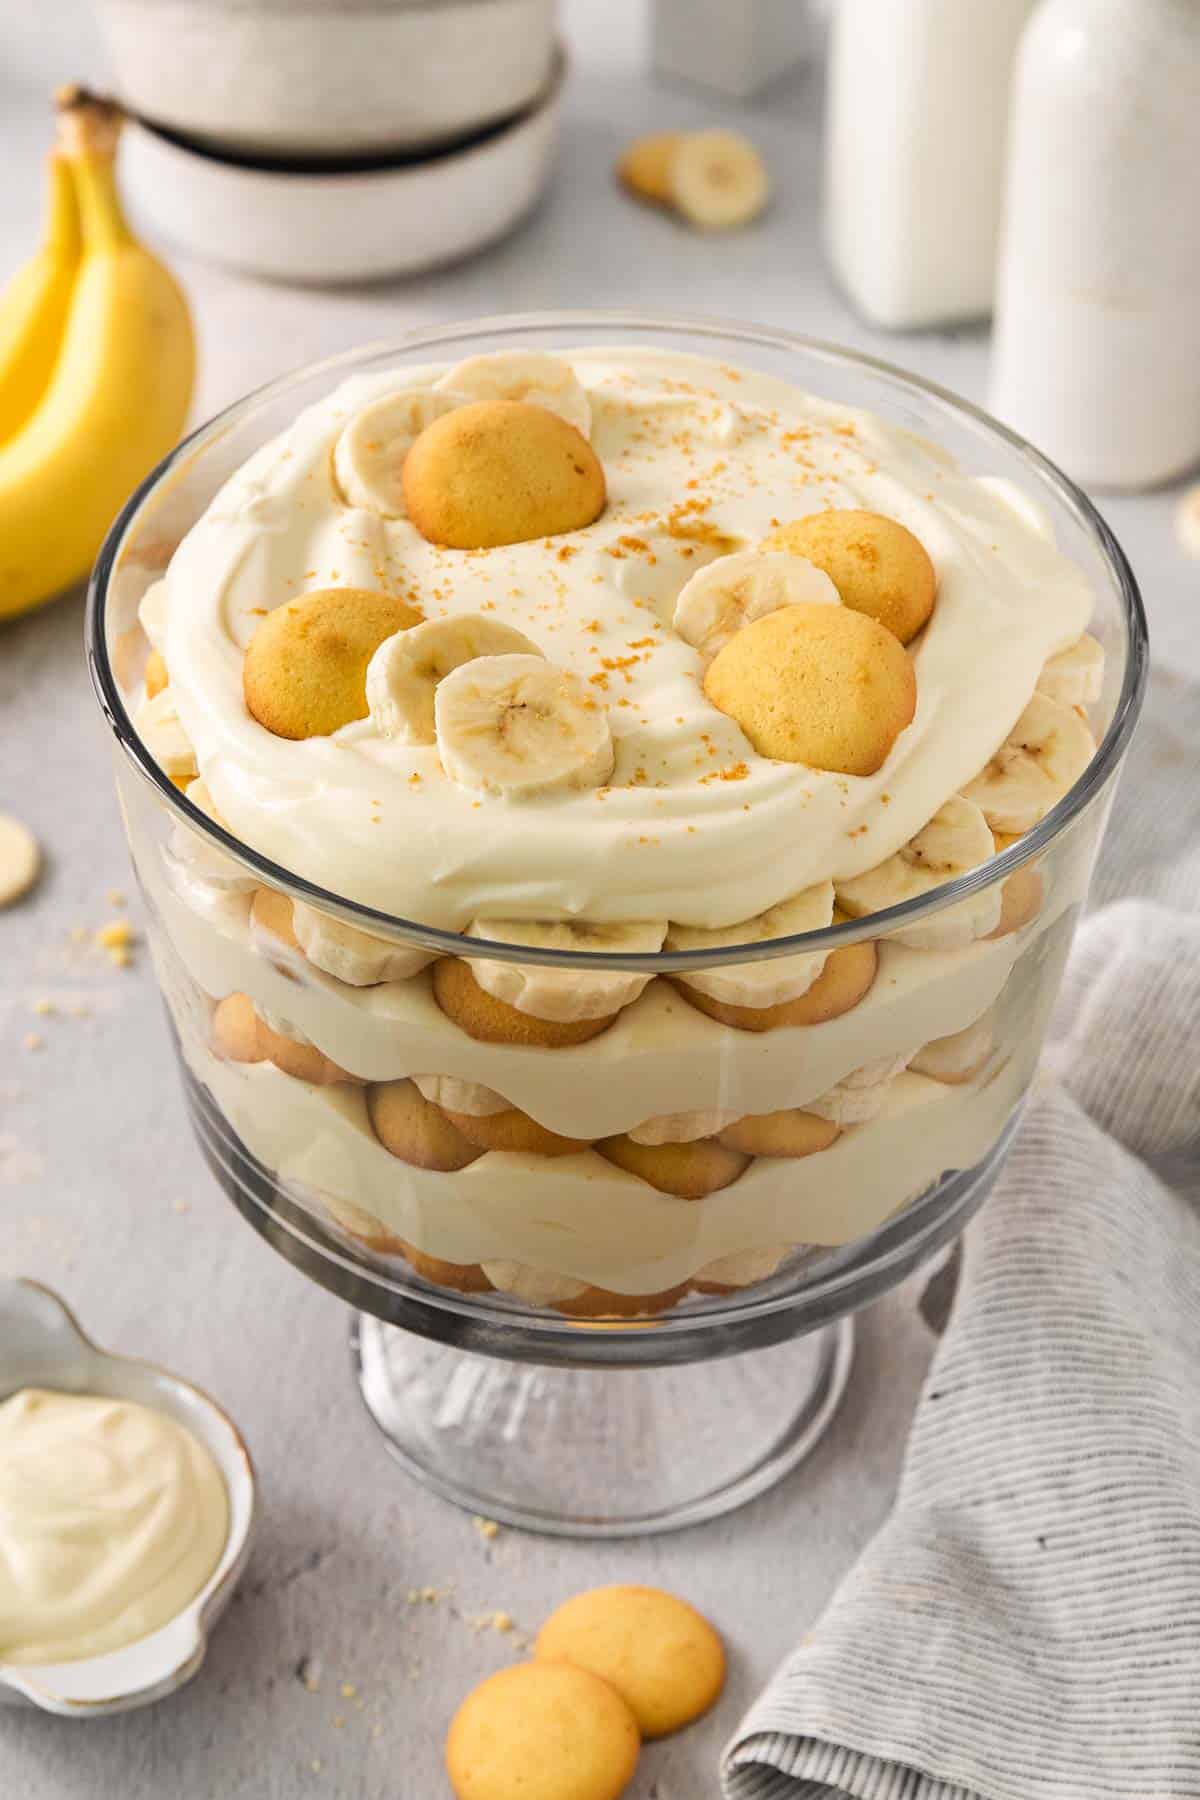
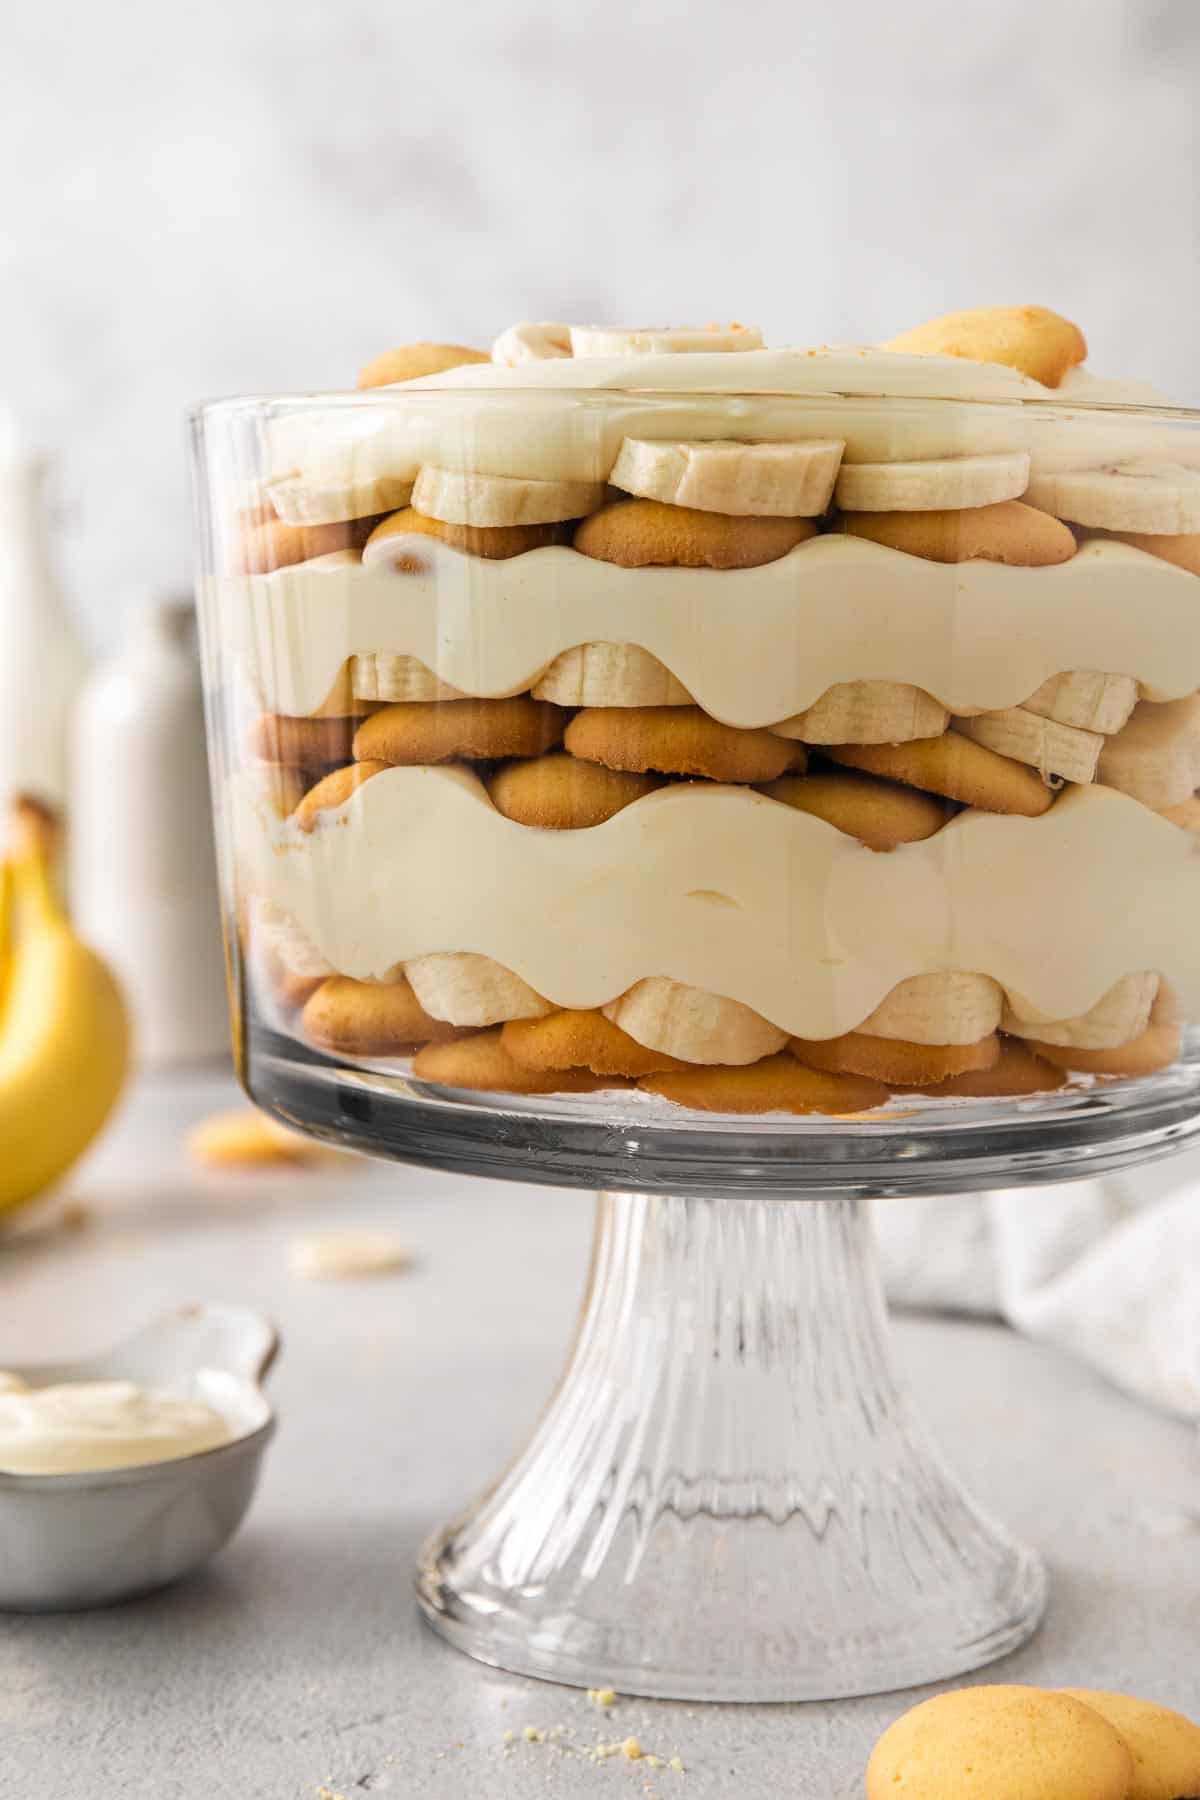
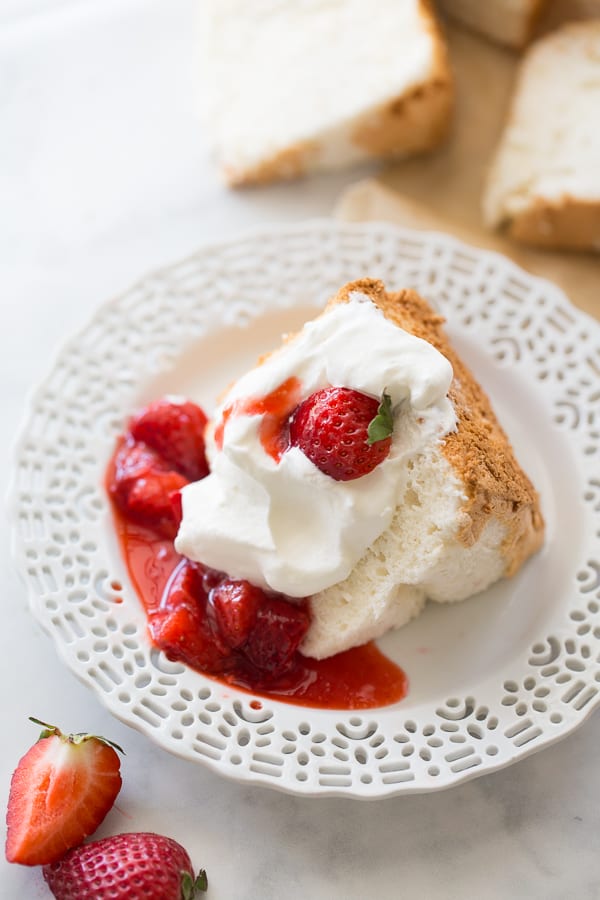
I love serving this gluten free banana pudding in a layered trifle bowl for extra wow-factor. (You also might like this gluten-free strawberry trifle made with gluten-free angel food cake!)
Everyone is always impressed with the presentation. Little do they know — banana pudding trifle is actually so easy to make!
Why You’ll Love This Recipe
- Classic and simple dessert
- Easy to make-ahead
- Serves a crowd
- Simple ingredients
This dessert has got all of the delicious banana flavor you find in banana cream pie, without the hassle.
It really is the perfect no-bake dessert for summer BBQs, family parties, and any other special occasion. It’s honestly one of my favorite desserts for the summertime, and I’m certain your whole family will declare this the best banana pudding recipe ever!
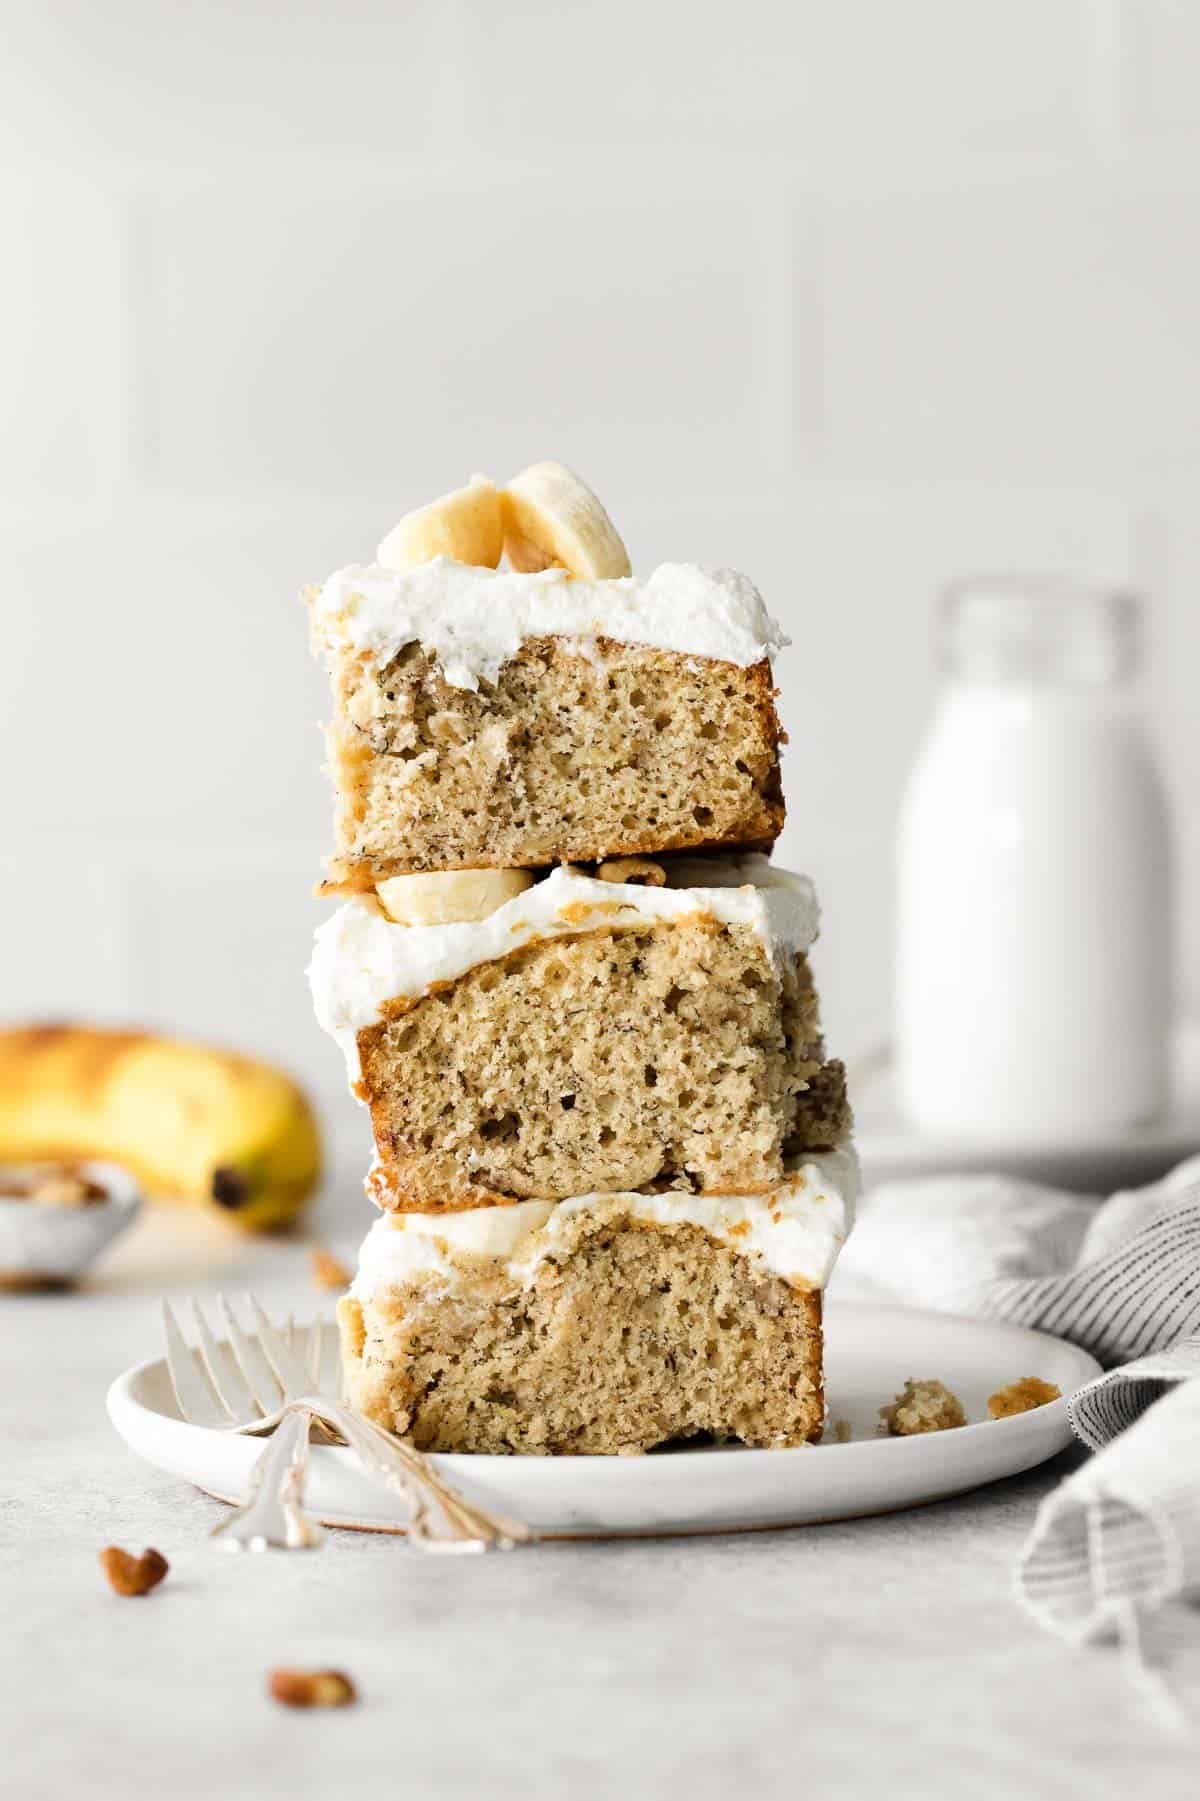
For more gluten-free banana recipes, try these gluten-free brown butter banana bars, this gluten-free banana cake, or this dairy-free banana cream pie.
You also might like this best gluten-free banana bread, these gluten-free banana pancakes, these banana oatmeal pancakes, this banana split, this banana bread with oat flour, these gluten-free banana muffins or these oat flour banana muffins.
Ingredients You’ll Need
Here’s what you’ll need to make this gluten-free banana pudding.
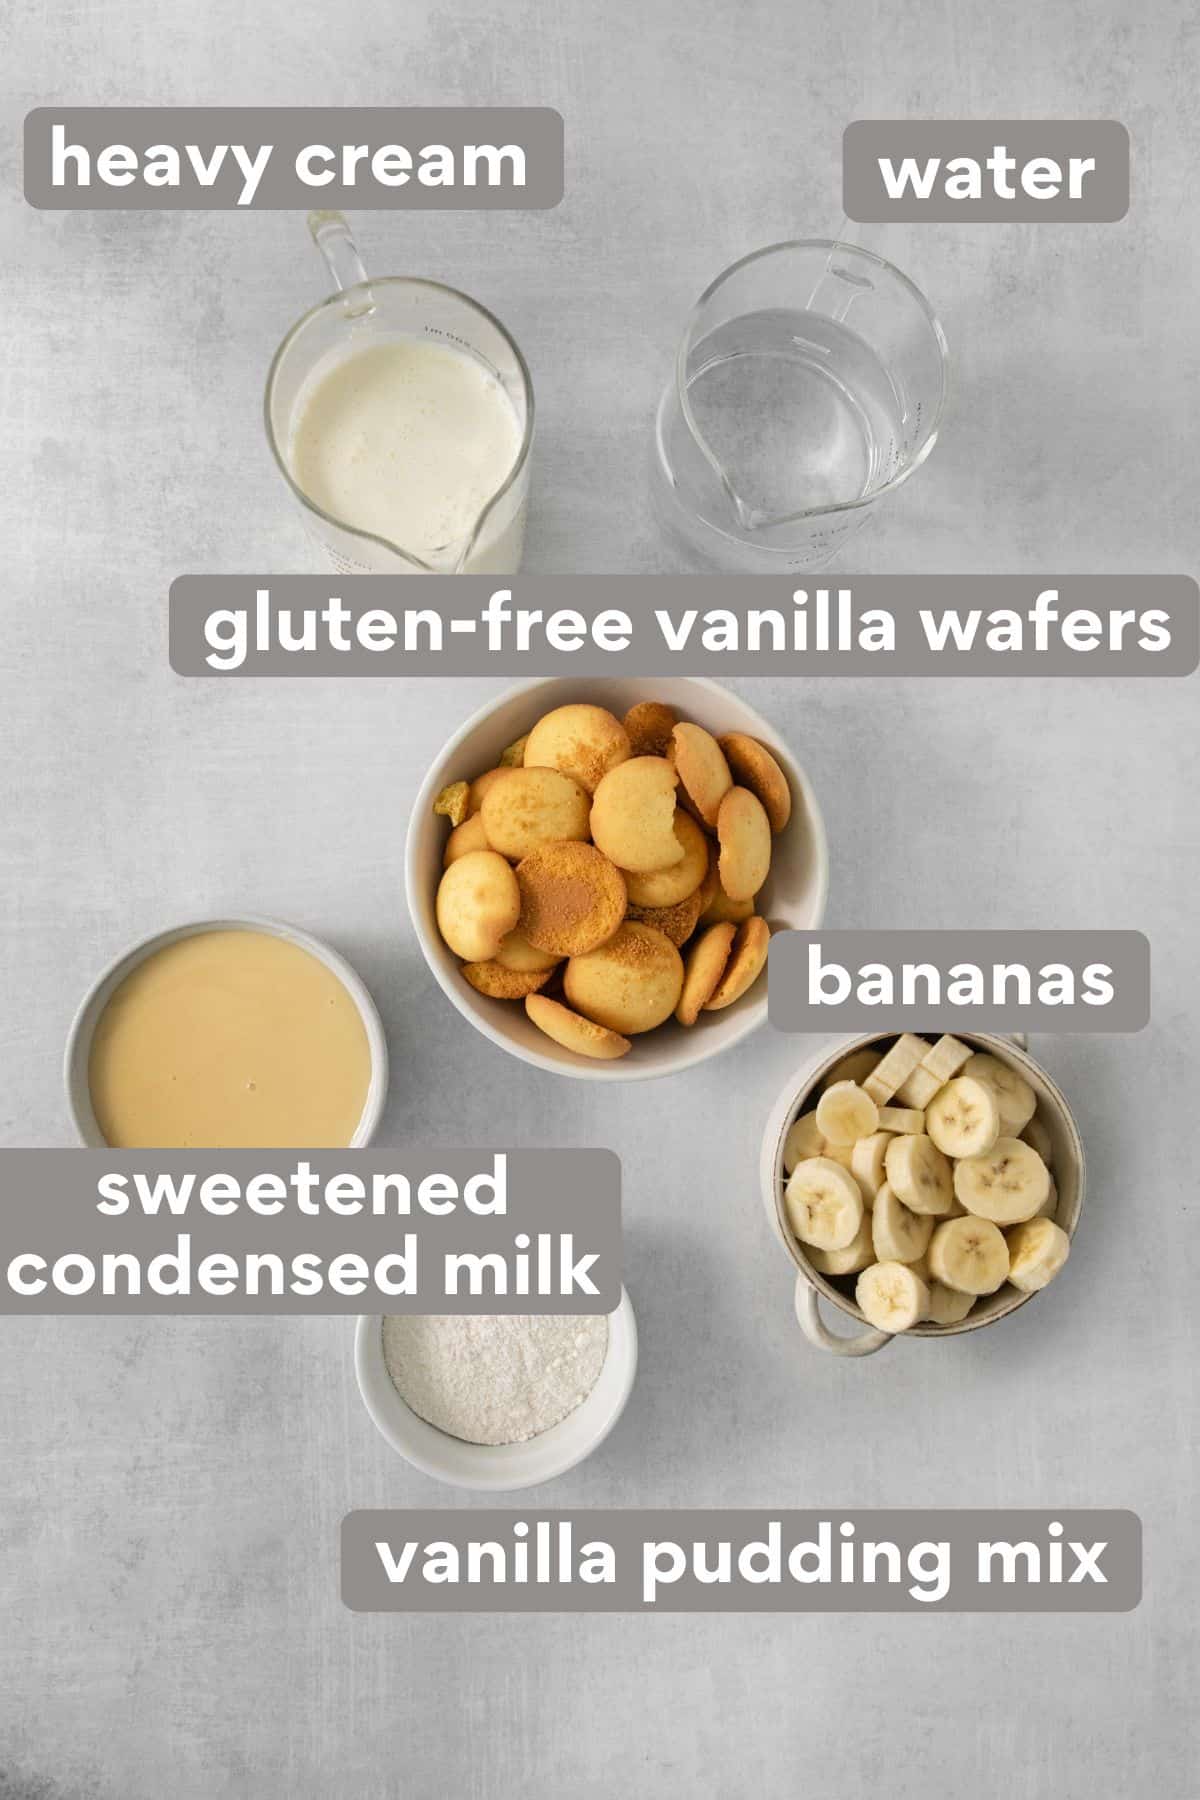
- Heavy cream: Be sure to use real heavy cream for this recipe — not half and half, whole milk, or Cool Whip. Heavy cream is needed to make fresh whipped cream, which creates a light and fluffy pudding.
- Water: Ice cold water is necessary to achieve the right consistency for the vanilla instant pudding. Do not use room temperature or warm water!
- Gluten-free vanilla wafers: You can use any gluten free wafer cookies for this gluten free dessert. Kinnikinnik vanilla wafers are my favorite!
- Bananas: I like to use bananas that are just barely ripe — maybe even a tiny bit green. Over-ripe bananas will be too brown and mushy for this pudding.
- Sweetened condensed milk: Any brand of sweetened condensed milk will work for this recipe. It’s an important ingredient that adds a sweet, creamy texture to this gluten-free banana pudding!
- Vanilla pudding mix: Be sure to buy instant vanilla pudding mix, not cook and serve pudding mix. I like Jell-O brand, which is naturally gluten-free.
How to Make Gluten-Free Banana Pudding
Make the Pudding
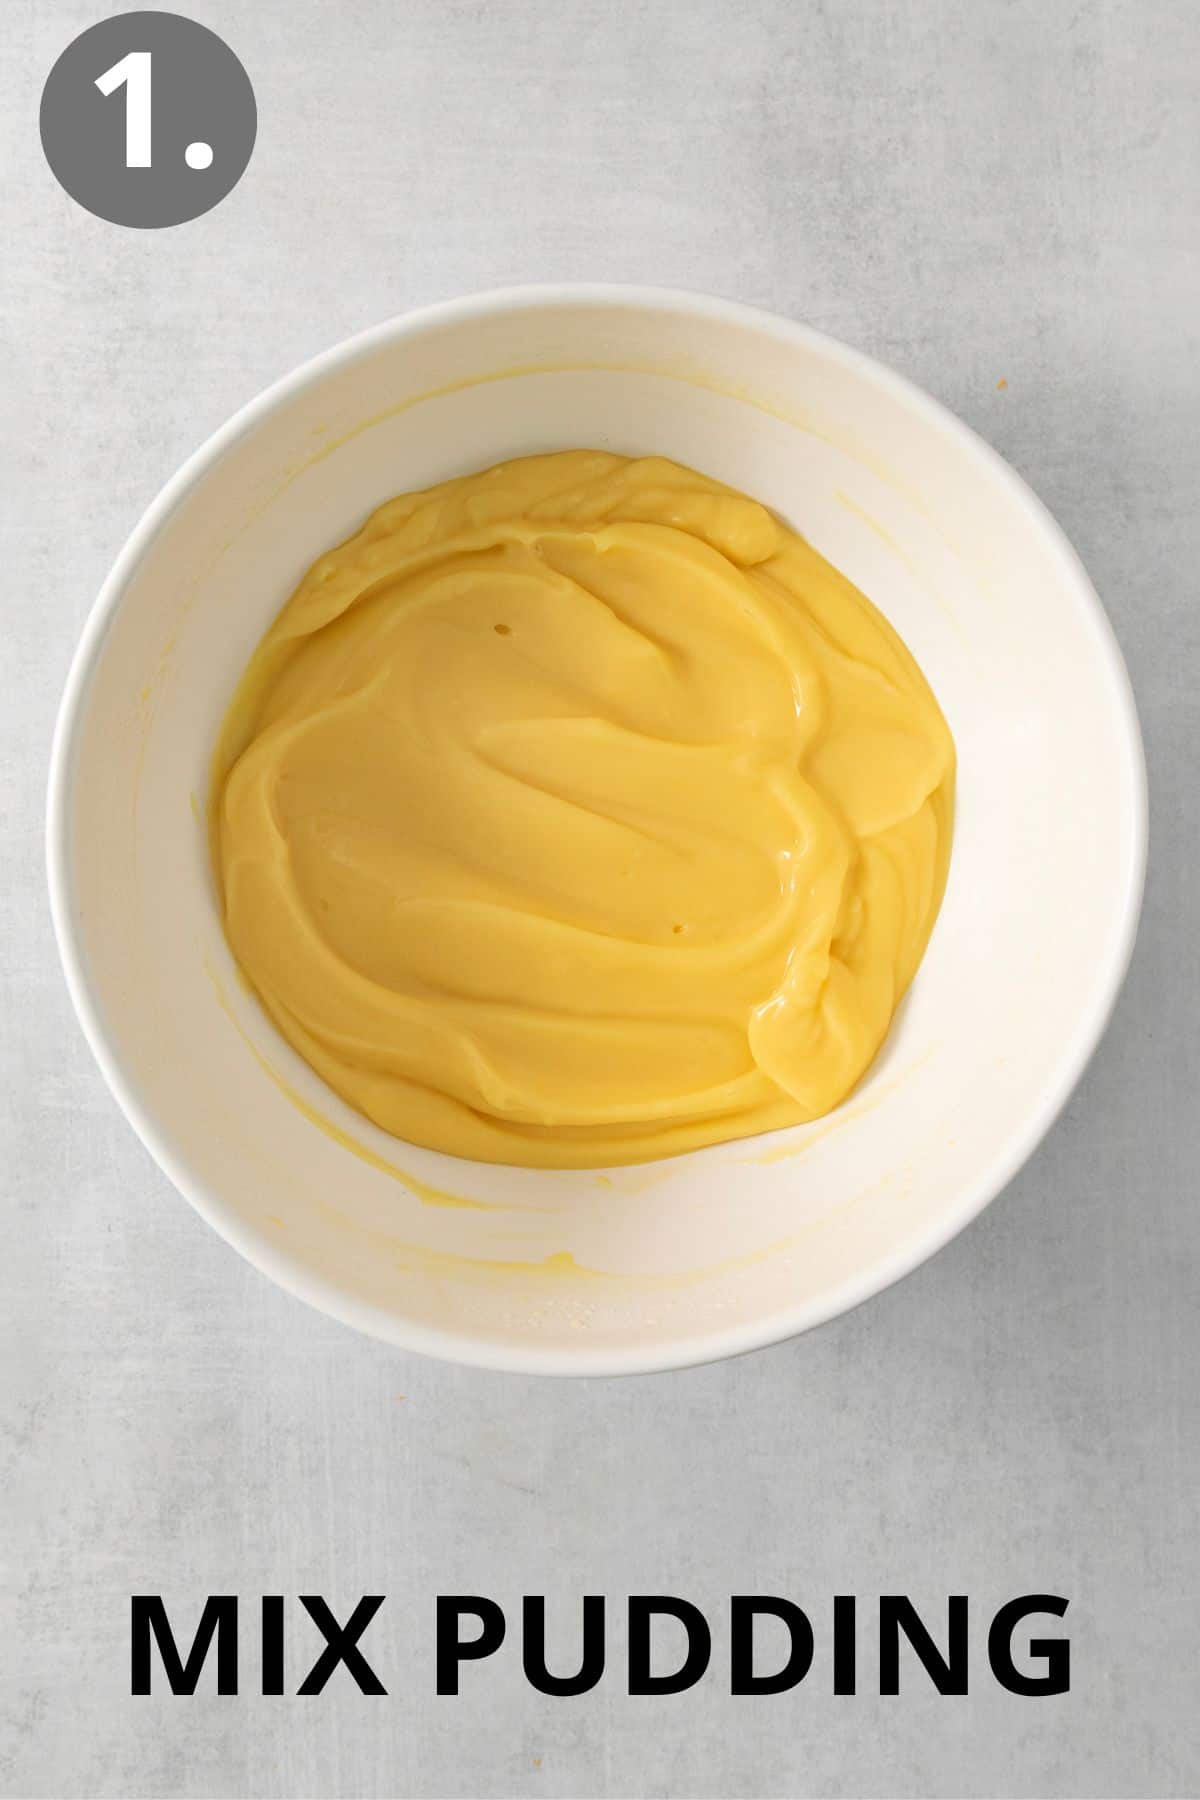
- In a large bowl, add the sweetened condensed milk and cold water. Using an electric hand mixer, beat together on medium-high speed until well combined, about 1 minute.
- Add the vanilla pudding mix for another 2 minutes.
- Cover the bowl with plastic wrap and refrigerate for 3-4 hours. This is very important! The pudding needs to set or it will be watery.
Make the Whipped Cream
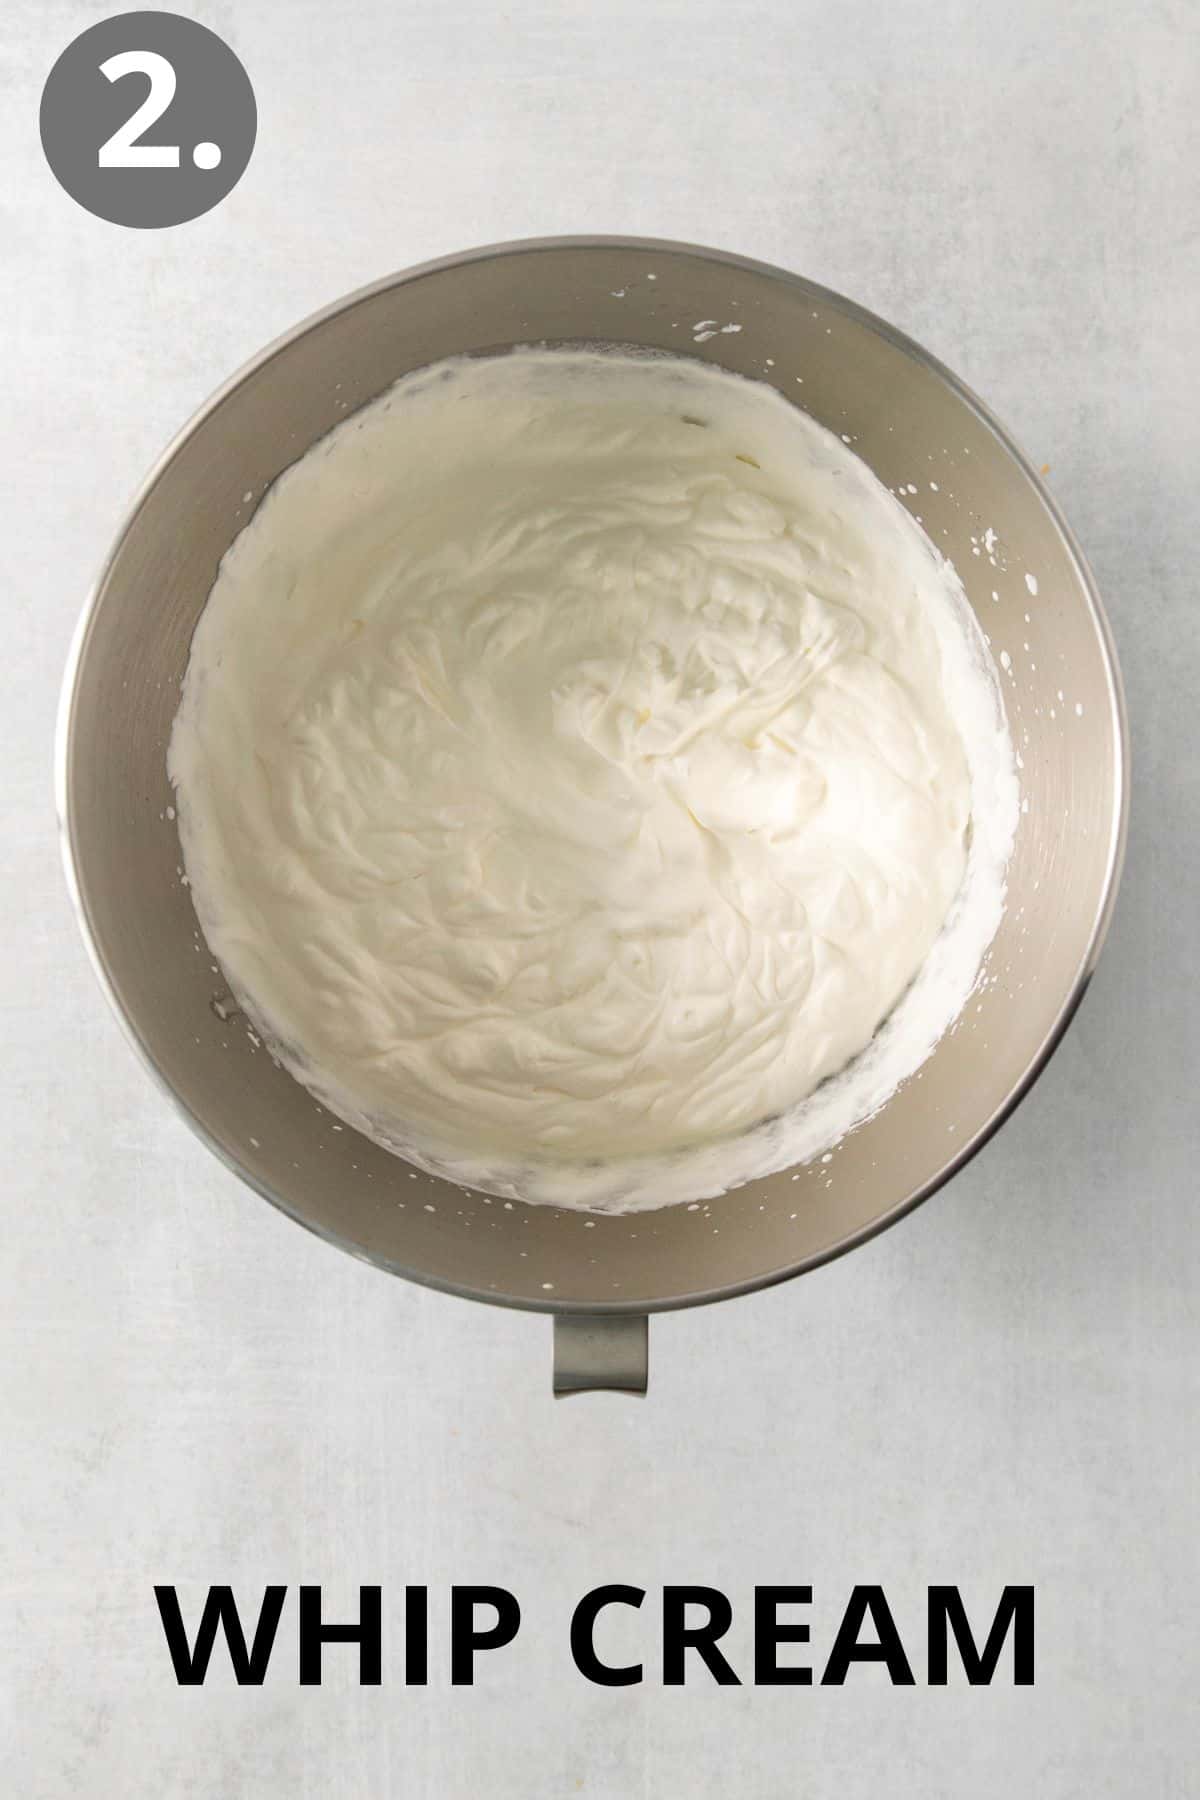
- In the bowl of a stand mixer fitted with the whisk attachment, whip the heavy cream to form stiff peaks. (You can also do this in a large bowl with an electric hand mixer.)
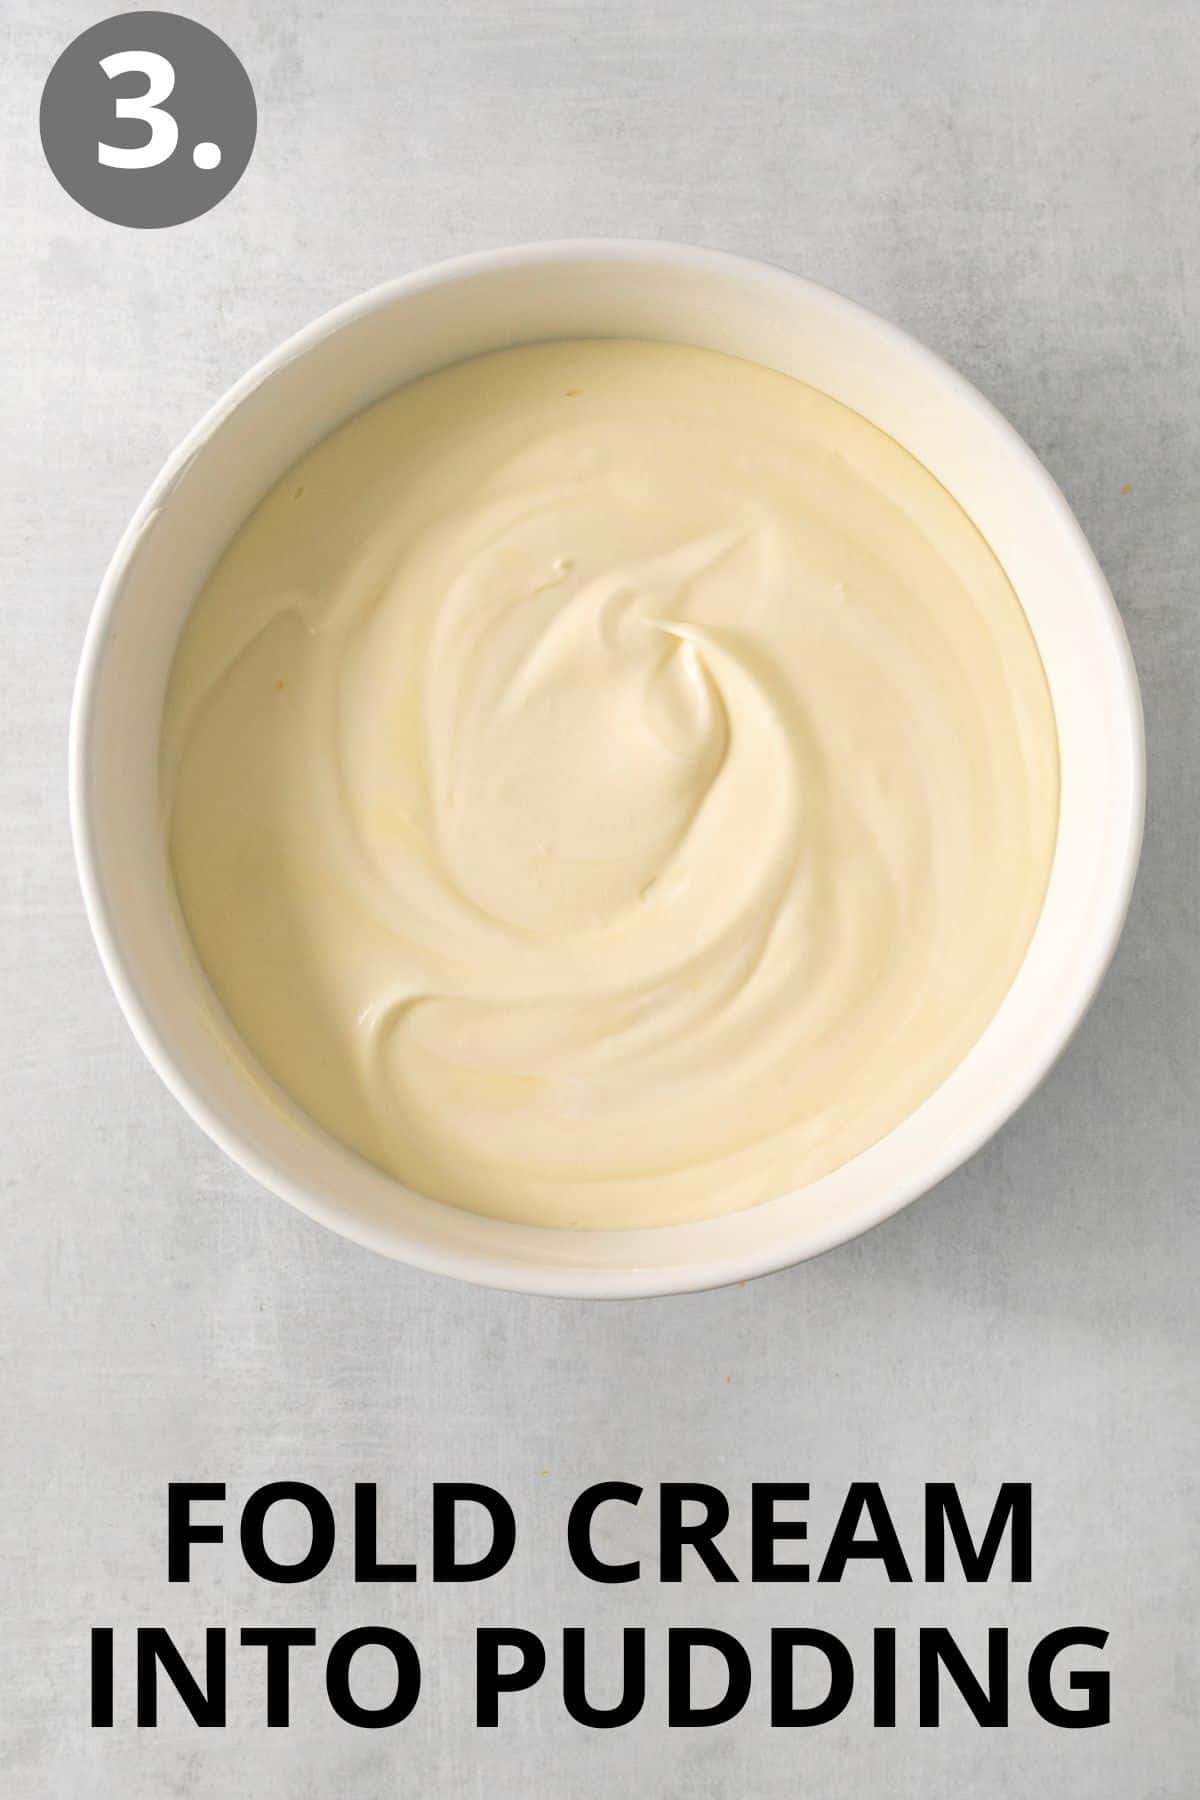
- Gently fold the fresh whipped cream into the pudding mixture until no streaks of pudding remain.
Assemble the Banana Pudding
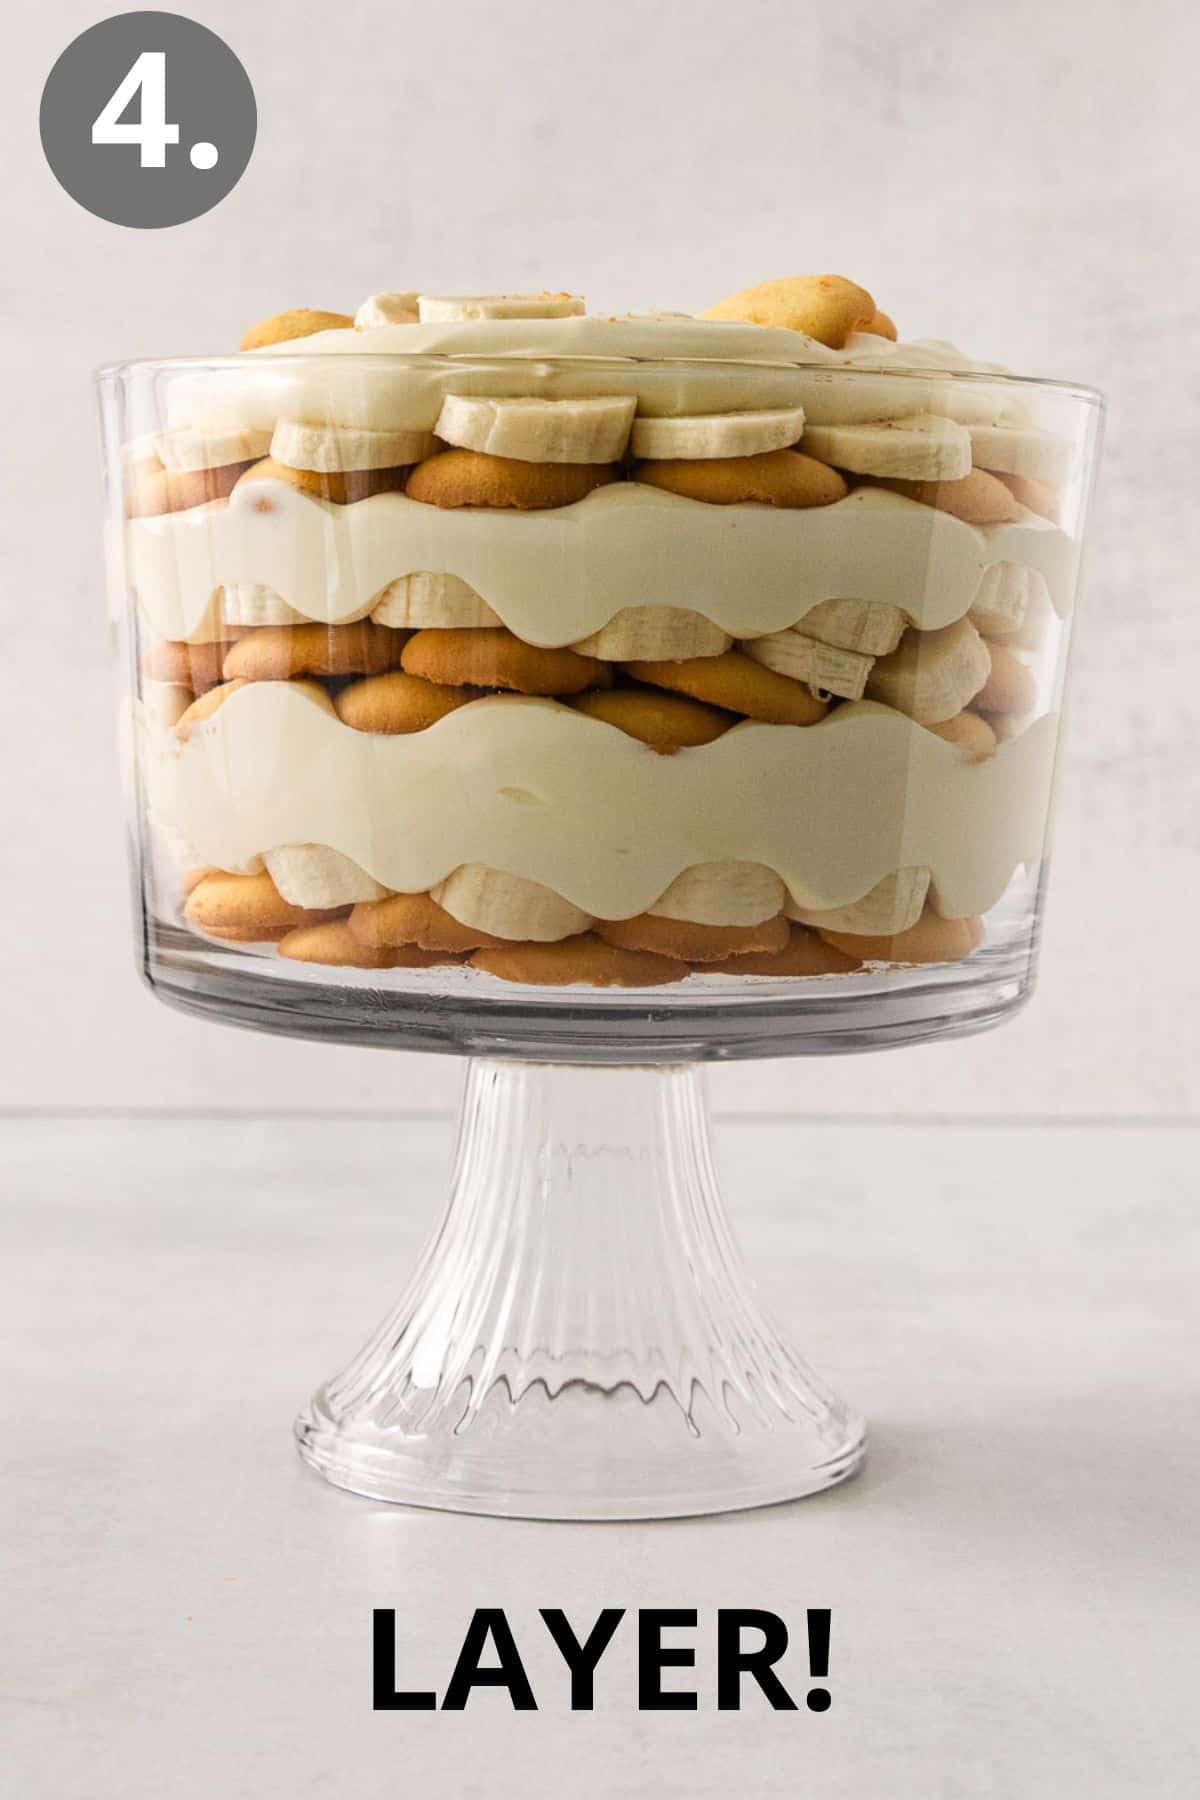
- You can assemble this pudding in a glass bowl or individual portions. I like to use this glass trifle dish to show off the beautiful layers!
- Arrange 1/3 of the gluten-free vanilla wafer cookies covering the bottom, overlapping if necessary. Next, layer 1/3 of the sliced bananas, and 1/3 of the pudding mixture. Repeat twice more, garnishing with additional gluten free wafers or wafer crumbs on the top of the pudding.
- Cover tightly with plastic wrap and refrigerate for at least 4 hours – or up to 8 hours. I don’t recommend making this more than 8 hours in advance or the bananas will start to brown. (See the tips on preventing browning in the notes!)
- Serve and enjoy this homemade banana pudding!
For more summer party recipes, check out this post on gluten-free 4th of july food.
Storage Instructions
This gluten-free banana pudding is best if eaten within eight hours of preparing. If you wait longer, the bananas will start to brown. However, you can store leftover pudding in an airtight container in the fridge for up to three days.
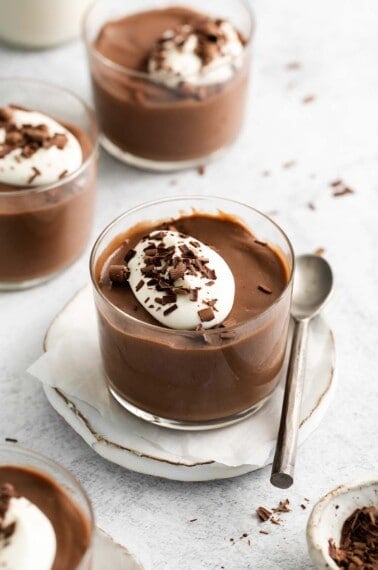
You also might like this gluten-free chocolate pudding recipe or this butterscotch pudding!
Expert Tips & Tricks
- To prevent browning: It’s important to use barely-ripe bananas to prevent browning. Bananas with any brown speckles will brown at a much faster rate! You can also sprinkle the bananas with lemon juice to preserve freshness — or soak them in club soda to achieve the same effect (without the lemon flavor.) Be sure to tightly wrap the pudding before placing it in the fridge for 4-8 hours.
- You can assemble this pudding in a glass bowl or individual portions. I like to use this glass trifle dish to show off the beautiful layers!
- The pudding mix MUST be refrigerated for 3-4 hours before assembling the layers. This is very important! The pudding needs to set or it will be watery.
- You can use any vanilla wafers for this recipe. Kinnikinnik vanilla wafers are my favorite!
More Gluten-Freee Desserts

I hope you love this recipe as much as we do! If you try this gluten-free banana pudding, be sure to leave me a comment/rating below. I’d love to hear from you!

Gluten-Free Banana Pudding (Magnolia Bakery!)
Ingredients
- 1 14 oz can sweetened condensed milk
- 1 ½ cups ice cold water
- 1 3.4 oz box vanilla instant pudding mix
- 3 cups heavy cream
- 4 cups sliced barely ripe bananas
- 2 6.3 oz. boxes gluten-free vanilla wafers, I use Kinnikinnick
Instructions
MAKE THE PUDDING
- In a large bowl, add the sweetened condensed milk and cold water. Using an electric hand mixer, beat together on medium-high speed until well combined, about 1 minute.
- Add the vanilla pudding mix for another 2 minutes.
- Cover the bowl with plastic wrap and refrigerate for 3-4 hours. This is very important! The pudding needs to set or it will be watery.
MAKE THE WHIPPED CREAM
- In the bowl of a stand mixer fitted with the whisk attachment, whip the heavy cream to form stiff peaks. (You can also do this in a large bowl with an electric hand mixer.)
- Gently fold the fresh whipped cream into the pudding mixture until no streaks of pudding remain.
ASSEMBLE THE BANANA PUDDING
- You can assemble this pudding in a glass bowl or individual portions. I like to use this glass trifle dish to show off the beautiful layers!
- Arrange 1/3 of the gluten-free vanilla wafers covering the bottom, overlapping if necessary. Next, layer 1/3 of the bananas, and 1/3 of the pudding mixture. Repeat twice more, garnishing with additional wafers or wafer crumbs on the top layer.
- Cover tightly with plastic wrap and refrigerate for at least 4 hours – or up to 8 hours. I don’t recommend making this more than 8 hours in advance or the bananas will start to brown. (See the tips on preventing browning in the notes!)
- Serve and enjoy!
Notes
-
- To prevent browning: It’s important to use barely-ripe bananas to prevent browning. Bananas with any brown speckles will brown at a much faster rate! You can also sprinkle the bananas with lemon juice to preserve freshness — or soak them in club soda to achieve the same effect (without the lemon flavor.) Be sure to tightly wrap the pudding before placing it in the fridge for 4-8 hours.
-
- You can assemble this pudding in a glass bowl or individual portions. I like to use this glass trifle dish to show off the beautiful layers!
-
- The pudding mix MUST be refrigerated for 3-4 hours before assembling the layers. This is very important! The pudding needs to set or it will be watery.
-
- You can use any vanilla wafers for this recipe. Kinnikinnik vanilla wafers are my favorite!


Can you use instant banana Jello pudding instead of vanilla?
Hi Dana! That should work well. We hope you enjoy the recipe!
Hi,
Question, for the vanilla pudding mix, you dont use milk? You only mix with the sweetened condensed milk and ice water?
Hi Marquis, that’s correct!
Hello! Is one 30 gram container of the jello pudding mix sufficient to make this?
Hi Teagan! This recipe uses a 3.4 oz box of jell-o mix. It looks like the box says net wt 3.4 oz (96g). We hope this helps!
Just finished making this recipe. Curious do you use 3 cups heavy cream or 3cups whipped heavy cream. I used 2 cups heavy cream and it made more whipped cream but I folded it all in, tasted good. I also needed to run to the store to buy another box of gluten free cookies for the pan I was using. I used Partake vanilla wafers from Sprouts, could find the ones you recommended nearby. Hoping it tastes good when I serve it later tonight.
Hello! We use 3 cups of heavy cream to make the whipped cream that then gets folded into the pudding mixture. We hope you enjoyed the banana pudding!
I accidentally purchased regular vanilla pudding, not instant anyway I can still use this
Hi Alison, this recipe is designed for instant pudding which doesn’t require heat. The regular pudding will require cooking before it can be used. We haven’t tried the cook & serve pudding with the sweetened condensed milk/water mixture unfortunately. For best results, we’d recommend using instant pudding. Thank you for your question! We hope you enjoy the banana pudding!
Can you use sweetened condensed oatmilk and coconut heavy cream as substitutes for those with dairy allergies?
Hi there, we haven’t tried to make this one dairy-free before. Those sound like decent swaps to try though. If you decide to test it out, we’d love to hear how it goes!
Loved it , perfect banana pudding !!
Can you make the pudding the day before and then assemble with cookies and bananas the following day?
Hi Vicki, yes that will work! The pudding by itself should keep for up to 3 days in the fridge. We hope you enjoy the recipe!
I made this two weeks ago, then made it again to take to a friend and she and I both agreed it’s impossible to stop eating it! I may need to make it every two weeks until further notice. It’s deceptively easy to make but tastes remarkably decadent.
We love to hear how much you both loved the banana pudding, Amy! Thanks for sharing your kind words!
My gosh this was good! I made this because my husband isn’t a fan of meringue- I was shocked by how the condensed milk and pudding mix came together to make almost like a crème pat, I’ll definitely be making this again.
Yay! We’re so glad you and your husband enjoyed the banana pudding. Thanks for the 5-star review!
Hi, I read somewhere that GF wafers don’t soften in the pudding. Have you had that problem with the brand you use?
I have noticed they don’t seem to soften as quickly as regular GF wafers! They will still soften with time. I use Kinnikinnick!
Another win! You’d never know this is gluten free, thank you so much! It was a huge hit at our son’s party!
What brand of instant vanilla pudding do you use?
Thank you!
I use Jello Brand!