

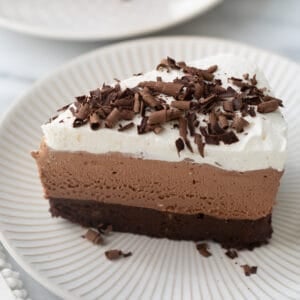
This Gluten-Free Chocolate Mousse Cake is rich, decadent and perfect for any celebration! With a brownie-like cake layer and cream-cheese-based chocolate mousse, it’s a chocolate lover’s dream.
I can’t believe it’s taken me this long to share this all-time favorite recipe! I make the Gluten-Free Chocolate Mousse Cake for my husband’s birthday (and some of my kid’s birthdays now!) every year. It’s his absolute favorite dessert and nobody can ever tell it’s gluten-free.
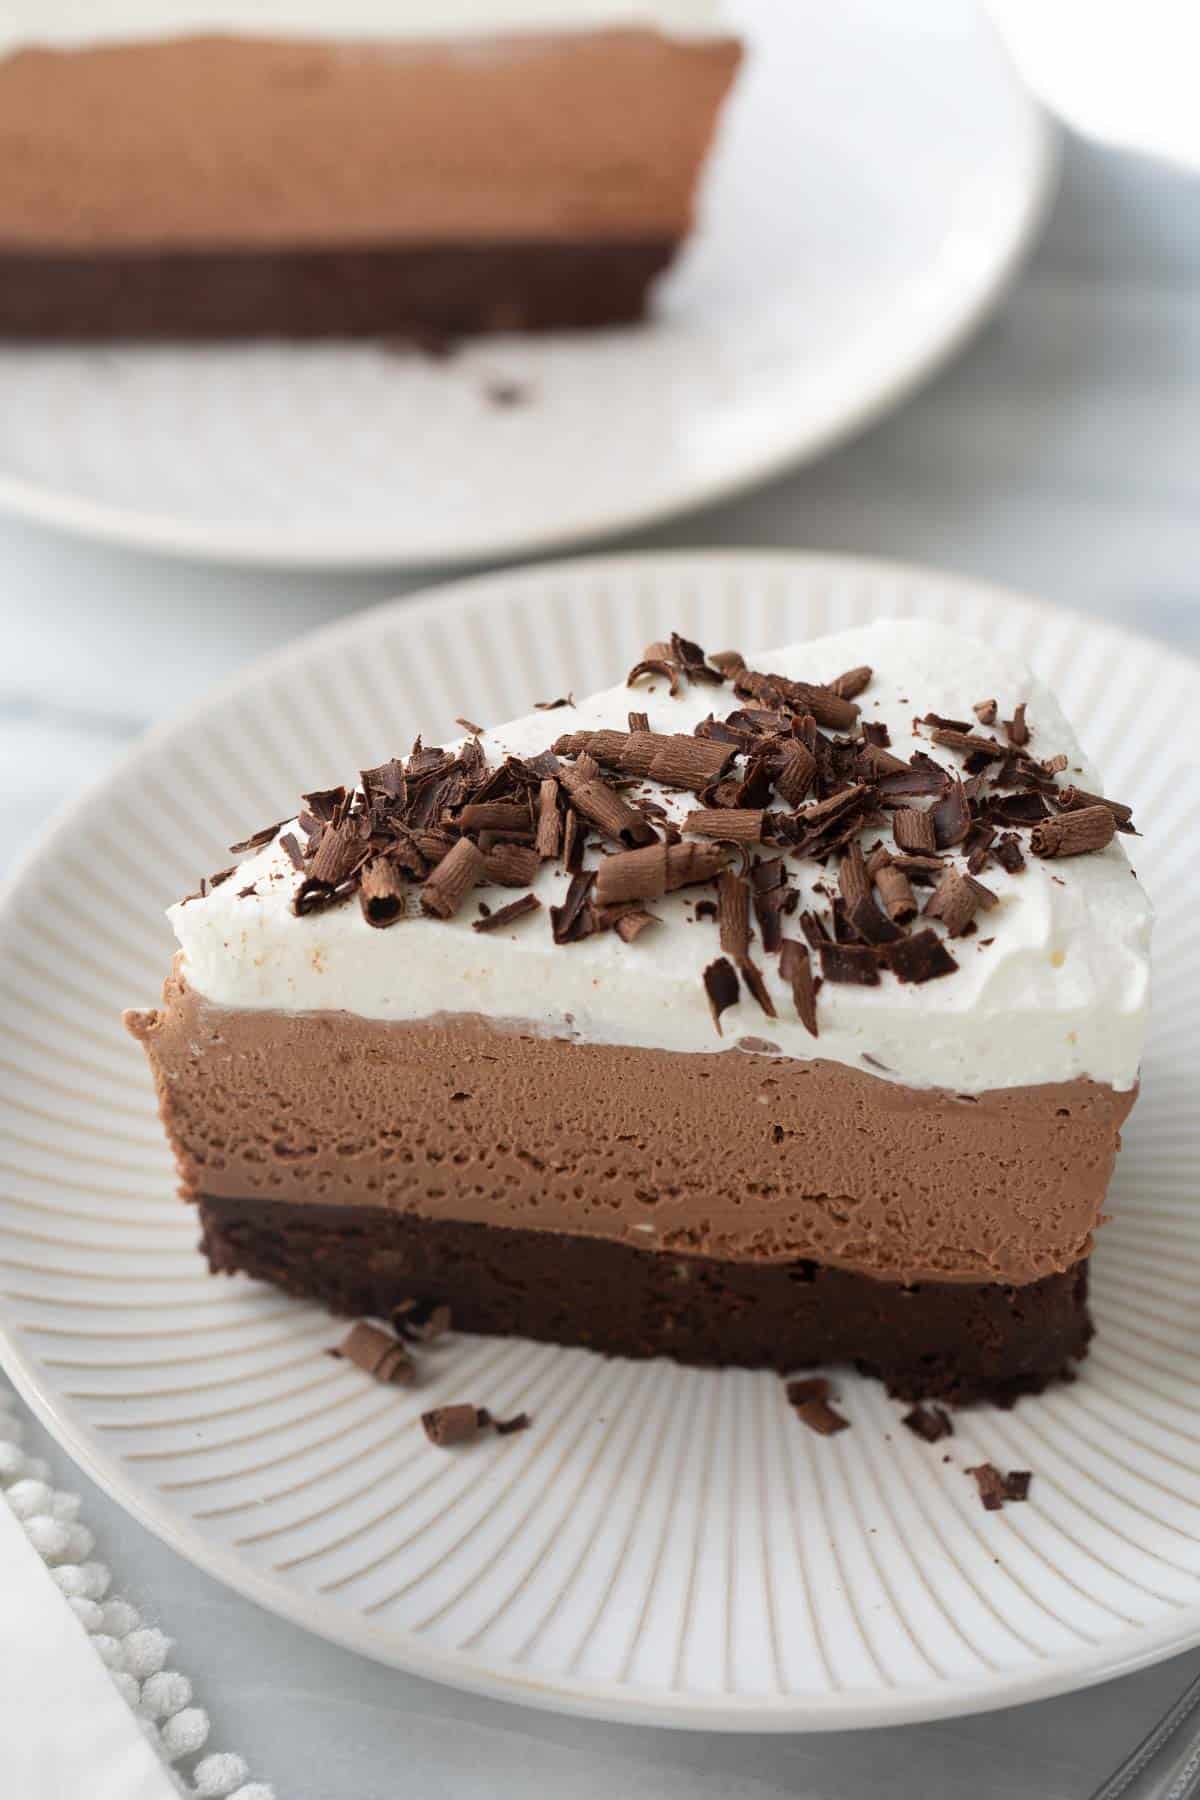
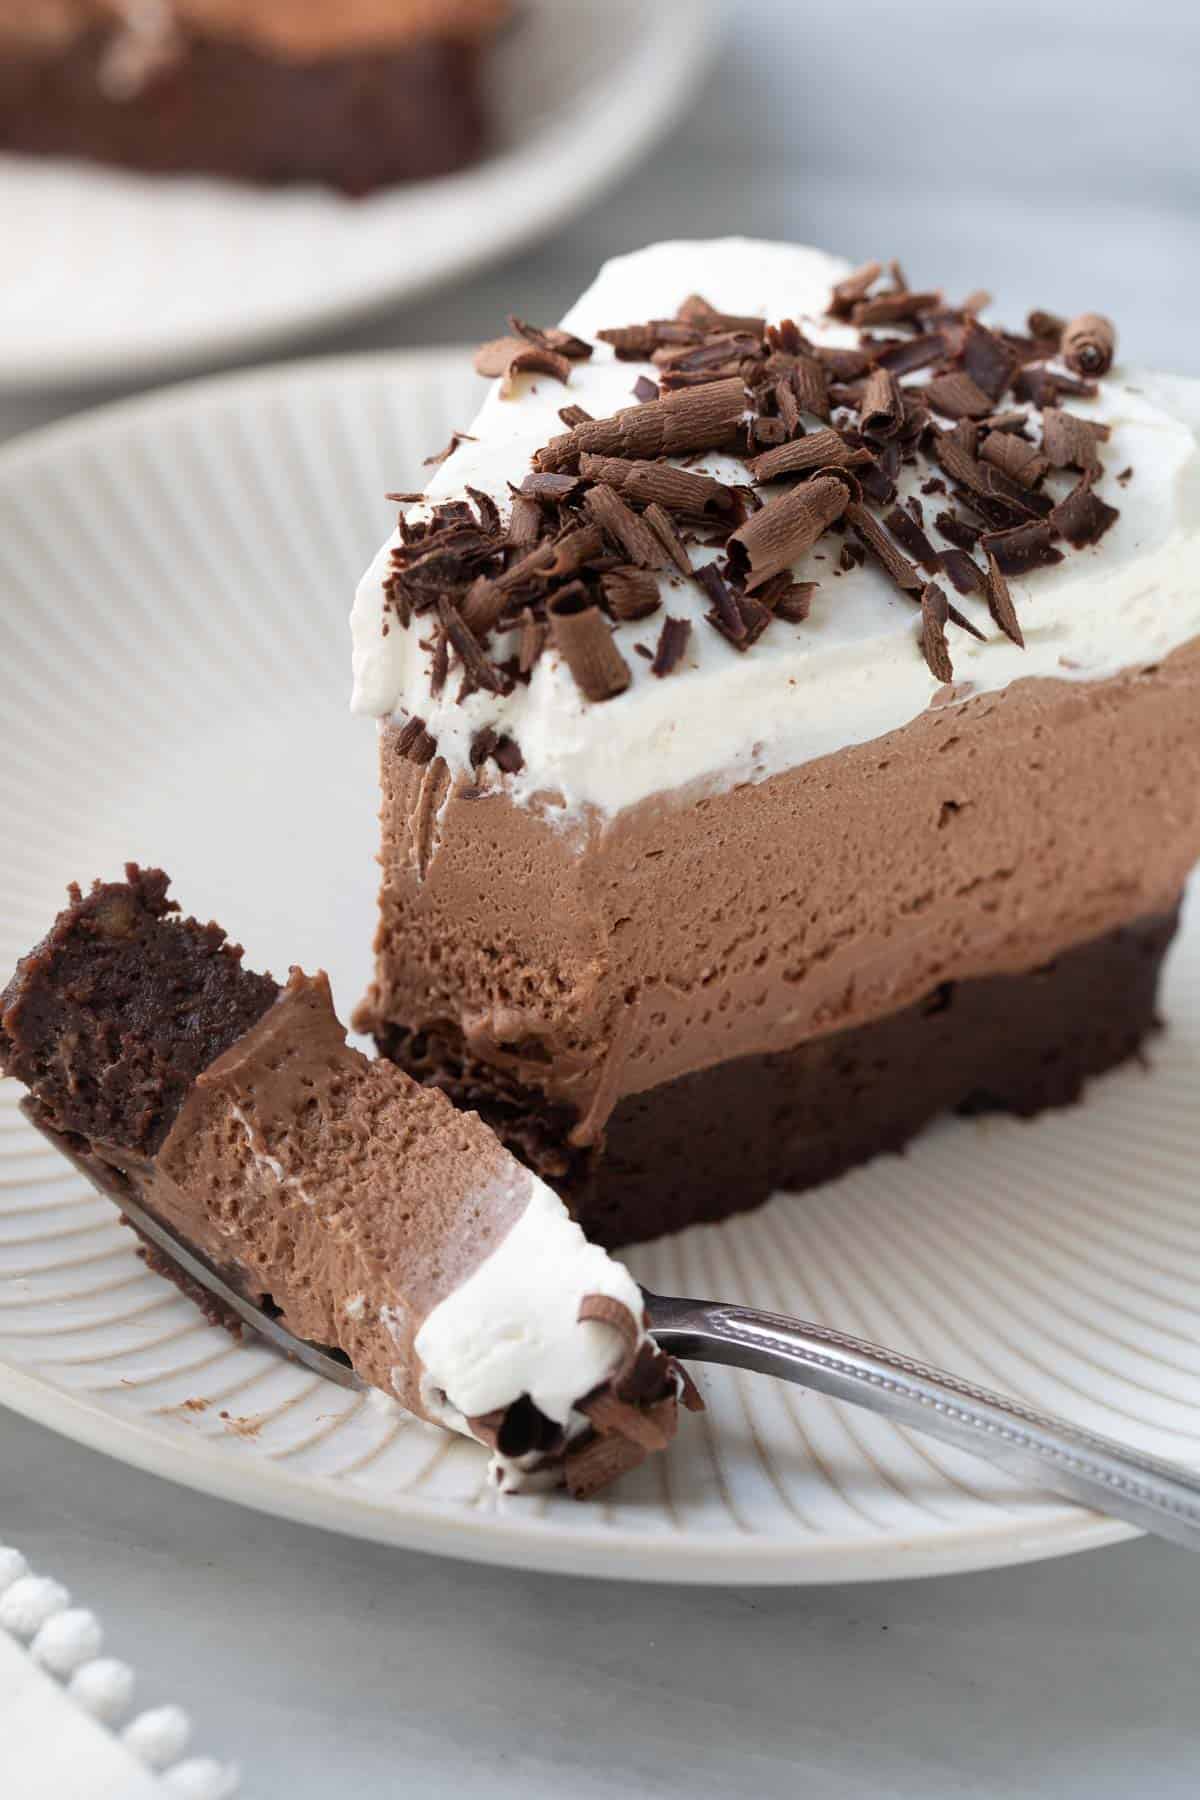
This cake probably isn’t the most traditional chocolate mousse cake, but it sure is delicious. The bottom layer is chewy and rich, like a cross between a brownie and flourless chocolate cake.
The mousse in the middle is actually a cream-cheese based layer that is whipped to perfection with heavy cream and melted chocolate. The whole cake is covered in whipped cream and chocolate shavings. Dessert heaven? I think so!
You also might like this flourless chocolate torte, gluten-free chocolate lava cake or these gluten-free chocolate cupcakes. Check out this full collection of gluten-free cake recipes.
This cake isn’t hard to make, but it does take a little planning so be sure to leave enough time for the layers to properly cool/set.
Note: Make this cake at least 8 hours before you plan on serving it so it has time to set. It can also easily be made a day in advance.
 How to Make the Cake Layer
To make this cake, start by baking the brownie/cake layer. You also might like these gluten-free brownies!
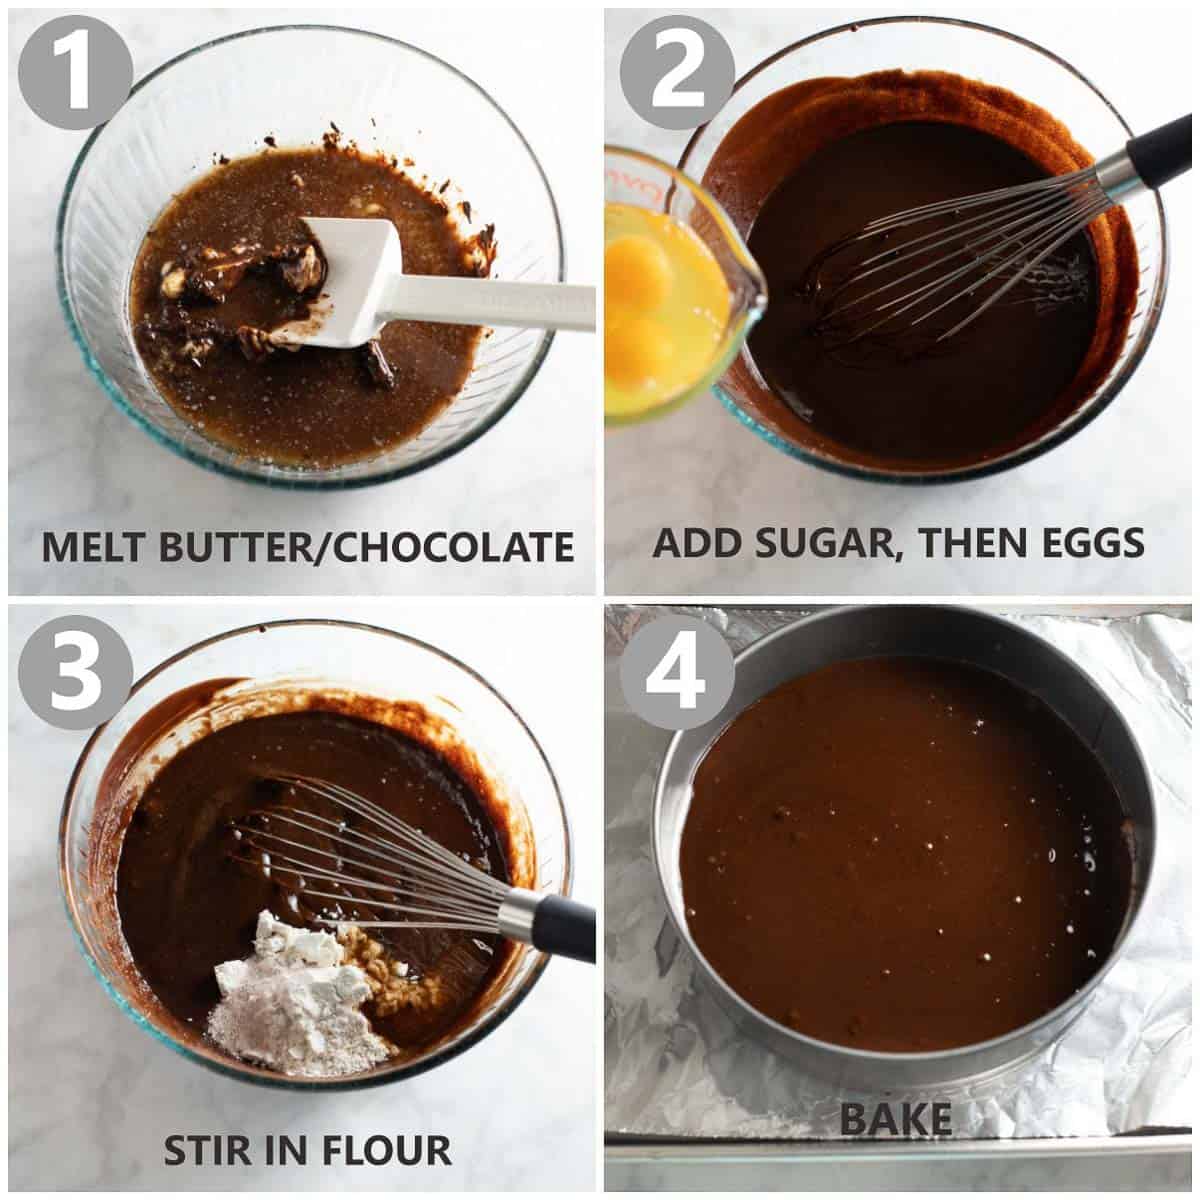
- First you’ll melt the butter/chocolate together and stir until smooth.
- Then add the sugar and whisk to combine, followed by the eggs.
- Add the flour/salt and whisk until smooth.
- Pour into a greased springform pan.
Be sure the cake is fully cool before topping it with the mousse.
Make the Chocolate Mousse
This mousse is secretly really simple to make! My family absolutely loves the cream cheese flavor too.
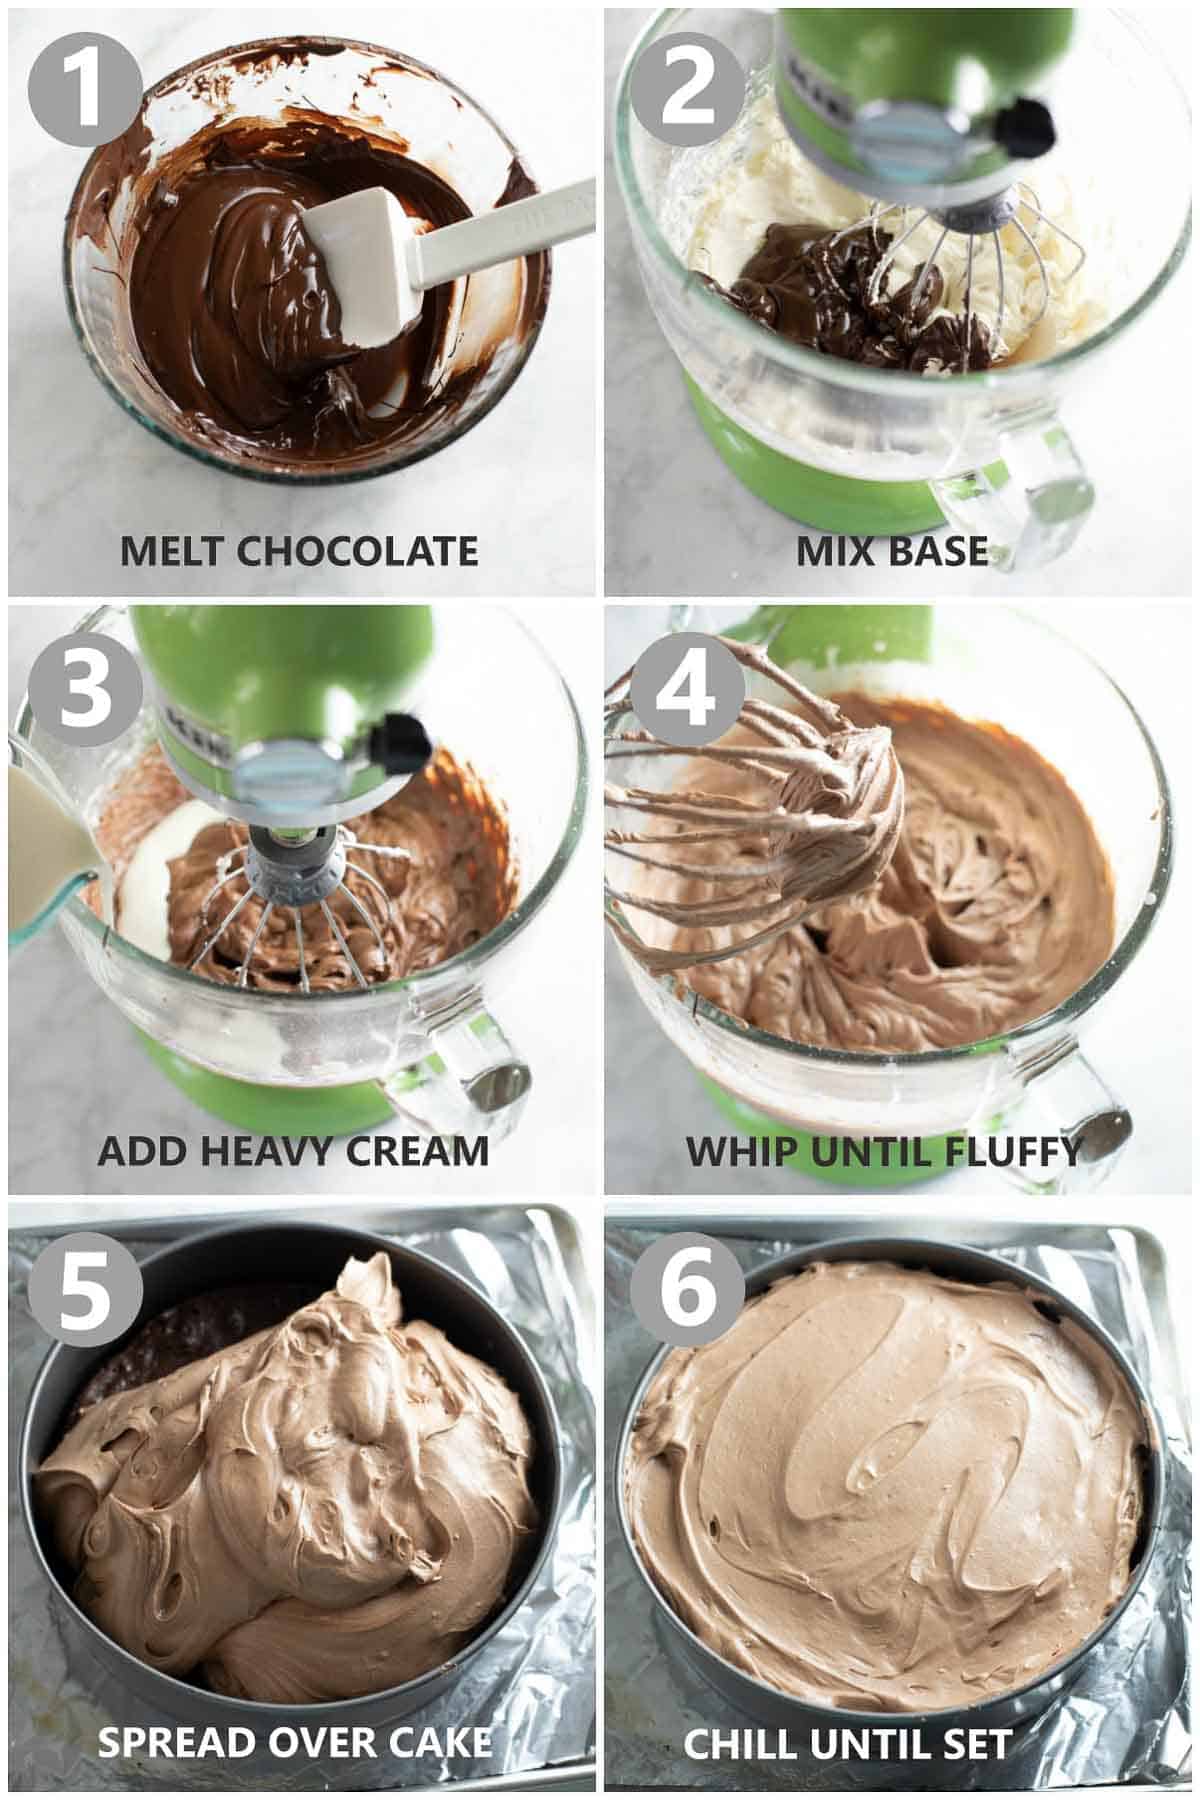
- Start by melting the chocolate. You can do this in the microwave on 50% power or on low heat on the stove.
- Add the cream cheese, powdered sugar and melted chocolate to a stand mixer and mix until smooth.
- With the mixer running on low, slowly pour in the heavy cream.
- Scrape down the bottom/sides of the bowl, then whip on medium/high speed until light and fluffy.
- Spread over the cooled cake layer.
- Refrigerate until set, about 6 hours.
Tip: Be sure to use “heavy cream” because it contains a milk fat percentage of 35% (or higher). Many brands of heavy whipping cream only have 30-35% milk fat, whereas heavy cream has 35% or higher. This mousse needs the extra milk fat to be sure it turns out thick and creamy. I prefer Darigold heavy cream (40% milk fat). Not all brands or cartons label the milk fat percentage, so to be safe, look for a brand that has 35% (or higher) written on the carton.
If you like this recipe you’ll love this gluten-free peanut butter pie. It has a gluten-free oreo pie crust and a very similar peanut butter mousse! For another special gluten-free treat try these gluten-free red velvet cupcakes.
You might also like this gluten-free oreo cheesecake.
Once the cake is set it’s time to top it with a layer of whipped cream. I like to add simple chocolate shavings that I make with a bar of chocolate and a vegetable peeler for decoration.
I look forward to making this cake for birthdays every year. It’s always a show-stopper and a crowd-pleaser!
More Amazing Gluten-Free Desserts:
Gluten-Free Cheesecake – My Mom’s delicious recipe for vanilla bean cheesecake with a walnut crust.
Gluten-Free Carrot Cake – Hands down the best gluten-free carrot cake around! Topped with a blanket of fluffy cream cheese frosting.
Gluten-Free Chocolate Cake – An easy sheet cake you’ll that’s fluffy and moist with a secret ingredient in the frosting.
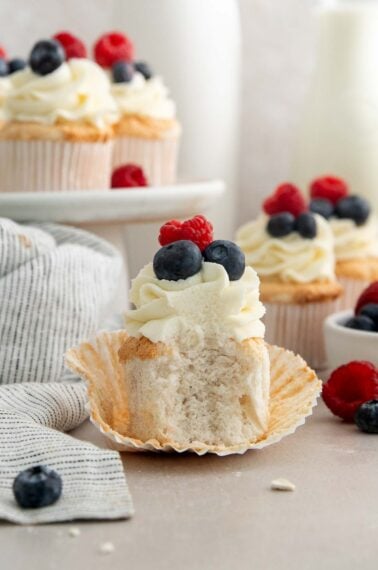
Gluten-Free Angel Food Cake – Delicious on it’s own or as a base for your favorite dessert.
I hope you love this gluten-free chocolate mousse cake as much as we do! Please leave me a comment/rating below to let me know how it turns out for you.
Gluten-Free Chocolate Mousse Cake
Video
Ingredients
For the Cake:
- 8 ounces bittersweet or semisweet chocolate chopped or use chips (see note)
- 1 cup butter (2 sticks)
- 1 cup sugar
- 5 eggs
- 1 tablespoon vanilla extract
- 1/4 teaspoons salt
- 1/4 cup gluten-free measure-for-measure flour
For the Chocolate Mousse:
- 8 ounces bittersweet or semisweet chocolate chopped or use chips (see note)
- 1 1/3 cup powdered sugar
- 2 8oz packages cream cheese softened
- 2 teaspoons vanilla extract
- 2 cups cold heavy cream see note
For the Whipped Cream:
- 3/4 cup cold heavy cream
- 2 tablespoons powdered sugar
- 2 teaspoons vanilla extract
- Grated chocolate, for garnish (optional)
Instructions
- Preheat the oven to 325°F. Spray a 10-inch springform pan with cooking spray.
- For the chocolate cake: Cut the butter into tablespoon-sized pieces. Add the butter and chopped chocolate to a medium microwave-safe bowl. Microwave for 1 minute until the butter and chocolate are melted, stirring every 15 seconds.
- Add the sugar, vanilla and salt to the chocolate mixture. Whisk to combine.
- Add the eggs one at a time, whisking each until fully incorporated.
- Using a rubber spatula, mix in the gluten-free flour until fully combined.
- Pour the batter into the prepared pan. Smooth into an even layer. Bake for 30-35 minutes, until set and a toothpick inserted into the center of the cake comes out clean.
- Remove from the oven and cool on a wire rack. Let the cake cool completely before topping with the mousse.
- For the chocolate mousse: Add the chopped chocolate to a small microwave-safe bowl. Microwave for 1 minute until the chocolate is melted, stirring every 15 seconds.
- Pour the melted chocolate into the bowl of a stand mixer or a hand mixer. Add the powdered sugar, cream cheese and vanilla and mix until completely smooth, scraping down the sides and bottom 1-2 times.
- With the mixer running on low, slowly pour in the heavy cream. Scrape down the sides and bottom of the bowl, then increase the speed to medium-high and whip until light and fluffy, about 3-4 minutes.
- Spread the mousse on top of the cooled chocolate cake. Cover and refrigerate for at least 6 hours or up to 1 day.
- For the whipped cream topping: In the bowl of a stand mixer fitted with the whisk attachment, or using a hand mixer, whip together the heavy whipping cream, powdered sugar, and vanilla on medium-high speed until stiff peaks form, about 4-5 minutes.
- Spread the whipped cream over the mousse cake. Garnish with chocolate shavings.
- Run a thin knife around the edge of the cake and carefully open the springform pan. Slice and serve.


Can you make this into cupcakes.
I haven’t tried this myself! I definitely think it’s possible though. I would try making them in a silicone muffin pan! You can reduce the bake time of the brownie layer by 10-15 minutes if so. Let me know if you try it!
I hope to make this for Mother’s Day. Is the powdered sugar used in this recipe icing sugar or something else?
Yes icing sugar, confectioner’s sugar and powdered sugar are usually the same thing – all will work!
I don’t own a stand mixer. How can I get the mousse fluffy?
Do you have an electric hand mixer? That will work! It will be hard to get the mousse fluffy mixing by hand.
Turned out beautifully.
I’m so glad you enjoyed it!
Made for family and it was absolutely decadent! Thank you! Deborah Zent
Can this be made ahead and frozen?
Unfortunately this cake doesn’t freeze well! Sorry about that.
I love this recipe and have made it a few times now bc everyone loves it. I take a short cut on the cake part though and use a gluten free brownie mix and then press it into the bottom of the spring form pan.
That’s a great shortcut! Thanks for sharing. So glad you like the recipe!
This is one of the best dessert’s i have ever eaten! It’s so delicious, wouldn’t even know it was gluten free! Thank you for sharing this recipe! Definitely a keeper!
I’m so glad to hear that! Glad you enjoyed it 🙂
Made this for Christmas and it was a HUGE HIT!!!!! so YUMMMMMY!!!!!!
So yummy & easy to make- everyone loved it!
So glad it turned out for you!
Can you use gluten free all purpose flour rather than the 1:1 gluten free flour?
For most of my recipes you need to use gluten-free 1:1 baking flour for the added binders. However this cake base doesn’t really need the added xanthan gum for structure, so it should work to use gluten-free all purpose flour.
Can this be made a day ahead?
Yes! This recipe is great to make in advance.
Anyone else have issues with the cake batter not setting? I used butter based cooking spray but the bottom of the cake and the middle were raw even after cooking in a 9″ springform pan for 40 minutes.
The cake is supposed to be a a little fudgy – more like a fudge layer than an actual cake if that makes sense! I hope this helps!
When do you take the cake out of the springform pan? Before spreading with whipped cream or after?
I take it out of the springform pan after spreading the whipped cream over. I hope this helps!
Can you use a egg substitute or the eggs?
You can always use an oreo crust instead of the brownie layer if you’d like to make this egg-free! https://meaningfuleats.com/gluten-free-oreo-pie-crust/
I made this recipe yesterday for today.
I followed the recipe as it said, when I poured the cake mixture in the springform pan it started to leak out on the bottom of the pan I tried another one did the same thing, my question is how thick is the batter suppose be for the cake/brownie mixture?
By the way it was the most delicious, rich dessert.
I usually wrap the bottom of my springform pan in foil as this tends to happen with springform pans in general. The batter more like cake batter than thick brownie batter. You can see a picture of it in the process shots above!
I made this dessert on Sat the 24th to have on Christmas, the issue I had is that the batter keeper leaking out of the bottom of the springform pan. Is the batter suppose to be really running? . It still turned and was the delicious dessert ever..
I’m so glad you enjoyed it! The batter is probably leaking out of the pan because your springform pan is slightly bent or doesn’t seal properly. I usually wrap the bottom of my springform pan in foil and place it on a baking sheet to make sure it doesn’t leak in the oven though. I hope this helps!