Erin’s Recipe Rundown

If you want a crowd-pleasing fall dessert, make this gluten-free apple galette! It would also make a delicious gluten-free Thanksgiving dessert!
Why You’ll Love It: This no-fuss recipe uses my go-to gluten-free pie crust recipe as the base for the beautifully imperfect galette. Warm spices bring out the best in the apples for one cozy dessert everyone will love!
Top Tips: A preheated pizza steel is the secret to a crisp crust across the whole bottom. It creates the perfect texture in every bite!
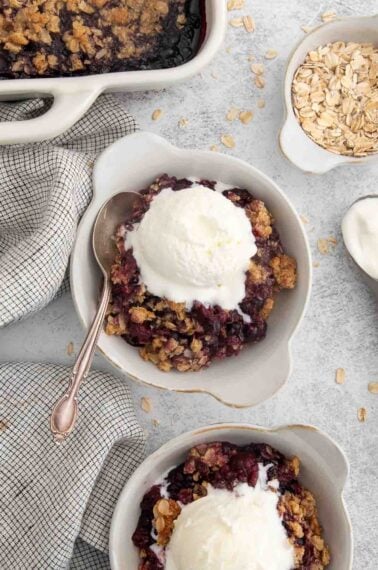
For more apple recipes, try this gluten-free apple crisp, gluten-free apple crumble, gluten-free apple cake, gluten-free apple pie, or these baked apples!
xoxo erin

Ingredients You’ll Need
Here are a few notes on some of the key ingredients to make this gluten-free apple galette. Jump to the recipe card below for the exact measurements.

- Gluten-free pie crust: I use my tried-and-true buttery crust as the base for this galette! It bakes up crisp, golden, and perfectly flaky.
- Apples: Use any kind you like. I prefer to use tart, firm apples (like Granny Smith or Pink Lady) for the best structure and flavor balance!
- Gluten-free flour: Adding a little gluten-free flour thickens the filling so it’s not too runny. I recommend using King Arthur Gluten-Free Measure-for-Measure Flour.
How to Make Gluten-Free Apple Galette
Here’s an overview of how to make this recipe. You can jump to the recipe for the full instructions!

Prepare the pie crust: You can even chill it for up to 2 days! If refrigerated for more an hour, just plan to have it sit out for 15 minutes before rolling. This is the perfect time to make the filling!
Shape the galette: Roll out the dough on a pastry mat or silicone baking mat. If it break along the edges, that’s totally normal! Just gently press it back together. Flip the dough before adding the filling. I like to arrange the slices in a circular pattern for the look!

Chill and preheat: Gently fold the edges of dough over the apples and press lightly to seal. They will overlap, that’s expected! While the dough chills, preheat the oven with a pizza steel inside (no soggy bottoms here!) and prepare the egg wash.
Bake and serve: I love adding the egg wash for that bakery-style glossy look. Bake until golden and bubbly. I recommend drizzling salted caramel sauce on top before serving for a decadent finish!


Gluten-Free Apple Galette
Ingredients
- 1 pie crust recipe, follow recipe through step 7
Apple Filling
- 3-4 (500-600g) apples, peeled and sliced into 1/4-inch slices
- ¼ cup (53g) brown sugar
- 1 tablespoon gluten-free measure-for-measure flour
- 2 teaspoons fresh lemon juice
- 1 teaspoon ground cinnamon
- ¼ teaspoon ground nutmeg
Egg Wash
- 1 large egg
- 1 tablespoon water
- pinch of kosher salt
Other
- sanding sugar for topping, optional
- salted caramel sauce for serving, optional
Instructions
- Line a large baking sheet with parchment paper or a silicone baking mat. In a medium bowl, add the sliced apples, brown sugar, gluten-free flour, lemon juice, cinnamon and nutmeg. Stir to evenly combine.
- If the pie dough has been in the refrigerator longer than 1 hour, let it sit at room temperature for 15 minutes before rolling.
- Place the dough on a pastry mat or a silicone baking mat. Roll the pie crust into a circle 12 inches in diameter. You may need to press it together if it starts to slit or break on the edges. This is normal, gluten-free pie crust requires a bit of patience to roll out.
- After rolling, use the pastry mat to flip the dough onto the lined baking sheet.
- Pour the apples and any juices in the center of the dough, leaving a 2–3-inch border. You can spoon them on or arrange the slices in a circular pattern. Fold the edges of the dough over the apples, overlapping where needed, and press gently to seal.
- Refrigerate the shaped galette for 15-20 minutes while the oven preheats. Place a pizza steel in the oven. (A pizza steel helps to ensure a crispy bottom crust.) Preheat the oven to 400°F.
- In a small bowl, whisk together the egg, water and pinch of salt for the egg wash.
- Using a pastry brush, lightly brush the edges of the galette with egg wash. Sprinkle with sanding sugar, if desired.
- Bake for about 35-40 minutes, until the pie crust is golden and the apples are bubbling.
- Remove from the oven and let cool on the baking sheet for 15 minutes before serving. Drizzle with salted caramel sauce before serving if desired.