


Featured Comment
From Sandra: “The absolute BEST gluten free recipe to follow. We’ve made this several times and it’s always a hit!! SO GOOD!! ★★★★★”
From Khrisna: “Omg this was the most amazing cheesecake ever and it was my first time making something gluten free it tasted better than my regular cheesecake recipe and the person I made it for loved it!! I was so happy!!! ★★★★★”
From Joany: “This is THE BEST cheesecake ! It was a big hit with family and friends. Who knew that in looking for a GF dessert recipe I’d find one with the cheesecake filling I’ll be using every time ?! ★★★★★”
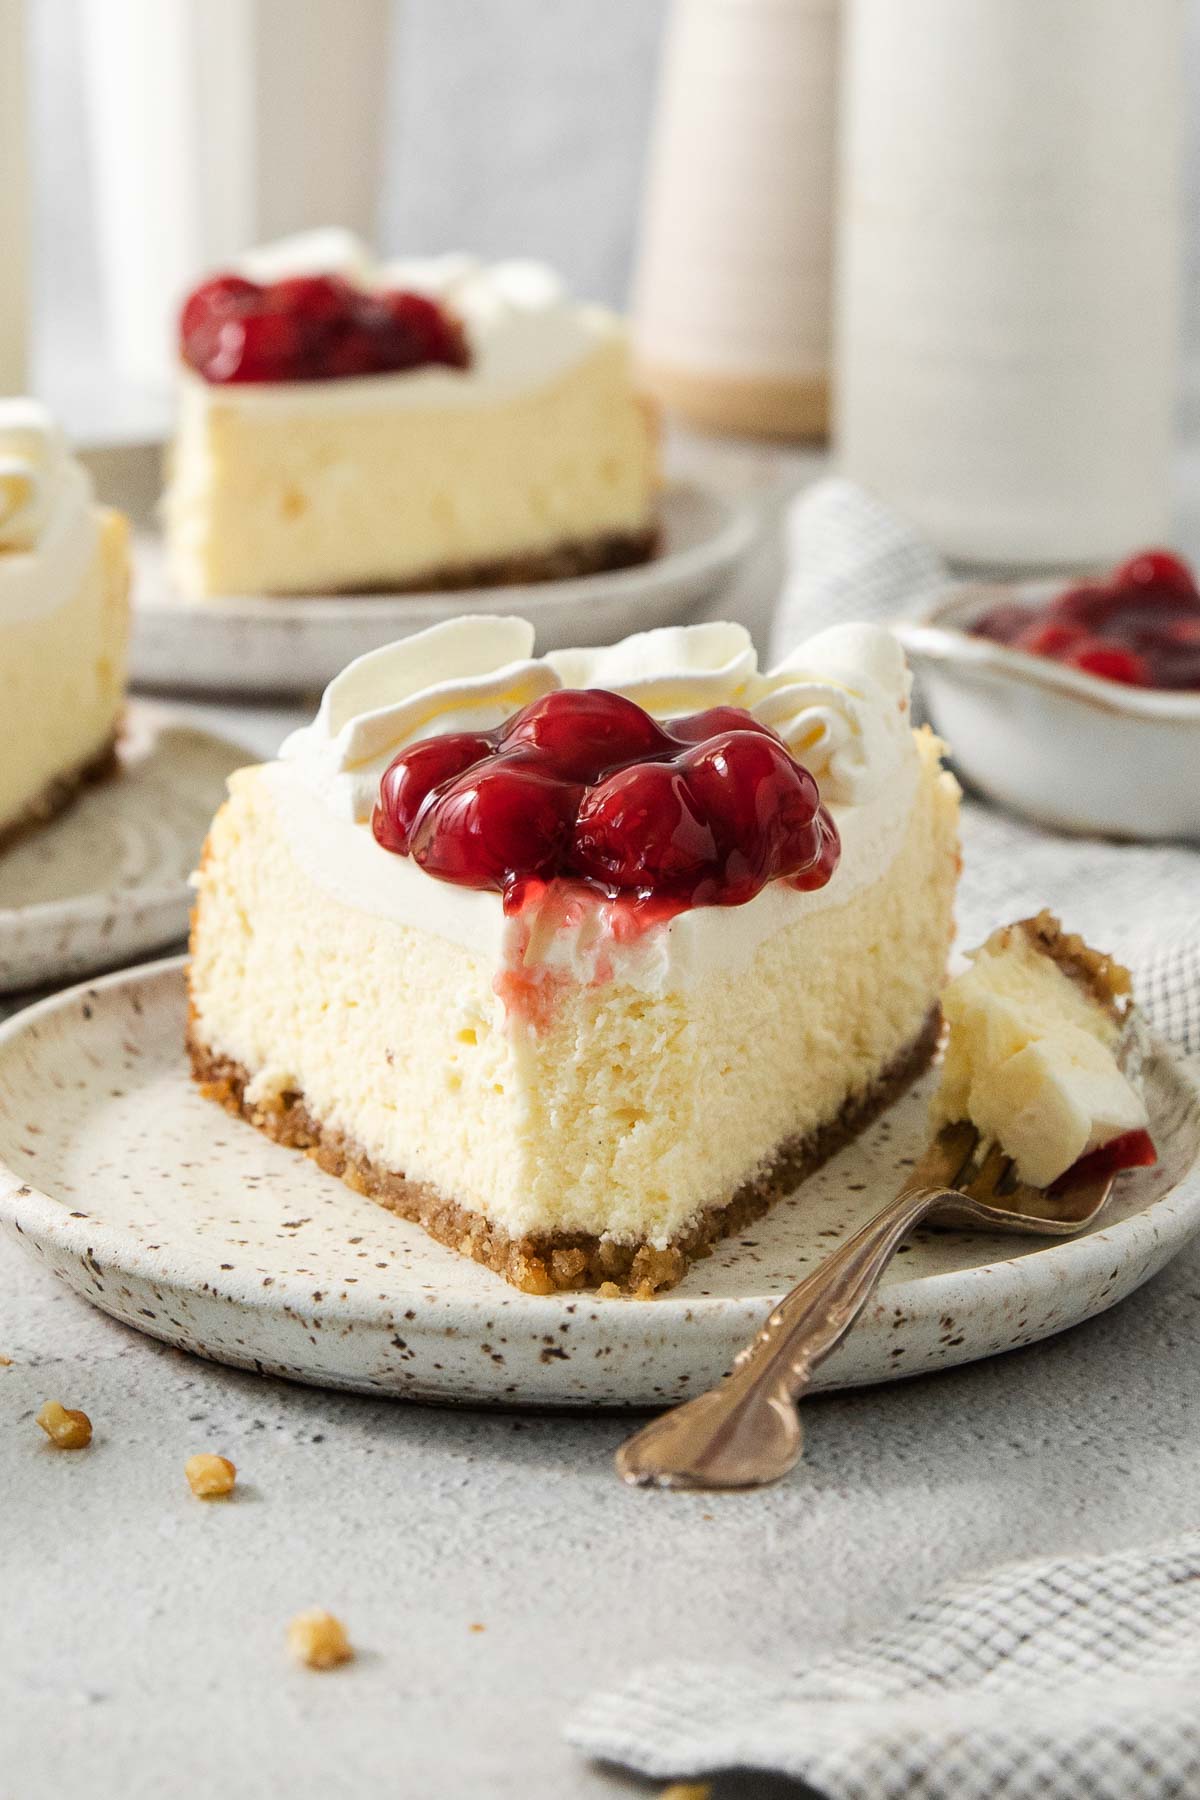
Why You’ll Love This Gluten-Free Cheesecake
My mom would make this exact recipe over the holidays every year, even before any of our family members starting eating gluten-free.
It has a naturally gluten-free crust (made with walnuts!) as well as a rich layer of cheesecake and sour cream topping, so there was never any need to modify the recipe when I started eating gluten-free!
- Simple, no-water-bath method. The lower baking temperature and cooling method make this cheesecake easier to bake without the extra step of preparing a water bath.
- Great make-ahead for holidays and special occasions. You can make it the day before, giving the cheesecake plenty of time to chill for easy slicing. It also frees up oven and kitchen space on the day of the event!
- Make it your own! This classic gluten-free cheesecake is amazing plain, but it also pairs beautifully with so many toppings, from fruit compote and raspberry coulis to chocolate ganache and even this dairy-free caramel sauce.
xoxo erin
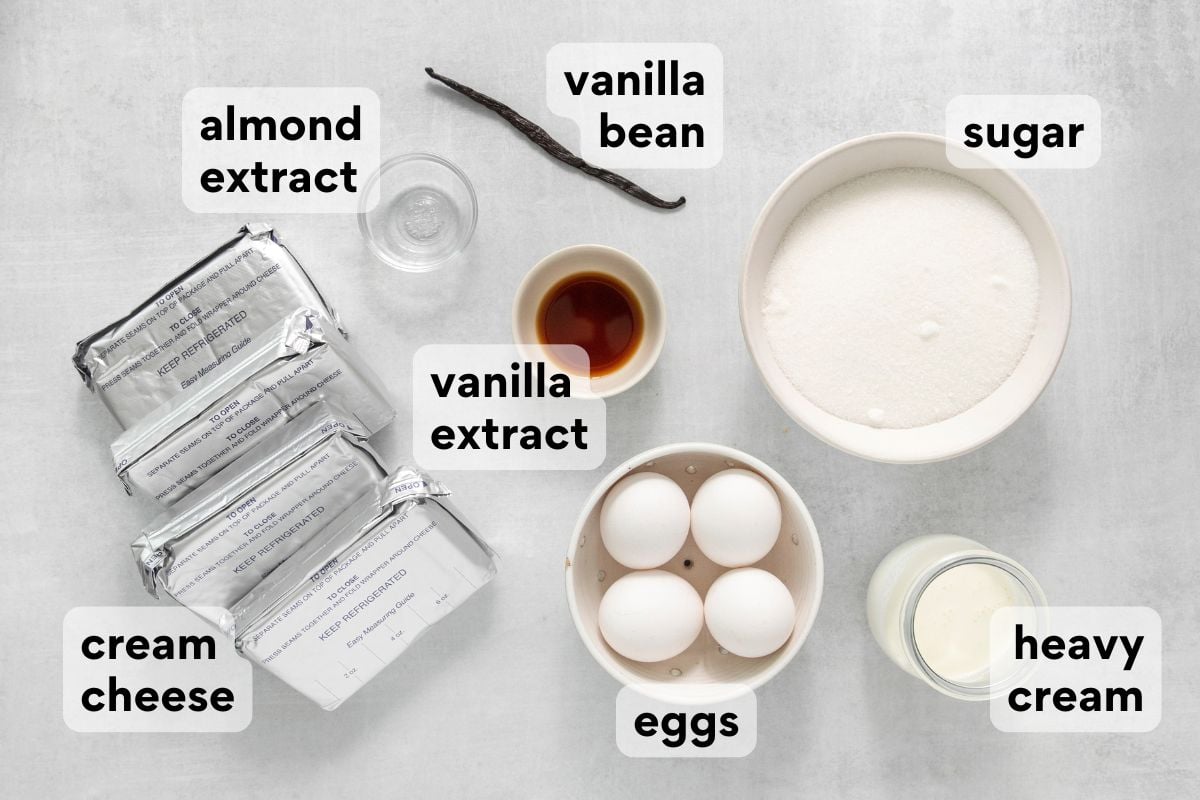
What You Need
Here are a few notes on some of the key ingredients to make this gluten-free vanilla bean cheesecake. Jump to the recipe card below for the exact measurements.
- Walnuts: These form the base of the naturally gluten-free crust. Processing them with brown sugar and butter creates a simple, buttery crust without any gluten-free flour. I haven’t tried this with other varieties of nuts because I love the walnuts so much – but you can check the comments section for what other readers have done!
- Full-fat cream cheese: Full-fat cream cheese gives the cheesecake its rich, creamy texture and helps the filling set properly as it chills. I don’t recommend using reduced-fat cream cheese since it will change the consistency. Be sure to let it come to room temperature before baking!
- Vanilla bean: Real vanilla bean adds deeper vanilla flavor, than vanilla extract does alone, plus I love the look of the classic vanilla bean flecks throughout the cheesecake.
- Sour cream: The sour cream topping is a must! It adds a subtle tanginess that keeps the dessert from feeling overly rich or sweet and gives the top a smooth finish.
How to Make Gluten-Free Vanilla Bean Cheesecake
Here’s an overview of how to make this recipe. You can jump to the recipe for the full instructions!
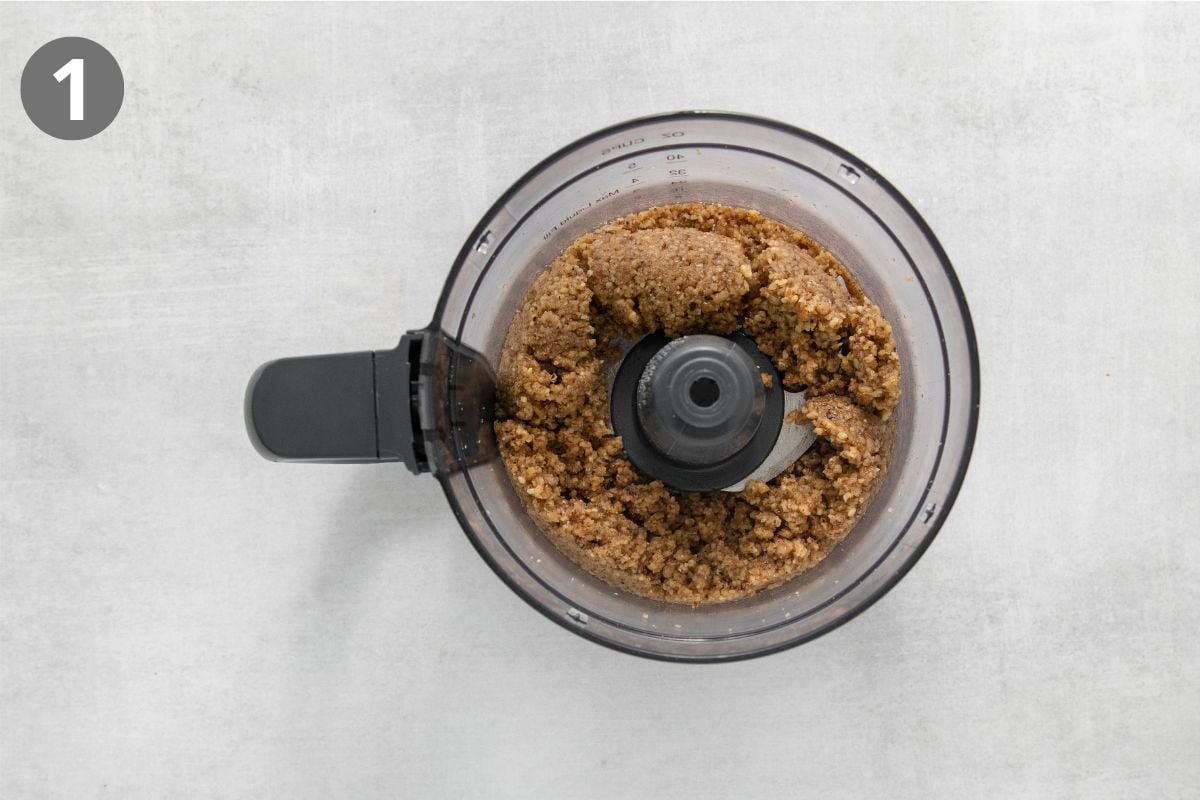
Make the crust. I find a food processor works best for blending the walnuts into fine crumbs. You don’t want big pieces of nuts in this crust! Then I pulse the brown sugar in before moving the mixture to a bowl to combine with the melted butter.
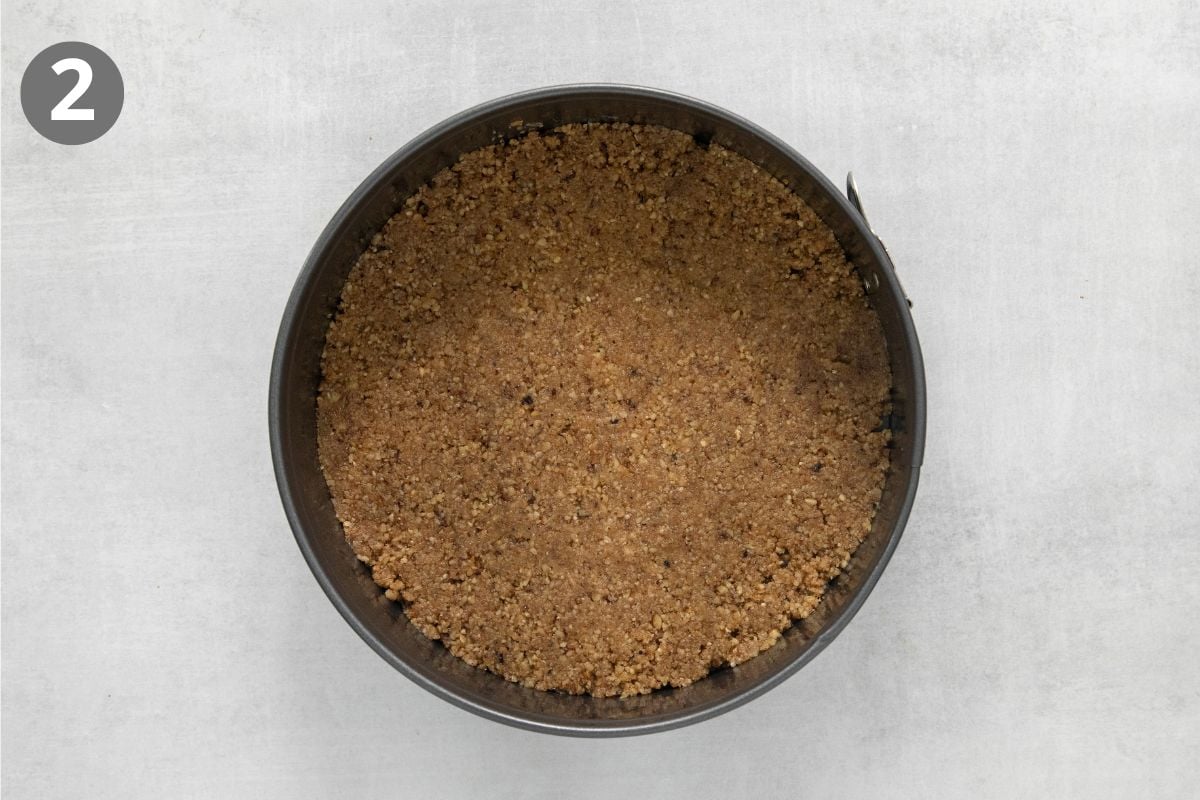
Bake the crust. You’ll need a 10-inch springform pan for this recipe! Press the crust mixture into the bottom of the greased pan and bake until golden brown. I then set it aside to cool while I prepare the filling.
Erin’s Tip
For a nut-free version, I’d use this gluten-free graham cracker crust in place of the walnut crust. It’s sweet, buttery, and so easy to whip up!
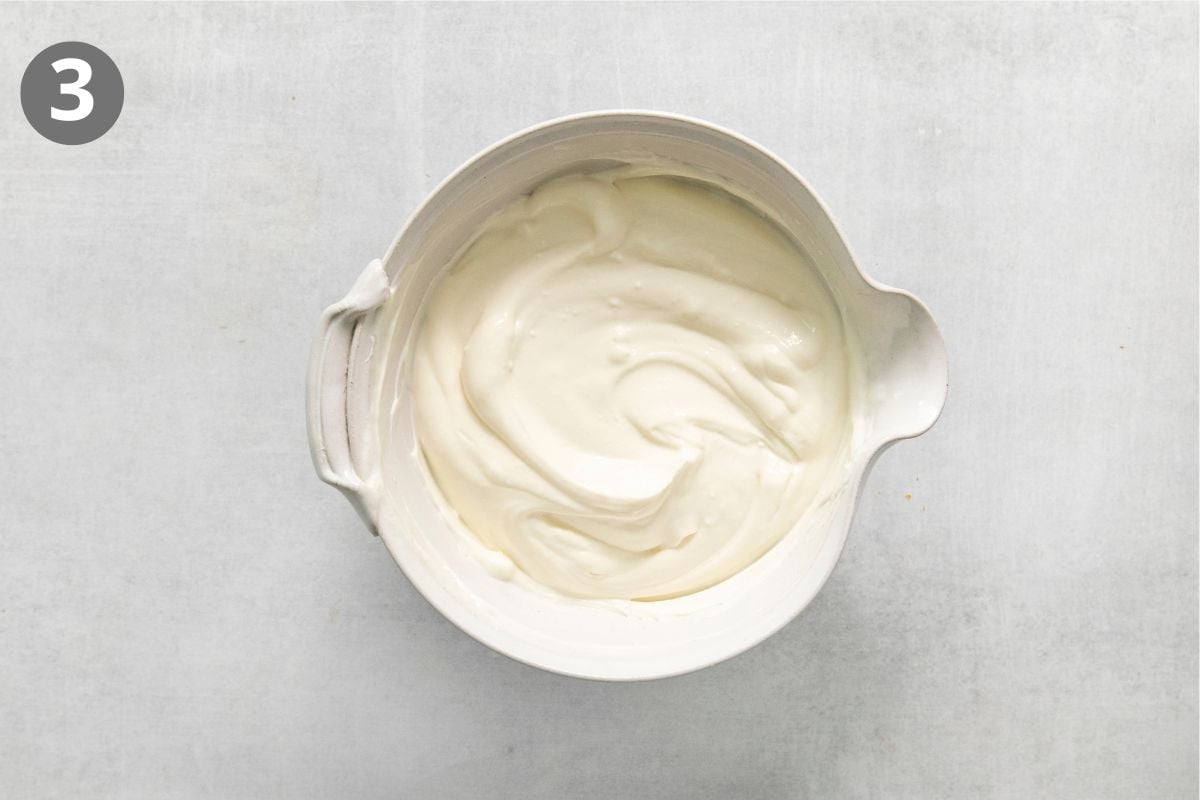
Make the topping. The sour cream topping is so simple to make! Mix the sour cream, sugar, and vanilla together in a small bowl, then set it aside until later.
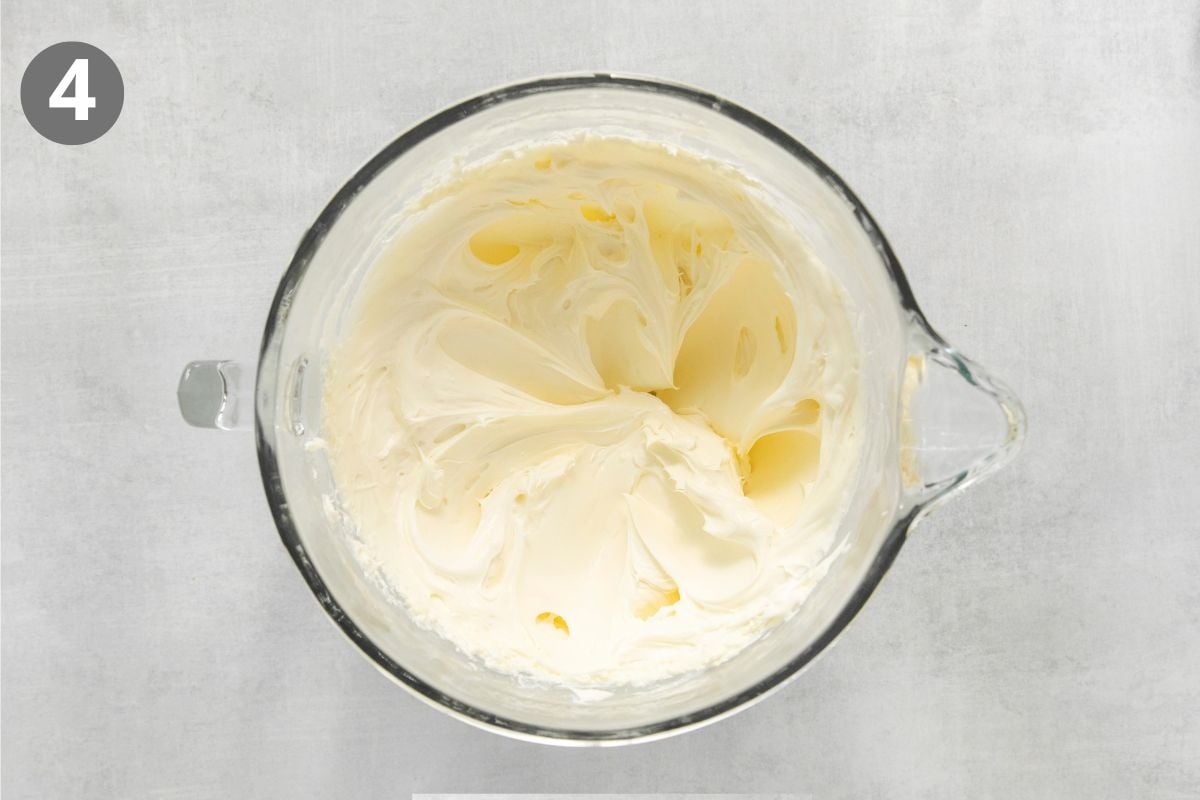
Make the filling. I prefer to use my stand mixer for the filling! Mix the (room temperature!) cream cheese and sugar until smooth, then keep the mixer running while you add in the eggs one at a time. Add in the vanilla bean seeds and extracts next, then slowly pour in the heavy cream with the mixer on low.
Erin’s Tip
It’s so important that all of the filling ingredients are used at room temperature so that it mixes up completely smooth without overmixing.
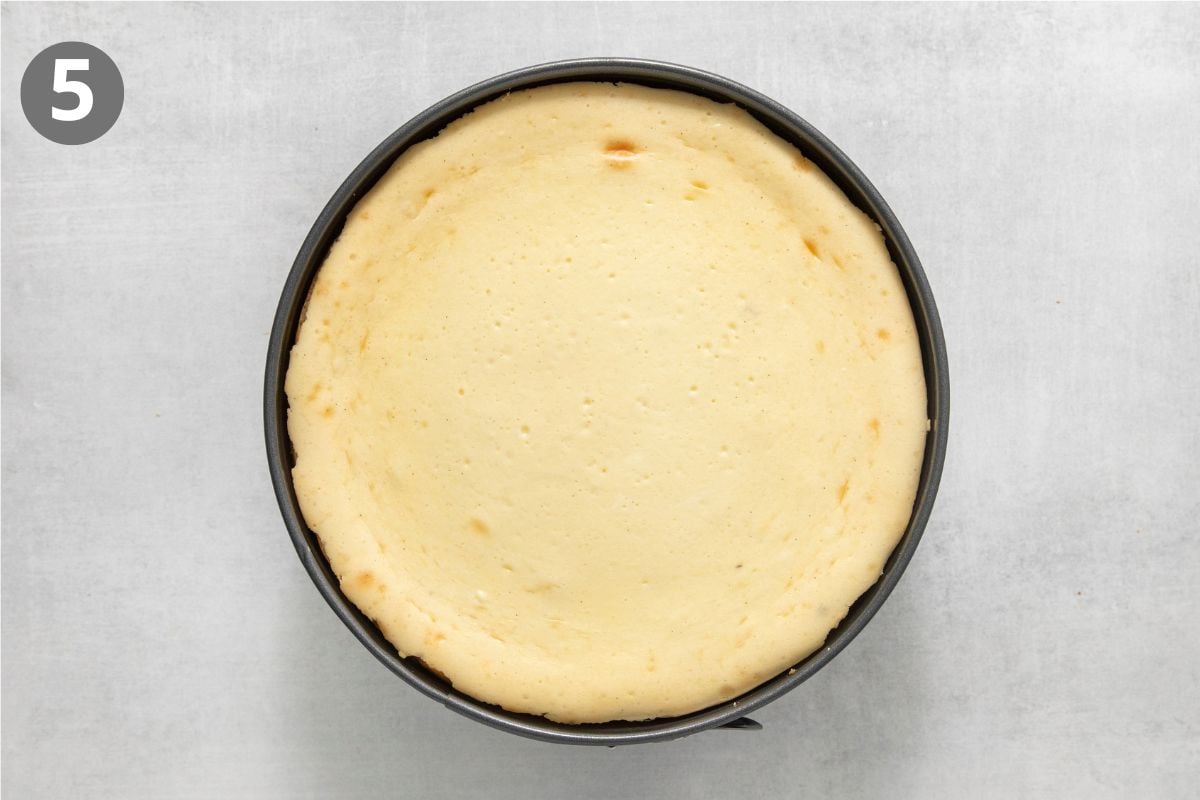
Bake. Pour the filling on top of the cooled crust and bake until set (the center should still jiggle slightly).
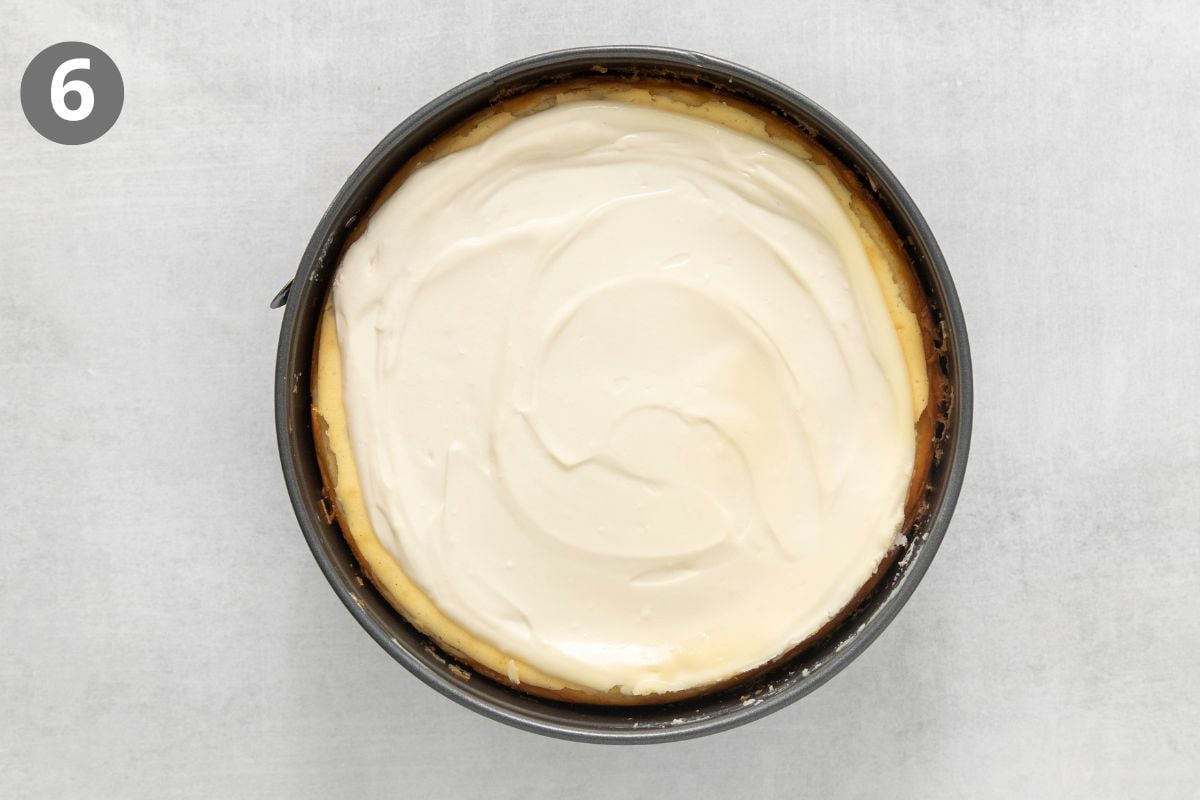
Add the topping. Spread the sour cream mixture evenly across the top of the cheesecake and bake for 5 minutes, then let it cool before chilling and serving.
How I Prevent Cracks in Gluten-Free Cheesecake
- Gently beat the eggs. The first trick to preventing gluten-free cheesecake from cracking is to not over-beat the eggs. I find it makes all the difference taking the time to add them in one at a time while the mixer is on medium speed.
- Keep the oven door shut. Sudden drops in temperature can cause cheesecake to crack! Resist the temptation to peek inside the whole time the cheesecake is baking.
- Cut around the crust. Once the cheesecake is out of the oven, let it cool for 10 minutes, then cut around the crust to release it from the edges of the pan. This will allow the cheesecake to contract as it cools without cracking.
- Let cool completely on the counter before transferring to the fridge. To avoid sudden temperature changes, let the cheesecake cool for 2 hours or so at room temperature before tightly wrapping it and moving it to the fridge to chill for 4 hours or more. I prefer to chill it overnight, then slice and serve the next day!
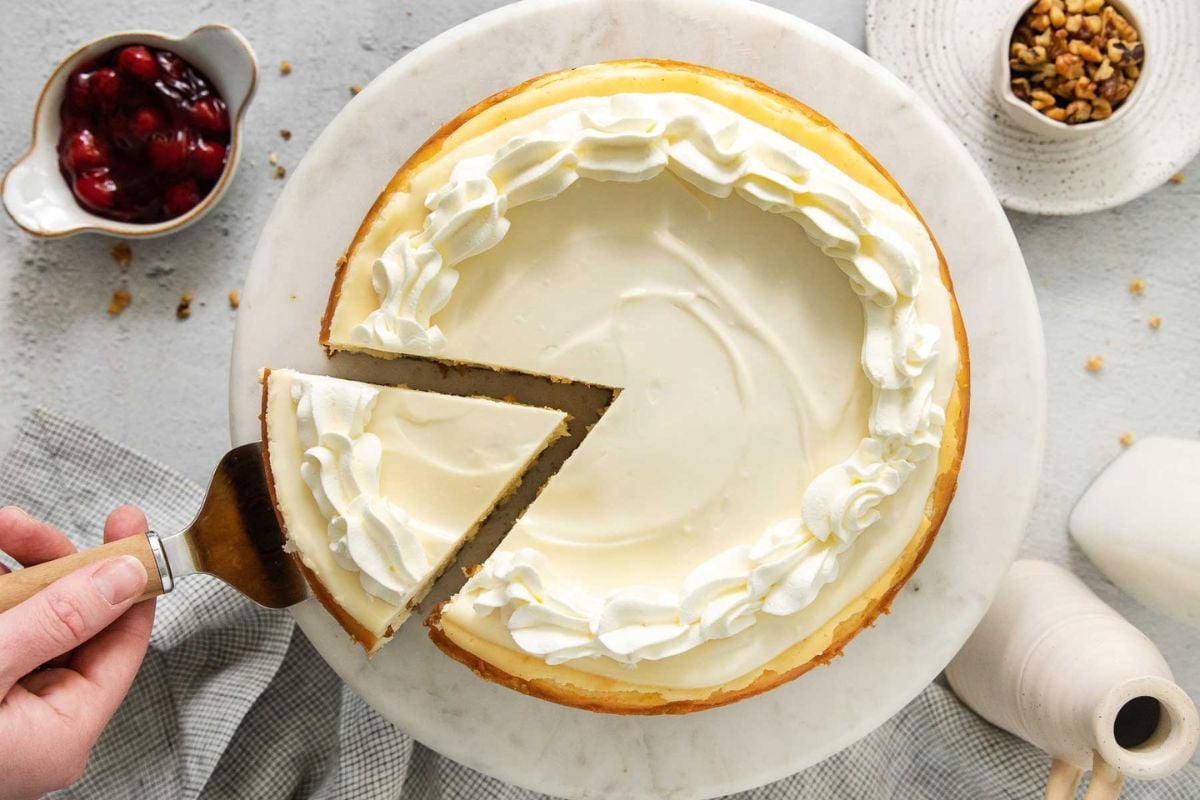
More Gluten-Free Cheesecake Recipes

Gluten-Free Vanilla Bean Cheesecake
Video
Ingredients
Walnut Crust
- 1 1/2 cups walnuts
- 1/4 cup brown sugar
- 3 tablespoons butter melted
Sour Cream Topping
- 16 oz sour cream
- 1/4 cup sugar
- 1 teaspoon vanilla
Cheesecake Filling
- 32 oz cream cheese softened
- 1 1/4 cups sugar
- 1 vanilla bean cut down the center and the seeds scraped out
- 2 teaspoons vanilla extract
- 1/4 teaspoon almond extract
- 4 eggs room temperature
- 1/2 cup heavy cream
Instructions
- Preheat the oven to 350°F. Spray a 10-inch springform pan with cooking spray.
- For the walnut crust: In the bowl of a food processor, blend the walnuts into fine crumbs. Pulse in the brown sugar, then pour into a medium bowl. Stir in the melted butter.
- Press the walnut mixture into the bottom of the springform pan. Bake for 12 minutes, then remove from the oven and let cool while you prepare the filling. Reduce the oven temperature to 300°F.
- For the sour cream topping: In a small bowl, mix together the sour cream, sugar and vanilla until combined. Set aside for later.
- For the cheesecake filling: Add the cream cheese and sugar to a stand or hand mixer. Mix on medium-high speed until totally smooth and combined.
- With the mixer running on medium speed, add the eggs one at a time. Scrape the sides and bottom of the bowl and mix briefly again.
- Mix in the vanilla bean seeds, vanilla extract and almond extract.
- With the mixer running on low, slowly pour in the heavy cream. Scrape down the sides and bottom of the bowl once more to make sure everything is evenly completely mixed.
- Pour the filling into the crust. Bake for 65-70 minutes until set, but the center jiggles just slightly.
- Pour the sour cream topping over the cheesecake and spread into an even layer. Bake for another 5 minutes.
- Remove the cheesecake from the oven and let cool for 10 minutes. After 10 minutes cut along the sides of the pan so the edges can release as it cools.
- Let the cheesecake cool completely to room temperature, about 2 hours. Then wrap tightly with plastic wrap and transfer to the refrigerator. Chill for at least 4 hours and preferably overnight before serving. Slice and serve with your favorite toppings.









Can this be made with a pre made GF pie crust?
Definitely, Lori! We hope you love the cheesecake!
I plan on making this crust for a different dessert. Does the crust need to be baked as the dessert I am making is a no bake? I have been hunting for a recipe like this for some time now. Thank you so much. Most of the people I am making this for are not gluten free, only I am. So this works for both gluten free and non. It is like a gluten friendly crust.
Hi Barb! We’re so glad you found this recipe! Yes, the walnut crust does need to be baked before using it for a no-bake dessert. Bake the crust at 350°F for about 12 minutes, then let it cool completely before adding your no-bake filling. We hope it works perfectly for your dessert!