
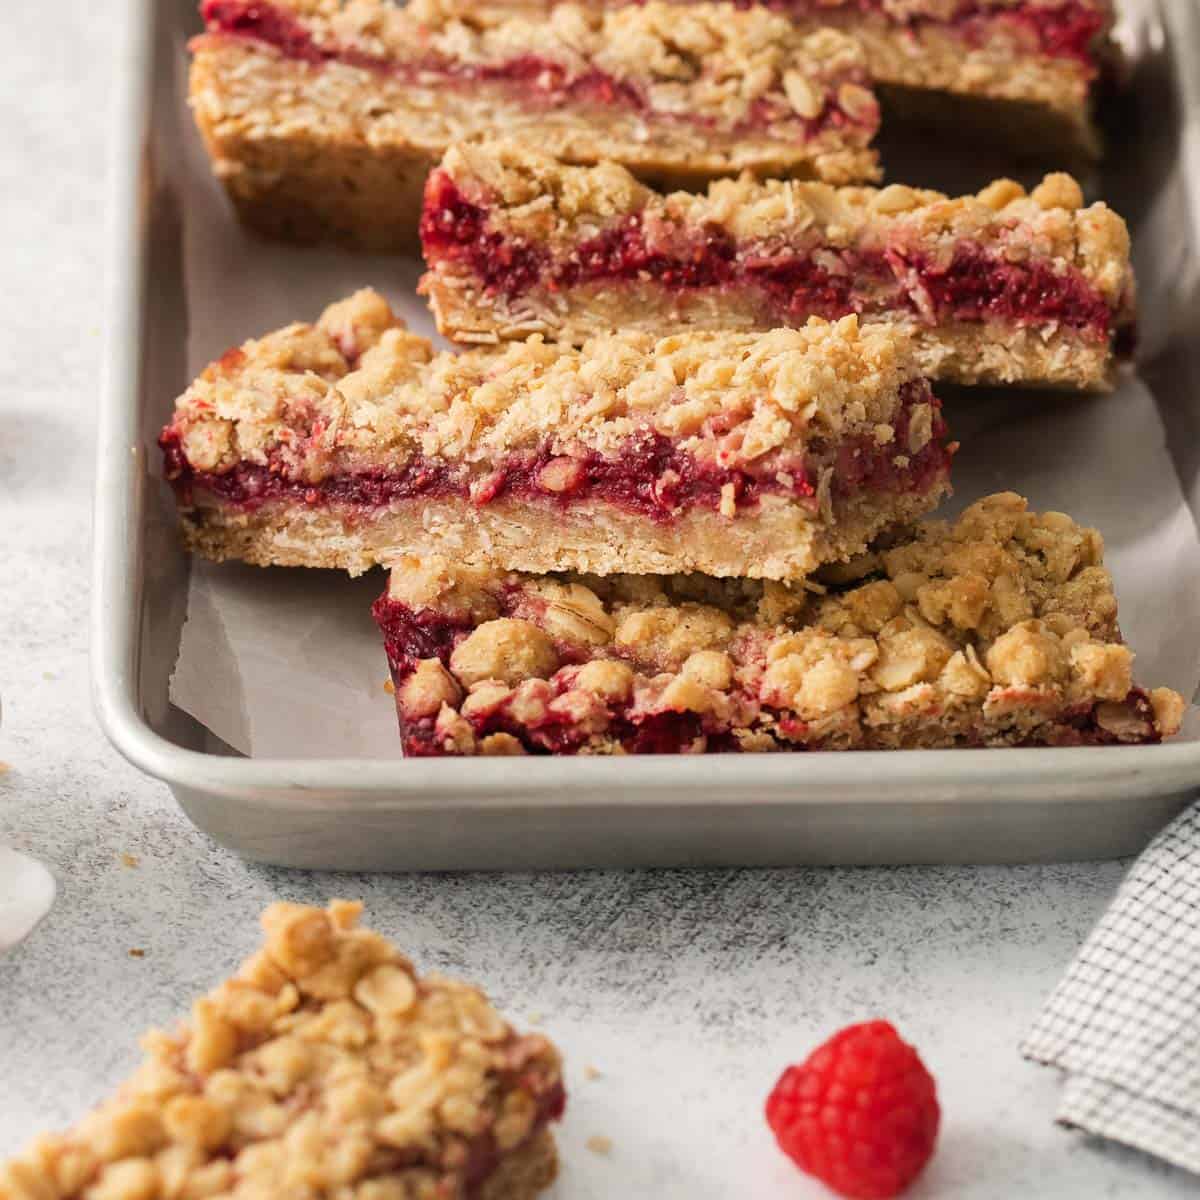

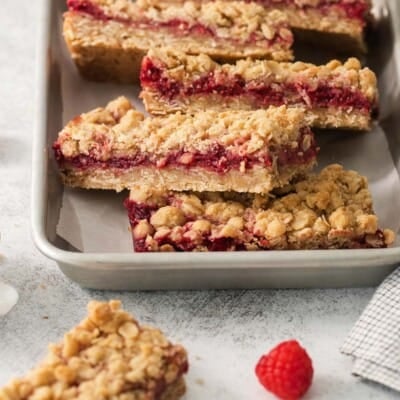
Gluten-free raspberry bars! Brown sugar oat crumble and homemade raspberry filling are a match made in heaven. This is one of my favorite summer desserts!
The tricks to perfect filling every time are to use frozen raspberries instead of fresh and add 1 tablespoon of gluten-free flour to the mixture. Check out this post for all the tips!
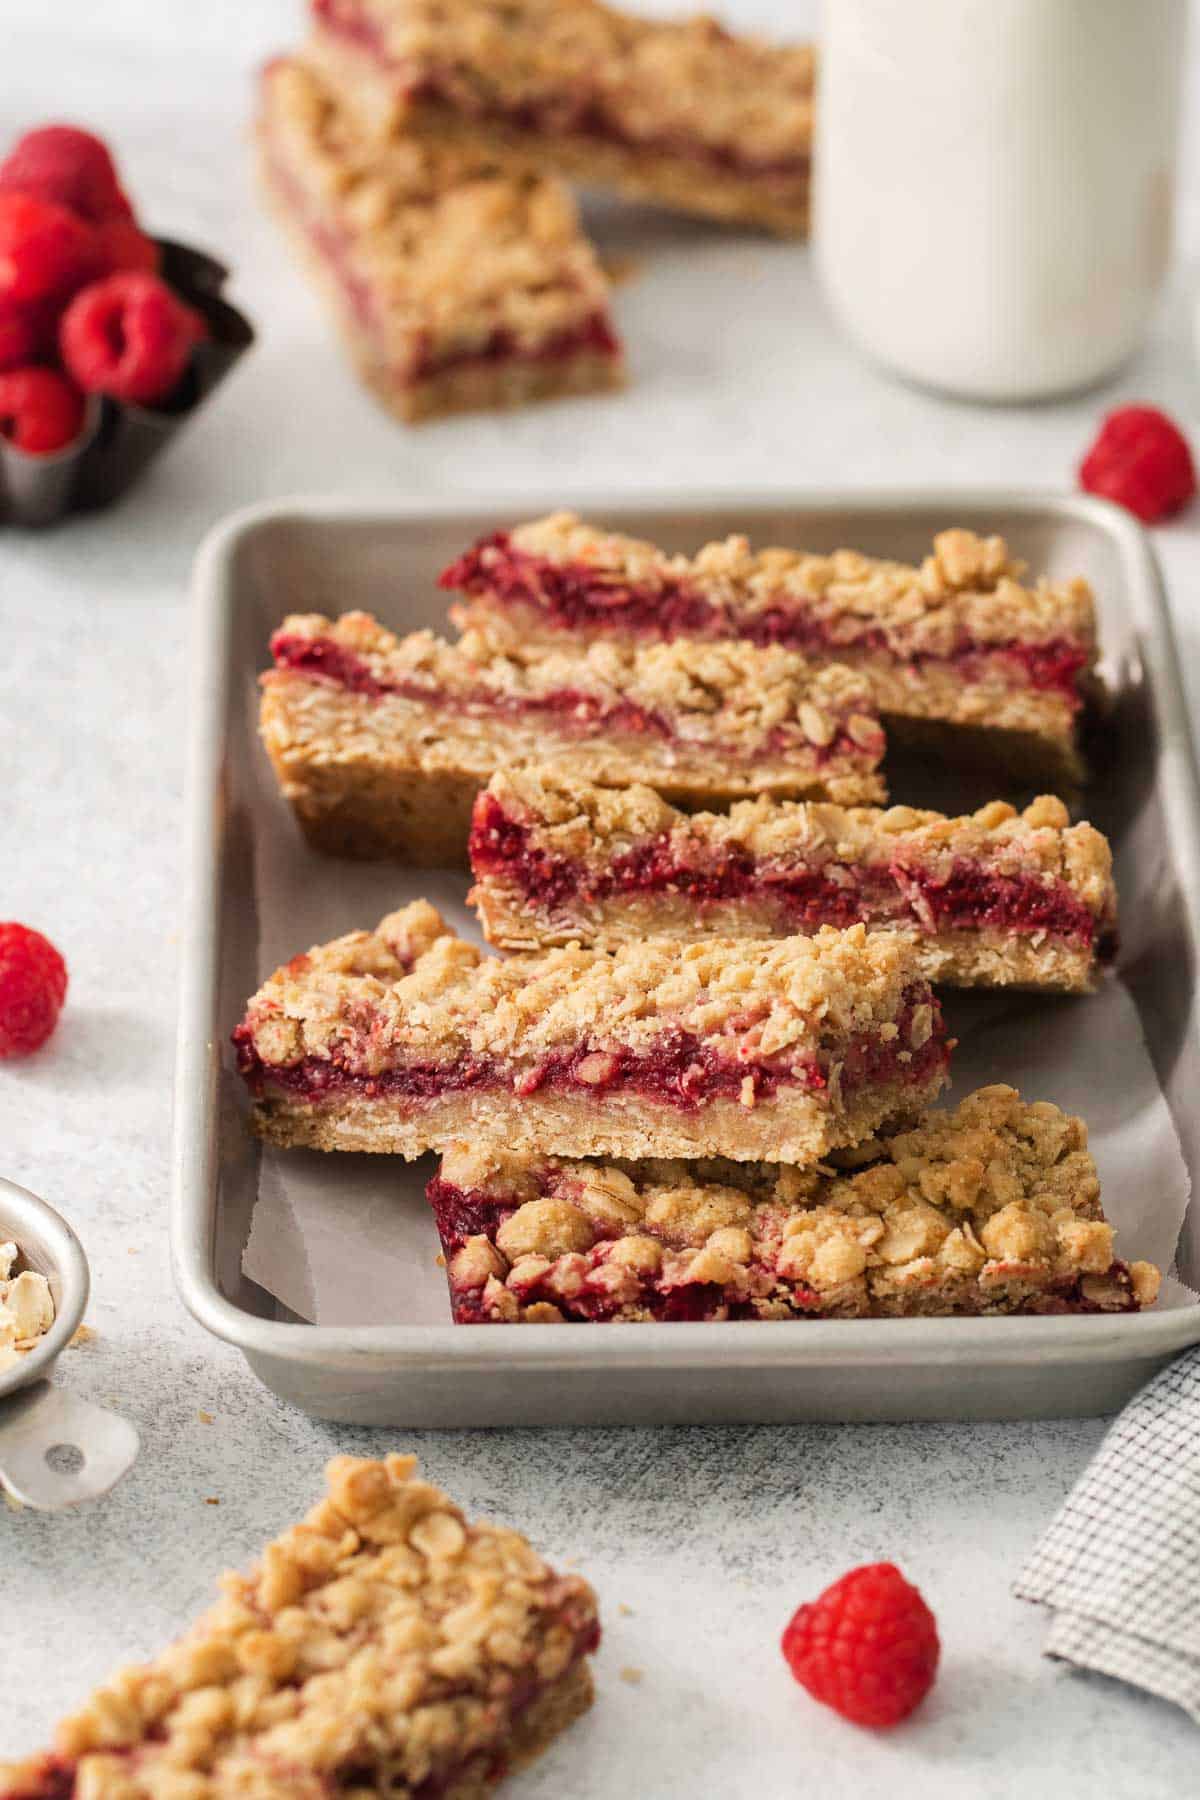
These gluten-free raspberry bars are one of my favorite recipes for summer. It’s like your favorite fruit crumble or cobbler, but in a portable form that’s easy to serve to a crowd!
As someone with Celiac disease, I always make sure my gluten-free recipes taste JUST as good as the original. And this dessert is no exception! I swapped out regular oats and flour for gluten-free versions, and the result is just as delicious!
The buttery cookie crust is reminiscent of a perfect oatmeal cookie, and the homemade raspberry filling balances out the flavors with a bit of tartness and zing. Then you top the gluten-free raspberry bars off with more crumble — because you could never have too much!
I have found that frozen raspberries work even better than fresh raspberries, giving bars the perfect consistency and flavor. That’s great news, because it means you can make these gluten-free raspberry bars any time of year!
I love this recipe so much and I know you will too!
For more gluten-free bar recipes, try these gluten-free Starbucks bliss bars, gluten-free s’mores bars, gluten-free lemon bars, gluten-free 7 layer bars, gluten-free blondies, and gluten-free brownies.
You also might like this gluten-free triple berry crisp, gluten-free apple crumble and gluten-free peach crisp.
Why You’ll Love This Recipe
- Simple ingredients
- Perfect summer dessert
- Great for large crowds
- Uses frozen raspberries
Ingredients You’ll Need
Ingredients You’ll Need for the Crumb Bars
Here’s what you’ll need to make the crumble for the base and topping:
- Gluten-free oats: Be sure to use certified gluten-free oats to keep these bars gluten-free. I prefer the texture of rolled oats. Check out this post on are oats gluten-free?
- Gluten-free 1:1 baking flour: Use a high-quality 1:1 gluten-free baking flour that contains xanthan gum. It makes all the difference in the final results of these gluten-free raspberry bars!
- Brown sugar: Any brand of brown sugar will work for this recipe. It adds an essential sweetness that works so well with the oats and butter — just like your favorite oatmeal cookie!
- Butter: I like to use salted butter for this recipe. It gives the gluten-free raspberry bars more depth of flavor! You could also use dairy-free butter if you want to make these gluten-free and dairy-free.
- Baking powder and salt: Baking powder helps the crust rise, while salt balances the sweetness. You also might like this article on is baking powder gluten-free?
Ingredients You’ll Need for the Raspberry Filling
Here’s what you need for the raspberry filling:
- Frozen raspberries: I find frozen raspberries work even better than fresh raspberries in this gluten-free raspberry bars recipe. You want to drain off the extra liquid after thawing the raspberries so the filling will set. I also like to use frozen berries in this easy, berry lemonade!
- Lemon juice: Lemon juice brings out the raspberry flavor and adds a little bit of a bright zing to the filling. Real, fresh lemon juice will deliver the best results!
- Sugar: Domino granulated fine sugar is my personal favorite, but any white sugar will work.
- Gluten-free 1:1 baking flour: Use a high-quality 1:1 gluten-free baking flour that contains xanthan gum. It makes all the difference in the final results of these bars!
- Cornstarch: Cornstarch is a naturally gluten-free ingredient that helps thicken up this raspberry filling.
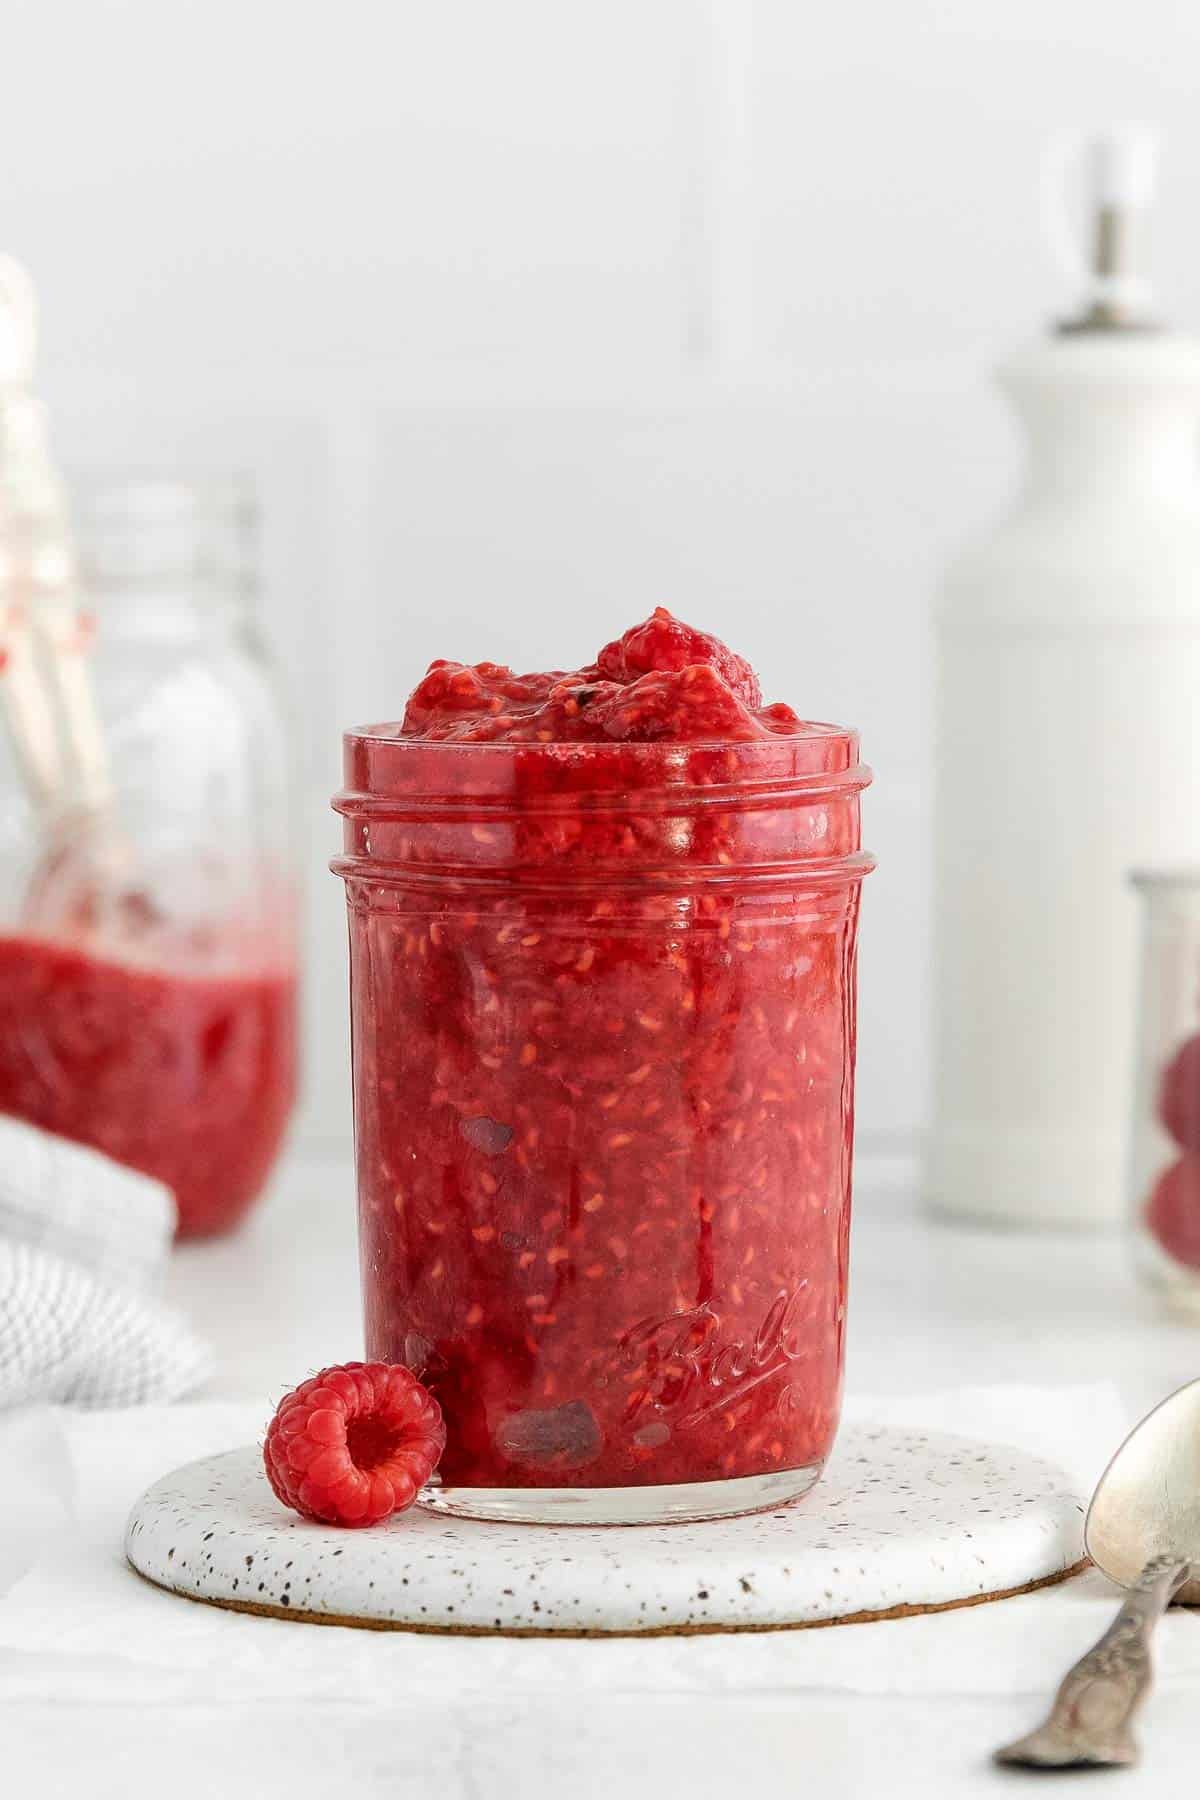
If you love raspberry, try these recipes for gluten-free raspberry pretzel salad, raspberry coulis and raspberry compote.
You also might like these recipes for cherry berry meringue delight, strawberry compote and how to make fruit compote.
How to Make This Recipe
Make the Oatmeal Crumble
- Preheat the oven to 350F. Line an 8×8 or 9×9 baking pan with parchment paper. Lightly spray with cooking spray.
- In a large bowl, combine the oats, gluten-free flour, brown sugar, baking powder, salt and butter with a fork into a crumble-like mixture.
- Press ⅔ of the mixture into the bottom of the prepared baking pan. Bake for 10 minutes.
Make the Raspberry Filling
- Place raspberries in a medium, microwave-safe bowl. Microwave until just thawed, 2-3 minutes, stirring halfway through. (You can also thaw raspberries on the stovetop over medium heat.)
- Drain any excess liquid off the raspberries and return to the bowl.
- Add the sugar, gluten-free flour, cornstarch, and lemon juice and mix to combine.
Assemble/Bake
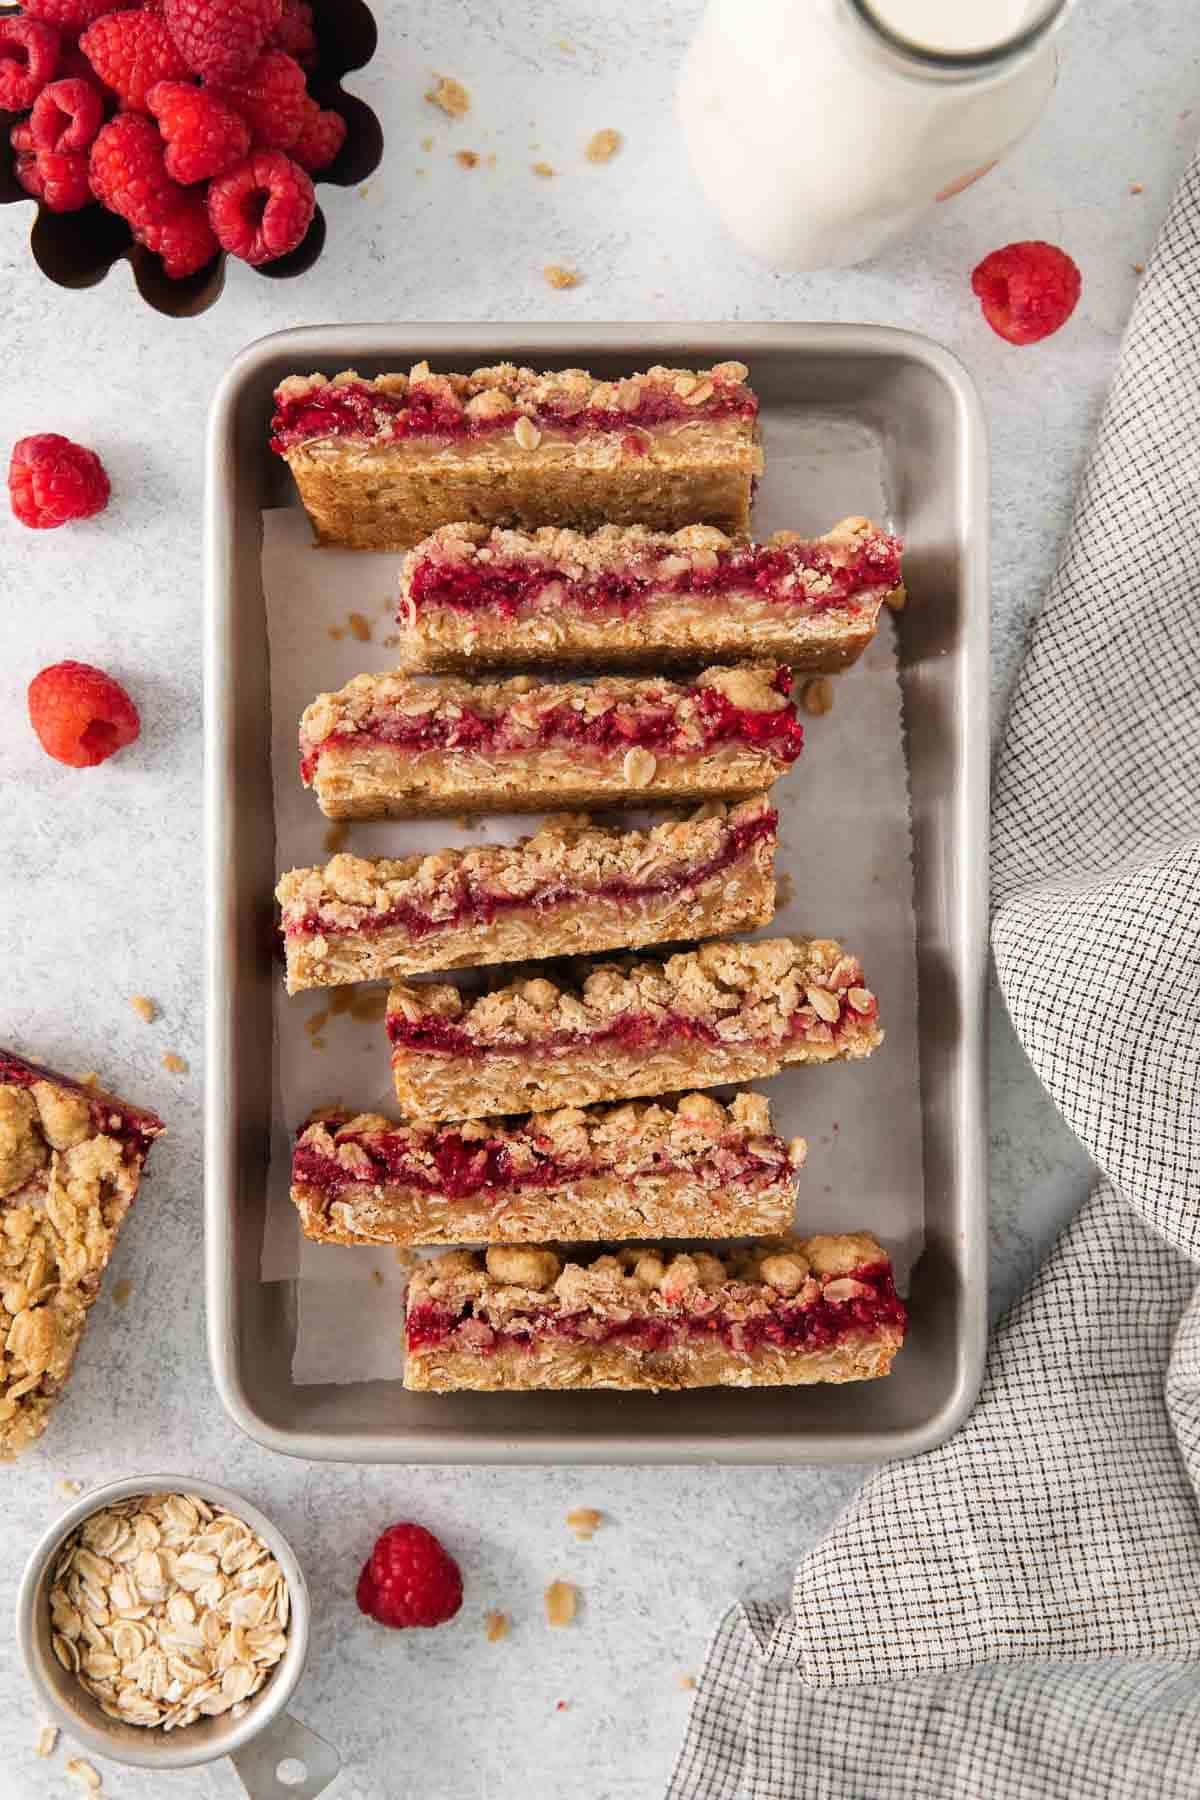
- Pour the raspberry mixture on top of the baked bottom of the gluten-free raspberry bars crust. Sprinkle the top of the raspberries with the remaining crumble topping.
- Bake gluten-free raspberry bars for another 25-30 minutes, until golden and bubbly.
- Let the gluten-free raspberry bars cool completely before slicing and serving. Enjoy!
Storage Instructions
Store raspberry oatmeal bars in an airtight container at room temperature for up to five days.

Expert Tips & Tricks
- I find frozen raspberries work even better than fresh raspberries in this gluten-free raspberry bars recipe. You want to drain off the extra liquid after thawing the raspberries so the filling will set.
- Be sure to use certified gluten-free oats to keep these bars gluten-free. I prefer the texture of rolled oats for these gluten-free raspberry bars.
- Use a high-quality 1:1 gluten free flour blend that contains xanthan gum. It gives you a much better texture with these gluten-free bars!
- For dairy-free bars: Replace butter with vegan butter (dairy-free butter), and follow the rest of the recipe as usual.
MORE GLUTEN-FREE RECIPES


I hope you love this recipe as much as we do! If you try these gluten-free raspberry bars, be sure to leave me a comment/rating below. I’d love to hear from you!
Gluten-Free Raspberry Crumb Bars
Ingredients
Raspberry Filling:
- 12 ounces frozen raspberries
- 1/4 cup granulated sugar
- 1 tablespoon gluten-free 1:1 baking flour
- 2 teaspoons cornstarch
- 1 tablespoon lemon juice
Oatmeal Crumble:
- 1 ½ cups (128g) gluten-free rolled oats
- 1 ¼ cups (188g) gluten-free 1:1 baking flour
- 1 cup (210g) brown sugar
- ½ teaspoon baking powder
- ¼ teaspoon salt
- 3/4 cup (170g) salted butter, melted
Instructions
Make the Oatmeal Crumble
- Preheat the oven to 350F. Line an 8×8 or 9×9 baking pan with parchment. Lightly spray with cooking spray.
- In a large mixing bowl, combine the oats, gluten-free flour, brown sugar, baking powder, salt and butter with a fork into a crumble-like mixture.
- Press ⅔ of the mixture into the bottom of the prepared baking pan. Bake for 10 minutes.
Make the Raspberry Filling
- Place raspberries in a medium, microwave-safe bowl. Microwave until just thawed, 2-3 minutes, stirring halfway through.
- Drain any excess liquid off the raspberries and return to the bowl.
- Add the sugar, gluten-free flour, cornstarch, and lemon juice and mix to combine.
Assemble/Bake
- Pour the raspberry mixture on top of the baked bottom crust. Sprinkle with remaining crumble.
- Bake for another 25-30 minutes, until golden and bubbly.
- Let the bars cool completely before slicing and serving. Enjoy!
Notes
- I find frozen raspberries work even better than fresh raspberries in this gluten-free raspberry bars recipe. You want to drain off the extra liquid after thawing the raspberries so the filling will set.
- Be sure to use certified gluten-free oats to keep these bars gluten-free. I prefer the texture of rolled oats for these gluten-free raspberry bars.
- Use a high-quality 1:1 gluten free flour blend that contains xanthan gum. It gives you a much better texture with these gluten-free bars!
- For dairy-free bars: Replace butter with vegan butter (dairy-free butter), and follow the rest of the recipe as usual.


So great!!
Could you make this with other flavors too? Like an apple cinnamon/apple pie type filling, mixed berry, blueberry, etc.?
If so, how would you prepare the different filling flavors outside of just raspberry?
Hi Sarah, we’re so pleased you enjoyed the recipe! We haven’t tested out other flavors with these crumb bars, but it definitely sounds possible. If you decide to give it a try, we’d love to hear how it goes!
I actually just made this recipe mixed berry for a coworkers birthday and they are delicious! Huge hit too! I used frozen raspberries, blueberries, and sliced strawberries. I doubled the recipe but didn’t make any changes to how the filling was prepared. Made them dairy free as well. Will definitely be making these again!
That flavor combo sounds amazing, Emily! Thank you for sharing your positive baking experience with us. We’re so happy to hear the DF mixed berry version was such a hit!
These are made on repeat at my home. Yum Yum Yum
Yay! We’re so pleased to hear this recipe has become such a go-to for you all! Thank you for sharing your positive feedback with us!
These are my #1 most requested dessert.
Aww, we’re so pleased this recipe has been such a hit! Thank you for sharing this kind feedback with us, Laura!
Absolutely delicious!!!! Thank you for sharing.
Thank you for your positive feedback, Brigitte! We’re so pleased to hear how much you enjoyed the bars. Happy baking!
Could I make these with jam or jelly instead of the raspberry sauce in your recipe?
Hi Kellen, we haven’t tried it to say for sure, but it definitely could be worth a try! The raspberry filling in this recipe is quite a jam or a jelly really. If you decide to test it out, we’d love to hear how it goes!
Hi Christie,
I made them with a FROG Jam(fig, raspberry, orange, ginger) that I purchased on a trip. They were fabulous. I also tried them with blackberry jam from the grocery store and they were just as good. I put the jelly in the microwave for a few seconds to make it easier to spread. This recipe is a favorite that my husbands asks for on repeat. Delicious!
Yay! We’re so happy to hear the jam fillings worked well in the bars! Thank you for taking the time to come back and share your positive experiences with us, Kellen!
Wow, these bars were so good! I only had an 8X8 pan but think I would prefer them in a 9X9 so the bottom crust is a bit thinner but I will keep enjoying the bars as is. Since I’m trying to use up my current bag of better batter I used that flour and it worked. I look forward to exploring even more recipes on your site :).
Stephanie
Love these raspberry bars! As the raspberries sit, they continue to create more juice. How particular do you need to be about pouring off the rapsberry liquid?
Thanks, Mary
Hi Mary, we’re so glad you enjoyed them! It sounds like the filling needed to set a little more. The raspberry filling can turn out runny if not enough cornstarch was used or the bars weren’t baked long enough. It’s also important to let your bars cool completely before slicing. The filling sets up during this cooling period. We hope these ideas help!
Can you use monk sugar instead of regular sugar?
Hi Trisha, we don’t usually bake with sugar substitutes so we can’t say for sure, but typically subbing out the sugar will impact taste and texture. If you decide to give it a try, we’d love to hear how it goes!
Can you strain out the seeds at some point during the process
Hi Karen, yes you can press the raspberry filling through a mesh strainer/sieve to remove the seeds before pouring it on the bottom crust. We hope you enjoy!
Hello Erin,
Could this recipe be doubled to fill A 9″ x13″ pan? I have a very large family!
Thanks,
Shelly
Made this today to bring to a potluck tomorrow. I sampled a piece of it and oh my goodness! It is simply delicious! The raspberry filling is tart and sweet and the crumb is decadent! So yummy! This recipe will be on repeat in our household! Thank you Erin!
Yay! We’re so glad you like it, Jo-Anne! Thank you for taking the time to share your feedback with us!
What is the best way to store these and how many days are they good? I was thinking of making them a couple days ahead if they stay good. Sometimes gluten free baked goods get dry after a day or so. Thanks for the help!
Hi Kristi, these bars can be stored in an airtight container at room temperature for up to 5 days! We hope you enjoy the recipe!
So delicious!! Your recipes are becoming known in my house as the great ones that don’t taste gluten free! Thank you for another great recipe!
Thank you for the kind words, Bekah! We’re so glad you all are enjoying the recipes so much!
Can these be frozen?
Hi Renee, we haven’t tried, but we think it would work. They would probably benefit from being wrapped in plastic wrap or stored in a freezer bag. Thank you for your question!
My family and friends adore these! I’ve been making them so much since I found this recipe. Just perfect ❤️
Thank you for the positive review, Lisa! We’re so happy everyone enjoyed the raspberry crumb bars!
I have a confession…I used a mix of fresh berries from my fridge instead of frozen raspberries and they still turned out great.
Yay! I’m glad they turned out for you!
I love raspberry bars and love making them for guests. Thanks for a gluten-free version for when my sister-in-law visits. Delish!