


Featured Comment
From Sara: “These bars are so simply and SO delicious!! I made these on a whim one afternoon for my family and it has been a favorite ever since! I make these at least once a month and they never last long. Another amazing recipe!! ★★★★★”
From Linda: “WARNING: So addictive, I wanted to eat the entire tray!! LOL ★★★★★”
From Debbie: “So easy and delicious! I made these for a bake sale at work. Everyone loved them! Including me! Yum! ★★★★★”
Why You’ll Love These Peanut Butter Bars
This chocolate peanut butter dessert reminds me of a classic Reese’s peanut butter cups or homemade peanut butter balls, just made in bar form which makes them so easy to make!
Of all my tried-and tested gluten-free dessert recipes, this one is especially great for kids and beginner bakers.
- No baking required. I love that these bars come together quickly turning on the oven. They’re perfect for warm summer days when I don’t want heat up the kitchen or during the holidays when oven space is in high demand!
- Oat-free recipe. Peanut butter bars with oats are really common for this style of no-bake recipe, but I use gluten-free graham cracker crumbs to give them structure instead. The result is a smooth, creamy texture!
- Simple ingredients and minimal effort. All you need is a handful of pantry staples and 10 minutes of prep time. The bars need to chill for at least 2 hours, but just pop them in the fridge and they’re hands-off until you’re ready to slice them!

What You Need
Here are a few notes on some of the key ingredients to make these peanut butter bars. Jump to the recipe card below for the exact measurements.
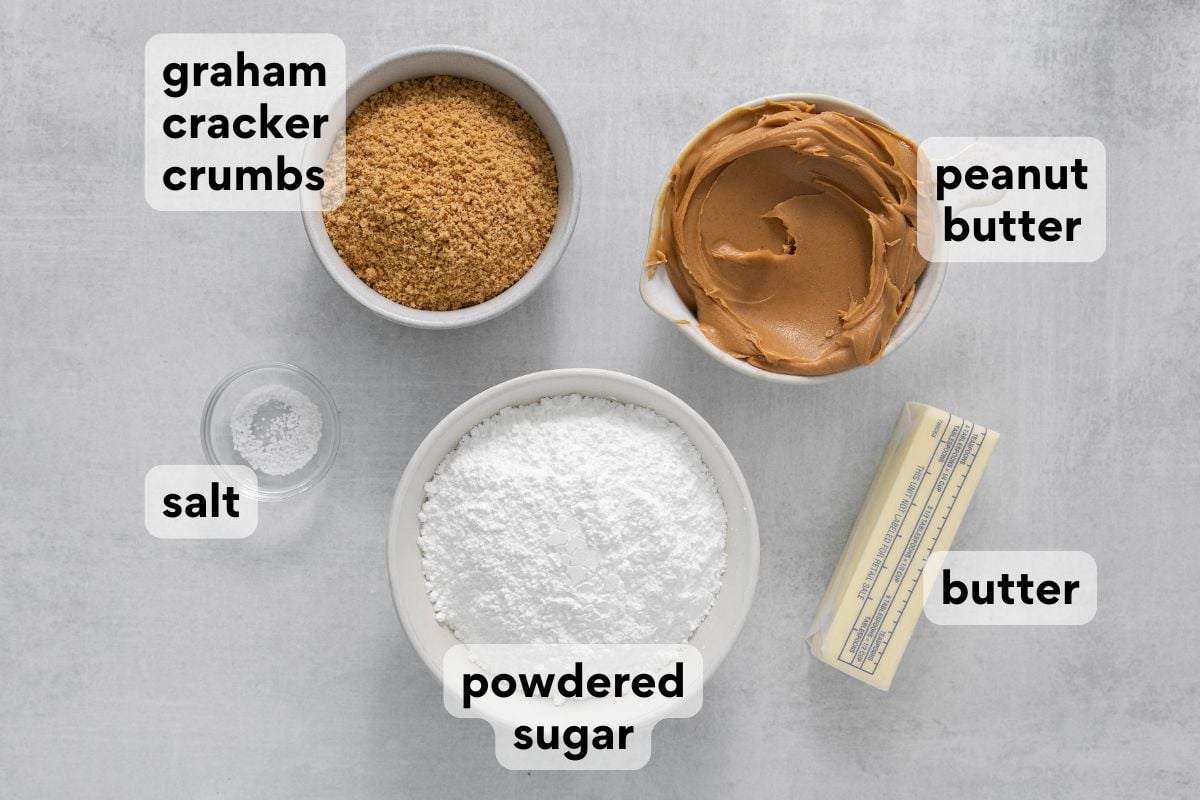
- Peanut butter: I prefer the texture of these bars when made with a creamy peanut butter like Jif or Skippy. I’ve tried natural peanut butter with this recipe, but it makes the mixture softer and causes the bars to become more crumbly because it doesn’t hold the ingredients together as well.
- Graham cracker crumbs: I always make the peanut butter bars gluten-free using Schar or Kinnikinnick gluten-free graham crackers. You can buy crumbs in a box for convenience or pulse graham crackers in a food processor to make your own!
- Chocolate chips: I like to use semi-sweet chocolate chips for this recipe, but milk chocolate chips or dark chocolate chips work too. It just depends on how sweet you like your chocolate!
How to Make Peanut Butter Bars
Here’s an overview of how to make this recipe. You can jump to the recipe for the full instructions!
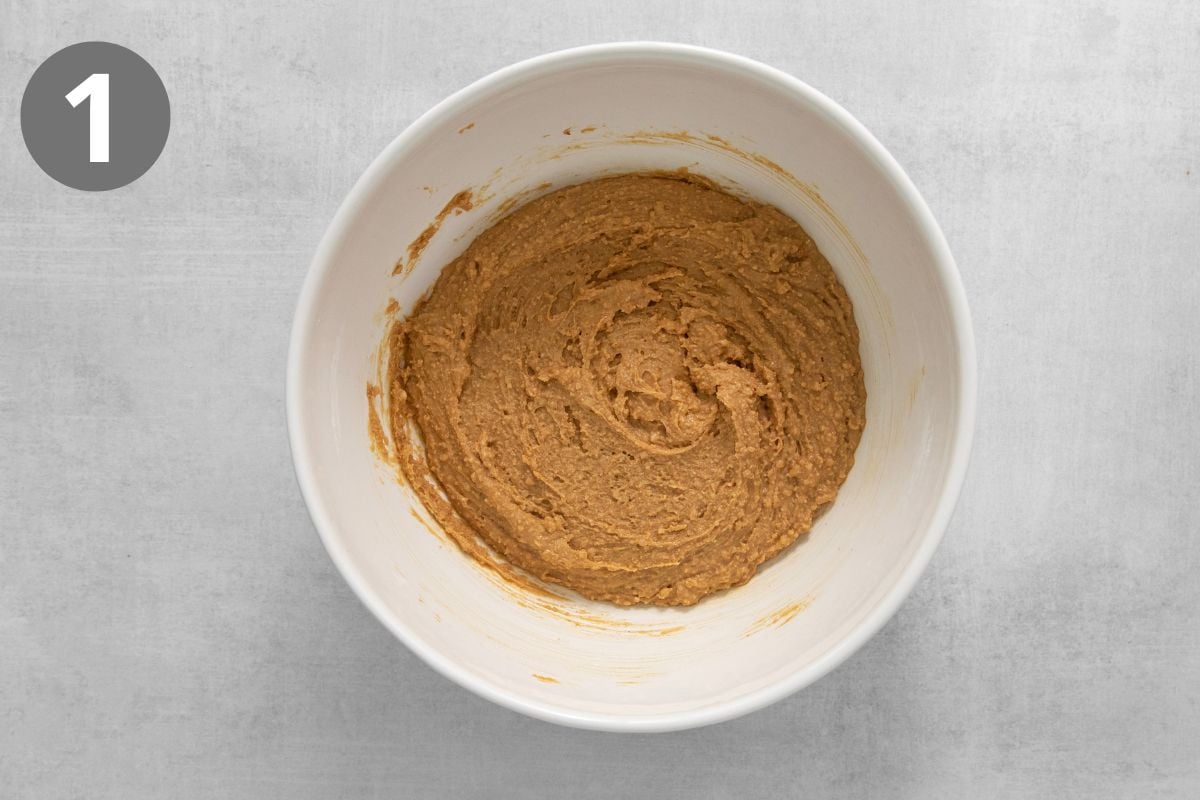
Mix the peanut butter layer. I start by mixing the melted butter, graham cracker crumbs, powdered sugar, and salt together, then stir in 1 cup of peanut butter.
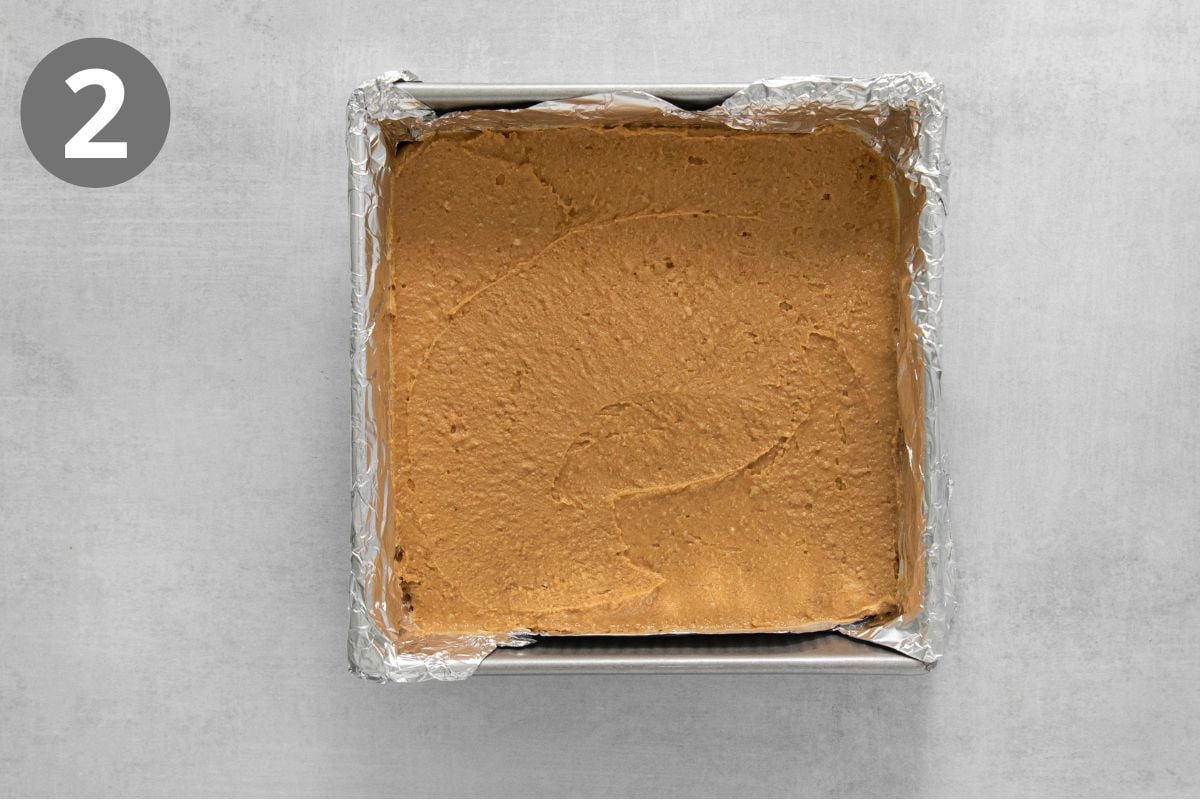
Press into the pan. I find that lining the pan with foil or parchment paper before pressing in the peanut butter mixture makes the bars much easier to remove!
Erin’s Tip
While I love a creamy peanut butter layer, you can also use crunchy peanut butter for a little extra texture in these no-bake chocolate peanut butter bars.
You can also make these bars with almond butter for a slightly different flavor!
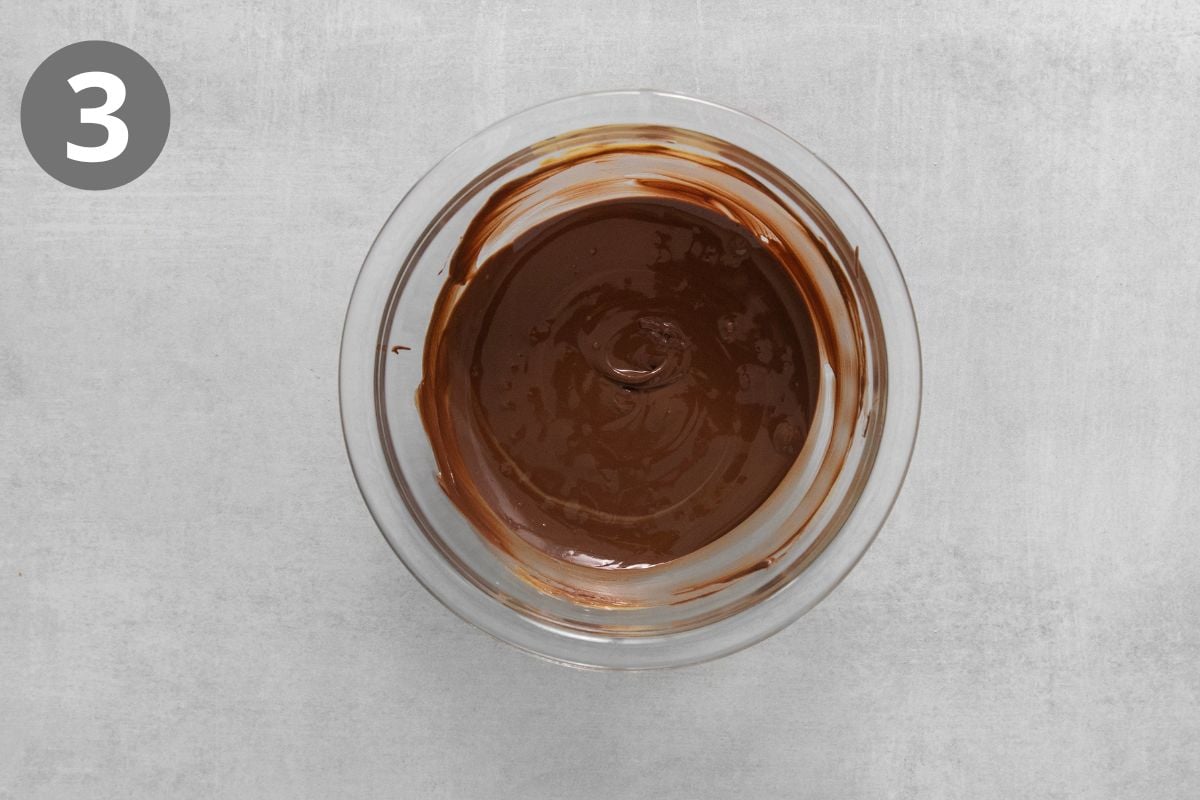
Make the chocolate topping. I usually melt the 2 tablespoons of peanut butter and chocolate chips in the microwave, but you can also make the topping on the stove. If using the microwave, heat in 15-second intervals, stirring between each, until completely smooth.
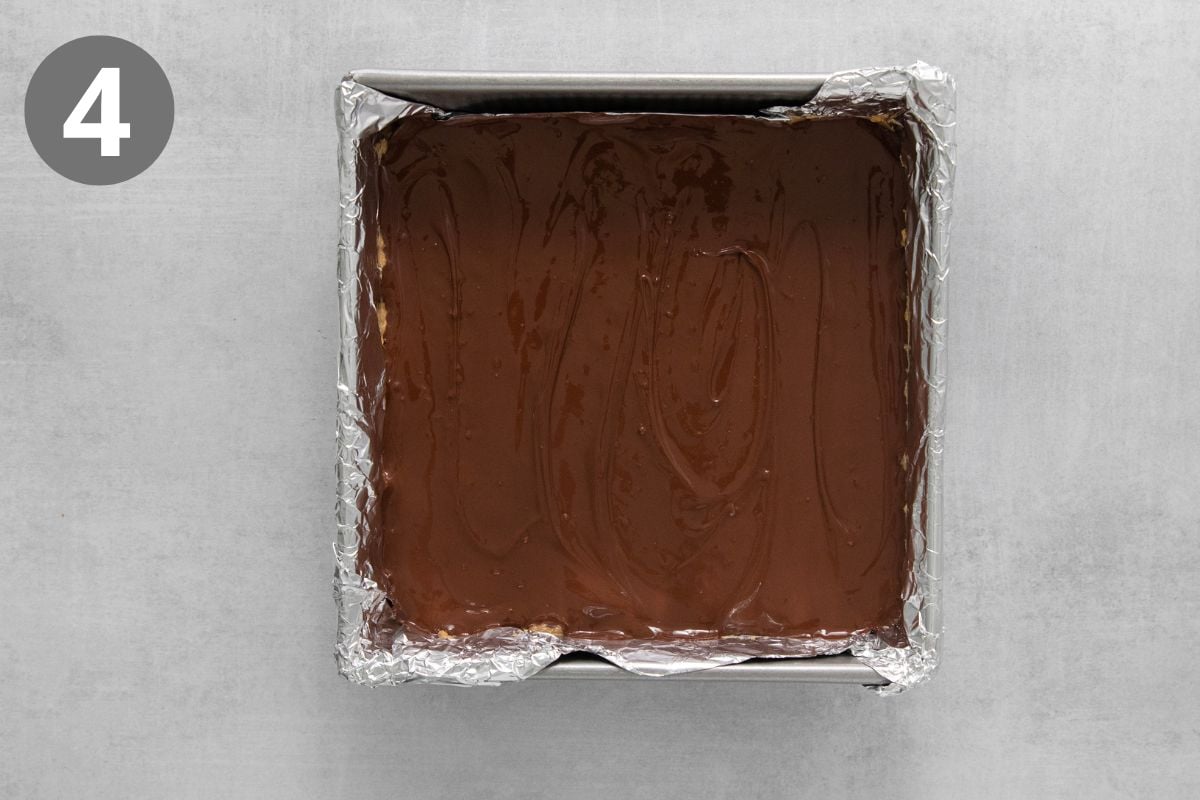
Top and chill. I spread the chocolate topping over the peanut butter layer, then cover it and pop the whole thing in the fridge to chill until completely firm. I take them out about 10 minutes before slicing so they’re just soft enough to slice evenly without cracking the chocolate topping.

More Peanut Butter Desserts

No-Bake Peanut Butter Dessert Bars
Ingredients
Peanut Butter Layer:
- 1/2 cup (113g) butter, melted
- 4-5 ounces (120g) graham crackers, crushed into crumbs (gluten-free if needed!)
- 2 cups (240g) powdered sugar
- 1 cup (250g) creamy peanut butter
- 1/2 teaspoon kosher salt
Chocolate Topping:
- 2 Tablespoons (30g) creamy peanut butter, divided
- 1 cup (180g) semi-sweet chocolate chips
Instructions
- Line an 8×8 or 9×9 inch baking pan with aluminum foil or parchment paper. Spray with cooking spray.
- For the peanut butter layer: In a medium bowl, mix together the butter, gluten-free graham cracker crumbs, powdered sugar and salt. Stir in the peanut butter until evenly combined.
- Press the peanut butter mixture evenly into the prepared baking pan.
- For the chocolate topping: Add the peanut butter and chocolate to a small microwave-safe bowl. Microwave for 1 minute until the chocolate is melted and the mixture is smooth, stirring every 15 seconds.
- Spread the chocolate topping over the peanut butter layer.
- Cover and refrigerate for at least 2 hours or up to 5 days. Let sit at room temperature for 10 minutes before slicing and serving.









Can these bars be made ahead and frozen?
Definitely, Beth! They should freeze well. We hope you love the peanut butter bars!
Looking forward to trying this! Would it work with coconut oil?
Hi Lily! We haven’t tried using coconut oil in place of the butter, but we think it could work. Keep in mind that coconut oil can add a slight coconut flavor and the bars may be a bit firmer once they’ve set. We’d love to hear how they turn out if you give it a try!
Can this recipe be doubled??
Hi Debbie, yes you can double this recipe and use a 9×13 pan. We hope you enjoy the peanut butter bars!
These bars are so simply and SO delicious!! I made these on a whim one afternoon for my family and it has been a favorite ever since! I make these at least once a month and they never last long. Another amazing recipe!!
I really wanted to try this recipe gluten free until I saw graham crackers. I have not found any brand of GF graham crackers I can stand. That includes the big named brands. Any suggestions?
Hi Kate, check out our post on gluten-free graham crackers. In our opinion, the Schar GF Honeygrams are the best! We hope you enjoy the peanut butter bars!
WARNING: So addictive, I wanted to eat the entire tray!! LOL
Yay! We’re so happy to hear how much you loved the recipe, Linda! Thank you for your enthusiastic review!
Erin this gets a triple gold thumbs up!!!
My 16, 13 & 10 year old grandsons LOVED THEM!!!
I fixed them in an oblong baking dish hoping to get more. This will be one I
keep for them and for us!!
Thanks Erin!!
Vicki
Thank you for the rave review, Vicki! We’re so glad your grandsons loved the peanut butter bars!
So easy and delicious! I made these for a bake sale at work. Everyone loved them! Including me! Yum!
Hi Debbie, that’s exciting to hear the peanut butter bars were such a hit at the bake sale. Thanks for taking the time to share your experience with us!
Mom used to make these at Christmas every year ttil she decided they were fattening! Well, I lost the recipe, and am so glad to see it again. You’re a lifesaver. I[m a happy camper. These are the best!!! Thanks!
The recipe says to divide the peanut butter for the chocolate topping, but it doesn’t say why.
I’m so glad your family enjoyed them! 🙂
I take these to every party! They are always the first togo, everyone loves them!
Can the sugar be reduced without harming the recipe?
Yes you can reduce the sugar no problem! Let me know how they turn out for you if you try it.
yummy
Mom used to make these as I grew up and at holidays when I was older. They are luscious. So glad to find the recipe again as I lost it along the way! Thank you so much for working with it and posting it to the world! These will be perfect summer treats!