


Erin’s Recipe Rundown

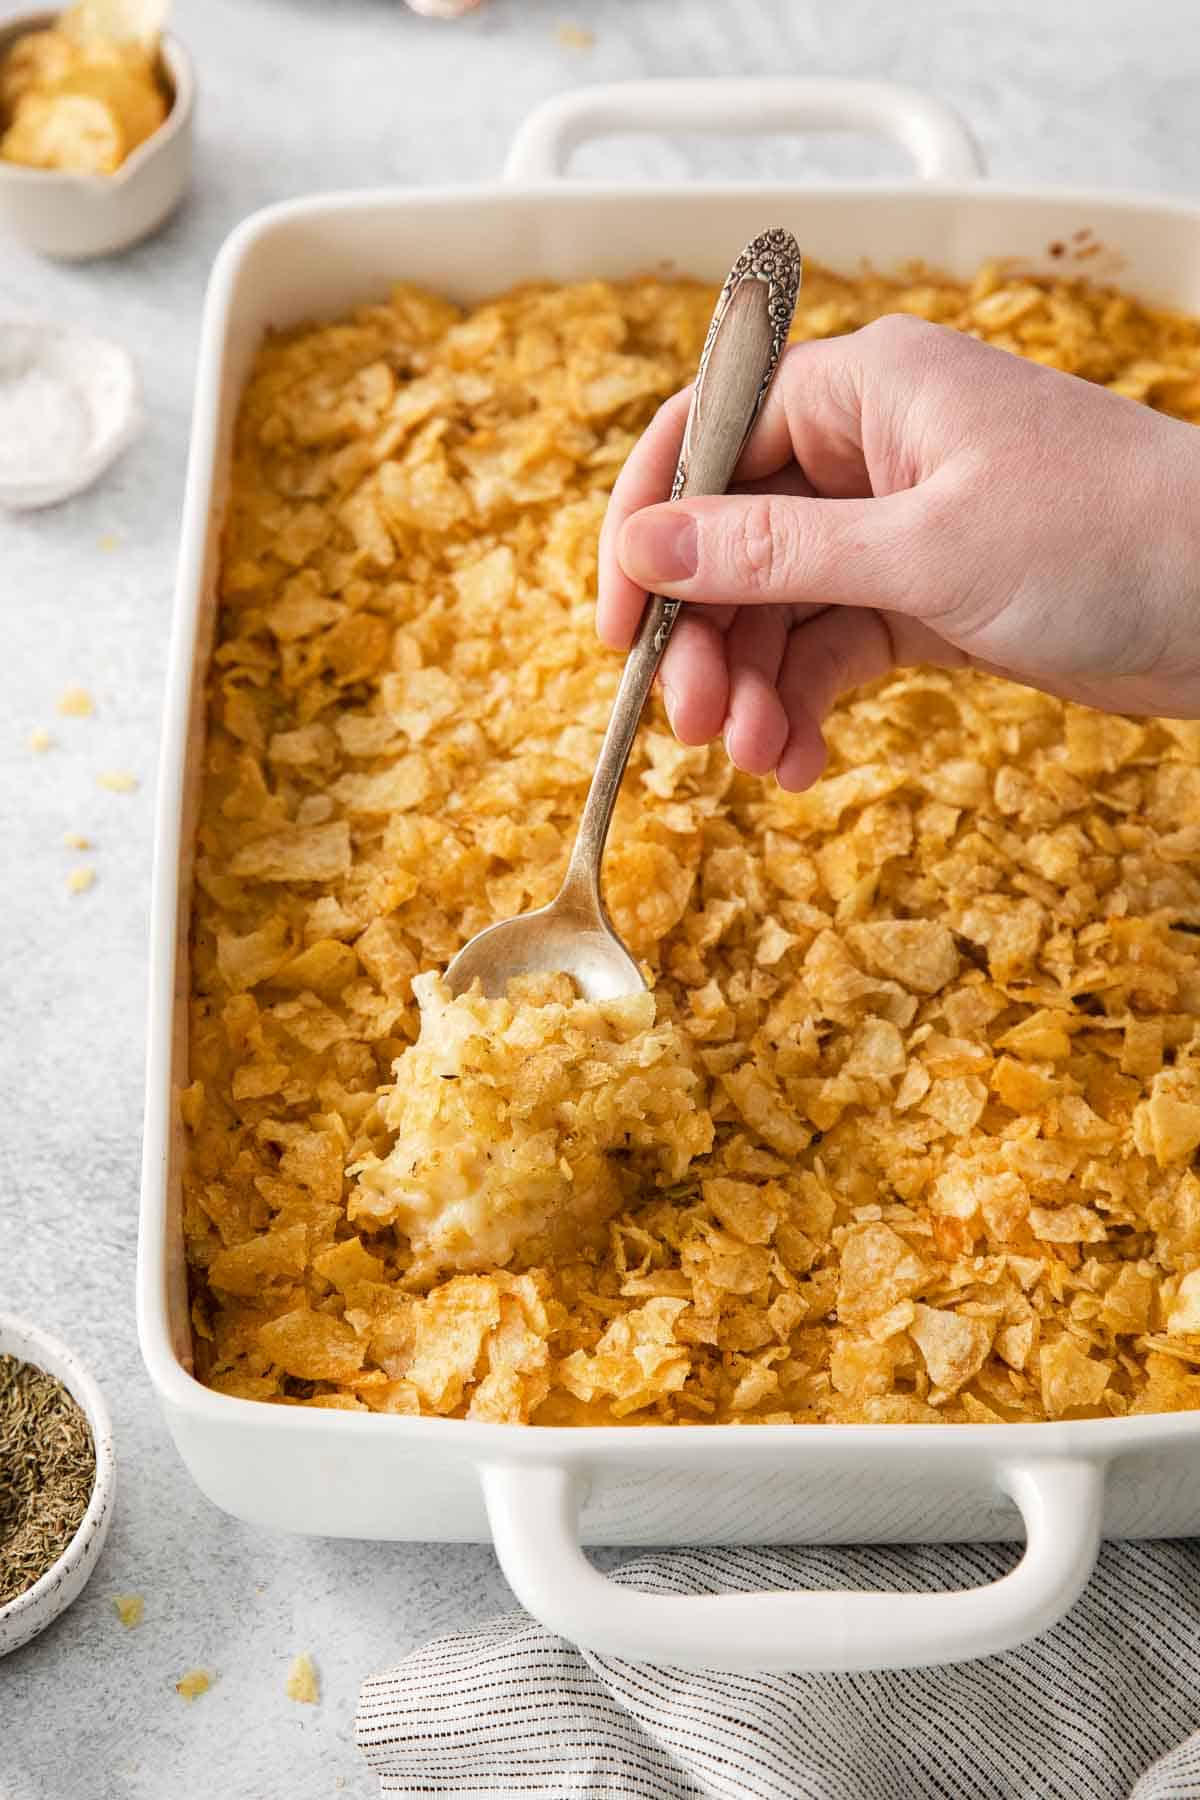
Texture: Creamy sauce, tender shredded potatoes, and the perfect crunchy topping.
Taste: Rich and savory cheesy goodness.
Ease: A simple, no frills comfort food anyone can make!
Top Tip: Gluten-free cornflakes used to be hard to come by, but now it’s easy to make this recipe with the classic cornflake topping. This is my favorite brand!
Recommended GF Flour: Any kind of gluten-free flour will work! There’s no need to use a measure-for-measure blend like many of my recipes call for, just use your favorite.
Would I make these again? Definitely! When I was growing up, cheesy potatoes were part of every holiday and big family gathering. With this gluten-free version, everyone can still enjoy cheesy potatoes no matter the occasion!
xoxo erin
This post was originally published in March 2023. It was updated with new instructions in April 2025.
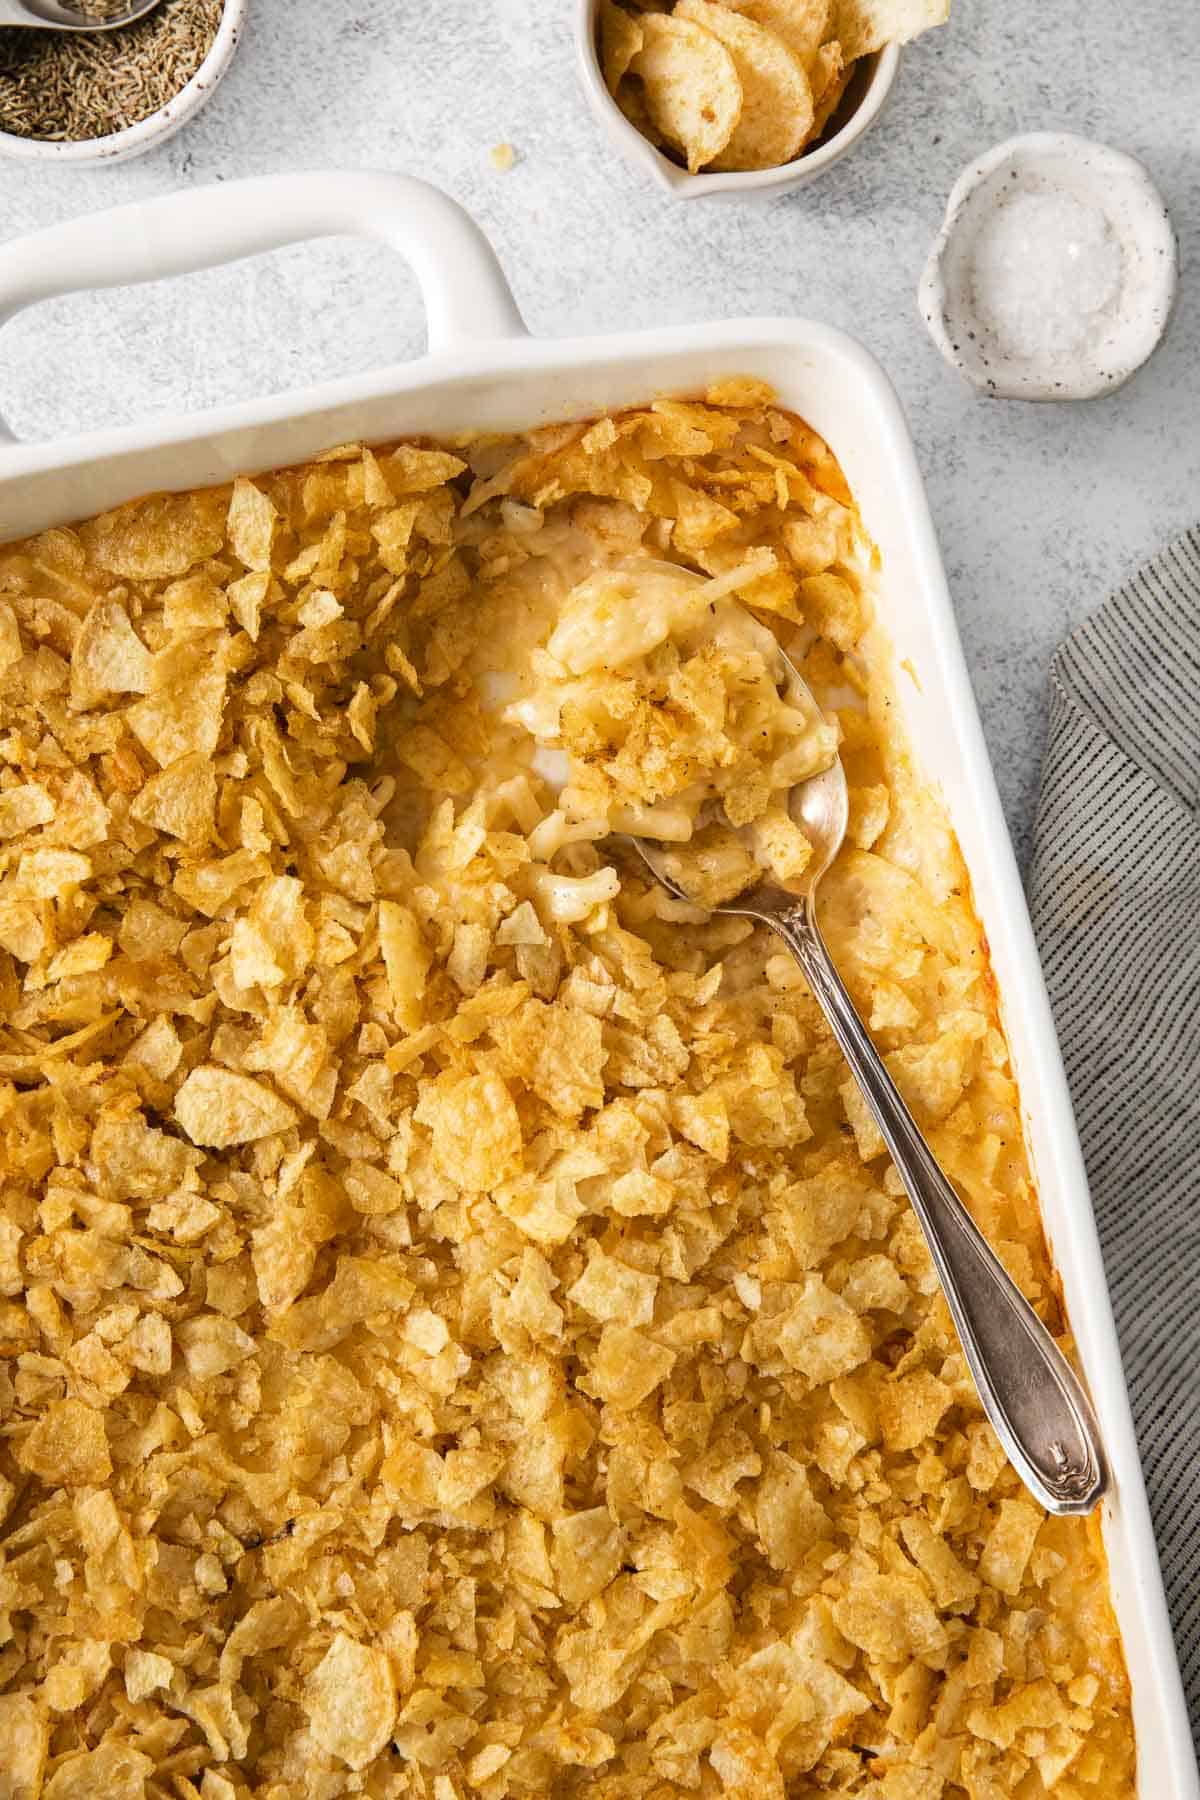
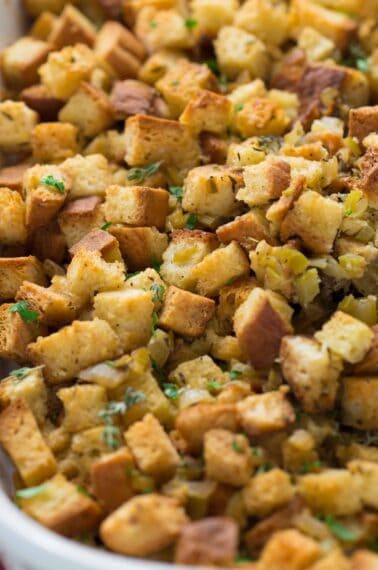
Also known as funeral potatoes, this dish is still one of my favorites for any holiday. You simply can’t beat the comfort of the creamy cheese sauce mixed with the hashbrowns and topped with crispy cereal. I can’t imagine a holiday meal without them!
Fortunately, making a gluten-free version of this classic dish is fairly straightforward. Just swap flour for gluten-free flour, then use a gluten-free option for the cornflake topping, and you have one crowd-pleasing gluten-free side dish!
Featured Comment
From Rana: “Made this for my sister-in-law and it turned out great!”
Table of Contents
- Erin’s Recipe Rundown
- Ingredients You’ll Need
- How to Make Gluten-Free Cheesy Potatoes
- Make-Ahead/Storage/Freezing Instructions
- Can I use fresh potatoes instead of the frozen hashbrowns?
- Can I swap out the chicken stock in these gluten-free cheesy potatoes?
- What is the best way to reheat leftover cheesy potatoes?
- Gluten-Free Cheesy Potatoes Tips
- More Gluten-Free Potato Recipes
- Easy, Gluten-Free Cheesy Potatoes Recipe
Ingredients You’ll Need
Here are a few notes on some of the key ingredients to make these cheesy potatoes. Jump to the recipe card below for the exact measurements.

- Chicken stock: The chicken stock balances the heaviness of the dairy products for the perfect consistency. Make sure you’re buying gluten-free stock or broth. Canned or boxed will work!
- Milk: The milk works with the butter and cheese to achieve that creamy goodness. I like to use whole milk for this recipe, but 2% or skim will also work.
- Onion: Yellow onion is my favorite for these potatoes since they’re a bit sweeter than white onions. It complements the savory flavors in this dish.
- Cornflakes: Not all cornflakes are gluten-free so always double-check the label for sneaky gluten ingredients! Or keep it simple by using my favorite brand. You can also use chips as another gluten-free option. I recommend using gluten-free kettle chips if going the chip route! Either way you’ll have the right amount of crunch in every bite.
- Frozen hashbrowns: Use frozen hashbrowns to save time with this recipe — there’s no need to even defrost them! Plus they soak up the creamy sauce well while still keeping their structure. Just be sure to buy gluten-free hashbrowns. I like Ore-Ida Shredded Hash Brown Potatoes or Simply Potatoes Shredded Hash Browns.
- Sour cream: The sour cream adds a little needed tang and ensures a velvety smooth finish. I like using full-fat sour cream for the best flavor!
- Gluten-free flour: Any gluten-free flour will work since it’s just used to thicken the sauce. It doesn’t necessarily need to be a gluten-free measure-for-measure blend.
- Butter: I prefer using salted butter for its depth of flavor!
- Cheddar cheese: It wouldn’t be cheesy potatoes without the cheddar! Shredded sharp cheddar cheese will save you time and has more depth of flavor than mild cheddar.
- Seasoning: Salt, pepper, and dried thyme bring out all the flavors of these cheesy potatoes! You could also use fresh thyme, if you prefer.
Check out these ideas for gluten-free Easter desserts and Easter snacks! Or you might like this full collection of gluten-free Easter recipes!
How to Make Gluten-Free Cheesy Potatoes
Here’s an overview of how to make these potatoes. You can jump to the recipe for the full instructions!
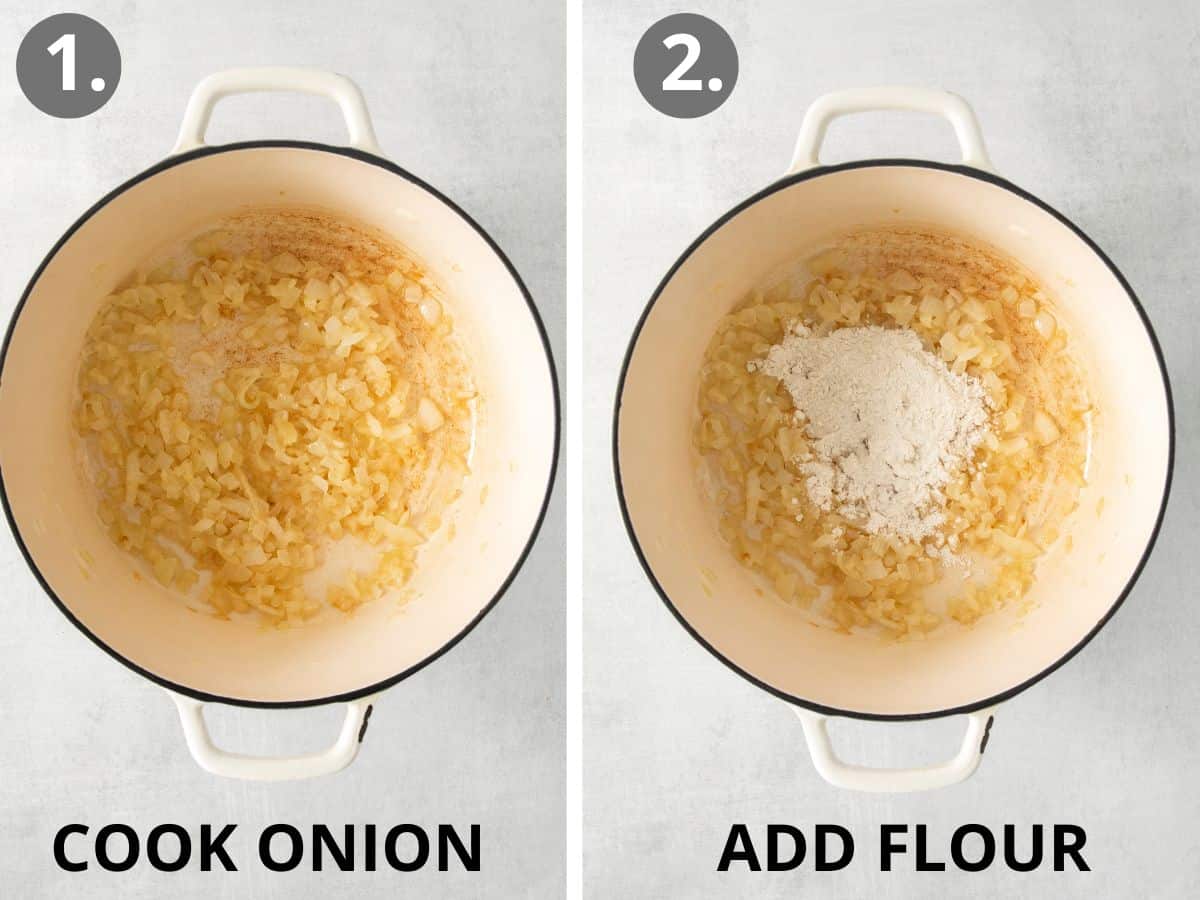
- In a large Dutch oven: Melt the butter over medium heat, then add the onion and cook until they’re softened and translucent (about 5-6 minutes). You can also use a large pot.
- Stirring constantly: Mix in the gluten-free flour and cook (about 1 minute).
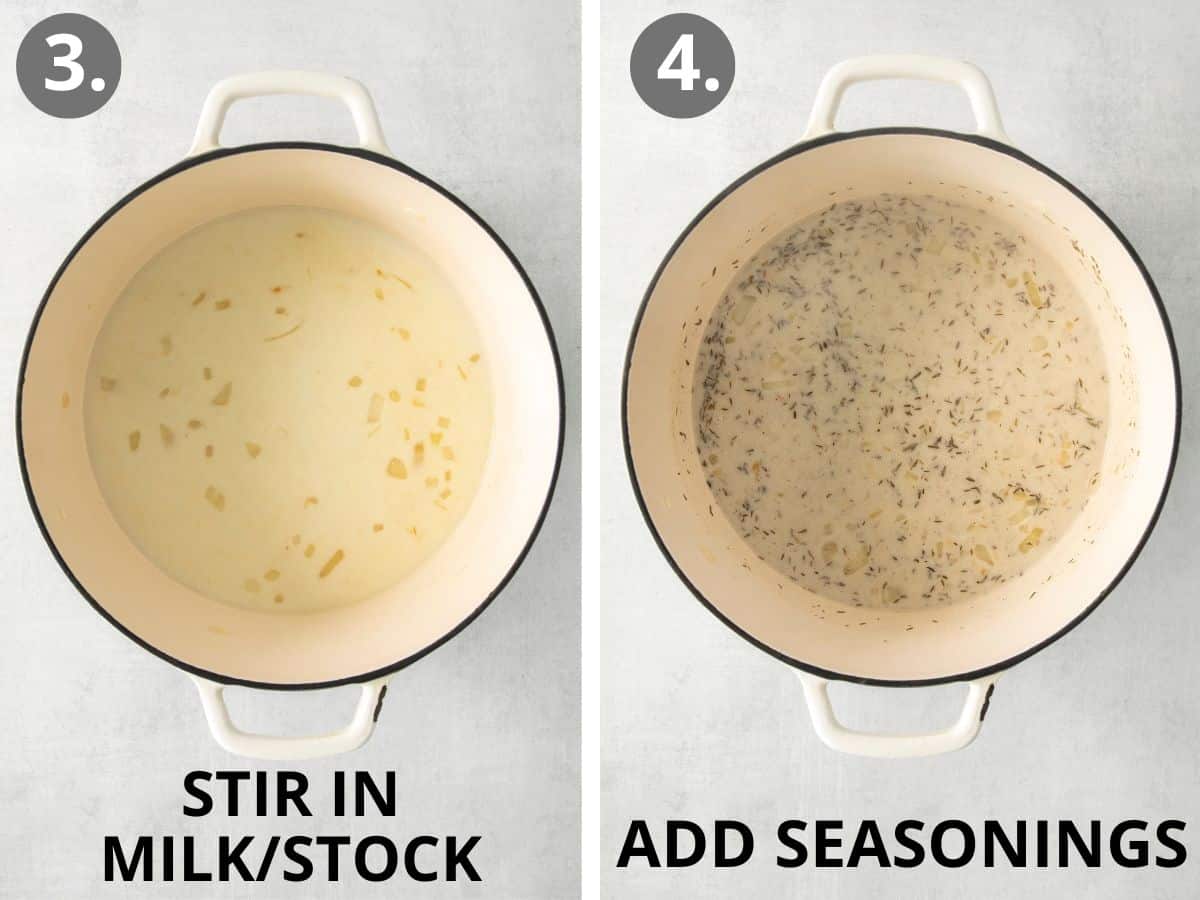
- In a liquid measuring cup: Combine the chicken broth and milk. Slowly whisk it into the mixture on the stove.
- Add seasoning and thicken: Stir in the salt, pepper, and thyme. Bring the mixture to a boil, then reduce the heat to medium-low and simmer, stirring frequently, until the mixture is slightly thickened (about 5 minutes).
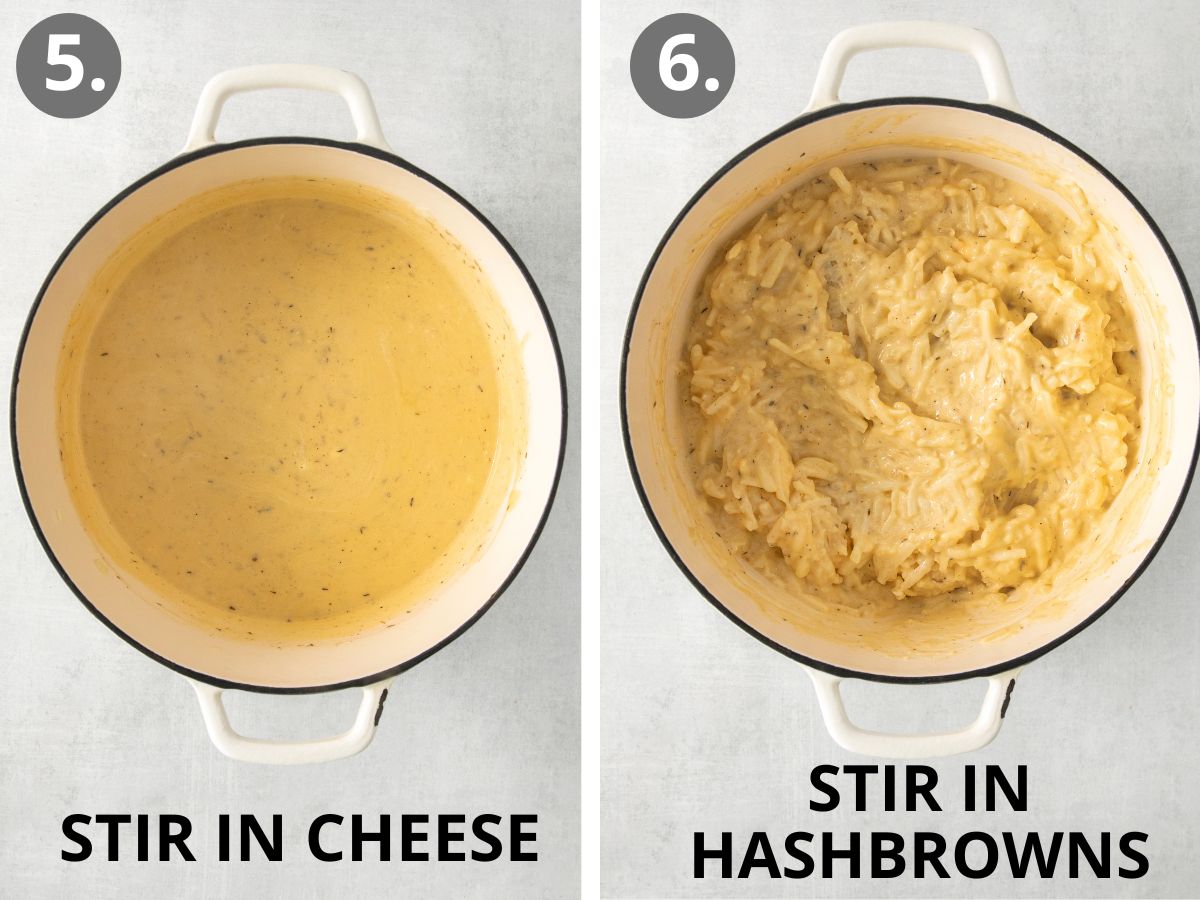
- Take the pot off the heat: Stir in the shredded cheddar cheese until smooth, then add the sour cream and mix until combined.
- Fold in the hashbrowns: There’s no need to defrost the frozen hashbrowns. Fold them straight into the cheese sauce until well-combined.
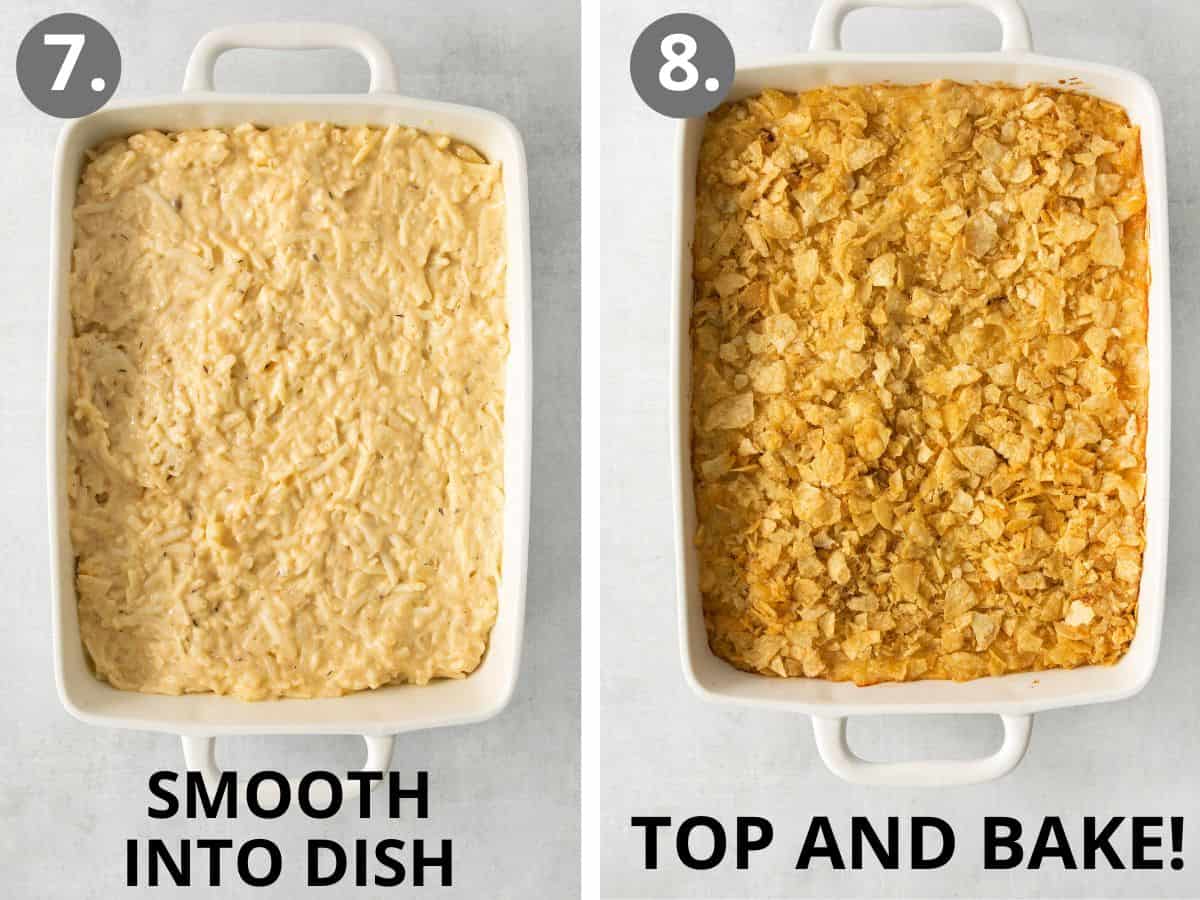
- Using a prepared 9×13 casserole dish: Evenly spread the hash brown mixture into the dish, smoothing out the top.
- Top and bake: Add the crushed cornflakes to the top of the casserole. Bake until the cheesy potatoes are hot, golden brown, and bubbly around the edges (40-45 minutes). Let the potatoes rest for 10 minutes before serving. Enjoy!
Make-Ahead/Storage/Freezing Instructions
To Make-Ahead: Follow the recipe up until the point of baking. Instead of baking, cover the cheesy potatoes with plastic wrap or foil and store in the refrigerator until ready to bake (up to 2 days). For prep the dish further in advance, you can freeze the unbaked potatoes, just hold off on the topping until you’re ready to bake. Keep in mind they will need more time in the oven too!
To Store: Store leftovers in an airtight container in the fridge for up to 4 days.
To Freeze: You can freeze the cheesy potatoes before or after baking. To freeze after baking, let the potatoes cool completely, then wrap the dish tightly in plastic wrap and foil or store in an airtight container. Freeze for up to 3 months.
Can I use fresh potatoes instead of the frozen hashbrowns?
Yes! The frozen ones make the recipe quicker, but you are always welcome to use fresh potatoes, if you prefer. Shred 4-5 medium potatoes and either cook, or at least partially cook them, before adding the potatoes to the mixture.
Can I swap out the chicken stock in these gluten-free cheesy potatoes?
Definitely! You can use vegetable broth or even water. The flavor won’t be as rich with water so I recommend adding a little extra seasoning if going that route.
What is the best way to reheat leftover cheesy potatoes?
If refrigerated, reheat the cheesy potatoes in the oven at 350°F for 20-25 minutes. If frozen they may take up to 45-60 minutes, depending on the portion size. Storing leftovers in individual servings can speed up the reheating time and allow you to microwave them instead (the topping just won’t stay as crispy).
Gluten-Free Cheesy Potatoes Tips
- Any kind of gluten-free flour will work for this classic side dish recipe! No need to use the gluten-free measure-for-measure flour I typically recommend for most of my gluten-free baked goods.
- Not all cornflakes are gluten-free so always read through the ingredients to check for hidden gluten! Or keep it simple by using my favorite gluten-free brand. You can also use chips as another gluten-free option. Gluten-free kettle chips work well.
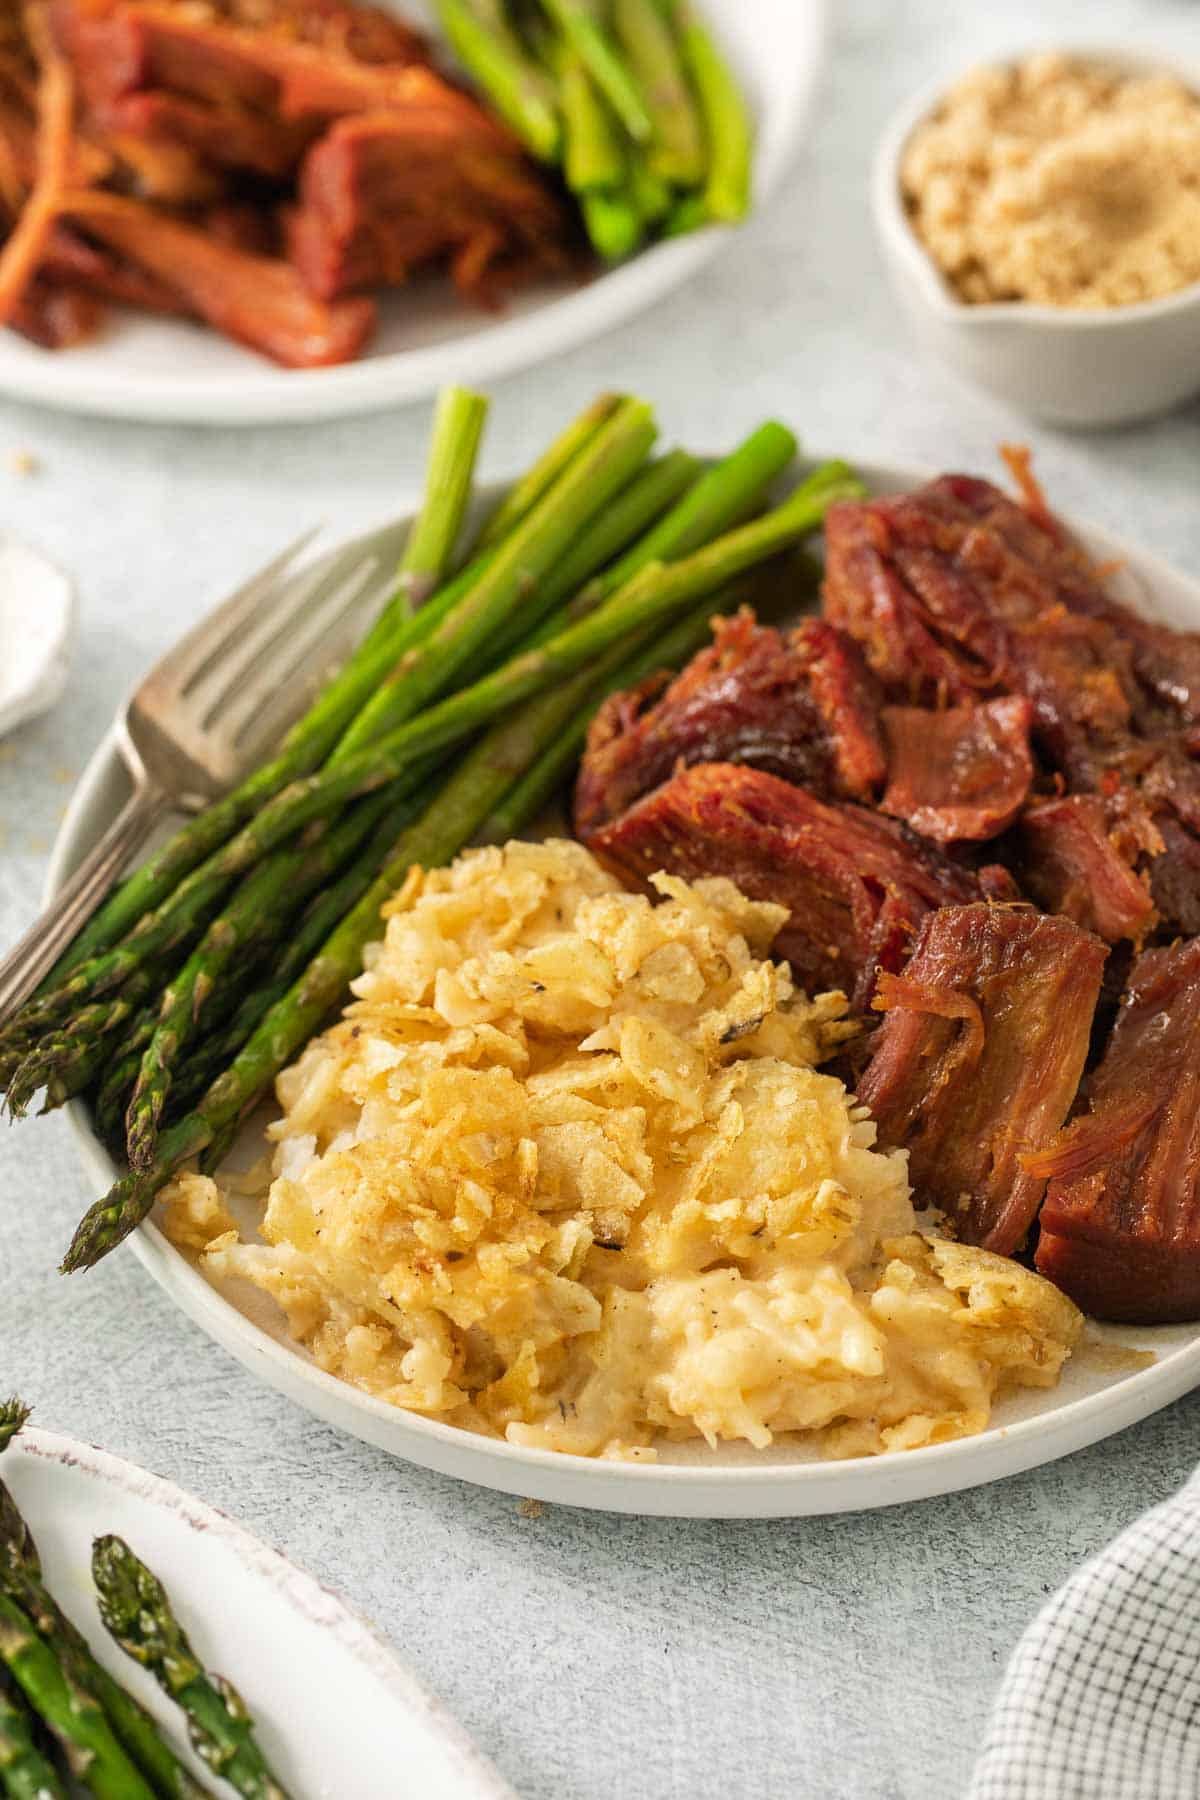
- For a classic Easter meal, serve these gluten-free cheesy potatoes with this gluten-free ham, Easter fruit salad, gluten-free corn casserole and deviled eggs with relish. For dessert, you could also serve this gluten-free lemon pie, gluten-free carrot cake or gluten-free coconut cake.
More Gluten-Free Potato Recipes

Easy, Gluten-Free Cheesy Potatoes
Ingredients
- 3 tablespoons butter
- 1 large yellow onion diced
- 3 tablespoons gluten-free flour any kind
- 1 ½ cups chicken stock or broth
- 1 cup milk of choice
- 1 ½ teaspoons kosher salt
- ½ teaspoon ground pepper
- ½ teaspoon dried thyme
- 2 cups shredded sharp cheddar cheese
- 26-30 oz frozen shredded hash browns
- ½ cup sour cream
FOR THE TOPPING
- 2 cups crushed gluten-free cornflakes or crushed kettle cooked chips
Instructions
- Preheat the oven to 350°F. Lightly grease a 9×13-inch baking pan with cooking spray and set aside.
- In a large dutch oven or pot, melt the butter over medium heat. Add the onion and cook until the onion is softened and translucent, about 5-6 minutes.
- Stir in the gluten-free flour and cook, stirring constantly, for about a minute.
- Combine the chicken broth and milk in a liquid measuring cup and slowly whisk it into the mixture.
- Stir in the salt, pepper and thyme.
- Bring the mixture to a boil and then reduce the heat to medium-low and simmer, stirring frequently, until the mixture is slightly thickened, about 5 minutes.
- Take the pot off the heat and stir in the cheese until smooth. Add the sour cream and mix until combined.
- Fold in the frozen hash browns until well combined.
- Evenly spread the potatoes into the prepared 9×13-inch baking dish and top with the crushed potato chips.
- Bake for 40-45 minutes, until hot and bubbly around the edges.
- Let the potatoes rest for 10 minutes before serving. Enjoy!


Can I use fresh potatoes instead of frozen?
Hi Ruth, yes you can use fresh. The frozen ones make the recipe quicker, but you are always welcome to use fresh potatoes, if you prefer. Shred 4-5 medium potatoes and either cook, or at least partially cook them, before adding the potatoes to the mixture. Enjoy!
Made this for my sister-in-law and it turned out great!
Yay! We are happy to hear the cheesy potatoes went well. Thank you for your feedback!
I was wondering if dehydrated hash browns would work here. I happen to have some.
I haven’t tried this myself so I can’t say for sure. I think it should work if you hydrate them before adding them in as instructed though!
I used a can of gluten free chicken condensed soup (Pacific brand) instead of the milk. I think it added to the flavor! Great recipe.
That sounds like a great idea! Thanks for the comment 🙂