
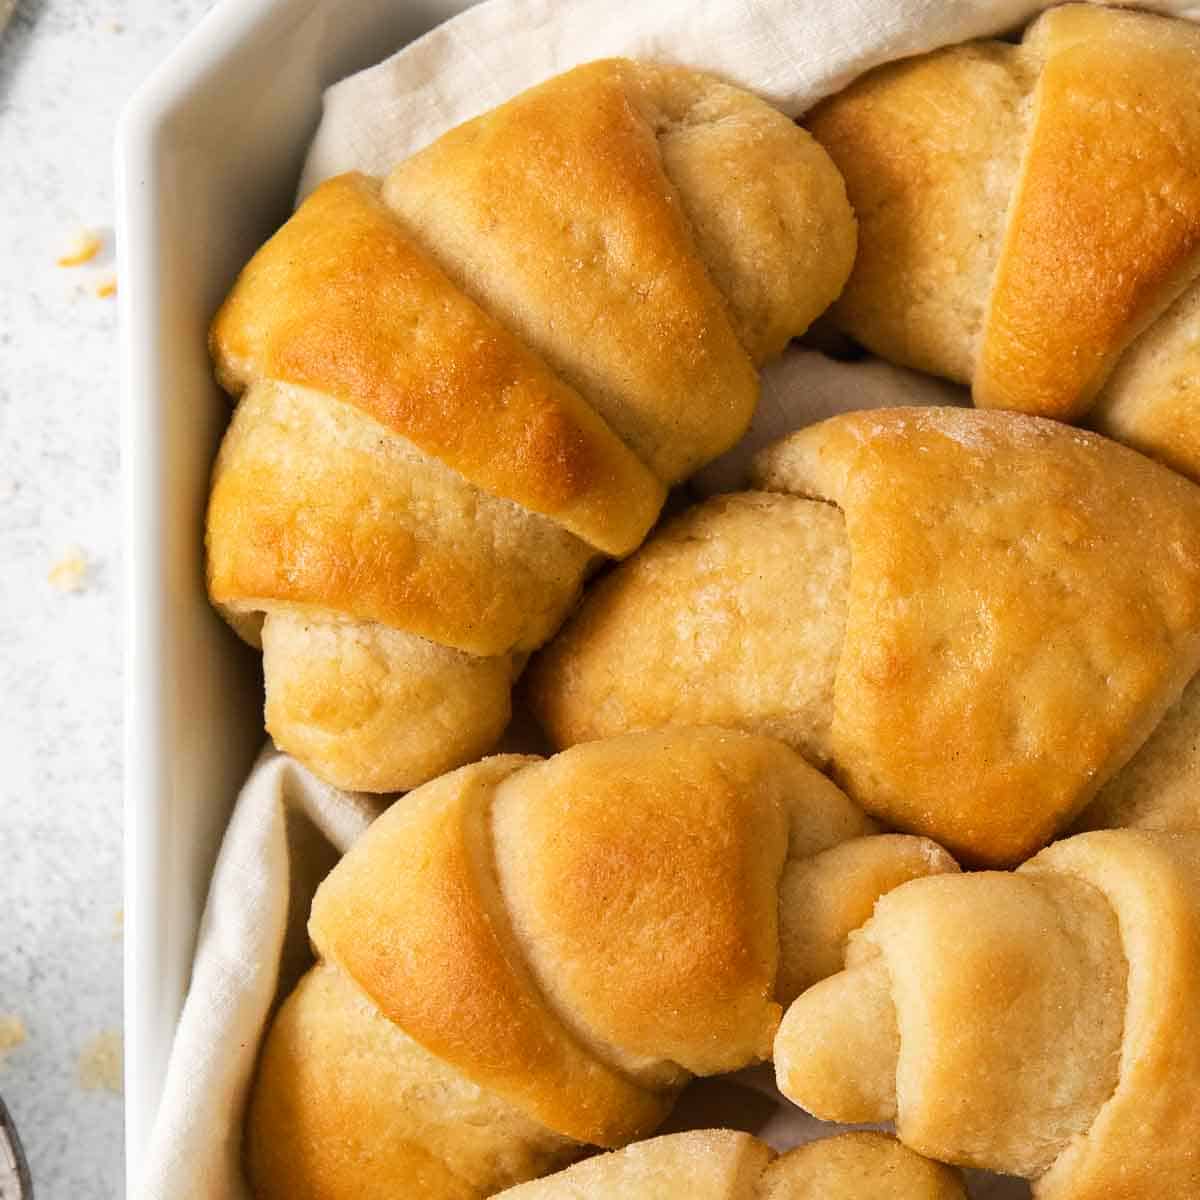

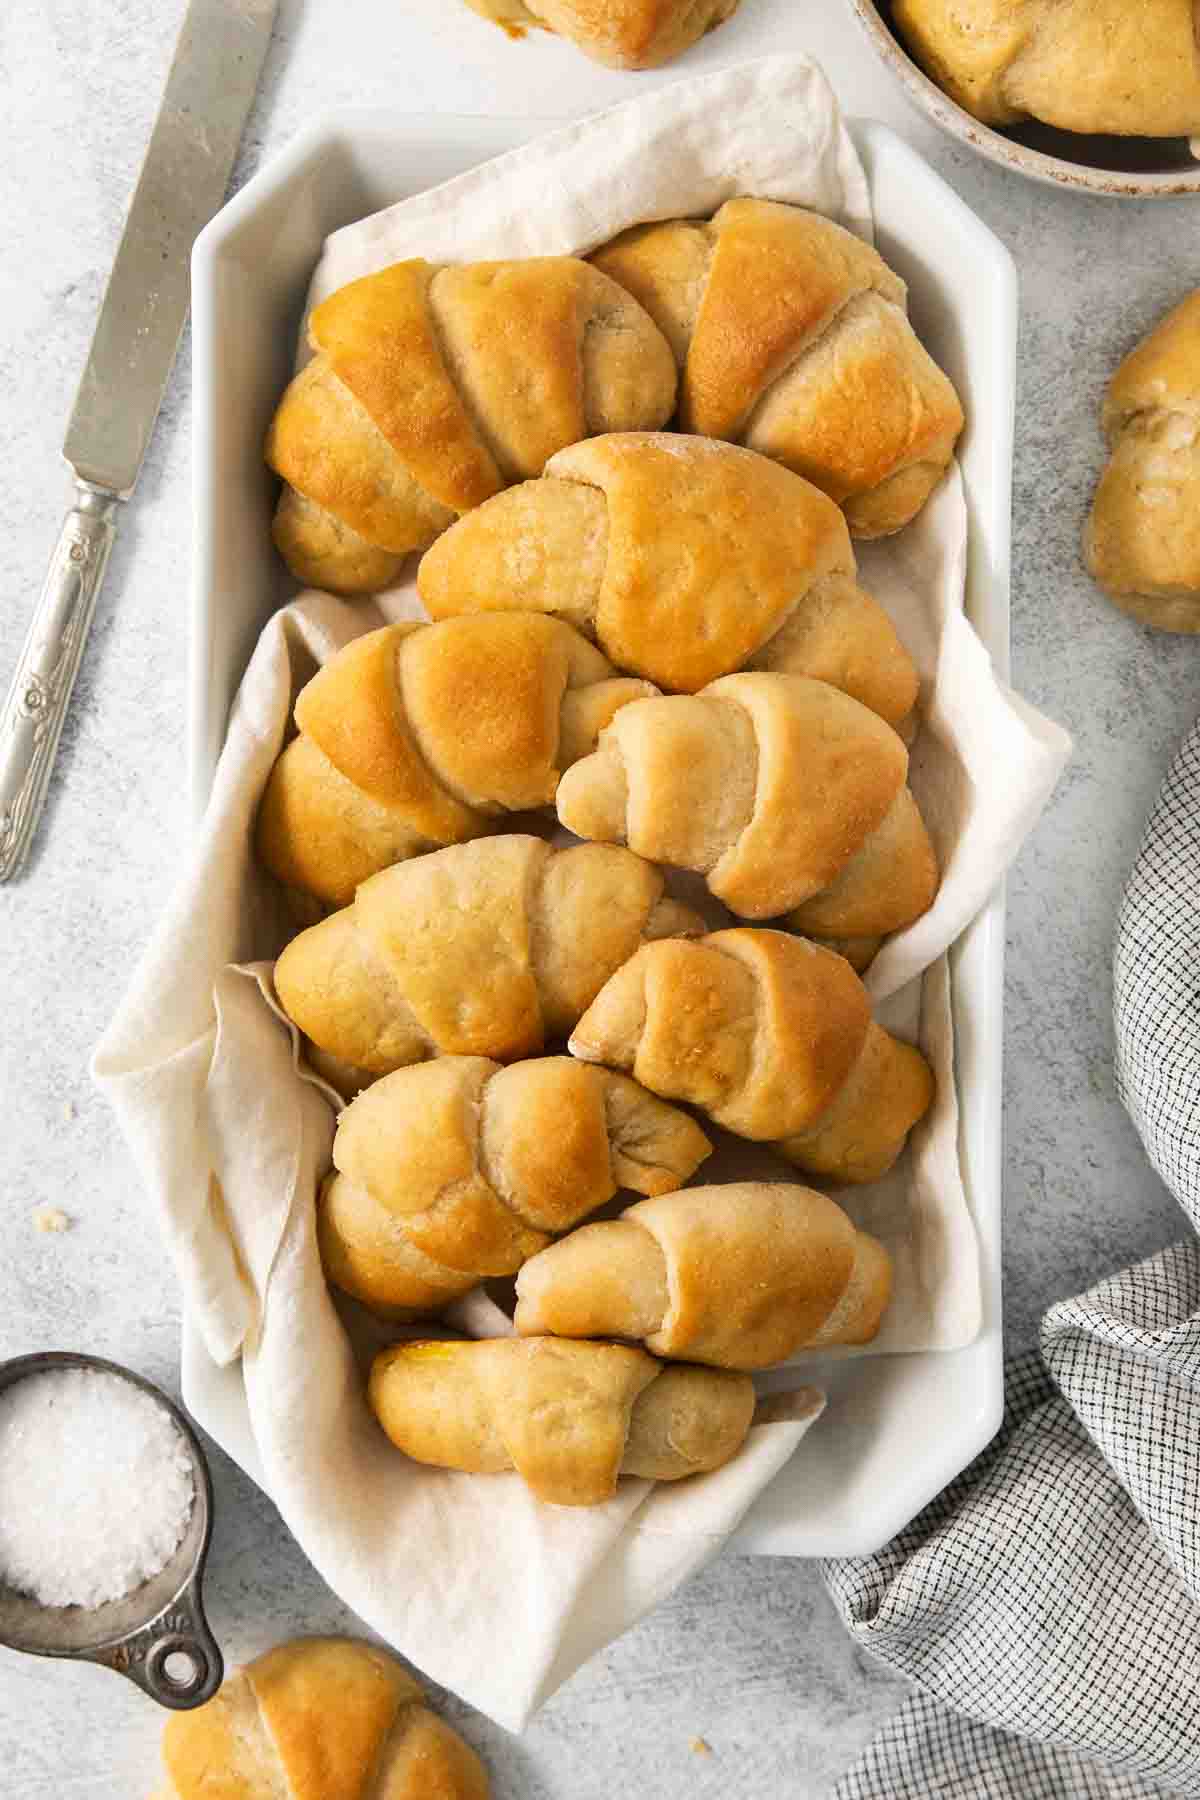
These gluten-free crescent rolls are a must-have at the holiday table! They’re soft, buttery, and fluffy — everything a delicious roll should be!
This post has all the tips and tricks you need to make homemade gluten-free crescent rolls. I hope they bring a smile to your face like they do for our family!
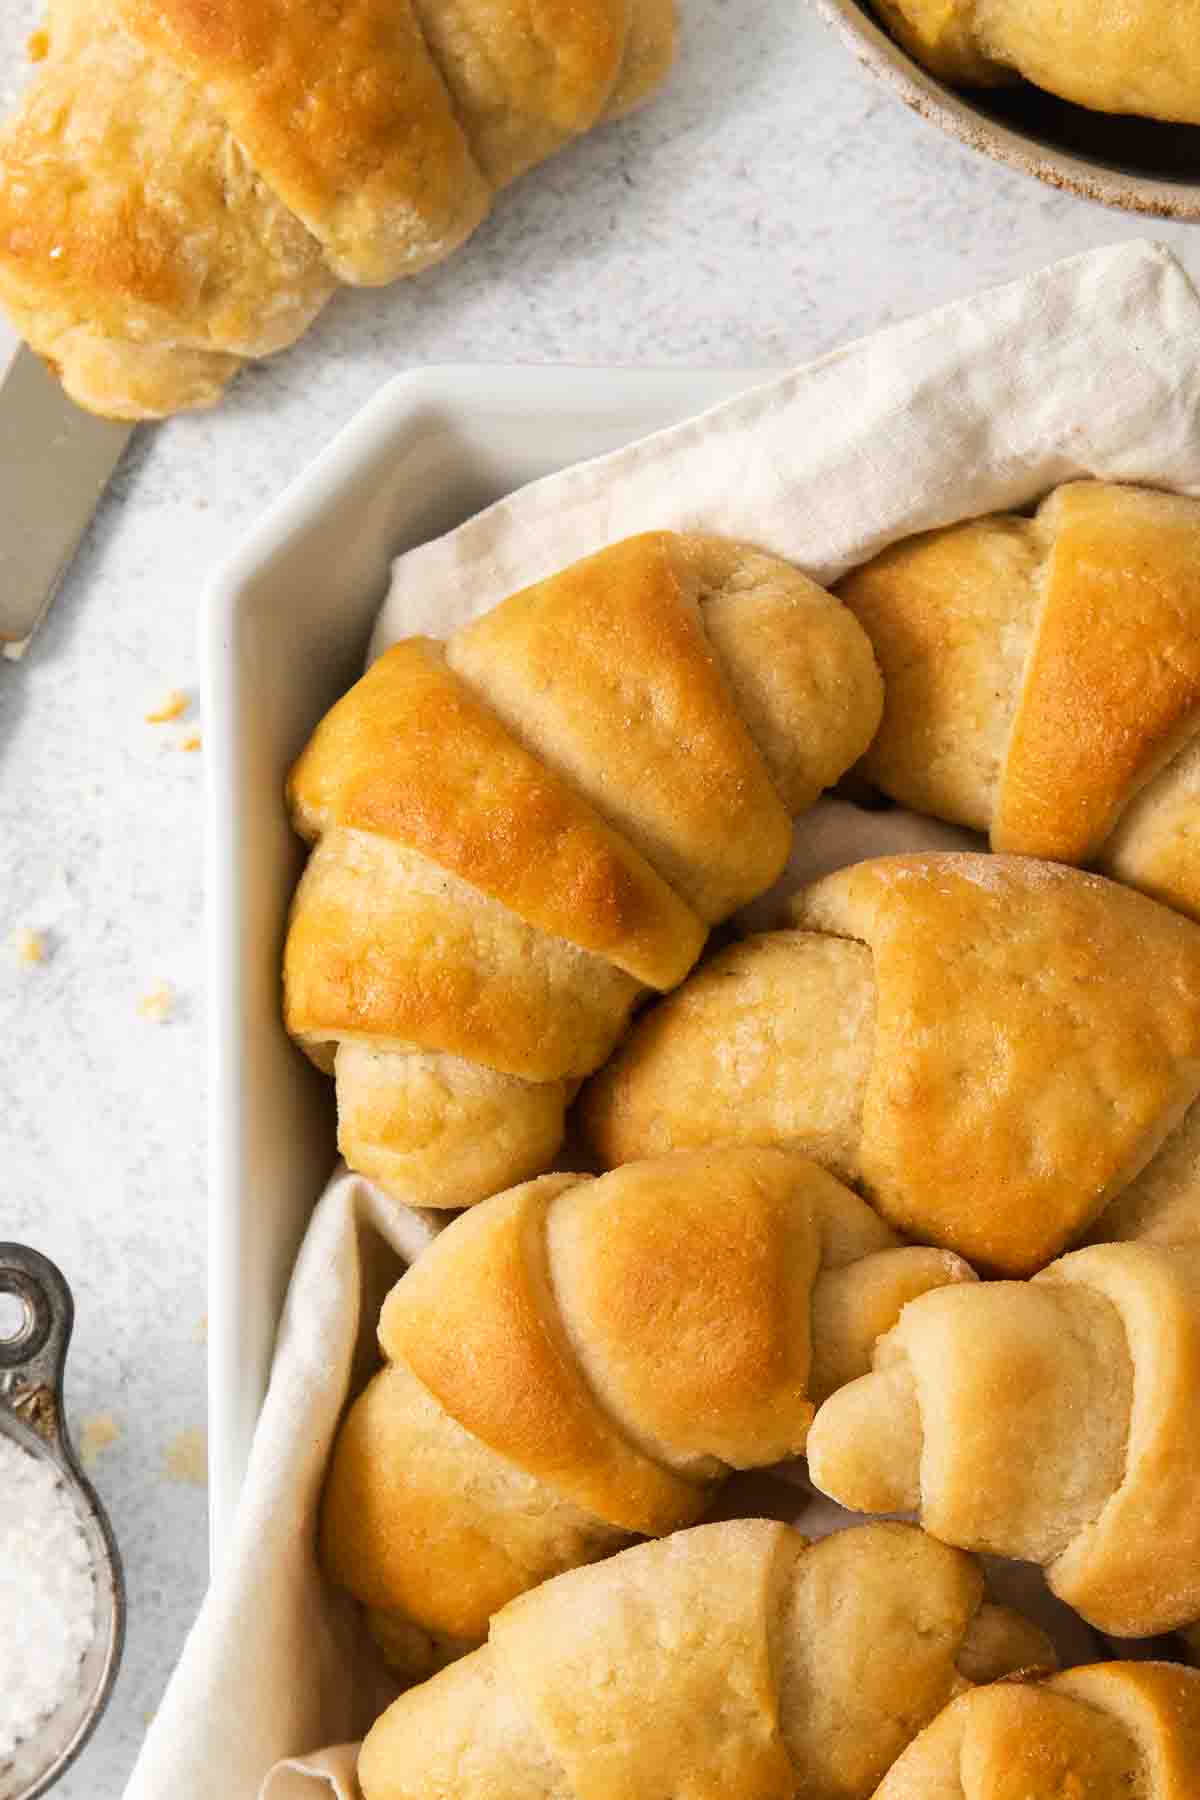
If you think eating gluten-free means giving up warm, buttery rolls, think again! I tested this recipe repeatedly to recreate the soft, fluffy crescent rolls I used to love.
My Mom used to make crescent rolls for Thanksgiving dinner every year. I’ve never been able to successfully make them gluten-free until I discovered this gluten-free bread flour! (Not sponsored!)
These buttery gluten-free crescent rolls can be rolled up into that classic crescent shape just like traditional rolls made with all purpose flour. Better yet, they’re even easier to make!
Since most crescent roll recipes call for two rises of the dough, they can seem intimidating and time-consuming. But with this recipe, the dough only needs to rise once! They really are a lot easier to make than you would think.
I love using whole milk and almond flour to make these crescent rolls rich in flavor and beautifully golden in color. I also have options to make these rolls nut-free and dairy-free.
Why You’ll Love This Recipe
- Easy, gluten-free rolls
- Light and fluffy
- Perfect for holiday dinners
- Only need one rise
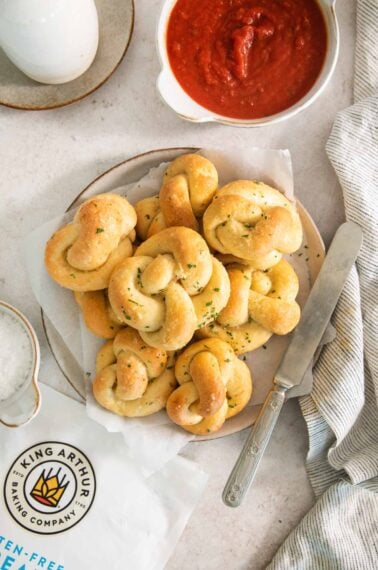
For more favorite gluten-free bread recipes, try these gluten-free biscuits, gluten-free breadsticks, gluten-free pizza crust, gluten-free Detroit-style pizza, gluten-free garlic bread, and gluten-free rolls.
Ingredients You’ll Need
For Roll Dough

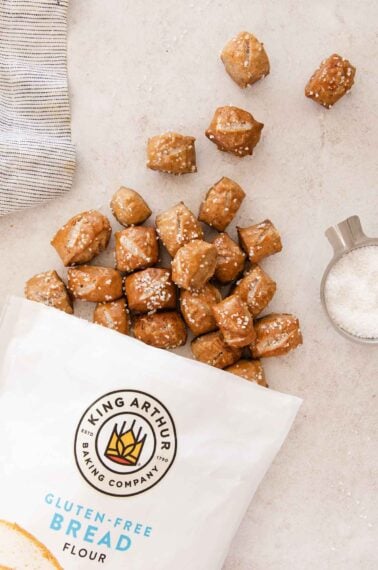
- Gluten-free Bread Flour: I’ve been loving using this gluten-free bread flour that contains gluten-free wheat starch and xanthan gum. It makes dough that is very easy to work with and gives the texture of traditional baked goods!
- Almond Flour: I add a little almond flour along with the gluten-free bread flour fore more flavor and browning. I use this same trick with my gluten-free chocolate chip cookies and gluten-free banana bread! For nut-free options, see the tips below.
- Water/milk: Warm water is mixed into the dough with eggs and melted butter. I also like using warm, whole milk to make more flavorful, buttery crescent rolls.
- Sugar: Domino fine granulated sugar is my favorite for this recipe!
- Baking powder: Any baking powder brand will work for this recipe. It’s essential for helping to create tender, fluffy gluten free rolls!
- Instant yeast: Be sure to use instant yeast for this gluten free crescent rolls recipe, which can be mixed right into the ingredients. (Active dry yeast must be mixed in water before adding to the dry ingredients.)
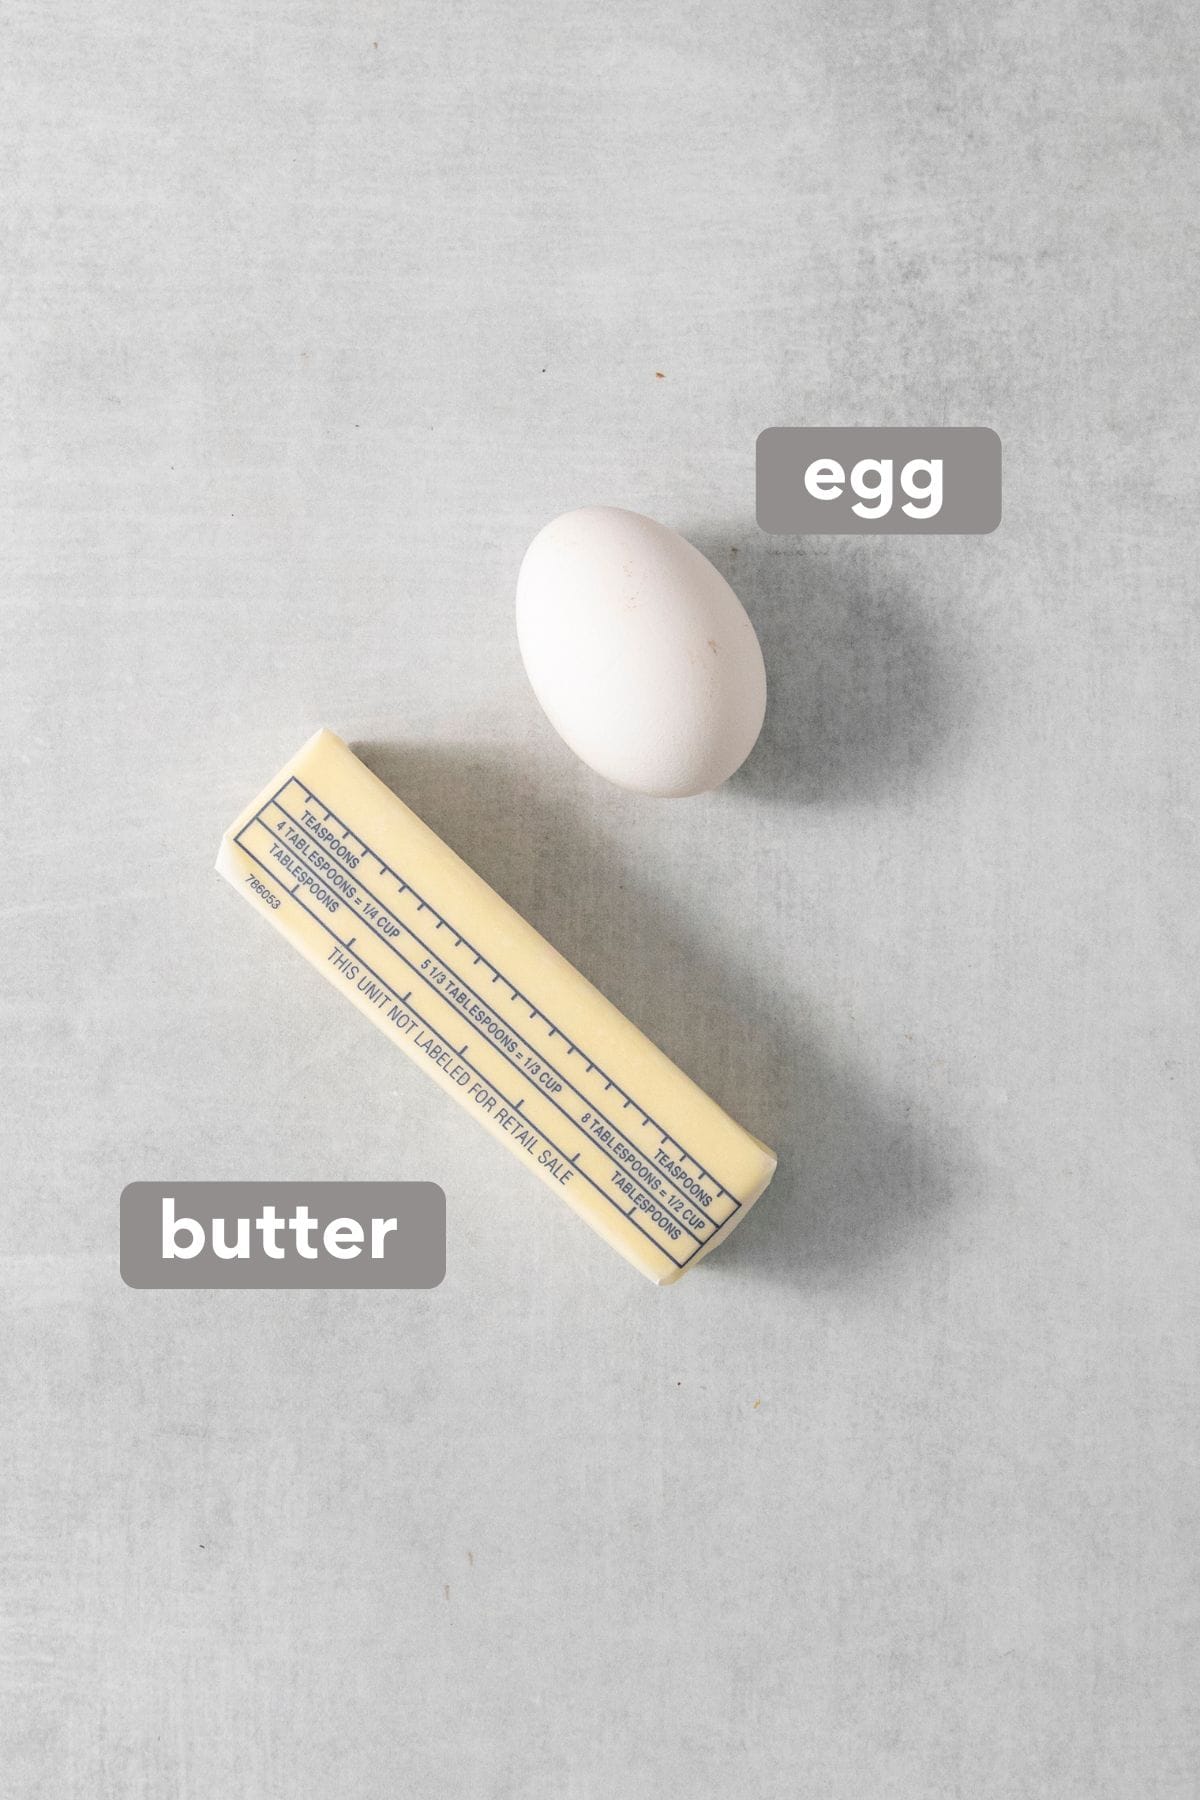
- Eggs: Two large, room temperature eggs are used to help bind the dough and create a rich flavor.
- Butter: I like using salted butter rather than unsalted butter. It has more depth of flavor!
- Salt: I like using fine sea salt for this crescent roll recipe.
Gluten-Free Bread Flour
This gluten-free bread flour really is the secret ingredient for amazing gluten-free crescent rolls. Unfortunately, other flour blends like gluten-free 1:1 baking flour won’t yield the same results.
I like combining gluten-free bread flour with a little of another flour, like almond flour, to give the rolls more flavor. The bread flour yields amazing texture, but can taste slightly bland on its own. If you can’t use almond flour, oat flour, sorghum flour or buckwheat flour are all great choices!
For Finishing the Rolls
- Butter: As with the crescent roll dough, I like using salted butter for the top of the rolls. It makes a real difference in the depth of flavor!
- Egg: Once the crescent rolls rise, you’ll brush them with an egg wash. This adds flavor and enhances the presentation, giving the rolls a nice shine!
You also might like these gluten-free scones or this gluten-free cornbread!
How to Make Gluten-Free Crescent Rolls
Make the Dough
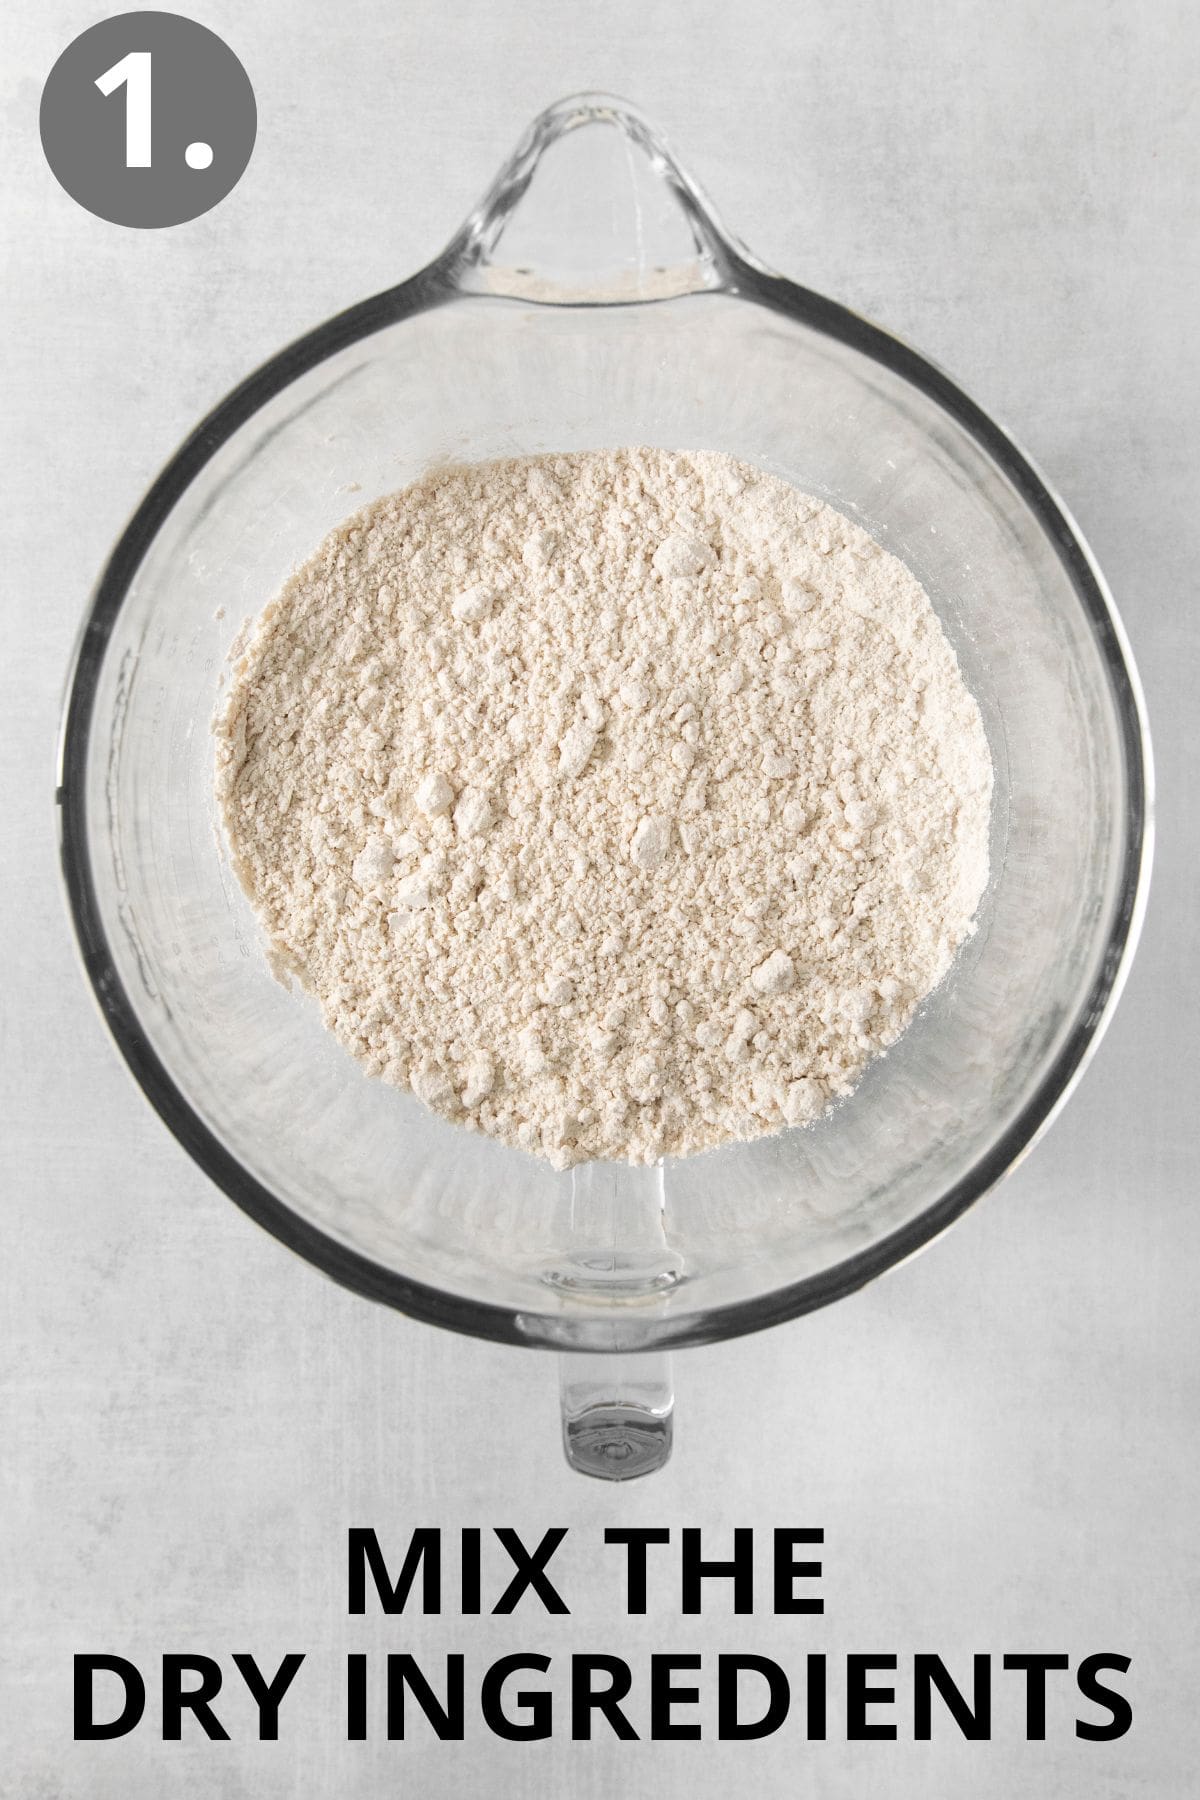
- In the bowl of a stand mixer fitted with the paddle attachment, add the gluten-free flour, almond flour, granulated sugar, instant yeast, baking powder and salt. Mix to evenly combine.
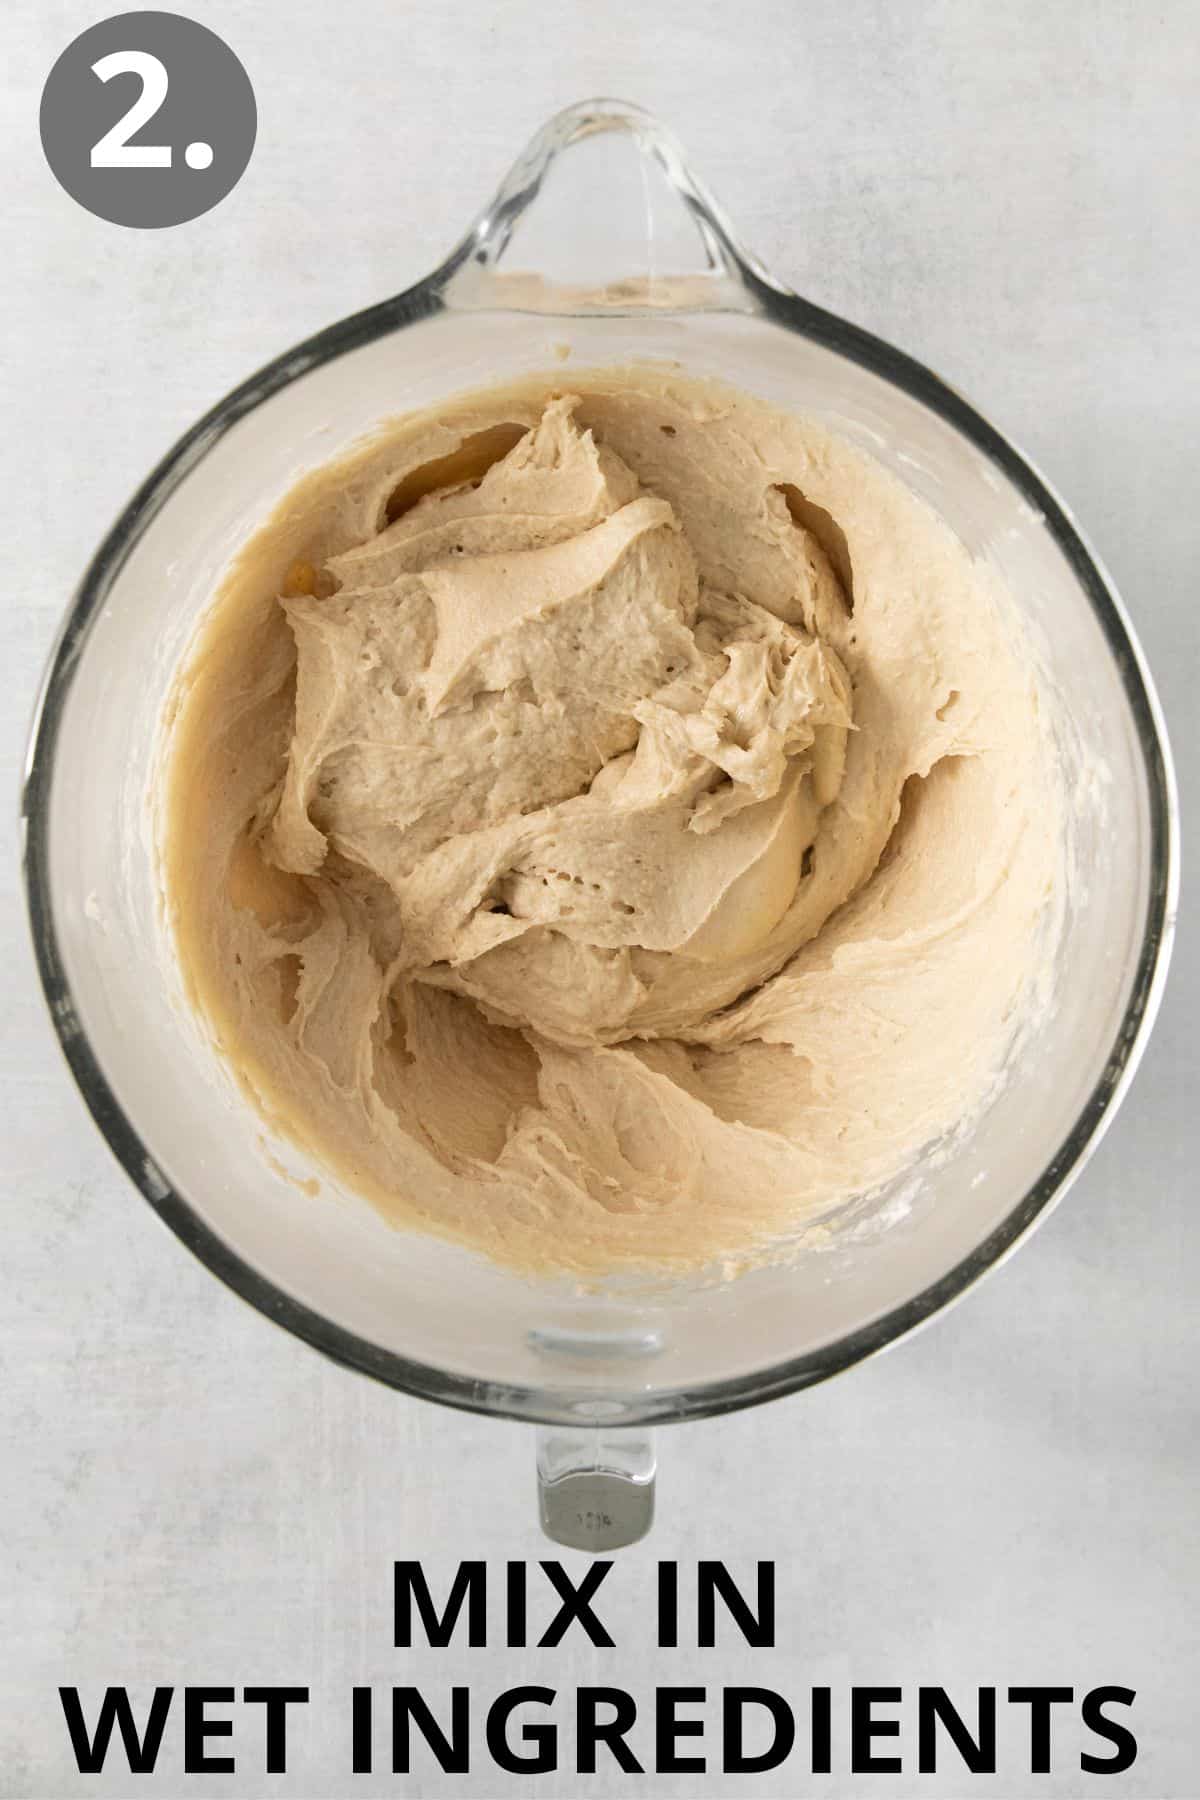
- With the mixer running on low, slowly add the water, milk, eggs and melted butter. Turn the speed up to medium and mix for 3 minutes until very smooth. The dough will resemble thick cookie dough. This is normal!
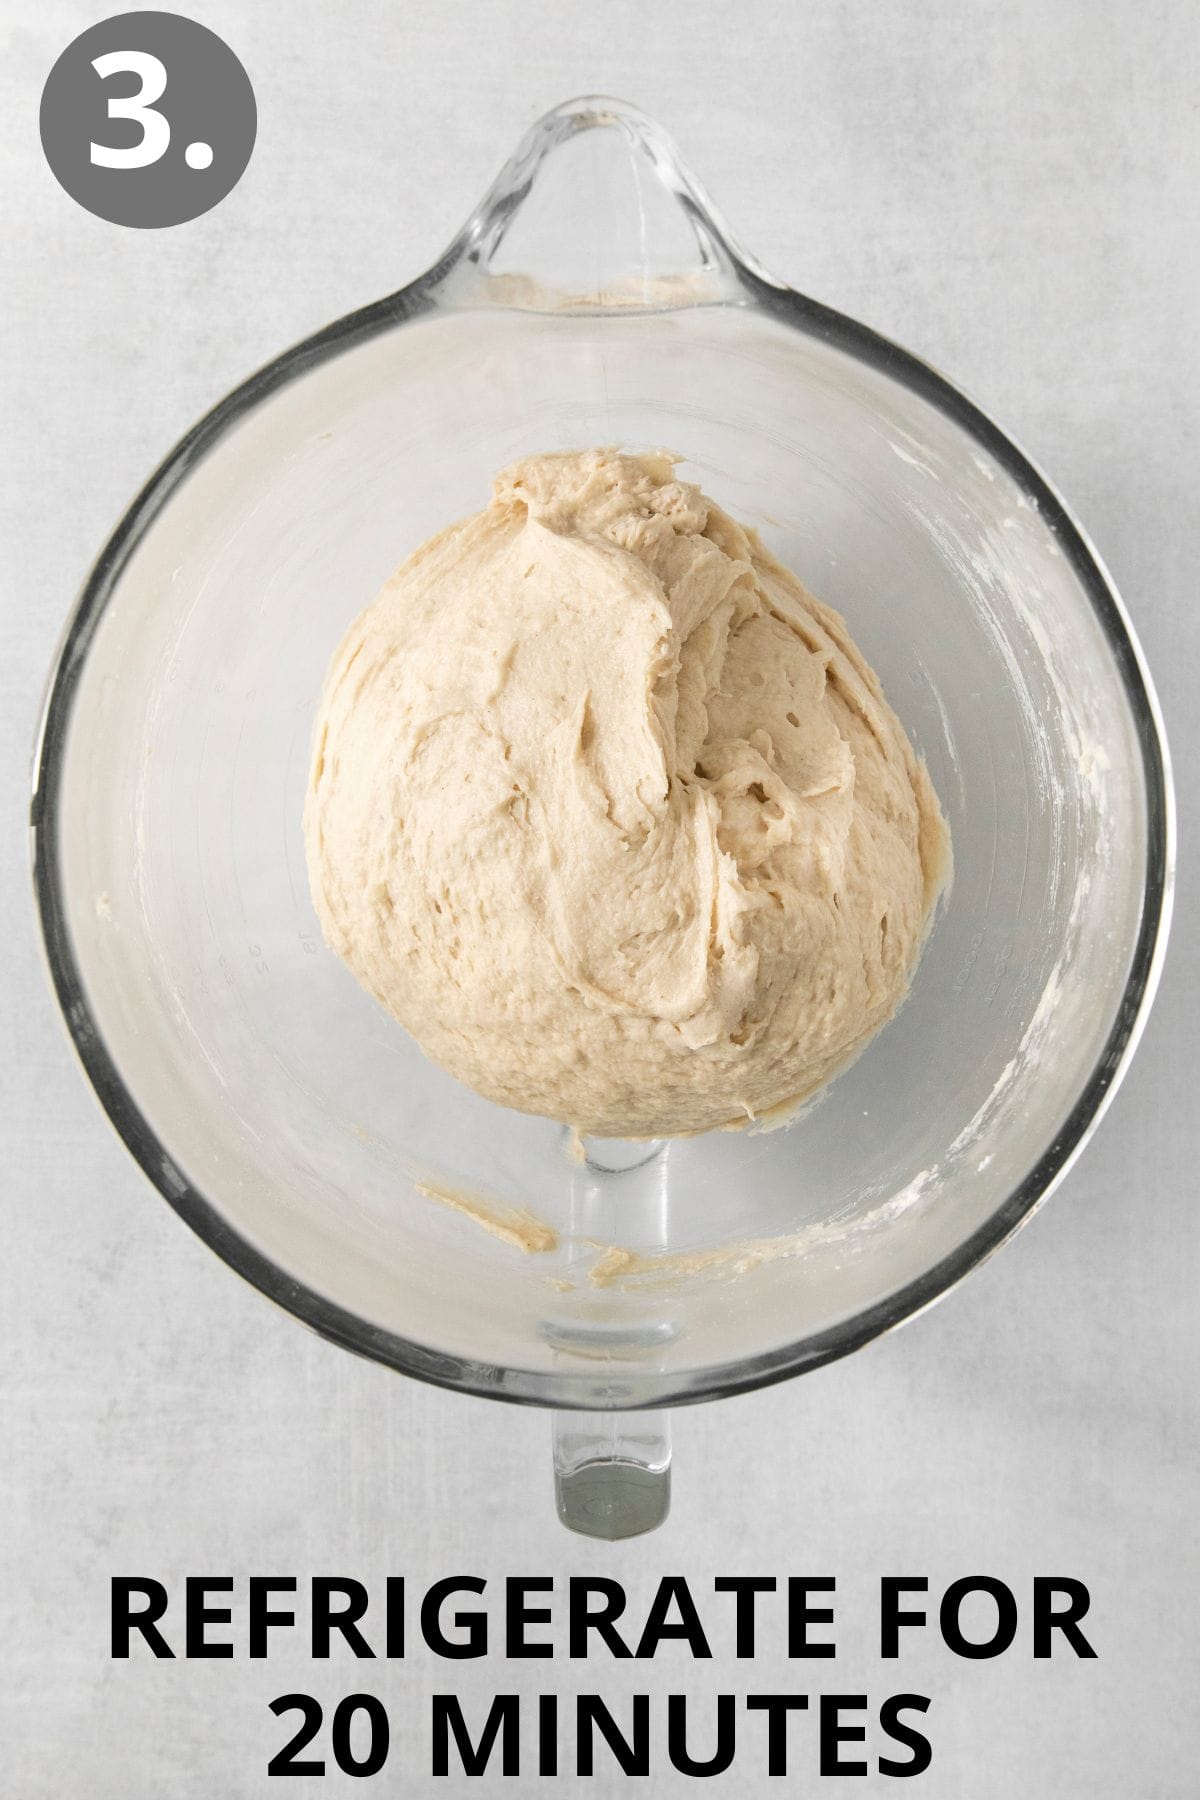
- Use an oiled spatula to scrape down the bottom and sides of the bowl. Cover the bowl tightly with plastic wrap and refrigerate for 20 minutes. (Refrigerating the dough makes it easier to roll out.)
Shape the Rolls
- Line 2 baking sheets with parchment paper or silicone baking mats.
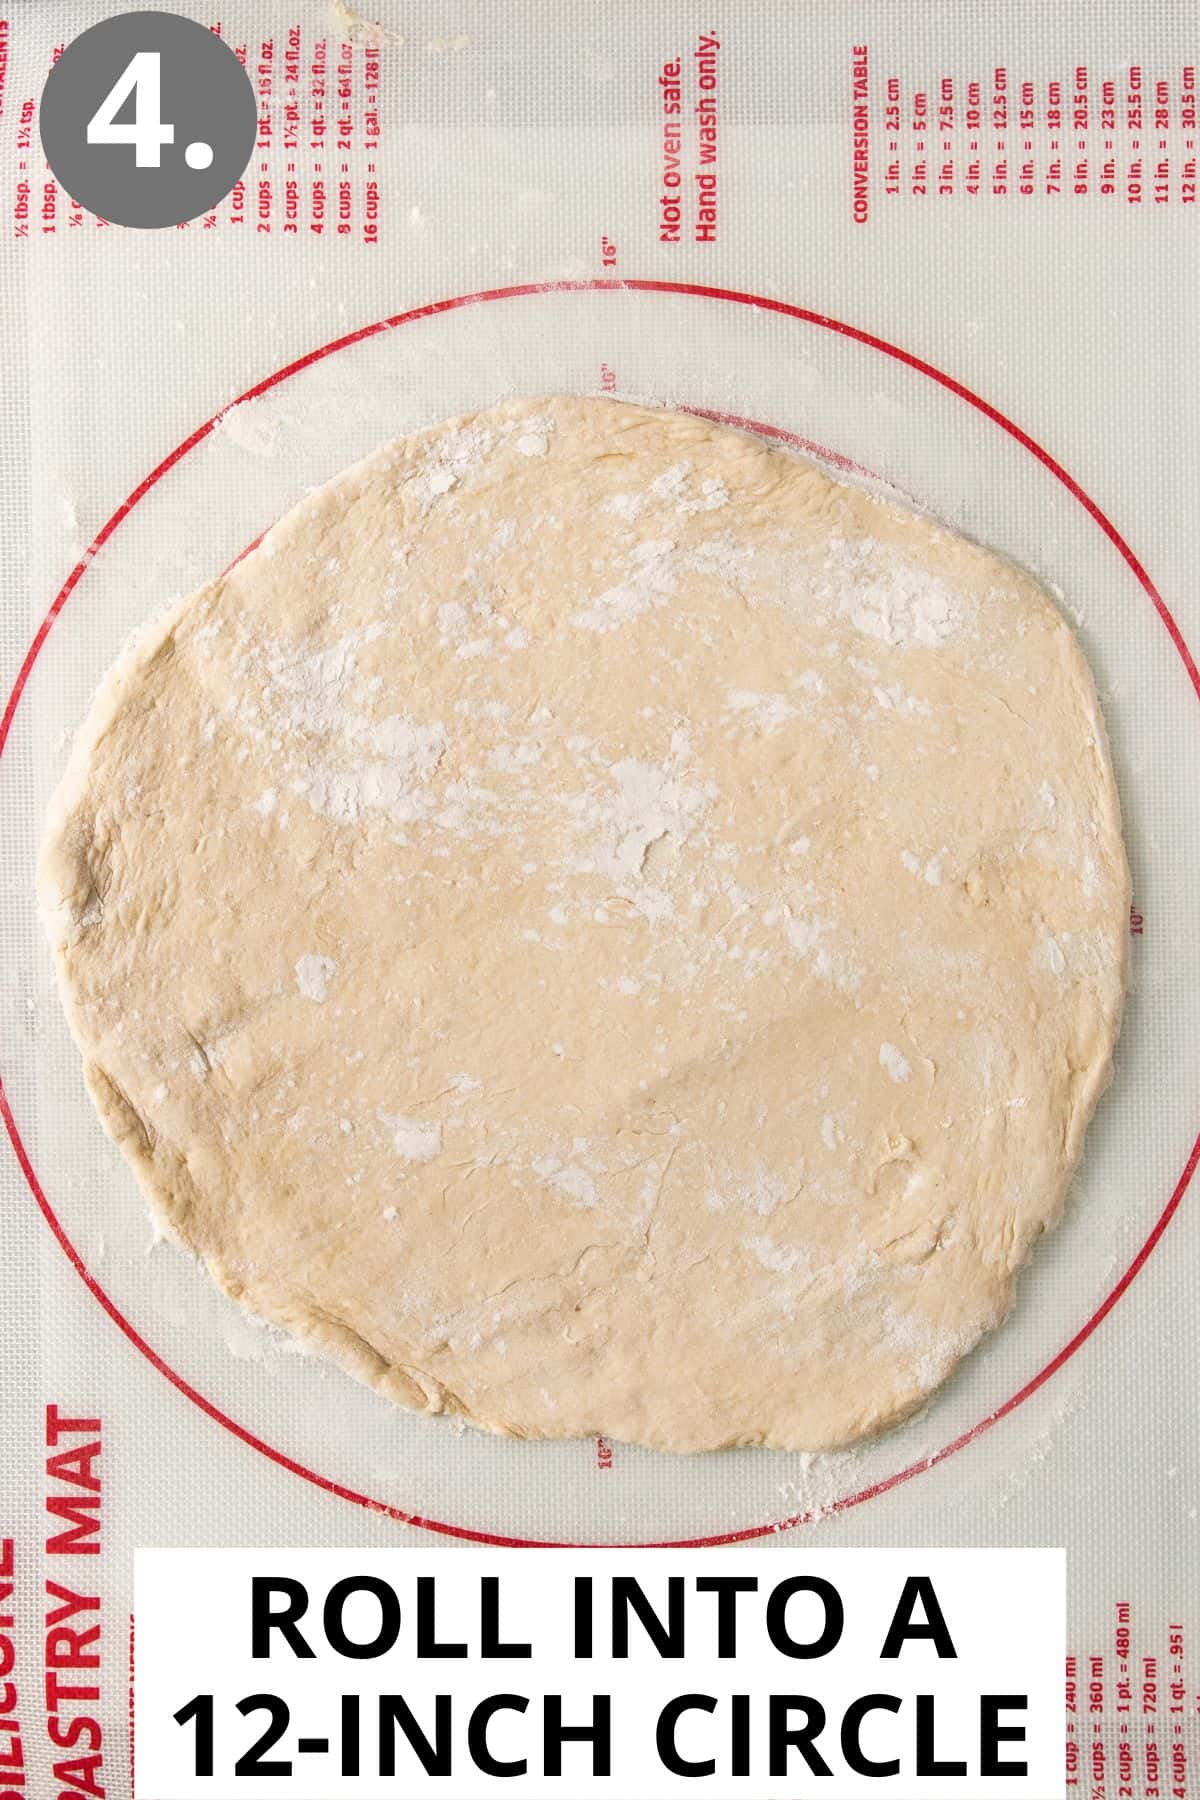
- On a lightly floured surface, scoop out ½ of the yeast-leavened dough. Roll into a 12-inch circle.
- Brush the top of the dough with melted butter, about 2 tablespoons per circle. (You’ll use the rest of the melted butter to brush on the rolls after they bake.)
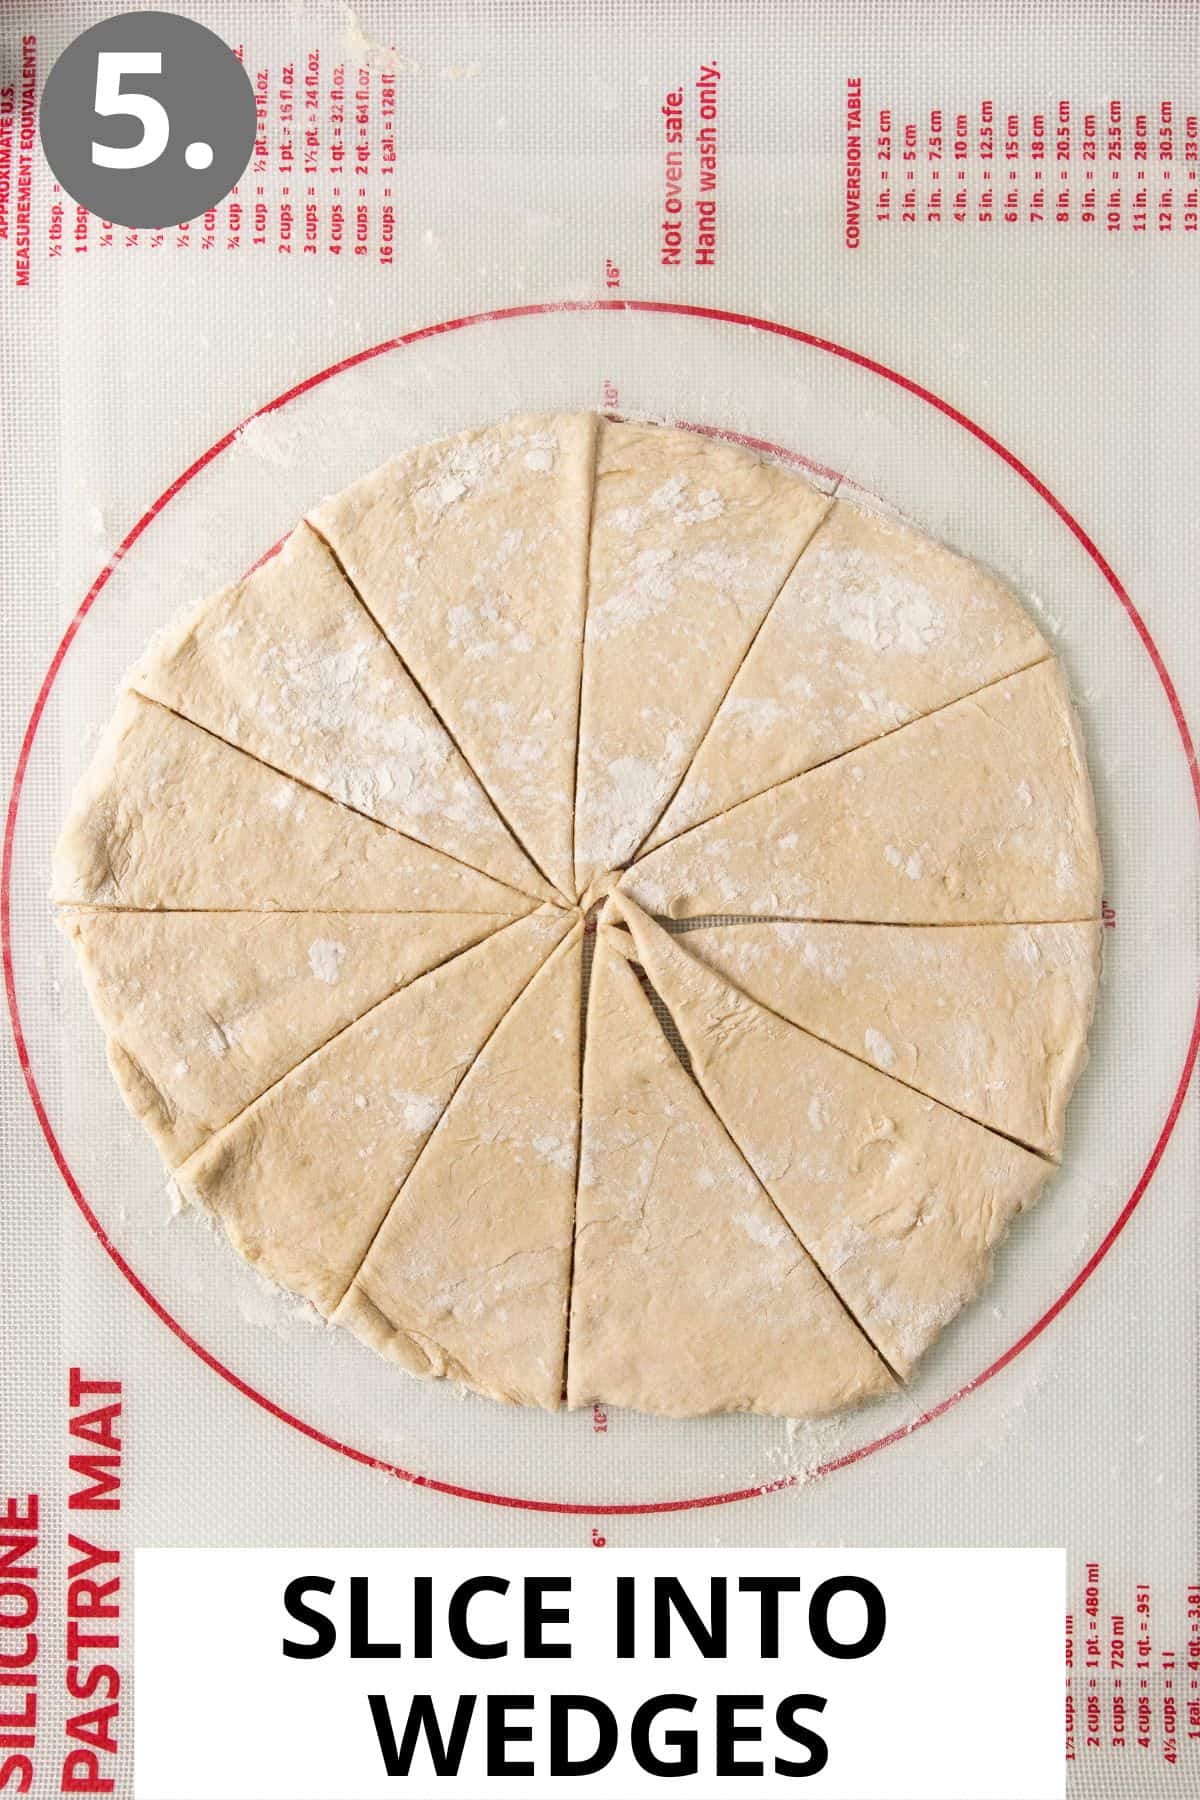
- Use a pizza cutter to slice the circle into 12 long triangles. (Mine usually vary in size and it’s just fine!)
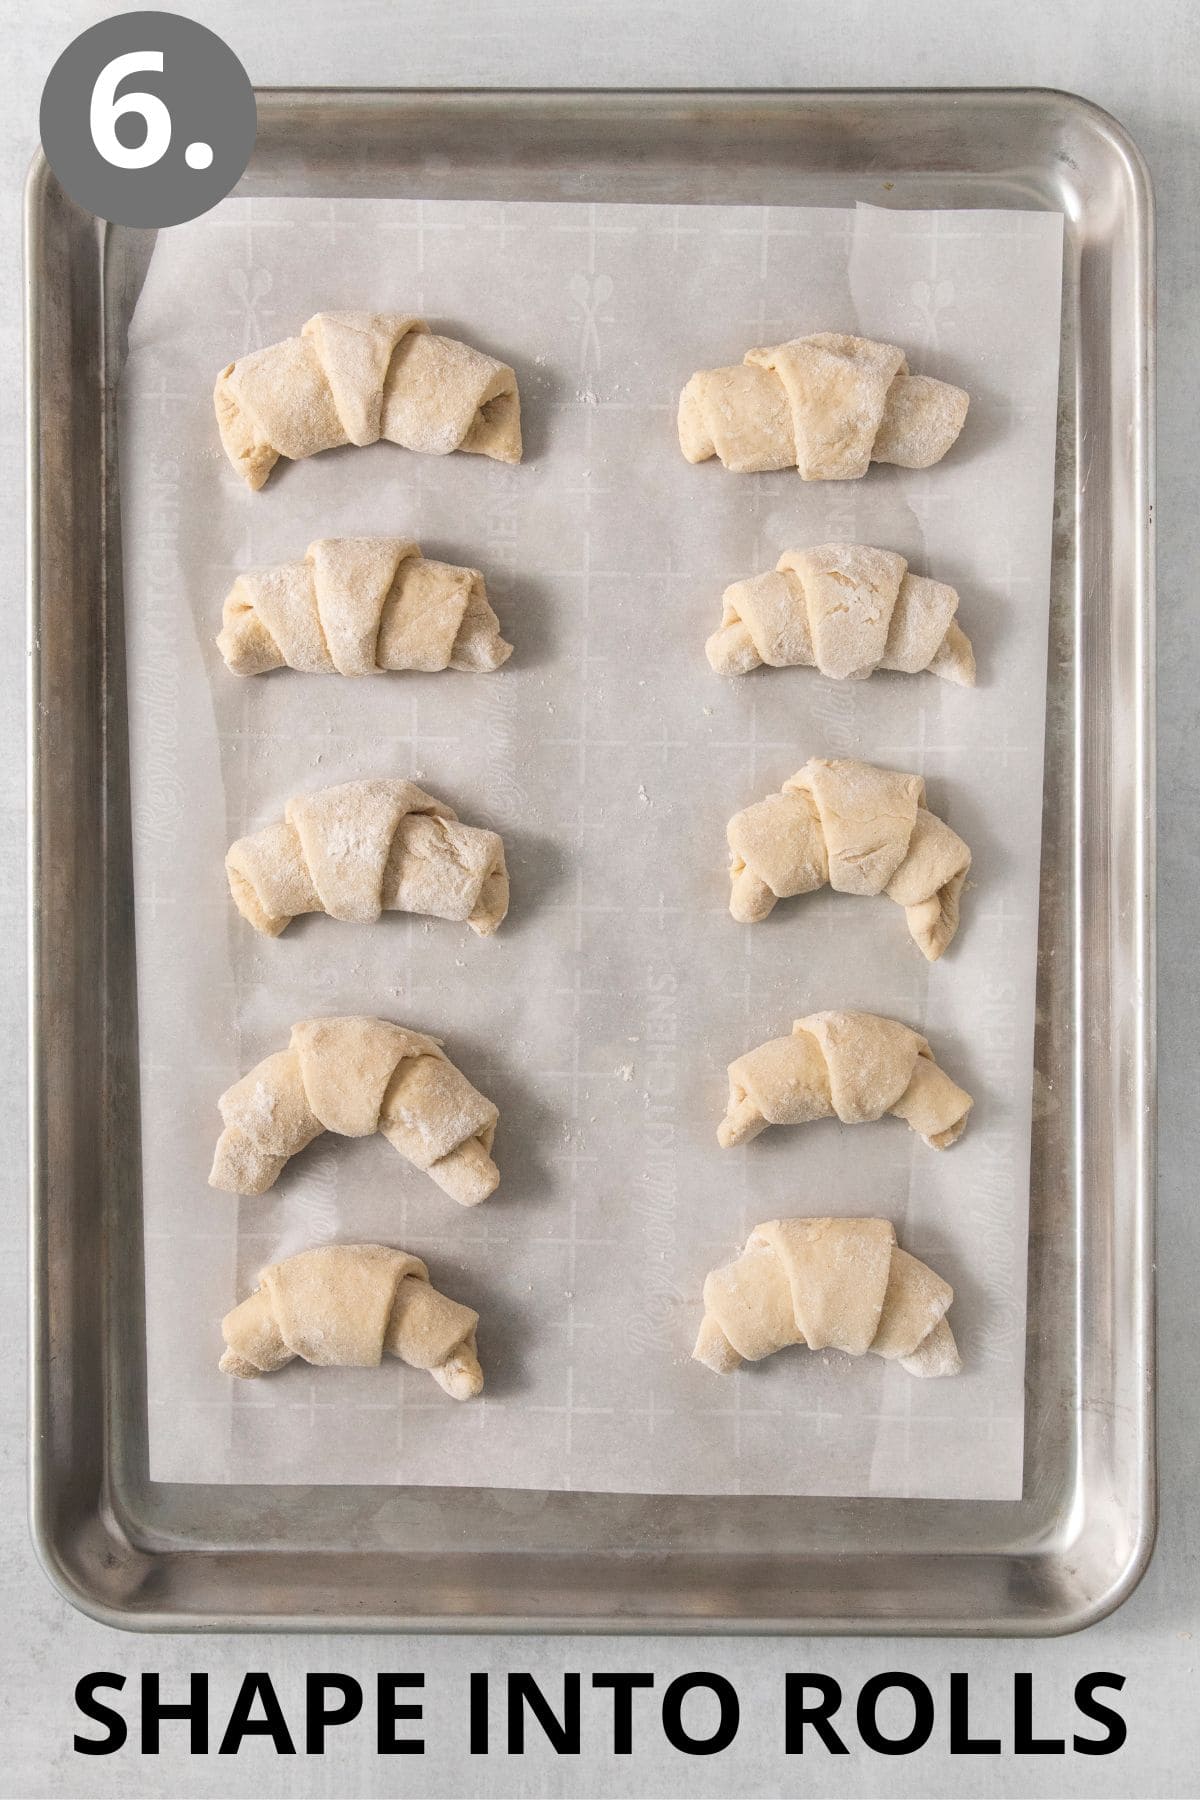
- Roll up wedges from the wide end and place point side down 2-inches apart on greased baking sheets or a parchment-lined baking sheet. Curve the ends to form crescents.
- Cover the gluten free rolls and let rise in a warm place until doubled, about 45-60 minutes.
Bake the Crescent Rolls
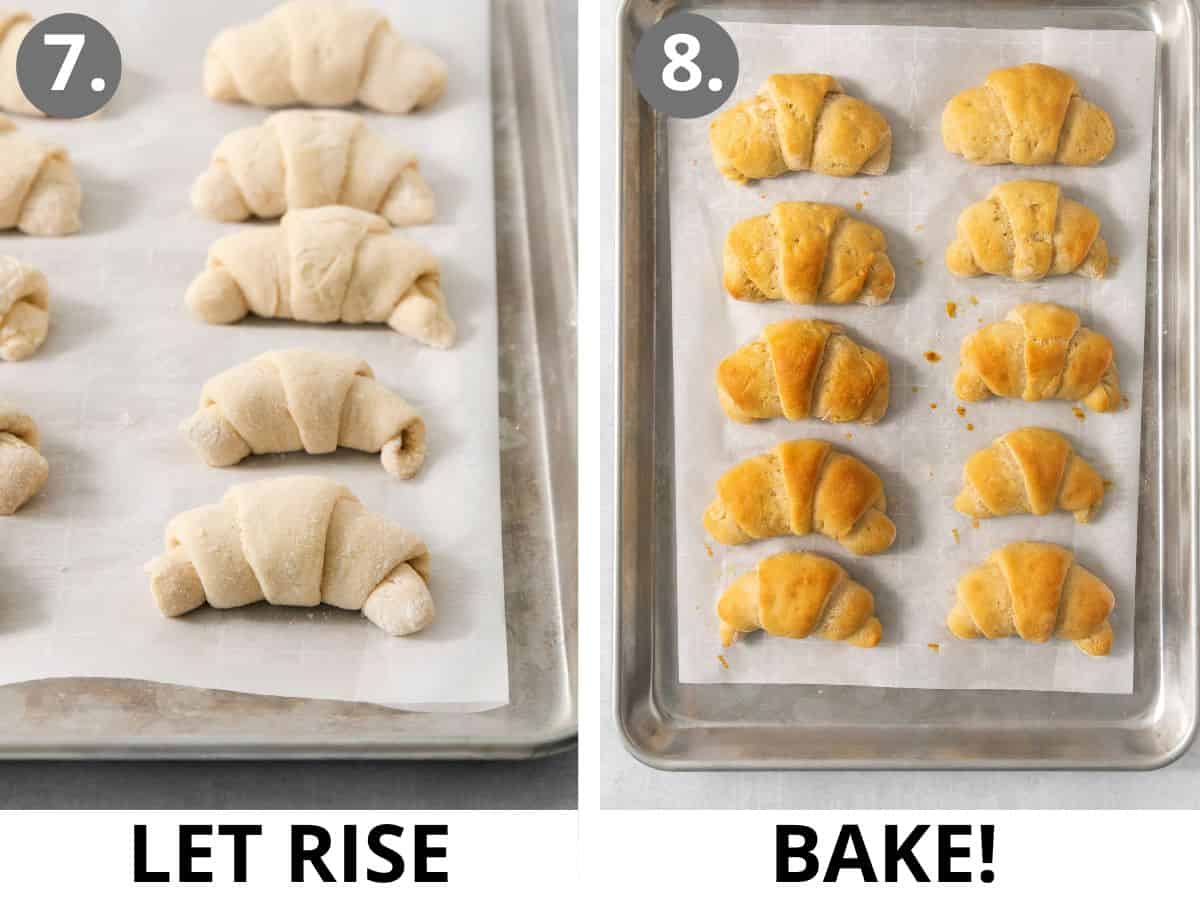
- Preheat the oven to 350F.
- Bake for 22-26 minutes, until starting to turn golden brown on the edges.
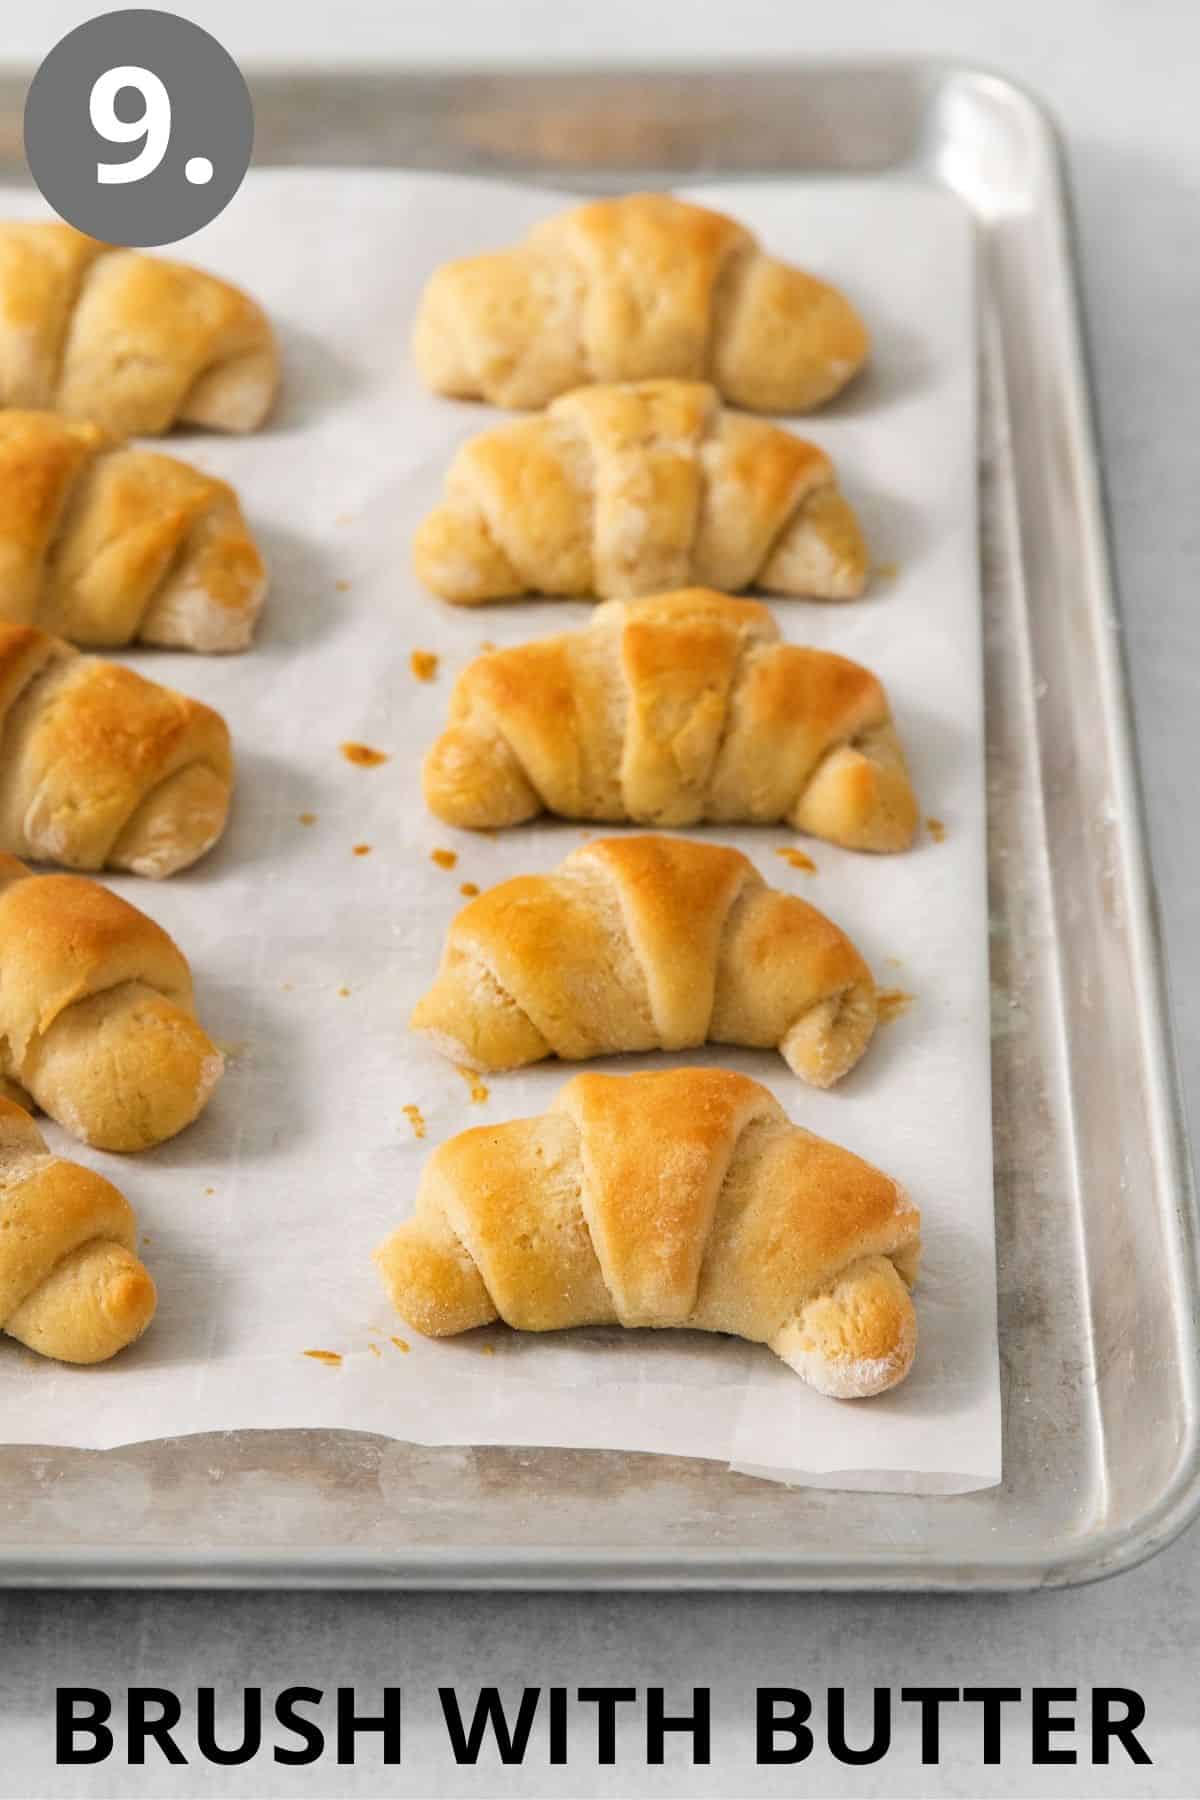
- Remove from the oven immediately and brush the baked crescent rolls with melted butter.
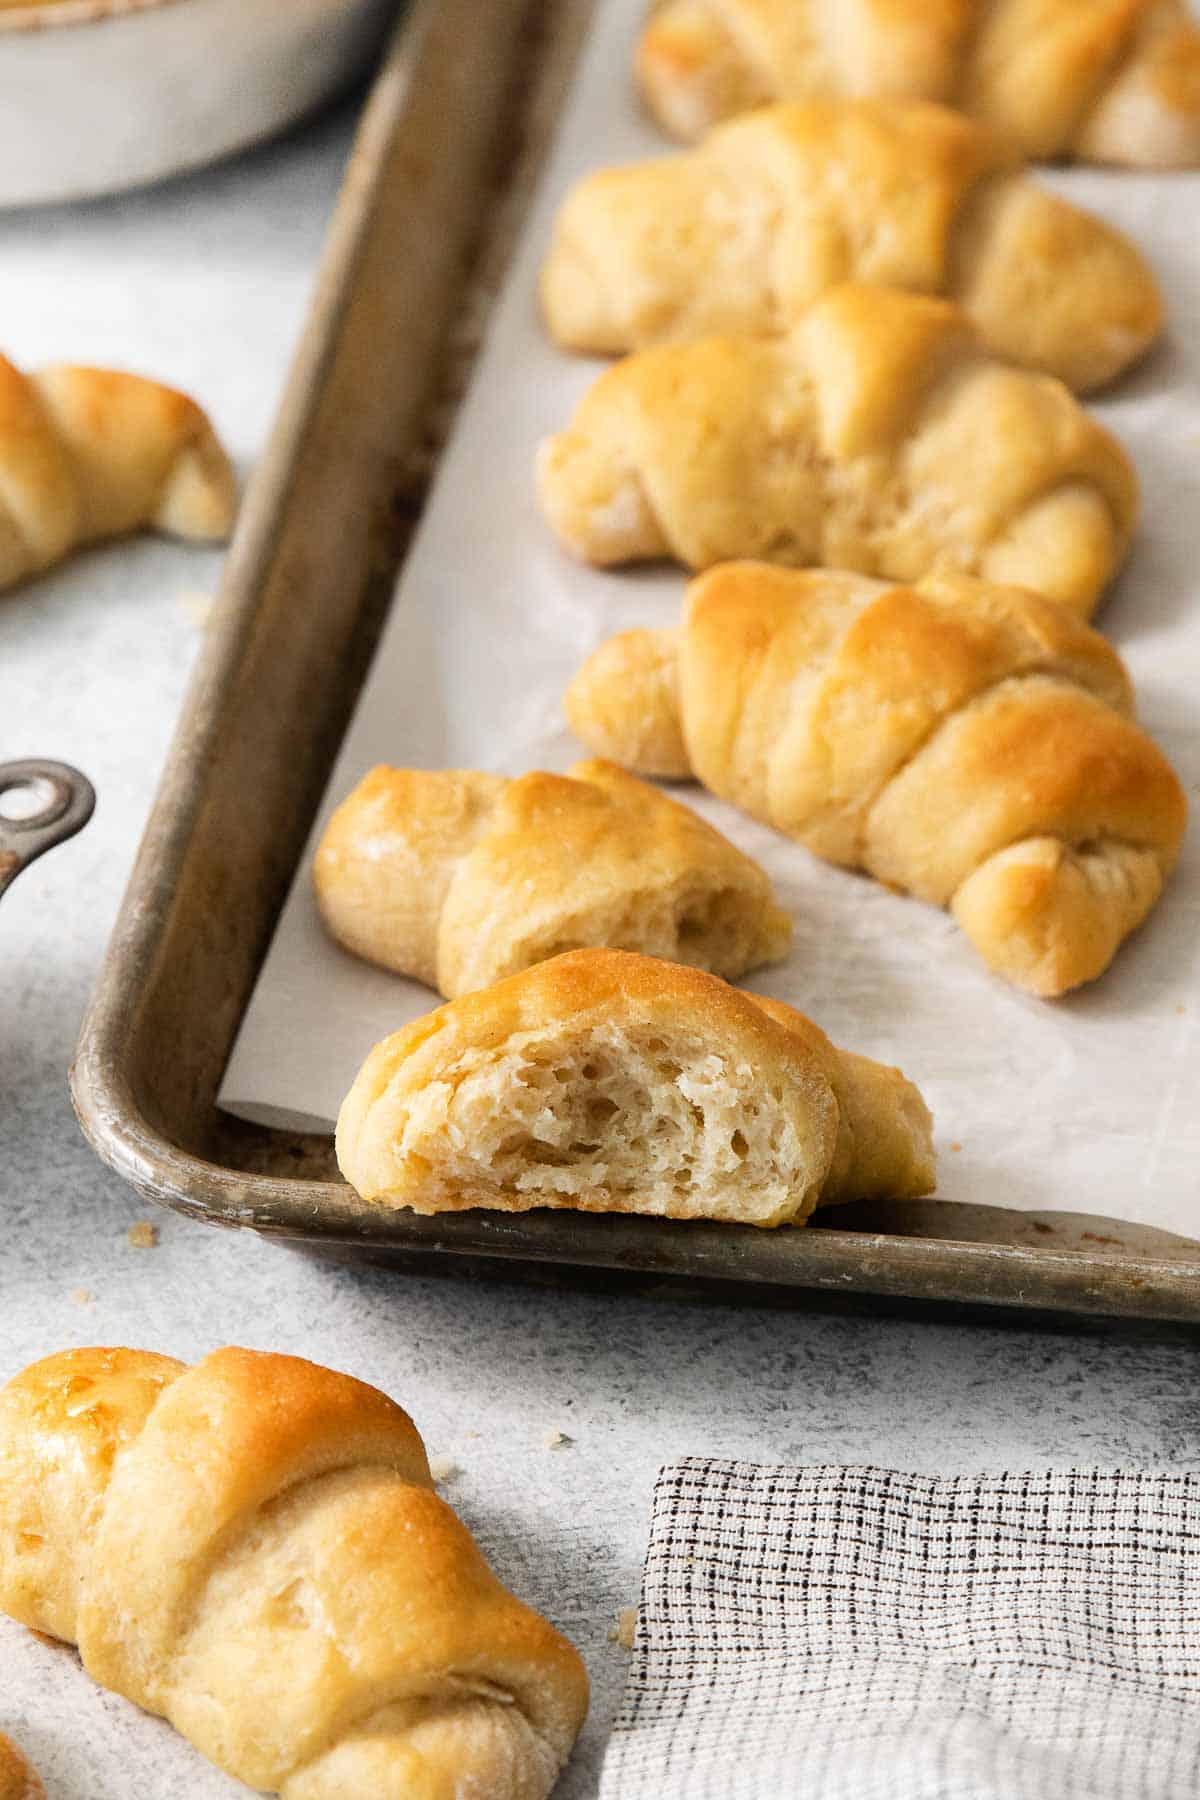
- Serve warm and enjoy!
Storage Instructions
These crescent rolls taste the very best when enjoyed shortly after baking.
TO STORE: Place the gluten-free crescent rolls in an airtight container and store at room temperature for up to three days. I like to refresh the rolls by slicing them in half, spreading them with a little butter and broiling the rolls for 2-3 minutes until warm/toasty.
TO FREEZE: Place the cooled rolls in a zip-top freezer bag, press air out and seal tightly. Freeze for up to 3 months. Defrost at room temperature and refresh by warming in the oven or microwave.
For more gluten-free holiday sides, try this gluten-free gravy, gluten-free stuffing, gluten-free green bean casserole, gluten-free sweet potato casserole, gluten-free cornbread sausage stuffing and roasted sweet potatoes.
Serve these with gluten-free pot roast or gluten-free beef stew for a comforting meal!
Expert Tips & Tricks
- This gluten-free bread flour really is the secret ingredient for amazing gluten-free crescent rolls. Unfortunately other flour blends like gluten-free 1:1 baking flour won’t yield the same results.
- I like using this silicone baking mat with circle measurements to roll out the dough. It’s helpful for measuring the 12-inch circle.
- I prefer using the paddle attachment on my stand mixer when making these crescent rolls, rather than the dough attachment. I find the it mixes the dough more evenly.
- I highly recommend using salted butter for this recipe. It provides the best depth of flavor!
- Let the dough rest in the refrigerator for 20 minutes before shaping to make it easier to work with. Also, be sure to flour your work surface and rolling pin while rolling out the dough.
- NUT-FREE: I like to add another flour to add more flavor to these rolls. The gluten-free bread flour can be a little bland on it’s own. If you can’t use almond flour, oat flour, sorghum flour or buckwheat flour are all great choices! You could also simply use more bread flour in place of almond flour.
- DAIRY-FREE: I like using Elmhurst Unsweetened Cashew milk in place of whole milk. It has a similar fat content to whole milk, and doesn’t have any added gums or stabilizers that could interfere with the rise/crumb of the rolls. I also use vegan butter in place of the butter.
MORE GLUTEN-FREE BREAD RECIPES

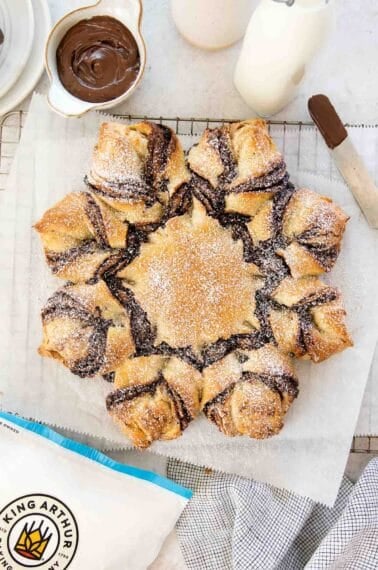
For more recipes with gluten-free bread flour, try these gluten-free hamburger buns, gluten-free dinner rolls, gluten-free naan, gluten-free cinnamon rolls, gluten-free cinnamon roll wreath, gluten-free orange rolls, and gluten-free monkey bread.

Buttery, Gluten-Free Crescent Rolls
Video
Ingredients
For the Dough:
- 4 cup (600g) King Arthur Gluten-Free Bread Flour
- 2/3 cup (75g) almond flour or another flour of choice for flavor, see note
- ¼ cup (50g) granulated sugar
- 3 tablespoons (20g) dry whole milk powder (optional but makes the rolls softer!)
- 2 ¼ teaspoons instant yeast 1 packet
- 2 teaspoons salt
- 1 teaspoon baking powder
- 1 cup (236ml) water, warm
- 1 cup (236ml) whole milk, warm see note for dairy-free
- 2 large eggs
- 8 tablespoons (113g) butter, melted plus more for topping after baking
Instructions
Make the Dough
- In the bowl of a stand mixer fitted with the paddle attachment, add the gluten-free flour, almond flour, granulated sugar, instant yeast, salt and baking powder. Mix to evenly combine.
- With the mixer running on low, slowly add the water, milk, eggs, and 4 tablespoons of melted butter. Turn the speed up to medium and mix for 3 minutes until very smooth. The dough will resemble thick cookie dough. This is normal!
- Use an oiled spatula to scrape down the bottom and sides of the bowl. Cover the bowl tightly with plastic wrap and refrigerate for 20 minutes. (Refrigerating the dough makes it easier to roll out.)
Shape the Rolls
- Line 2 baking sheets with parchment paper or silicone baking mats.
- On a lightly floured surface, scoop out ½ of the dough. Roll into a 12-inch circle. Brush the top of the dough with melted butter, about 2 tablespoons per circle.
- Use a pizza cutter to slice the circle into 12 equal wedges. (Mine usually vary in size and it’s just fine!) Roll up wedges from the wide end and place point side down 2-inches apart on greased baking sheets. Curve the ends to form crescents.
- Cover and let rise in a warm place until doubled, about 45-60 minutes.
Bake the Rolls
- Preheat the oven to 350F.
- Bake for 22-26 minutes, until starting to turn golden on the edges. Remove from the oven immediately and brush the rolls with additional melted butter.
- Serve warm and enjoy!
Notes
- This gluten-free bread flour really is the secret ingredient for amazing gluten-free crescent rolls. Unfortunately other flour blends like gluten-free 1:1 baking flour won’t yield the same results.
- I like using this silicone baking mat with circle measurements to roll out the dough. It’s helpful for measuring the 12-inch circle.
- I prefer using the paddle attachment on my stand mixer when making these crescent rolls, rather than the dough attachment. I find the it mixes the dough more evenly.
- I highly recommend using salted butter for this recipe. It provides the best depth of flavor!
- Let the dough rest in the refrigerator for 20 minutes before shaping to make it easier to work with. Also, be sure to flour your work surface and rolling pin while rolling out the dough.
- NUT-FREE: I like to add another flour to add more flavor to these rolls. The gluten-free bread flour can be a little bland on it’s own. If you can’t use almond flour, oat flour, sorghum flour or buckwheat flour are great choices! You could also simply use more bread flour in place of almond flour.
- DAIRY-FREE: I like using Elmhurst Unsweetened Cashew milk in place of whole milk. It has a similar fat content to whole milk, and doesn’t have any added gums or stabilizers that could interfere with the rise/crumb of the rolls. I also use vegan butter in place of the butter.
Nutrition
FAQs
No, Pillsbury doesn’t make gluten-free crescent rolls. However, you can buy gluten-free crescent roll mix from brands like Mom’s Place. Or, if you prefer, you can make homemade gluten-free crescent rolls using gluten-free flour.
Crescent rolls and croissants both have a similar crescent shape, but they’re different in texture and flavor. Croissant dough is laminated, which means that butter is folded into the dough multiple times to create thin, flaky layers. In contrast, crescent rolls are made by rising yeasted dough once or twice to create a bread-like roll.
Yes, crescent rolls are made from a yeasted dough that rises once or twice to create a light, fluffy consistency. If the recipe calls for instant yeast, the yeast can be added right into the dry ingredients. If the recipe calls for active dry yeast, it must be activated in warm water before adding to the other ingredients.


I’m a teenager with celiac disease. I only trust Meaningful Eats with gluten-free baking, so I was very excited to see this crescent roll recipe! I just got around to making these for Thanksgiving and WOW, these rolls are absolutely INCREDIBLE! By far the best gluten-free yeasted recipe I’ve made to date (and I’ve tried a lot!). They even taste like the Sister Schubert bread rolls I used to love before I went gluten-free. Thank you Mrs. Erin for yet another amazing recipe!
Yay! We’re so happy to hear how much you loved the recipe, Molly! Thank you for taking the time to share your positive feedback with us. Happy baking!
Going to make these for Thanksgiving. I, too, tried making half a batch just to test-run the recipe. Ended up with sticky mess and ended up throwing it away ! Tomorrow will be making full recipe. Wish me luck!
My question is not related to recipe , but I’d like to know how a pizza cutter is used and it doesn’t destroy the pastry pad. I completely destroyed my pad and had to buy another.
Has anyone mixed the day before?
Hi Gena, to make the dough a day ahead you could try covering the bowl tightly with plastic wrap and refrigerating, then the day of let it sit out at room temperature for about 30-45 minutes to soften before shaping. The rise time after shaping may take longer to get it to double in size since the dough will be colder. We’d love to hear how it goes!
Have you ever tried freezing the rolls before baking? Curious if I could make a batch to have on hand in the freezer.
Hi Katie, we haven’t tested it out, but it’s worth a try! We’d recommend freezing the shaped rolls for 1-2 hours on a lined baking sheet before storing them in a freezer bag or airtight container for long-term freezing. Thaw on a prepared baking sheet in a warm area for 1-2 hours then bake according to the recipe. We’d love to hear how it goes!
Hi, I bought the silpat mat that is linked and on the mat it says not to cut or use a knife. The directions noted that you can use a pizza cutter to cut the rolls. Just wanted to be sure that I had the correct mat (looks the same) and that you are indeed cutting on it safely despite what it says on the mat. I’m going to be teaching a group of teens how to make these and bought the mat to make it easier. Just want to be sure that I ask about this as I’m sure that they will ask me.
Thank you! I’m excited to try these.
Hi Leslie, since the dough doesn’t require deep cuts to cut out the rolls, the pizza cutter shouldn’t hurt the mat. You just don’t want to cut hard enough to cause damage to the mats. We hope this helps and the teens enjoy the recipe!
Can dairy free butter be used in place of real butter?
Hi Meredith, yes you can definitely use dairy-free butter in this recipe! We hope you enjoy the crescent rolls!
Thank you!
Will almond milk work in place of whole milk? Thank you for all the gluten free recipes! Can’t wait to try them…
Hi Kelly, for a dairy-free option we recommend using Elmhurst Unsweetened Cashew milk. It has a similar fat content to whole milk and doesn’t have any added gums or stabilizers that could interfere with the rise/crumb of the rolls. Other dairy-free milks without gums/stabilizers could work too. We hope you enjoy the recipe!
Instead of dry milk powder can I just use regular milk?
Hi Mallory, using regular milk instead of milk powder would add more liquid to the dough which would impact texture. Since the milk powder is optional in this one, we would recommend just excluding it if you don’t want to use it. We hope you enjoy the recipe!
We cannot have corn in addition to wheat, is there any way to substitute the bread flour? These look delicious!
Hi Stacy, thank you for your question! Unfortunately this recipe was designed with the KAF bread flour specifically and other flour blends, like gluten-free measure-for-measure flour, won’t yield the same results.
I have powdered non-fat milk. Should I use that or is it not worth it if it isn’t powdered whole milk?
Hi Sherry, thank you for your question! Since the powdered milk is optional in this recipe, the non-fat version should work fine, though it may slightly impact texture. We hope you enjoy the crescent rolls!
Thank you for this! I always do a make-ahead Thanksgiving and this is my first thing I made for this year. I didn’t want to buy dried milk powder and I remembered I always have buttermilk powder on hand. And I use it to make cakes tender, so why not rolls?
I followed the recipe exactly except for the buttermilk sub and they are perfect and delish. I can’t wait to try your stuffing!
Hi Lenora, we’re so happy to hear you loved the recipe! That’s great to know the buttermilk powder works well too! Thank you for taking the time to share with us. Happy baking!
Can the dough be mixed by hand? I don’t have a stand mixer with paddle attachment.
Hi Sheryl, you can definitely mix by hand! Stand mixers makes things easier, but they aren’t a requirement. We hope you enjoy the recipe!
Made the mistake of making these with the King Arthur Measure to Measure flour the first time and if anyone is wondering if really does not turn out the same. Was very disappointed. Realized I used the wrong flour and remade them with the right flour and such a difference!!!! Thank you
Hi Shannon, that’s a bummer about the first batch, but we’re so glad you loved the second batch with the King Arthur gf bread flour! Thank you for taking the time to share your experience with us!
Do I need to let these rise or after you mix do you put them straight in the fridge?
Hi Julie, good question! After mixing the dough, make sure to scrape the dough off the sides and bottom with an oiled spatula, then cover the bowl tightly with plastic wrap and pop it right in the fridge. The only rise in this recipe is after the crescent rolls have been shaped.
I’m making these this week- I’m very excited! Thank you for making a delicious gf roll recipe that makes plenty of rolls for a group or holiday!! That is really hard to come by.
Quick question —
Will it end up being about 8 TBSP or butter because you add 4 to the dough and then 2 to each rolled out round? Thanks! Love your recipes, I have both your books and recommend your website to many !
I was wondering the same thing… Thanks for clarifying, Christie!
No problem, Marley — glad this helped! We hope you enjoy the recipe!
Hi Sarah, thank you for your question! You’ll need 4 TBSP for the dough itself then additional butter for before and after baking. We generally recommend 2 TBSP per circle (the full recipe makes two circles) for covering the dough before baking then you’ll need more to top the baked rolls after. It might be safer to estimate 10-12 TBSP total, but it really depends on how much you brush onto the rolls those two times. We hope this helps!
For make ahead, I’m wondering if you’ve ever frozen right after shaping and then let them come to room temp and rise? Trying to get a head start on thanksgiving prep!
Can I make these the night before and bake the next day?
Hi Gretchen, refrigerating the dough overnight and baking the next day should work okay. We wouldn’t recommend keeping it in the fridge longer than one day though. Thanks for your question!
I never thought these would turn out so great! I’ve tried many gf yeast recipes and always end up with gummy, flat rolls or loafs. These Crescent rolls are so very very good. Rose to perfection, baked beautifully brown and texture and taste were perfect. I think much of it was the King Arthur Bread Flour. I followed the recipe but used buttermilk powder instead of regular. My dough was a little soft so I added probably an additional 1/2 cup of flour when rolling it out. I kind of goofed up because my silpat sheet wasn’t big enough so at first I tried rolling it out on parchment ….BIG MISTAKE. I made the silpat work. Even with all the handling the rolls were perfect.
Thank you so much for the recipe.
P.S. I have recipe for broccoli ham crescent rolls which I will adapt for Easter brunch.
Thank you for your feedback and tips, Janice! We’re so glad you enjoyed the crescent rolls!