


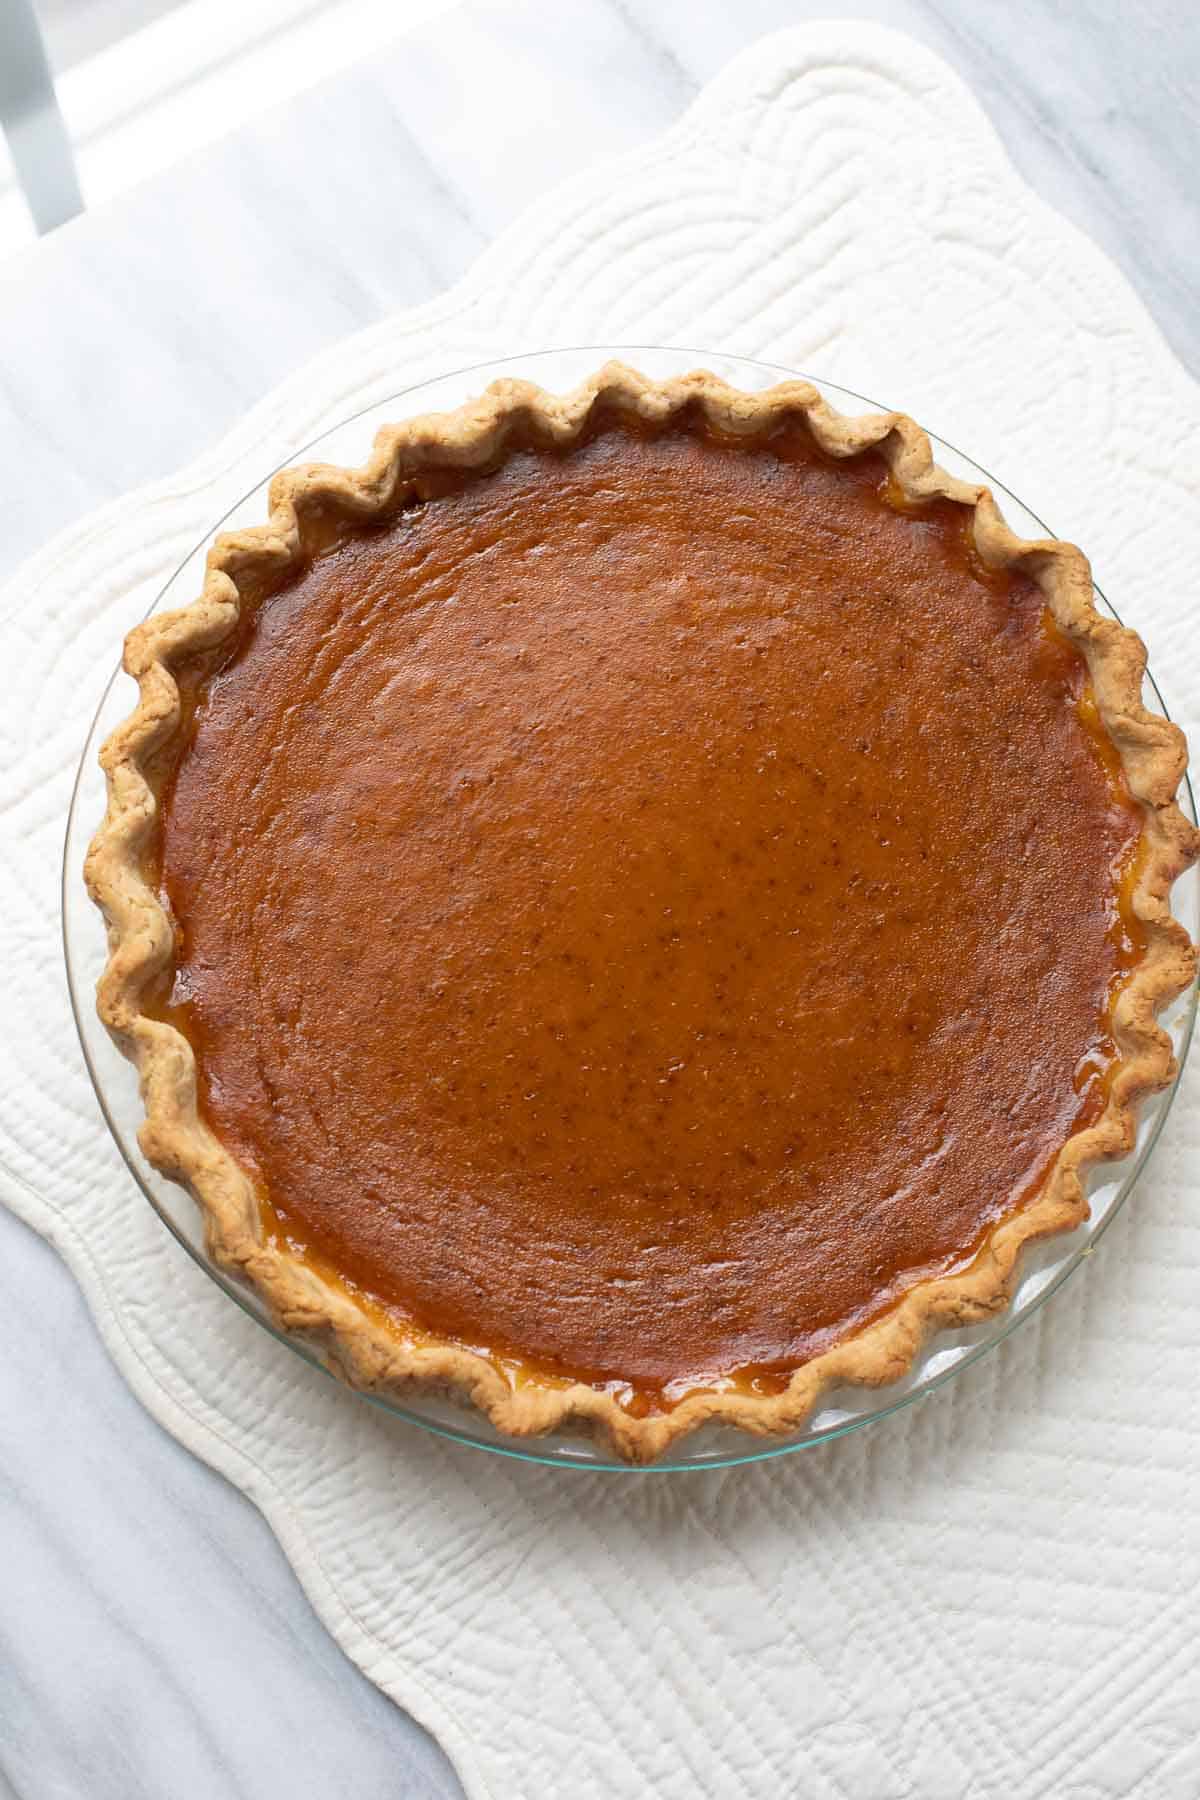
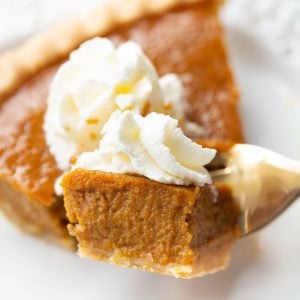
Gluten-Free Pumpkin Pie! A crowd-pleasing holiday favorite made from scratch with a flaky gluten-free pie crust. Thanksgiving isn’t complete without it!
Whether you’re a gluten-free eater or hosting a gluten-free guest, this blog post has all the tips you’ll need to make a smooth and rich pumpkin pie in a homemade pie crust. Nobody will be able to guess it’s gluten-free!
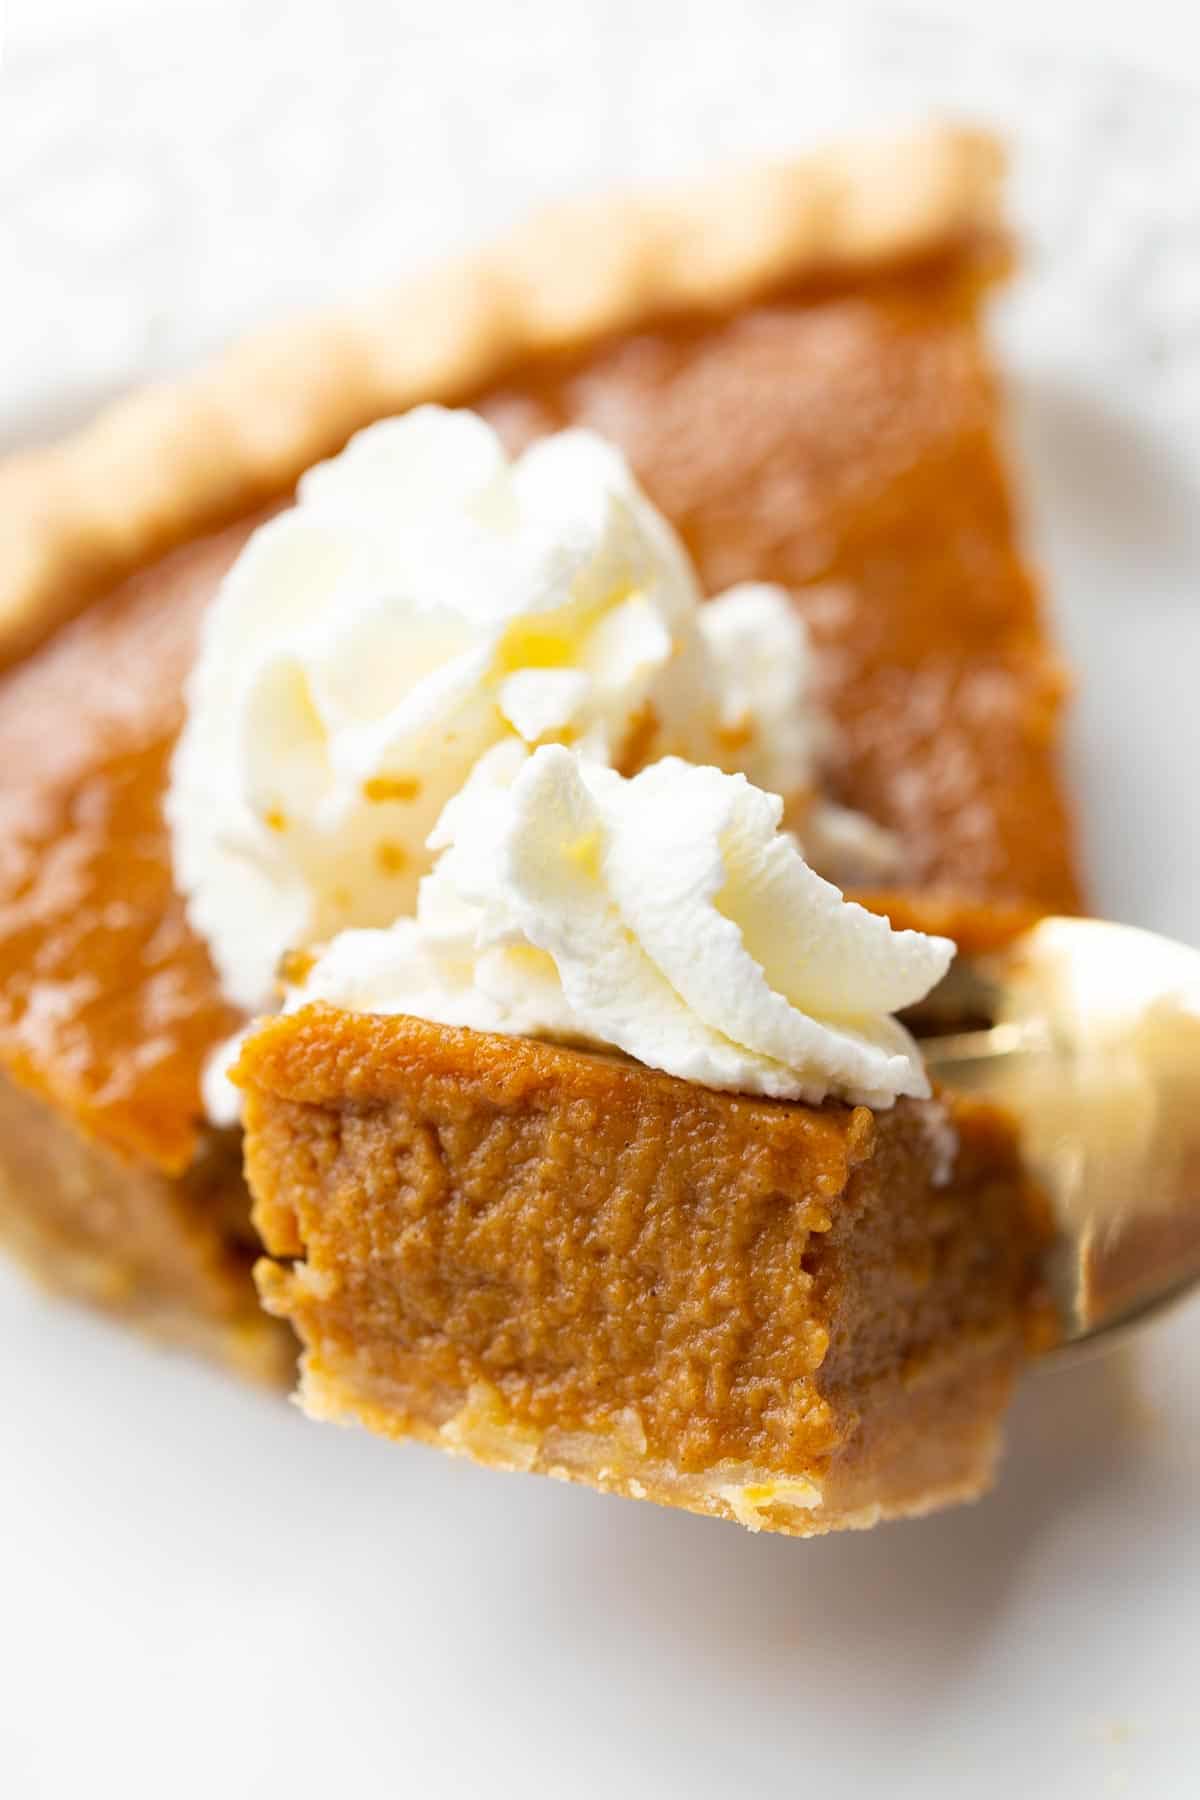
It wouldn’t be Thanksgiving without classic, custardy pumpkin pie! Pumpkin pie is my favorite of all the holiday pies. And that is saying a lot considering how much I love this gluten-free chocolate pudding pretzel pie!
It’s taken me quite a few years to get comfortable making gluten-free pie crust. This traditional pumpkin pie is made with my very favorite flaky, buttery, gluten-free pie crust recipe. I use this flaky crust in my family’s favorite gluten-free apple pie and gluten-free pecan pie too.
Just as a note, it’s very important to use the listed ingredients and follow the directions when making this pie crust. I’ve tested it many times to get it just right!
Ingredients for Gluten-Free Pie Crust
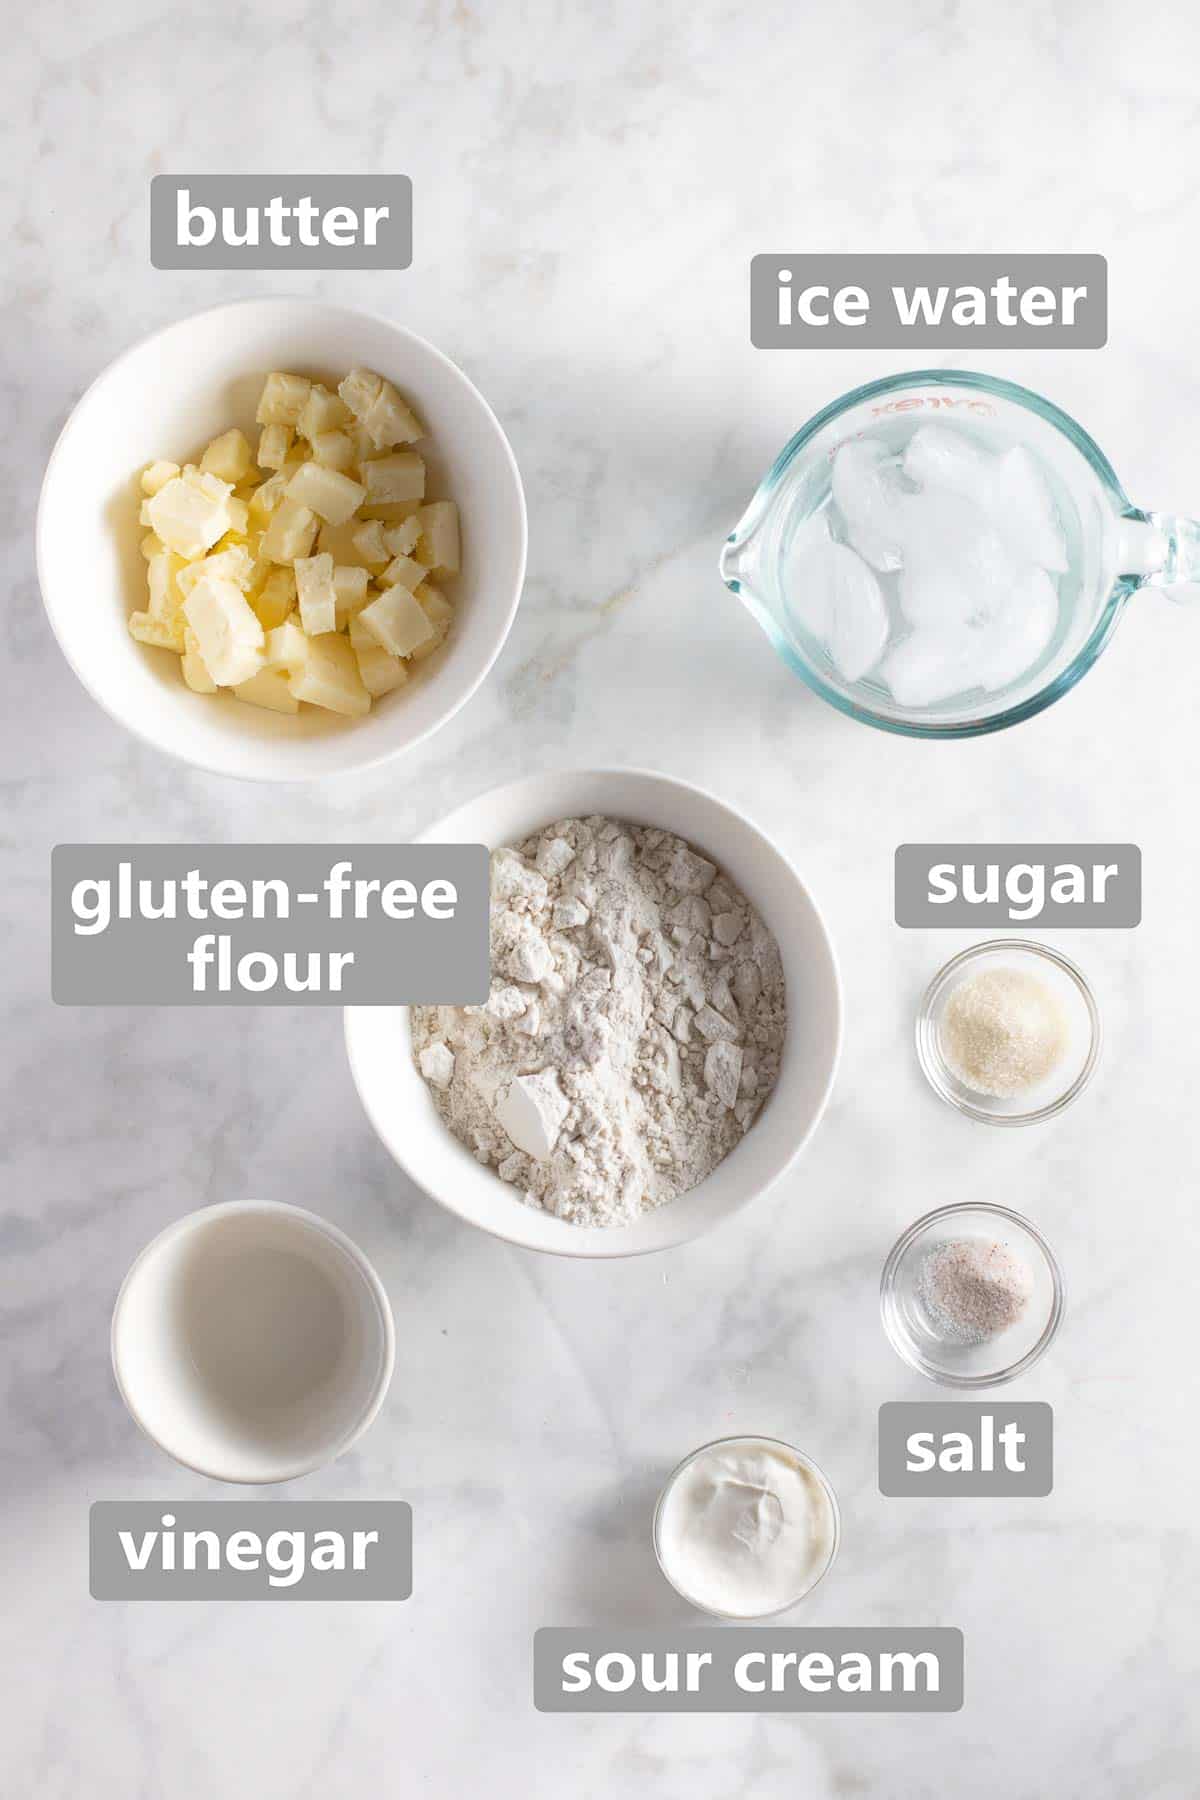
This combination of ingredients creates a gluten-free pie dough with just the right consistency! Here are a few notes on the ingredients.
- Gluten-Free Flour: I like to use a high-quality 1:1 gluten-free baking flour that contains xanthan gum. This is my favorite brand.
- Vinegar: I prefer white vinegar or rice vinegar.
- Sour Cream: Gives the dough a little stability and helps it brown.
- Butter/Ice Water/Salt/Sugar: All the usual suspects when it comes to pie crust!
Dairy-Free? I don’t recommend swapping in ingredients to make this crust dairy-free.
Make the Pie Dough
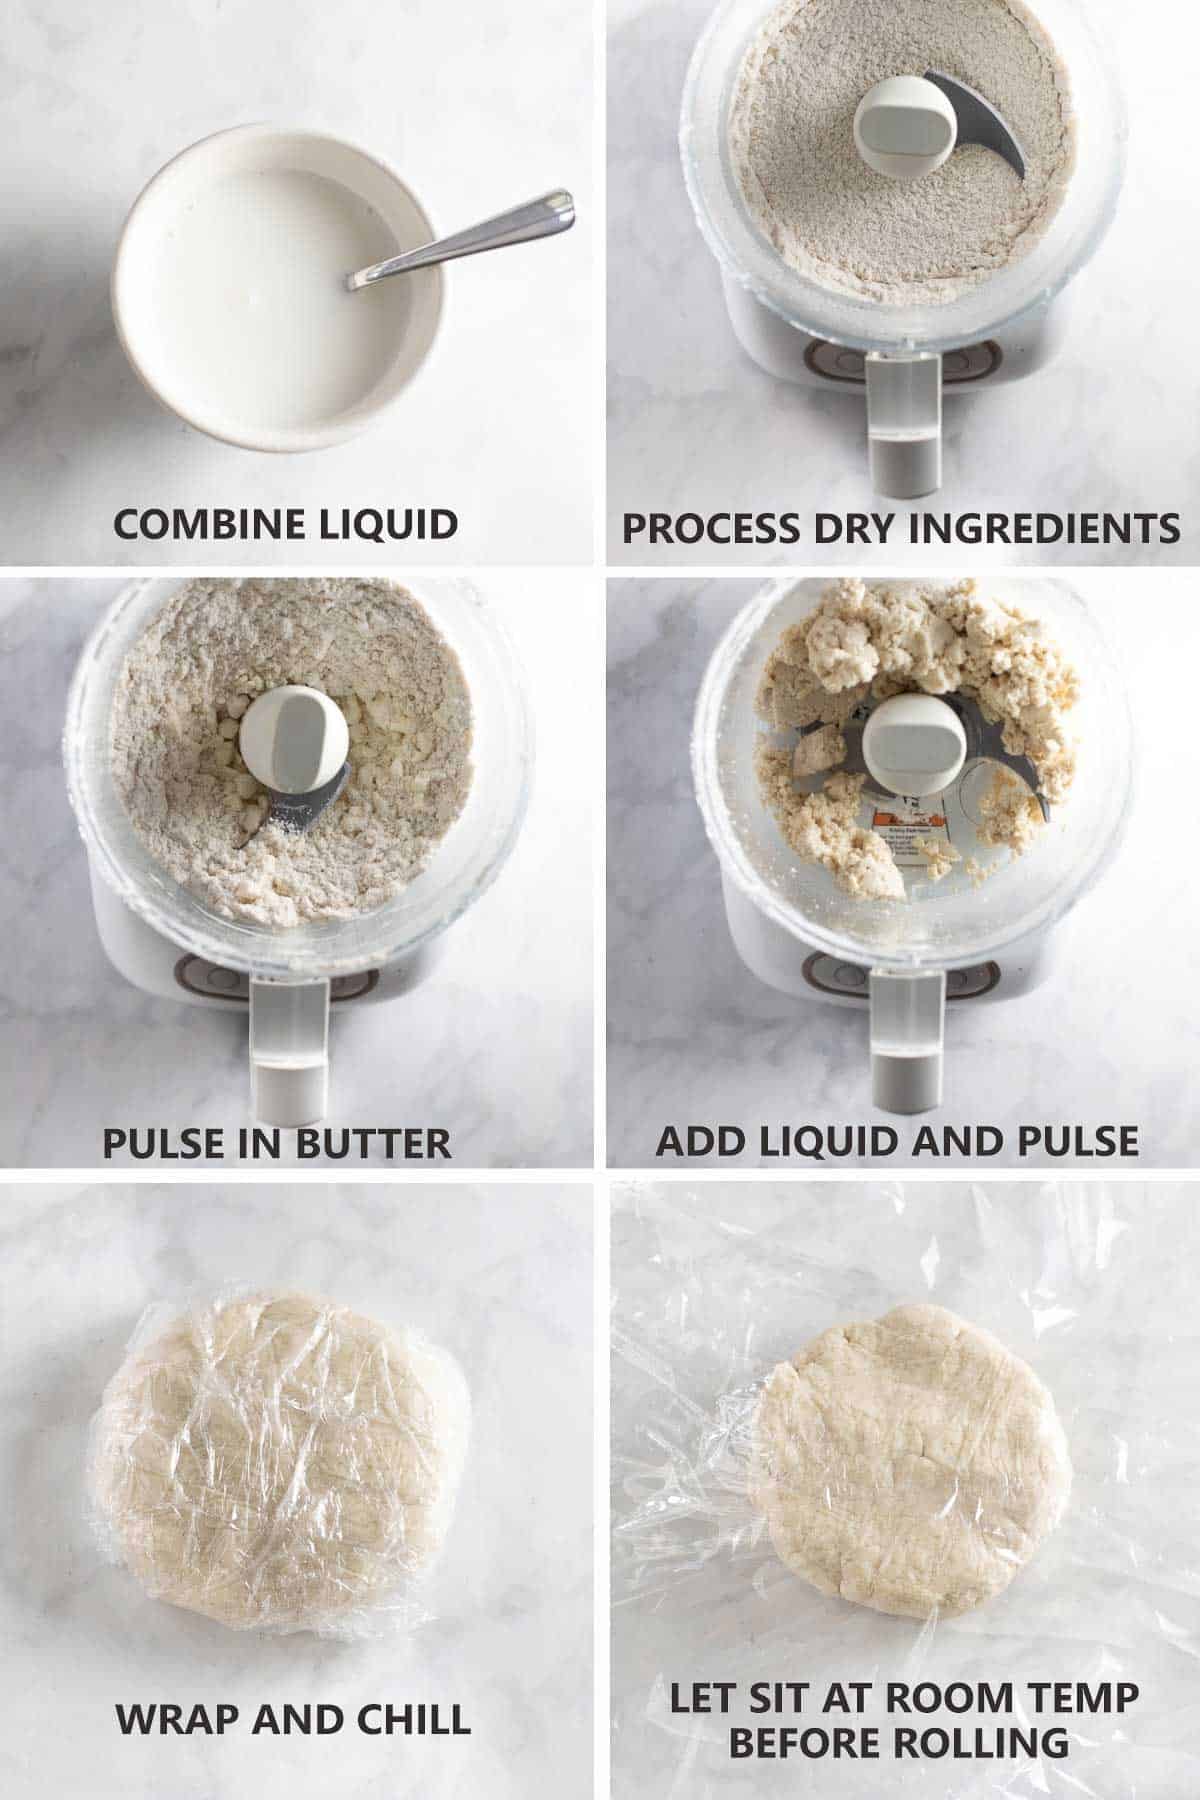
Tips for Gluten-Free Pie Dough Success
I really like making this pie crust in the food processor because it’s quick and reliable. You could also cut in the butter by hand using a fork or pastry cutter.
It’s important to let the pie dough sit in the fridge for at least 1 hour (up to overnight) before rolling it out. This allows the dough to hydrate form a cohesive ball.
After the chilling time, the pie dough also has to sit at room temperature for 15 minutes before you roll it out.
Shape the Crust
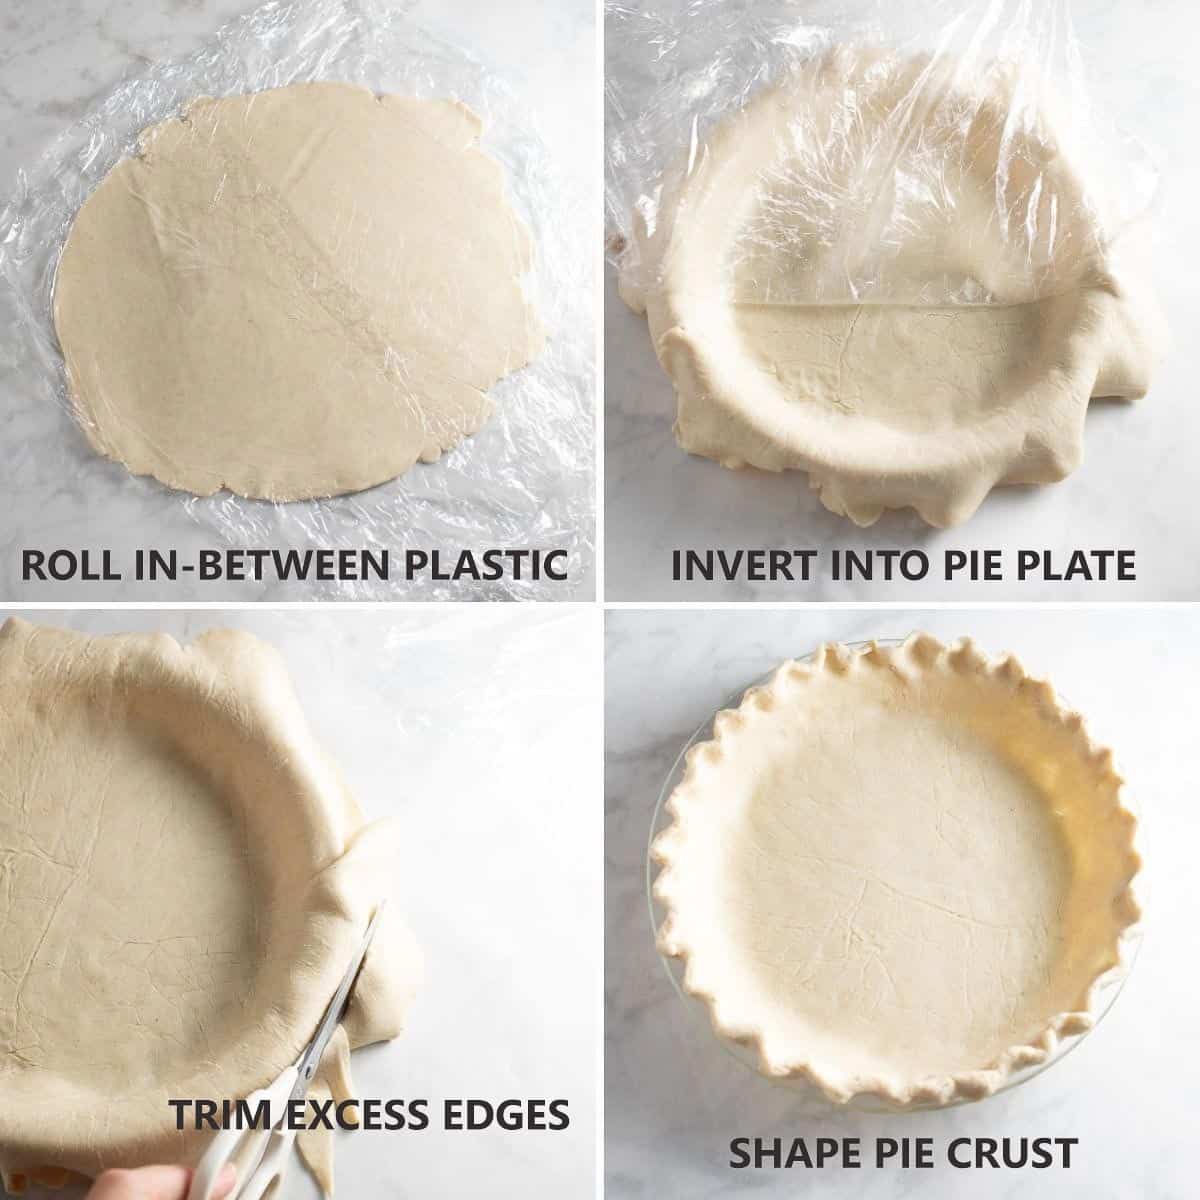
Gluten-free pie dough is more delicate than regular pie dough. It helps to roll the dough in-between plastic wrap so you can easily transfer it to the pie plate.
Peel off the top layer of wrap and carefully invert the rolled crust onto the plate. Then peel off the remaining plastic wrap. After this you can trim the edges and shape the crust as usual.
Ingredients for the Gluten-Free Pumpkin Pie Filling
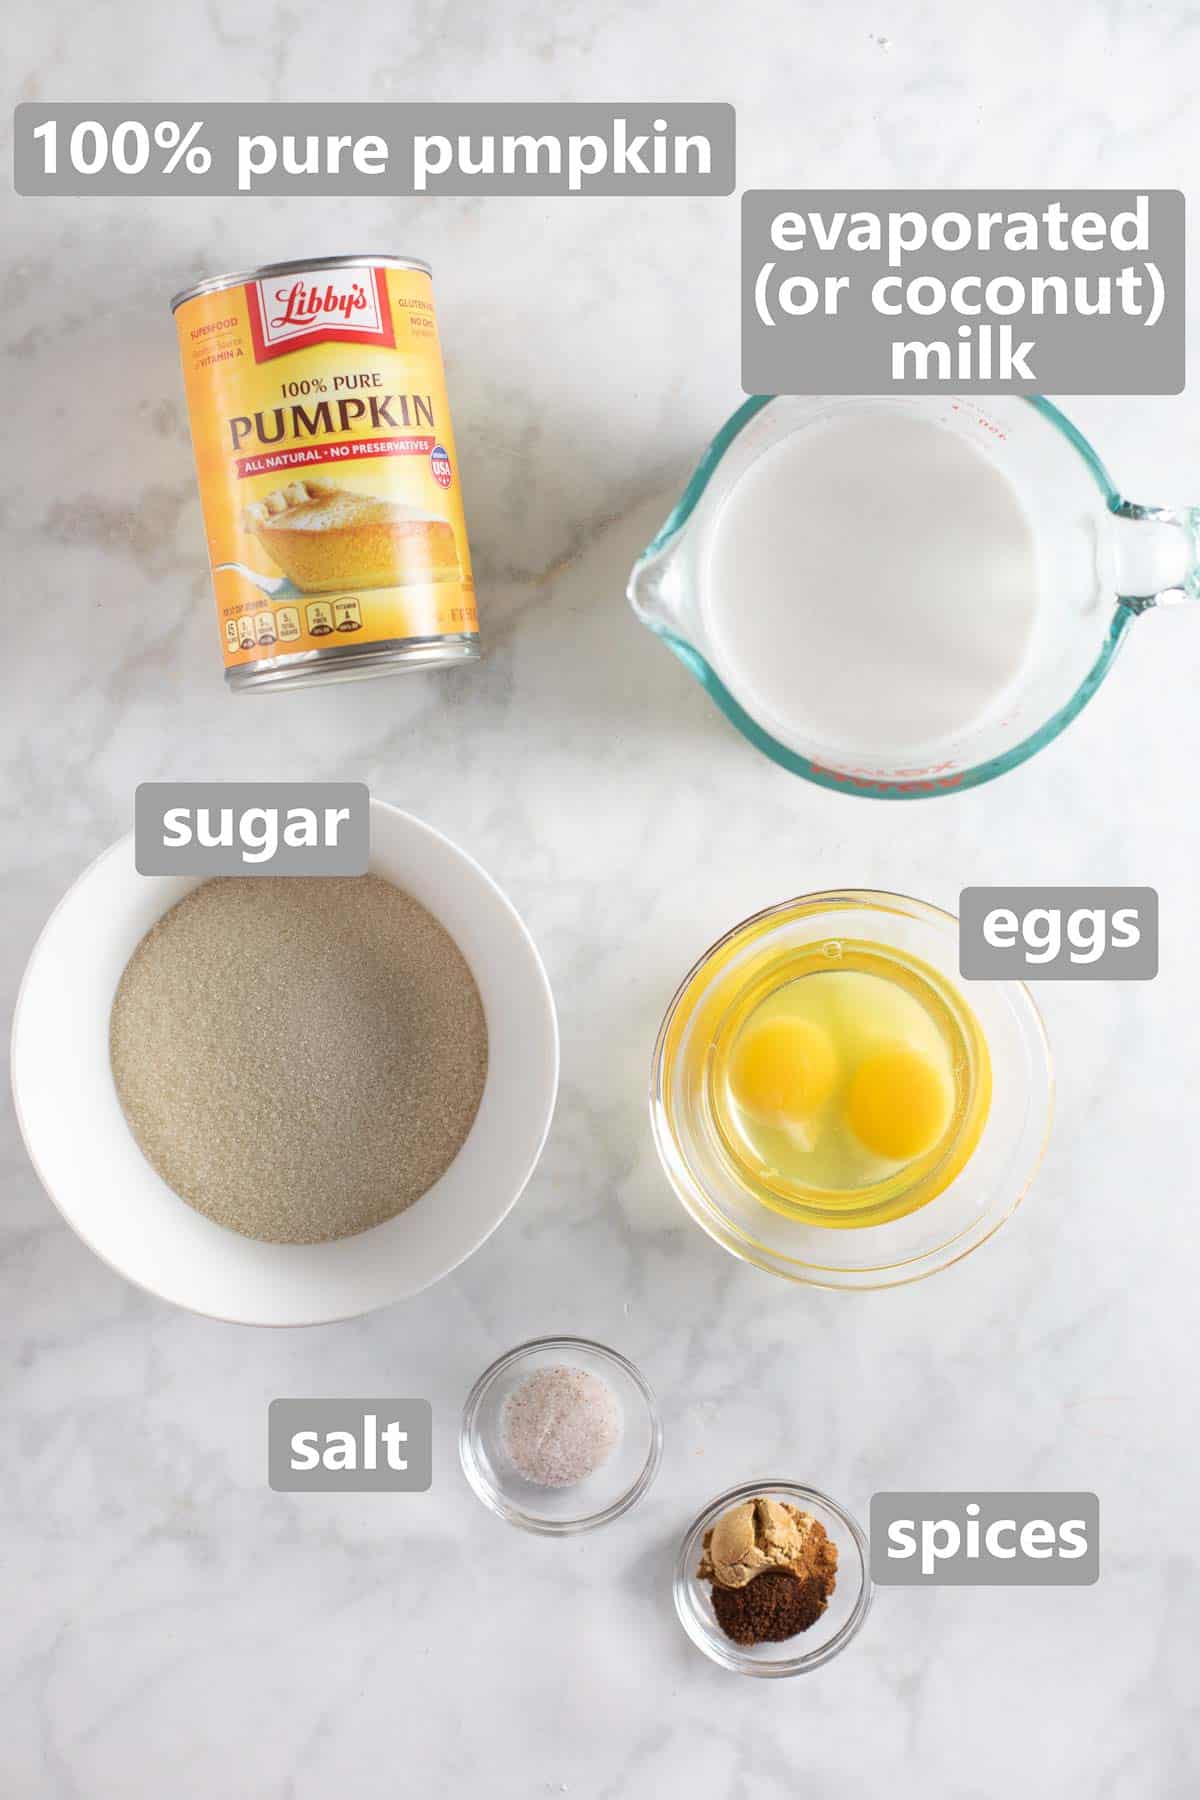
Growing up my Mom always made the good old back-of-the-pumpkin-can recipe for pumpkin filling. I like to do the same! The only changes I’ve made are I reduce the sugar and sometimes swap out the evaporated milk for coconut milk. Be sure to use 100% pumpkin puree rather than pumpkin pie filling for this recipe.
Fill the Pie Crust
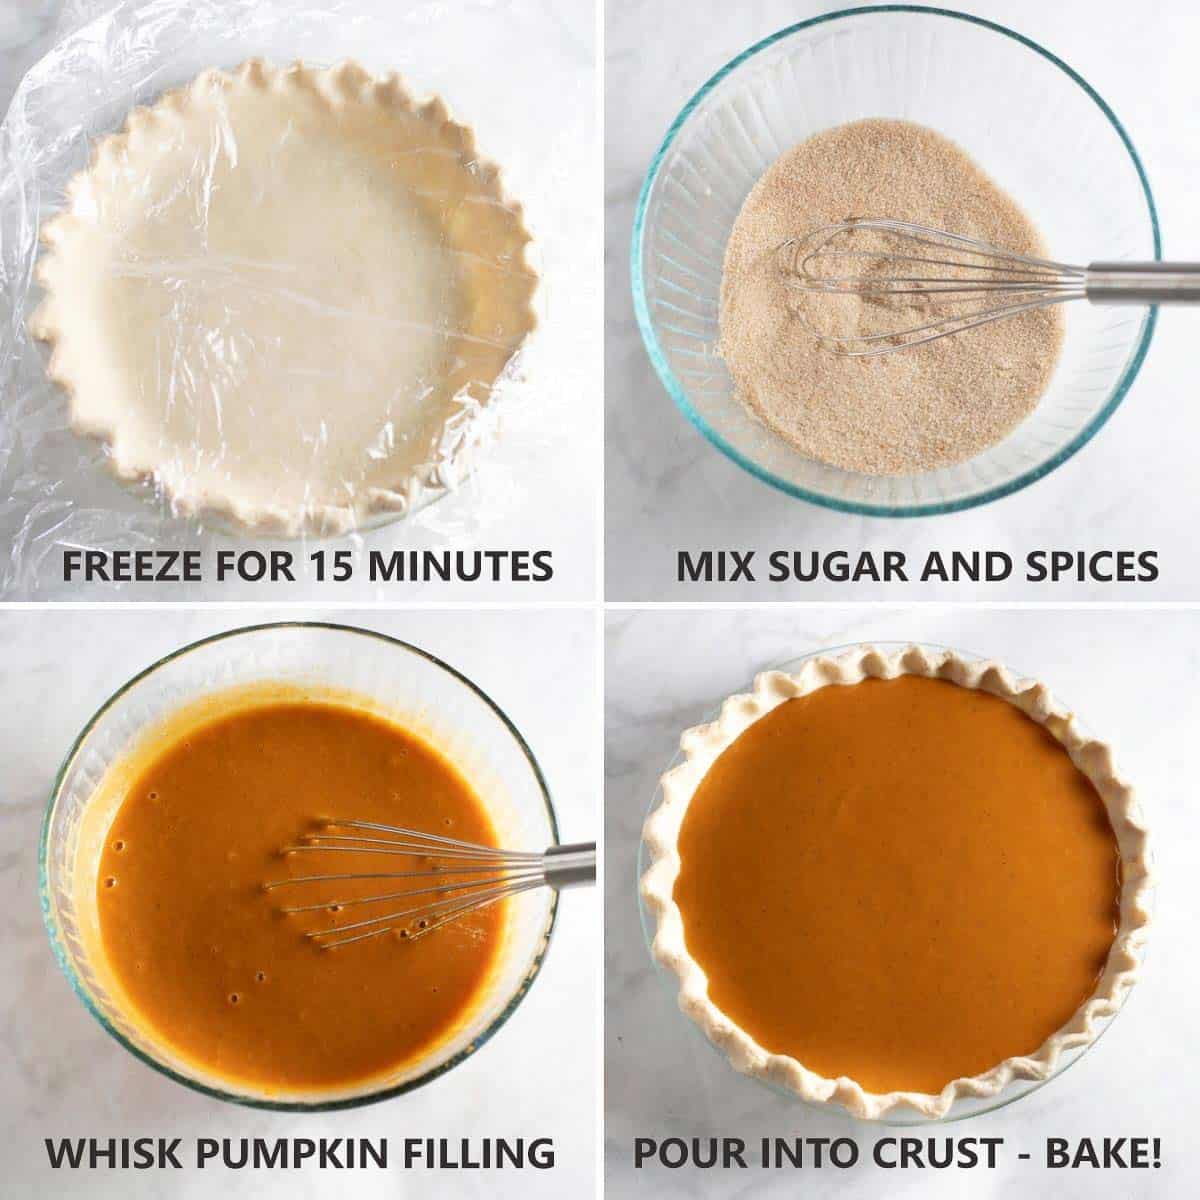
Once the pie crust is shaped and in the pie pan you’ll need to freeze it for 15 minutes. You want it to be really cold before it hits the hot oven!
Then it’s as simple as whisking the filling together, pouring it into the crust and baking.
Serving/Storing Gluten-Free Pumpkin Pie
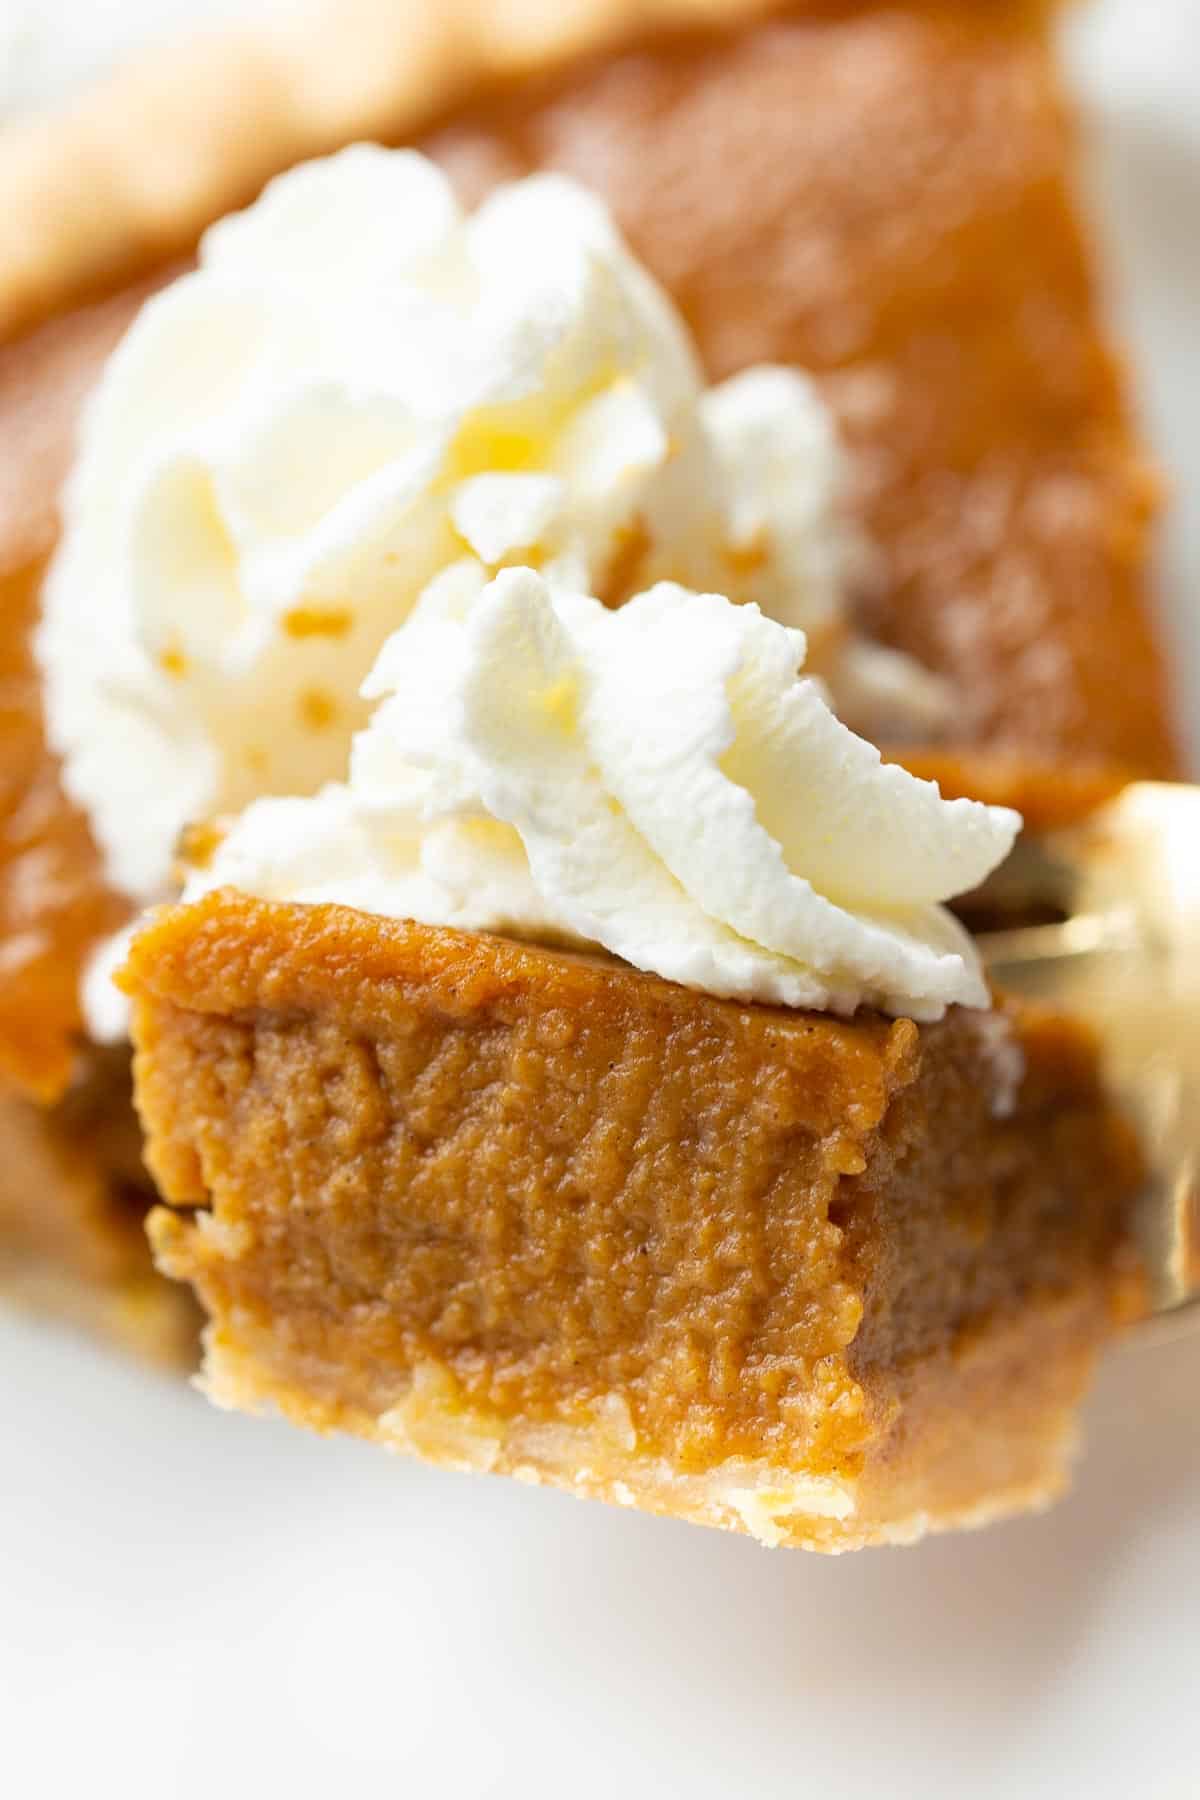
To Serve: I’m a big fan of gluten-free pumpkin pie being served cold! I recommend chilling it for at least 4 hours. It can also be served at room temperature if that’s your preference.
To Store: This pie should be refrigerated until you’re ready to serve. This pie does not freeze well.
Make Ahead? You can make the pie crust up to 2 days in advance. This pie can also be made 2 days in advance.
More Gluten-Free Thanksgiving Recipes
Gluten-Free Pumpkin Pie (with Homemade Crust)
Video
Ingredients
For the Crust:
- 8 tablespoons butter (1 stick)
- 3 tablespoons ice water
- 1 1/2 tablespoons sour cream
- 1 1/2 teaspoons white vinegar or rice vinegar
- 1 cup + 2 tablespoons gluten-free 1:1 baking flour 180 grams
- 1 teaspoon sugar
- 1/2 teaspoons salt
For the Pie:
- 2/3 cup sugar
- 1 teaspoon cinnamon
- 1/2 teaspoon ginger
- 1/4 teaspoon cloves
- 1/2 teaspoon salt
- 1 15 oz can of pumpkin
- 2 eggs
- 12 ounce (1 can) evaporated milk or 1 cup full-fat coconut milk
Instructions
For the Crust:
- Cut the butter into small 1/4-inch pieces and freeze for 10-15 minutes.
- Combine the ice water, sour cream, and vinegar in a small bowl. Whisk until smooth and set aside.
- Process the flour, sugar and salt in the bowl of a food processor until combined. Scatter the butter over top and pulse until the butter is the size of large peas, about 10 pulses.
- Add the sour cream mixture and pulse until the mixture begins to clump around the blade, about 10 pulses. (If the mixture doesn't clump after 10 pulses no worries! Pour it into a bowl and smash together with your hands to form a ball.)
- Turn the dough out onto a piece of plastic wrap. Gather into a flat disc and wrap tightly in the plastic wrap. Refrigerate for 1 hour or up to 2 days.
- If you refrigerated the dough longer than 1 hour, let the dough sit at room temperature for 15 minutes before rolling. Roll the pie crust out between 2 large pieces of plastic wrap, to ¼ inch thickness.
- After rolling, remove the top piece of plastic wrap and flip into a 9-inch pie plate. Gently ease the dough into the edges of the pan before removing the 2nd piece of plastic wrap. Trim any excess edges with scissors and shape the edges as desired.
- Wrap the shaped pie crust loosely in plastic and place in the freezer for 15 minutes or up to 1 hour until chilled and firm.
For the Pie:
- Preheat the oven to 425 F.
- In a medium bowl, whisk together the sugar, cinnamon, ginger, cloves and salt. Whisk in the pumpkin, eggs and milk until smooth.
- Pour filling into the prepared pie shell – pouring any extra filling into ramekins if needed. Bake for 15 minutes. Reduce the heat to 350 F and bake for another 40-50 minutes until the custard is set.
- Cool on a wire rack for 2 hours. Cover and refrigerate for up to 2 days. Serve chilled with whipped cream!


Delicious. Easily RSF with coconut sugar & coconut cream
Hi there, thanks for the review! Great tips on the coconut sugar and cream!
When I have made pumpkin pies in the past I have put my filling in the fridge overnight to meld the flavors, would that work here?
Hi Lex, good question! Yes, that would work here as long it’s before baking the filling. Store it in an airtight container, then assemble and bake the pie as usual when you’re ready.
I want to try this but I see another of your crust recipes (Grandma’s favorite tips) that calls for grated butter and shortening and baking in a metal pan. Which crust recipe is best for pumpkin pie and which for pecan pie?
Hi Liz, the gluten-free pie crust recipe with butter + shortening is Erin’s newest pie crust recipe that comes from a lot of testing over the years to make the perfect crust. It’s a great option for both recipes! We hope you enjoy the recipes!
Would this recipe work with a pre-made crust? I’m in a pinch for time and would prefer to just do the filling with a store-bought crust.
Hi Kira, yes that should work just fine. We hope you love the pumpkin pie!
Erin, I’m making a pumpkin pie and a pecan pie for Thanksgiving so which crust recipe would you recommend – this one or the one with the grated butter and shortening? I’d like to double the crust recipe for both pies if possible!
Hi Liz, we’d recommend Erin’s newest gluten-free pie crust recipe to use with both pies. We hope you love the recipes!
If I’m using the coconut milk for the Pumpkin pie filling, do I need to add more sugar?
Thank you
Hi Manjit, no you don’t need to adjust the sugar when using the coconut milk. We hope you enjoy the pie!
Can I use Coconut Sugar instead of regular sugar?
Hi Yasi, we don’t typically bake with sugar substitutes. Sugar plays into both texture and flavor so using subs like coconut sugar may impact the results. Thank you for your question!
Have you used this crust with any other filling? I have no experience, pies, (due to being gluten free). I’d like to use some frozen peaches and raspberries to make a GF pie and wonder if this would work.
Hi Maggie, here is our go-to gluten-free pie crust that works well with fruit pies as well as other styles. Happy baking!
This was delicious! I wasn’t sure the crust would keep it together when I started rolling it out, and I had to do a bit of crust relocating once I got it in the pan, but it came together. 10/10 This will definitely be my go-to pie crust and pumpkin pie recipe <3
Yay! We’re so happy to hear you loved the pie so much to make it a new go-to! Thank you for sharing your positive experience, Tricia!
I have a deep dish pie plate. I am using this recipe with a pecan crust (lactose-intolerant and GF daughter. Can the pie recipe be doubled?
Hi Janet, yes you should be able to double the recipe for the deep dish pie plate. Keep in mind it will take longer to bake, and may take longer to set, since the filling will be thicker. We hope you enjoy the recipe!
Where is the pie crust video?
Hi Joanna, the recipe’s video is in the recipe card, just above the ingredient list. We hope you enjoy the pie!
I don’t have a food processor. Can this be mixed in a Cuisinart mixer?
Hi Christine, a food processor works better for pie crust. It quickly mixes the butter into the flour without overworking the dough. Stand mixers don’t cut the butter as small and can easily overwork it. You can also cut the butter in by hand using a fork or pastry cutter. We hope this helps!
This was the best pumpkin pie I ever had. The crust was fun and easy to make and it tasted amazing! I don’t even have gluten issues.
Hi Cathy, we’re so happy to hear you loved the recipe! We appreciate your positive feedback!
One of the best said my kiddos! Maybe I slightly undercooked it, but the spice and flavor was perfecto! Even better for breakfast with coffee this morn! Luckily most were drunk by dessert and THEY LOVED IT, OH MY GOSH!!!
We’re so happy to hear the recipe was such a hit, Elliott! Thank you for taking the time to share your experience with us. Happy baking!
Why don’t you have to par bake the crust? New to gluten-free baking so is this something different for gluten-free?
Hi Tracey, due to the thickness of the filling and the overall baking time, pre-baking the crust isn’t necessary. The recipe as-is creates a firm crust without sogginess. If you like an even crisper crust, you can pre-bake for about 10-15 minutes at a low temperature. We hope this helps!
Can I use a standing mixer instead of a food processor?
Hi Mercedes, a food processor works better for pie crust. It quickly mixes the butter into the flour without overworking the dough. Stand mixers don’t cut the butter as small and can easily overwork it. You can also cut the butter in by hand using a fork or pastry cutter. We hope this helps!