

Erin’s Recipe Rundown

I’m so happy they now make gluten-free Oreos (and that they taste just as amazing as the original)!
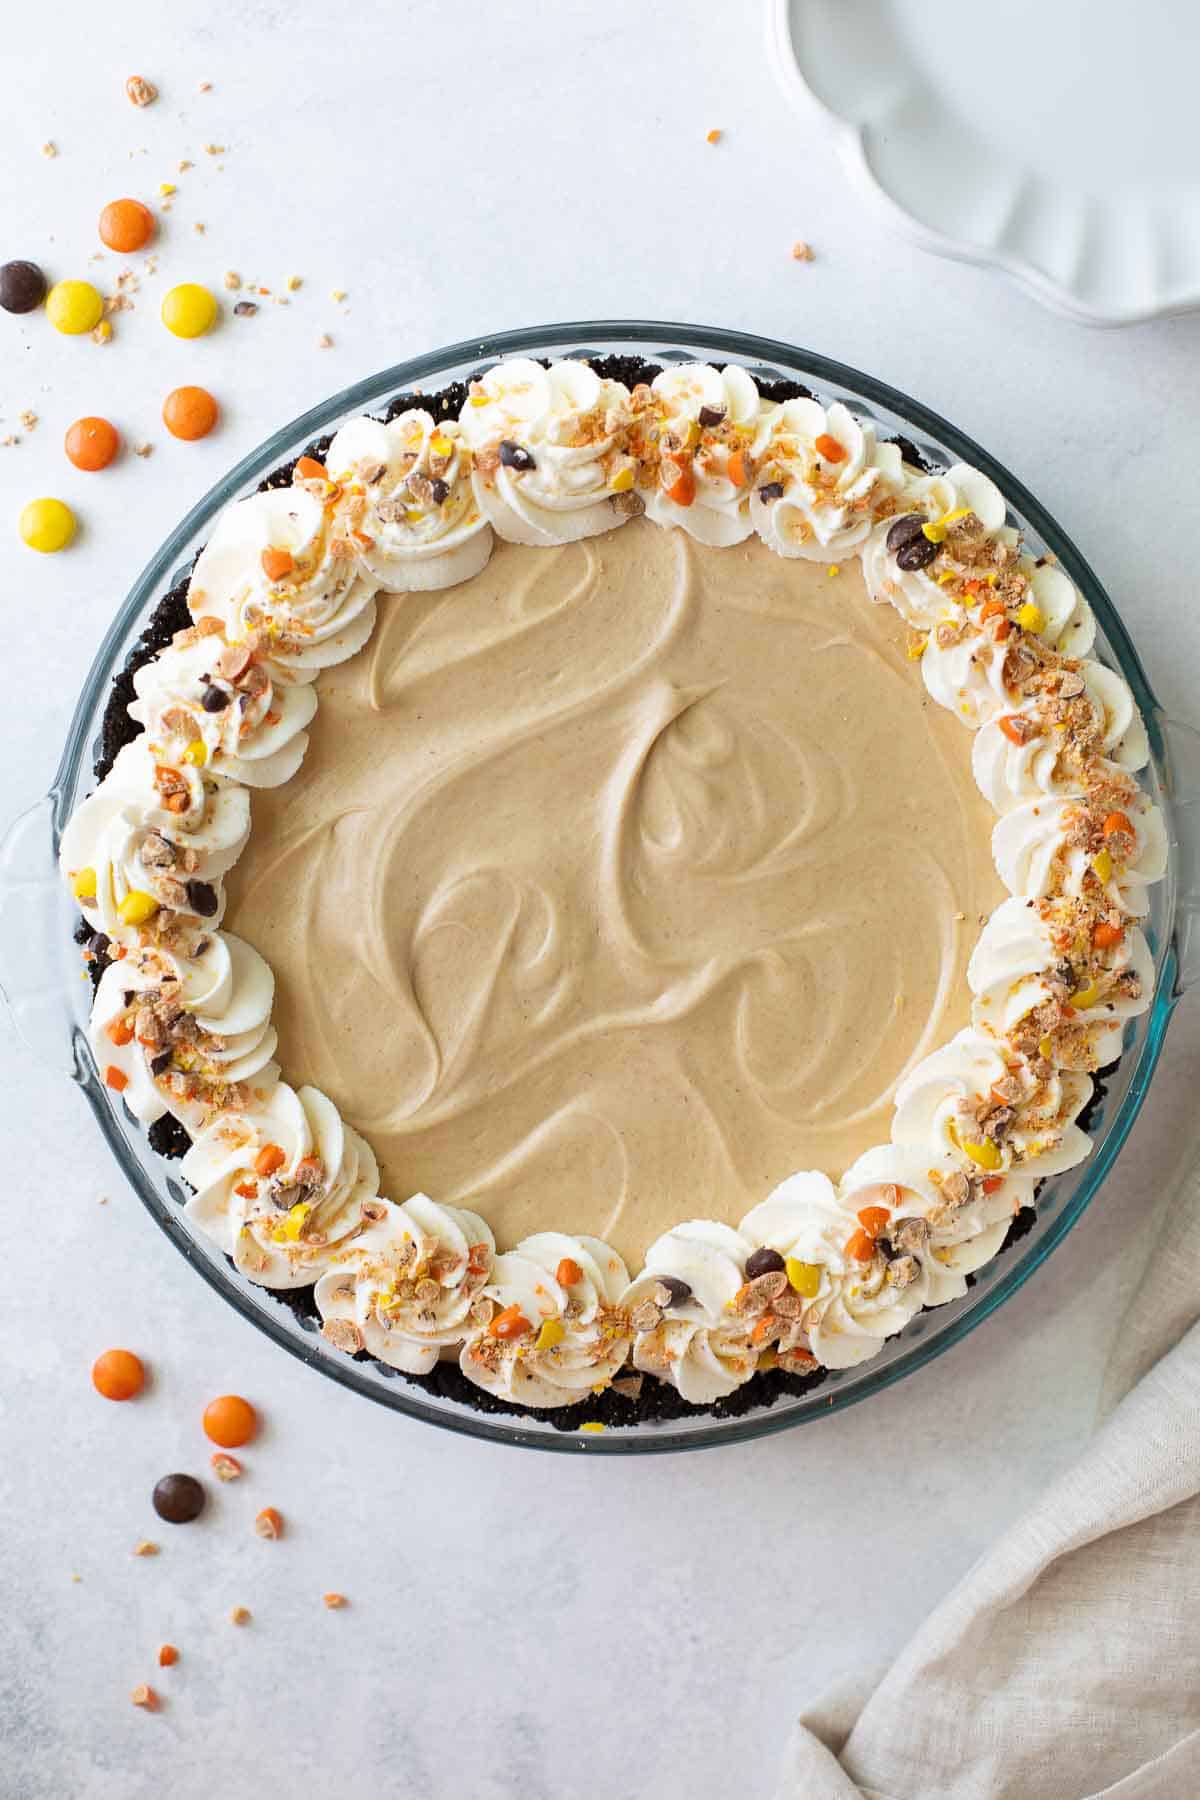
Some of my favorite desserts use an Oreo crust and now it’s easy to make gluten-free versions that no one will ever guess are gluten-free! This crust pairs perfectly with classics this gluten-free peanut butter pie or this gluten-free peppermint oreo pie!
Why You’ll Love It: This two ingredient crust comes together in under 30 minutes! Crisp, crunchy, and just sweet enough, it’s a versatile base for all kinds of fillings.
Top Tip: Make it dairy-free! Oreos are dairy-free. Pair them with your favorite vegan butter to make this crust completely gluten- and dairy-free.
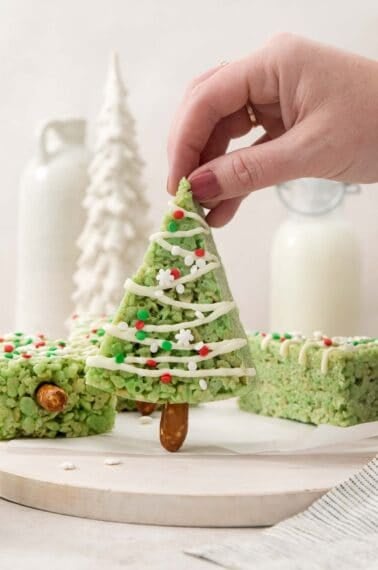
For more gluten-free Oreo recipes, try these oreo rice krispies treats, oreo popcorn, gluten-free oreo cheesecake, gluten-free oreo balls, or make these homemade gluten-free oreos.
xoxo erin
Featured Comment
From Carlie: “Oh my gosh this is just what I was looking for since these cookies came out! Perfect for your peanut butter pie and my Oreo ice cream pie! Thank you for making it so easy.”
Ingredients You’ll Need
Here are a few notes on some of the key ingredients to make this gluten-free Oreo pie crust. Jump to the recipe card below for the exact measurements
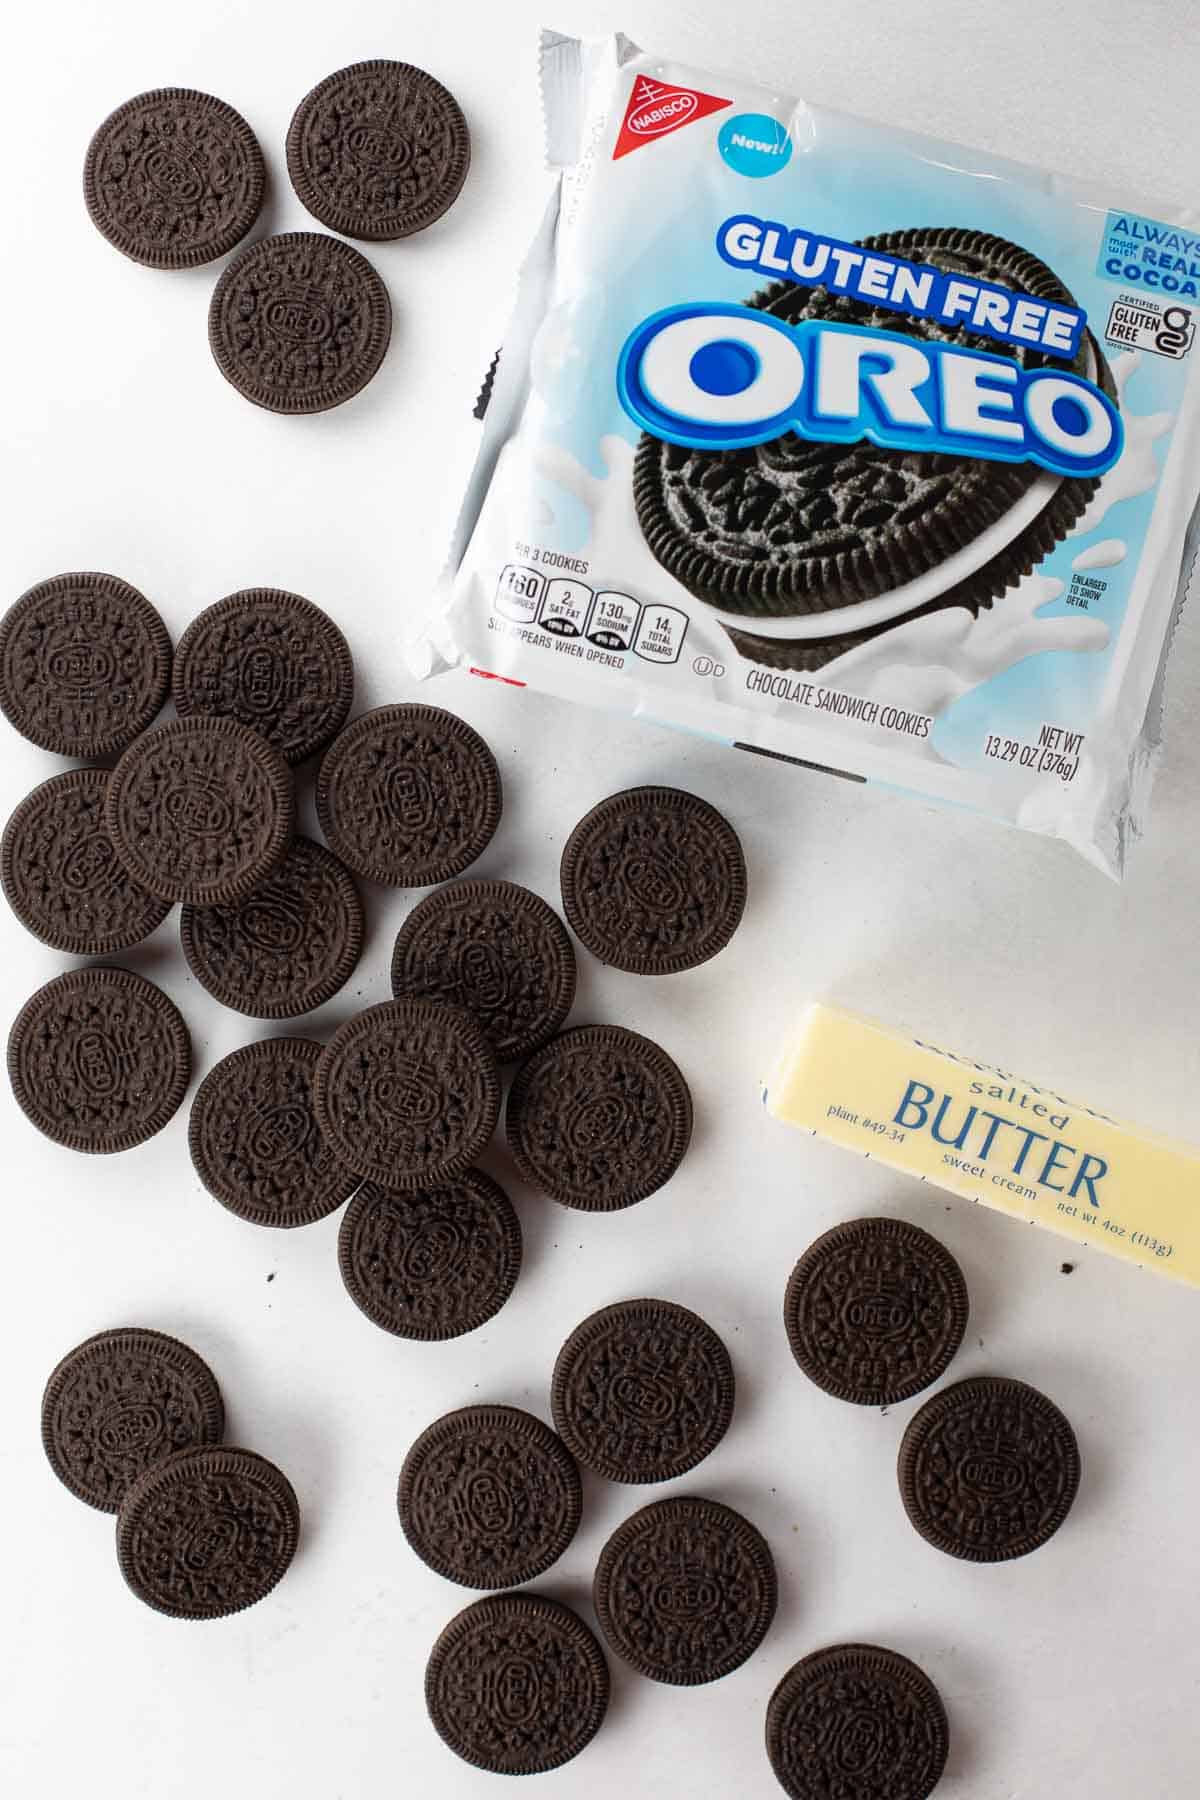
- Gluten-free cookies: Gluten-Free Oreos are every bit as crunchy on the outside and creamy on the inside as the classic cookie. Plus they’re dairy-free!
- Butter: This is the glue that holds the cookie crumbs together. Regular or dairy-free!
You also might like this article on are oreos gluten-free.
How to Make Gluten-Free Oreo Pie Crust
Here’s an overview of how to make this recipe. You can jump to the recipe for the full instructions!
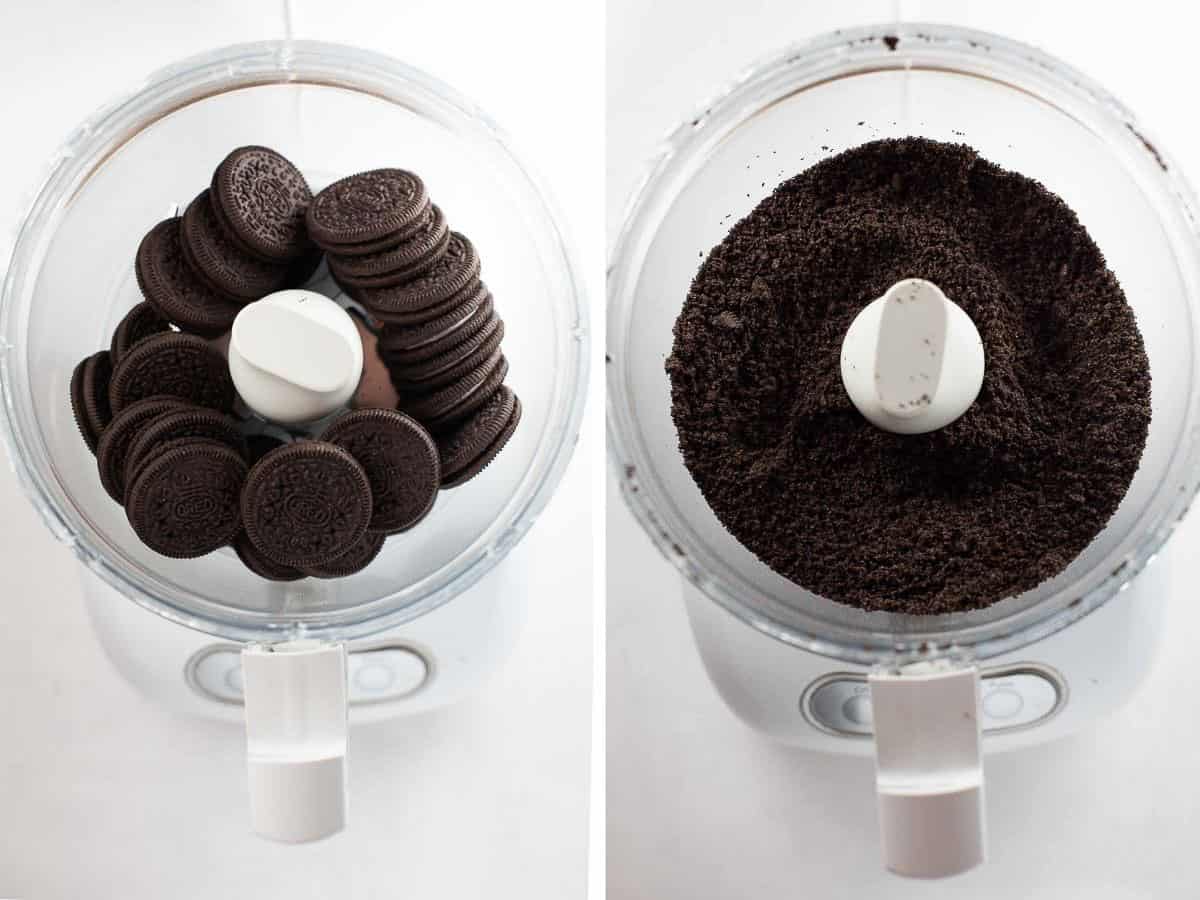
Make the cookie crumbs: You can use a food processor or blender to pulse the Oreos into a fine crumb. You’ll want to pick out any large pieces that remain.

Just two ingredients: Stir the melted butter into the Oreo crumbs until evenly combined.
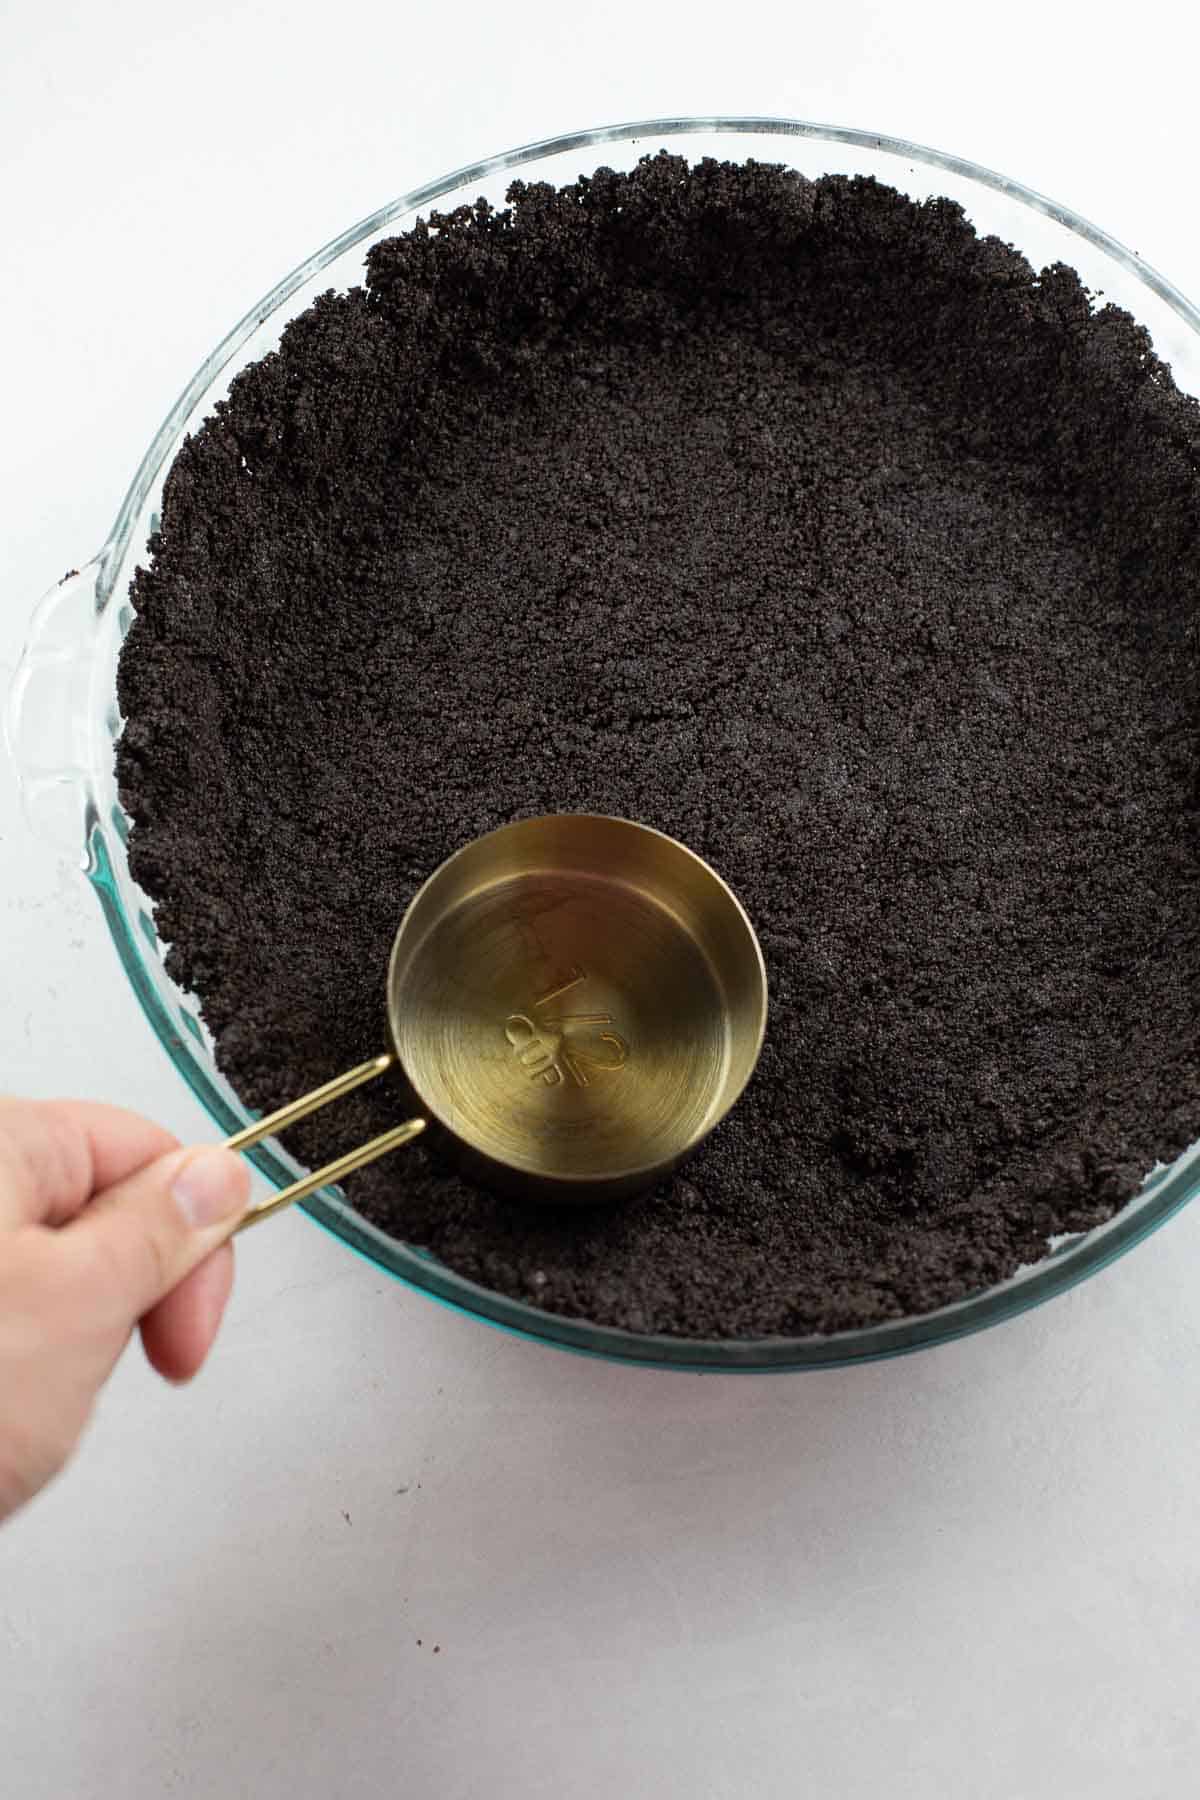
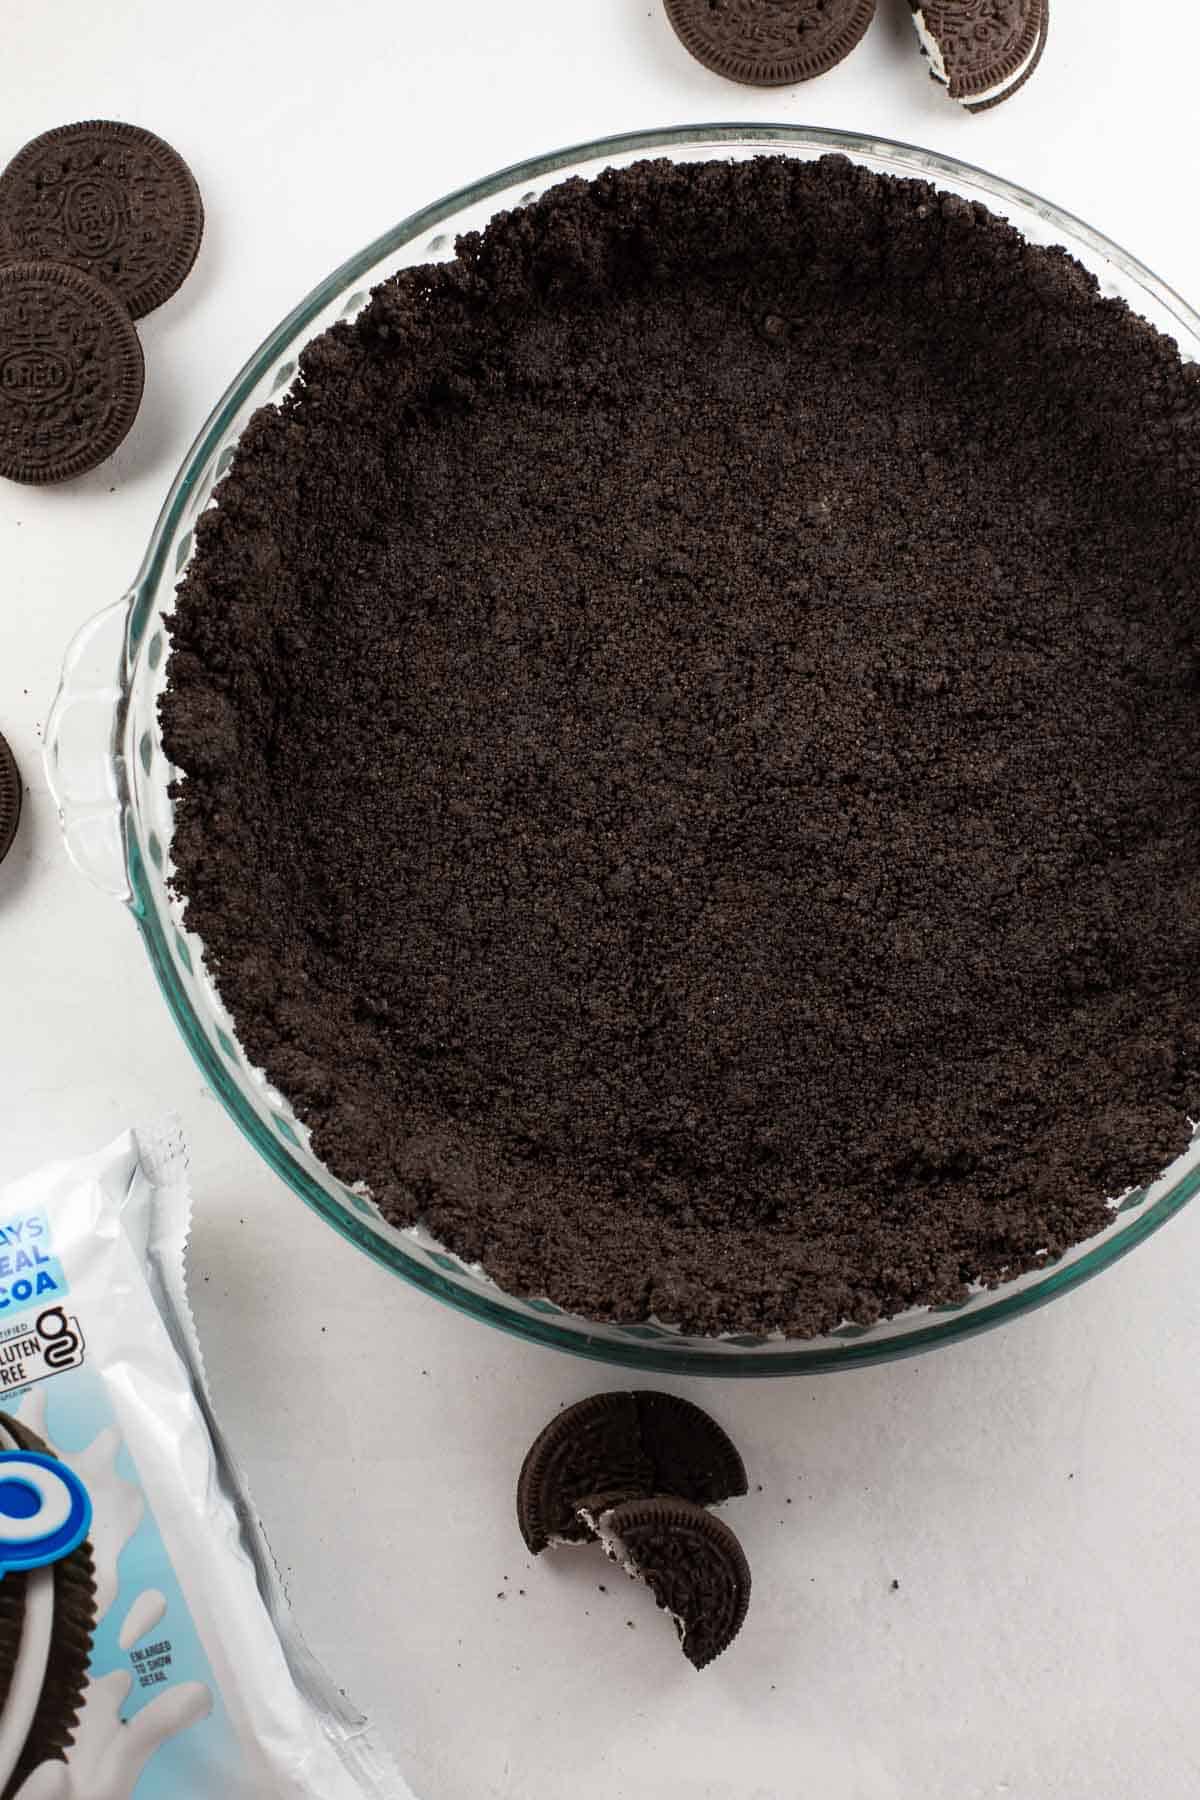
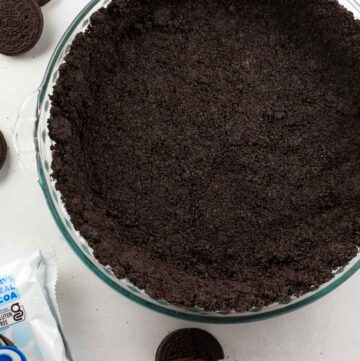
Shape the crust: Pour the mixture into a 9 1/2″ pie pan. I love this one! Use the bottom of a measuring cup or a glass to press the crust into the dish. You want a nice compact layer.
Bake and cool: Bake the crust until it’s set. If the planned filling is cold, it’s important to cool the crust completely so it doesn’t melt the filling when you assemble the pie.
Filling Ideas
This crust is so versatile! It’s fully baked and ready to eat when you remove it from the oven. This means you can use any no-bake filling to make all kinds of gluten-free desserts. Here are a few of my favorite ways to use this gluten-free Oreo pie crust:
- Use it as a base for cheesecakes, like these: gluten-free cheesecake, gluten-free no-bake cheesecake, or gluten-free pumpkin cheesecake.
- Use it as a base for pies, like this gluten-free chocolate pie or this dairy-free banana cream pie.
- Fill it with your favorite ice cream for an easy ice cream pie!
- Use it in any recipe that calls for a classic Oreo crust!
Or you also might like this gluten-free graham cracker crust!
Gluten-Free Oreo Pie Crust
Ingredients
- 24 gluten-free Oreo cookies
- 4 tablespoons (56g) butter, melted
Instructions
- Preheat the oven to 350°F.
- In a food processor or blender, pulse the whole gluten-free Oreos (cream filling and cookie) into a fine crumb. Remove any large pieces of Oreos.
- Stir the Oreo crumbs and melted butter together. Using your hands or a measuring cup, press into the bottom and up the sides of a 9 1/2-inch pie dish.
- Bake the crust for 10 minutes. Cool before adding filling of choice.
Notes
Nutrition
This post was originally published in April 2021. It was updated with new instructions in October 2025.


Do I need to prep the pie pan before I add the oreos? Non stick spray or anything?
Hi there, no this crust doesn’t typically require the pie pan to be prepped with cooking spray or anything first. We hope you enjoy!
I was thinking of doing no bake cheesecake cupcakes with this crust. My only problem, that I currently can think of is: how many cupcakes and how much in each cup, same with the filling. Any hints on how to calculate that?
I bet you could make 12 cupcake-size no bake cheesecakes with this crust. I would add 2-3 tablespoons of the crumble to each cup. I hope this helps!
I used this for an easy Christmas dessert. I filled the crust with peppermint ice cream then freeze it. Just before serving I very lightly drizzle some hot fudge sauce over the pie slices once it’s plated.
Thanks for the speed hack for the crust!!!
That sounds like a delicious dessert! I love chocolate and peppermint so I’ll have to try it myself 🙂 Glad the crust worked well for it!
Do you know how long the crust will hold up to being filled with a chocolate pudding ?
Great question! I would say no longer than 24 hours.
Can this crust be used for a baked dessert?
Oh my gosh this is just what I was looking for since these cookies came out! Perfect for your peanut butter pie and my Oreo ice cream pie! thank you for making it so easy.